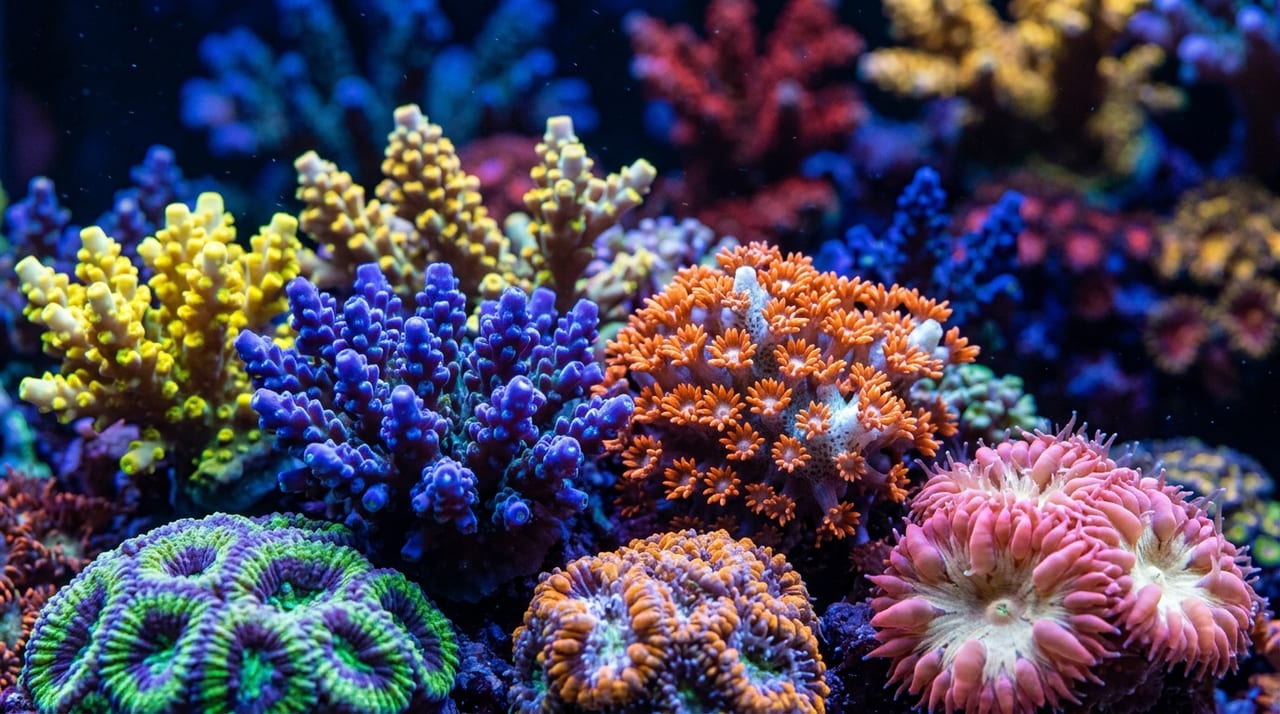
A complete guide to setting up a coral aquarium from scratch. Learn equipment selection, live rock placement, water preparation, and coral introduction with step-by-step instructions to avoid common mistakes.
Key Takeaways
A complete guide to setting up a coral aquarium from scratch. Learn equipment selection, live rock placement, water preparation, and coral introduction with step-by-step instructions to avoid common mistakes.
Coral aquariums require even more stable water conditions and environmental management than saltwater fish tanks. However, with the right approach, beginners can absolutely create a beautiful reef tank. Taking it one step at a time without rushing is the shortest route to long-term success. This article explains the complete 9-step process for setting up a coral aquarium.
✍️
BreederDirect Editorial
The BreederDirect editorial team specializes in care information for animals, covering veterinary care and breeding to deliver beginner-friendly guides.
Find Coral on BreederDirect
Buy directly from verified breeders
Browse Related Listings
Find Coral listings related to this article on BreederDirect. Buy directly from verified breeders.
Related Tools
Related Articles
Browse by Category
🪸Coral
🐠Marine Fish
🐟Tropical Fish
🐡Goldfish
🐟Medaka
🦎Reptiles
Share
Steps 1-2: Preparing Equipment and Selecting Your Setup Location
Gather all necessary equipment
Coral keeping requires higher-quality lighting and a protein skimmer compared to standard saltwater fish keeping. Prepare all the following equipment before starting your setup.
Aquarium: 60cm or larger recommended. Overflow-style aquariums offer superior filtration and are ideal for coral keeping
Full-spectrum LED lighting for saltwater: Choose a model that covers blue and white wavelengths to promote coral photosynthesis
Protein skimmer: Essential for coral tanks—removes organic matter before the water becomes polluted
Water circulation pumps: Install multiple units to create uniform water flow throughout the tank
Heater + thermostat: Maintain stable water temperature around 25°C
Hydrometer (refractometer): A digital refractometer is recommended for accuracy
Water test kit: Should measure ammonia, nitrite, nitrate, pH, calcium, and alkalinity
Avoid areas with direct sunlight, as this causes algae blooms and overheating. Select a level, sturdy surface and always use a dedicated aquarium stand rated for the weight. A 60cm tank with water, substrate, and live rock easily exceeds 80-100kg total weight. If you're in an apartment, verify floor load capacity beforehand. If you're interested in building a DIY stand, see our DIY Aquarium Stand Guide.
Steps 3-4: Positioning Live Rock and Preparing Artificial Seawater
Create your tank's framework with live rock
Live rock serves as a home for beneficial bacteria and acts as the foundation for coral placement. Use approximately 1kg of live rock per 10 liters of water. When positioning rock, prioritize water flow above all else. Packing rocks too tightly creates dead spots where water doesn't circulate, allowing harmful anaerobic substances to accumulate. The ideal approach is to arrange rocks in an arch formation with space in the center. Detailed layout techniques are covered in our Reef Tank Aquascaping Guide.
Mix artificial seawater with precision
Dissolve artificial sea salt in RO water (reverse osmosis water) and adjust the specific gravity to 1.024-1.025. Tap water contains chlorine and heavy metals unsuitable for coral tanks. If RO water is difficult to obtain, low-mineral bottled water (soft water) can be used as a substitute.
Warm the water to around 25°C before adding it to the tank. Instead of pouring all the water in at once, add it gradually in buckets, mixing and measuring as you go to ensure uniform specific gravity.
Steps 5-6: Activating Equipment and Establishing the Nitrogen Cycle
Start all equipment and verify proper operation
Turn on all equipment and confirm everything is working correctly. The protein skimmer may produce unstable foam immediately after startup, but this will stabilize within 1-2 days. Adjust water pump flow directions to eliminate dead spots in all corners of the tank. At this stage, don't set the lighting timer yet—keep it on for just a few hours daily.
Wait patiently for the nitrogen cycle to establish (3-6 weeks)
This is the most critical and non-negotiable step in setup. Bacteria attached to live rock will activate, completing the ammonia → nitrite → nitrate cycle (nitrogen cycle) over 3-6 weeks.
Test water regularly with your test kit and verify that ammonia and nitrite read zero and nitrate stabilizes at low levels before moving forward. Skipping this step and adding livestock will devastate your corals. Learn more about water testing fundamentals in our Aquarium Water Testing Kit Guide.
Steps 7-8: Introducing Cleanup Crew and Adding Corals
Introduce your cleanup crew first
Once water chemistry is stable, add cleanup organisms before introducing corals.
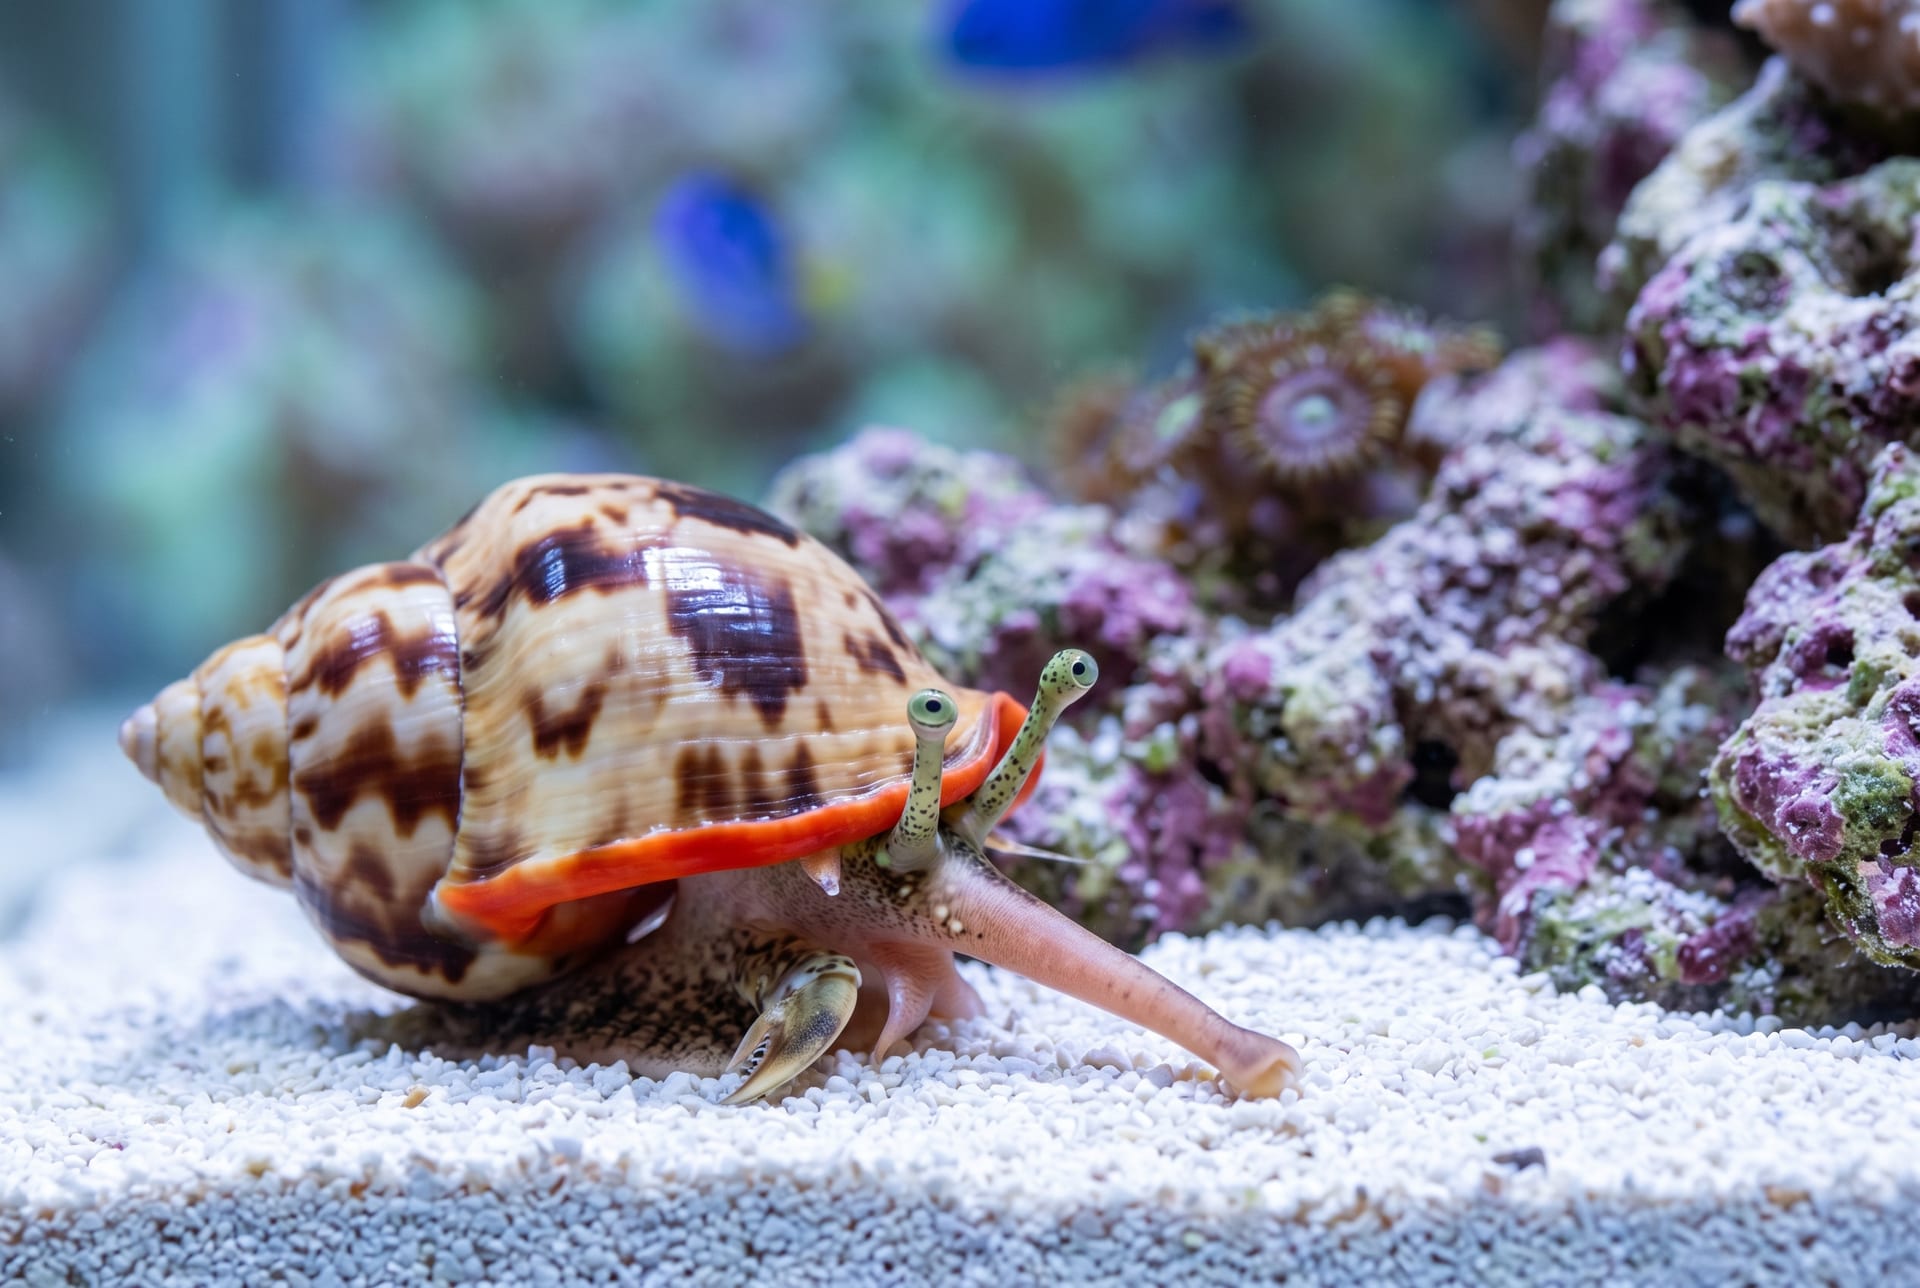
Turbo snails: Clean detritus (accumulated organic matter) from the substrate
Trochus snails and related species: Eat algae on glass and rocks
Scarlet reef hermit crabs and similar species: Process leftover food and fine debris
Introducing these 1-2 weeks early reduces organic matter in the tank, lowering the risk of water quality issues when corals arrive.
"Start with hardy species, add gradually"—this is the golden rule
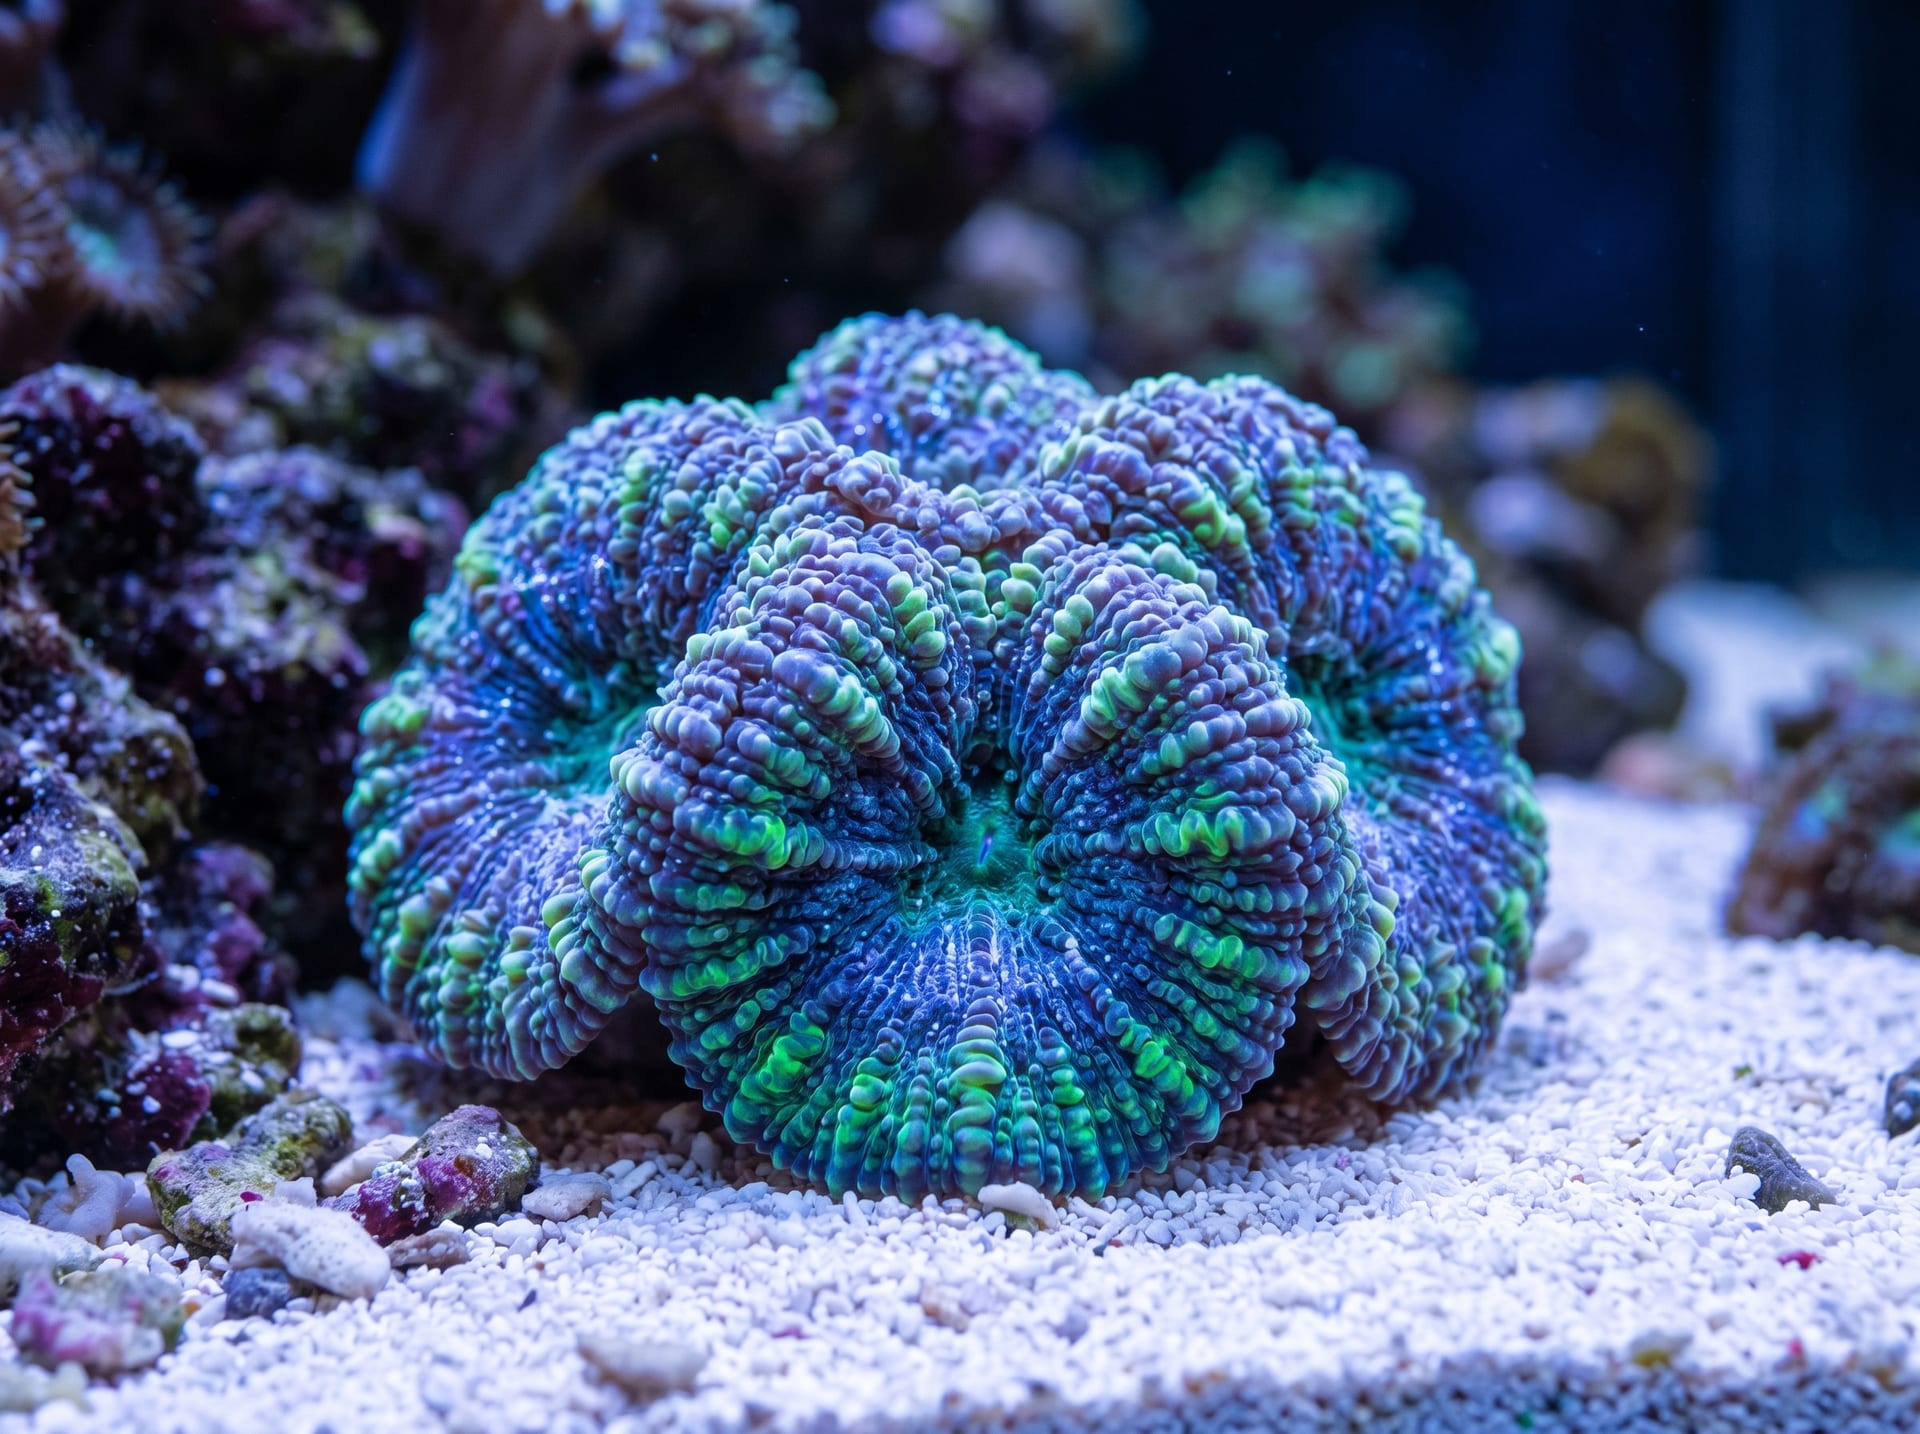
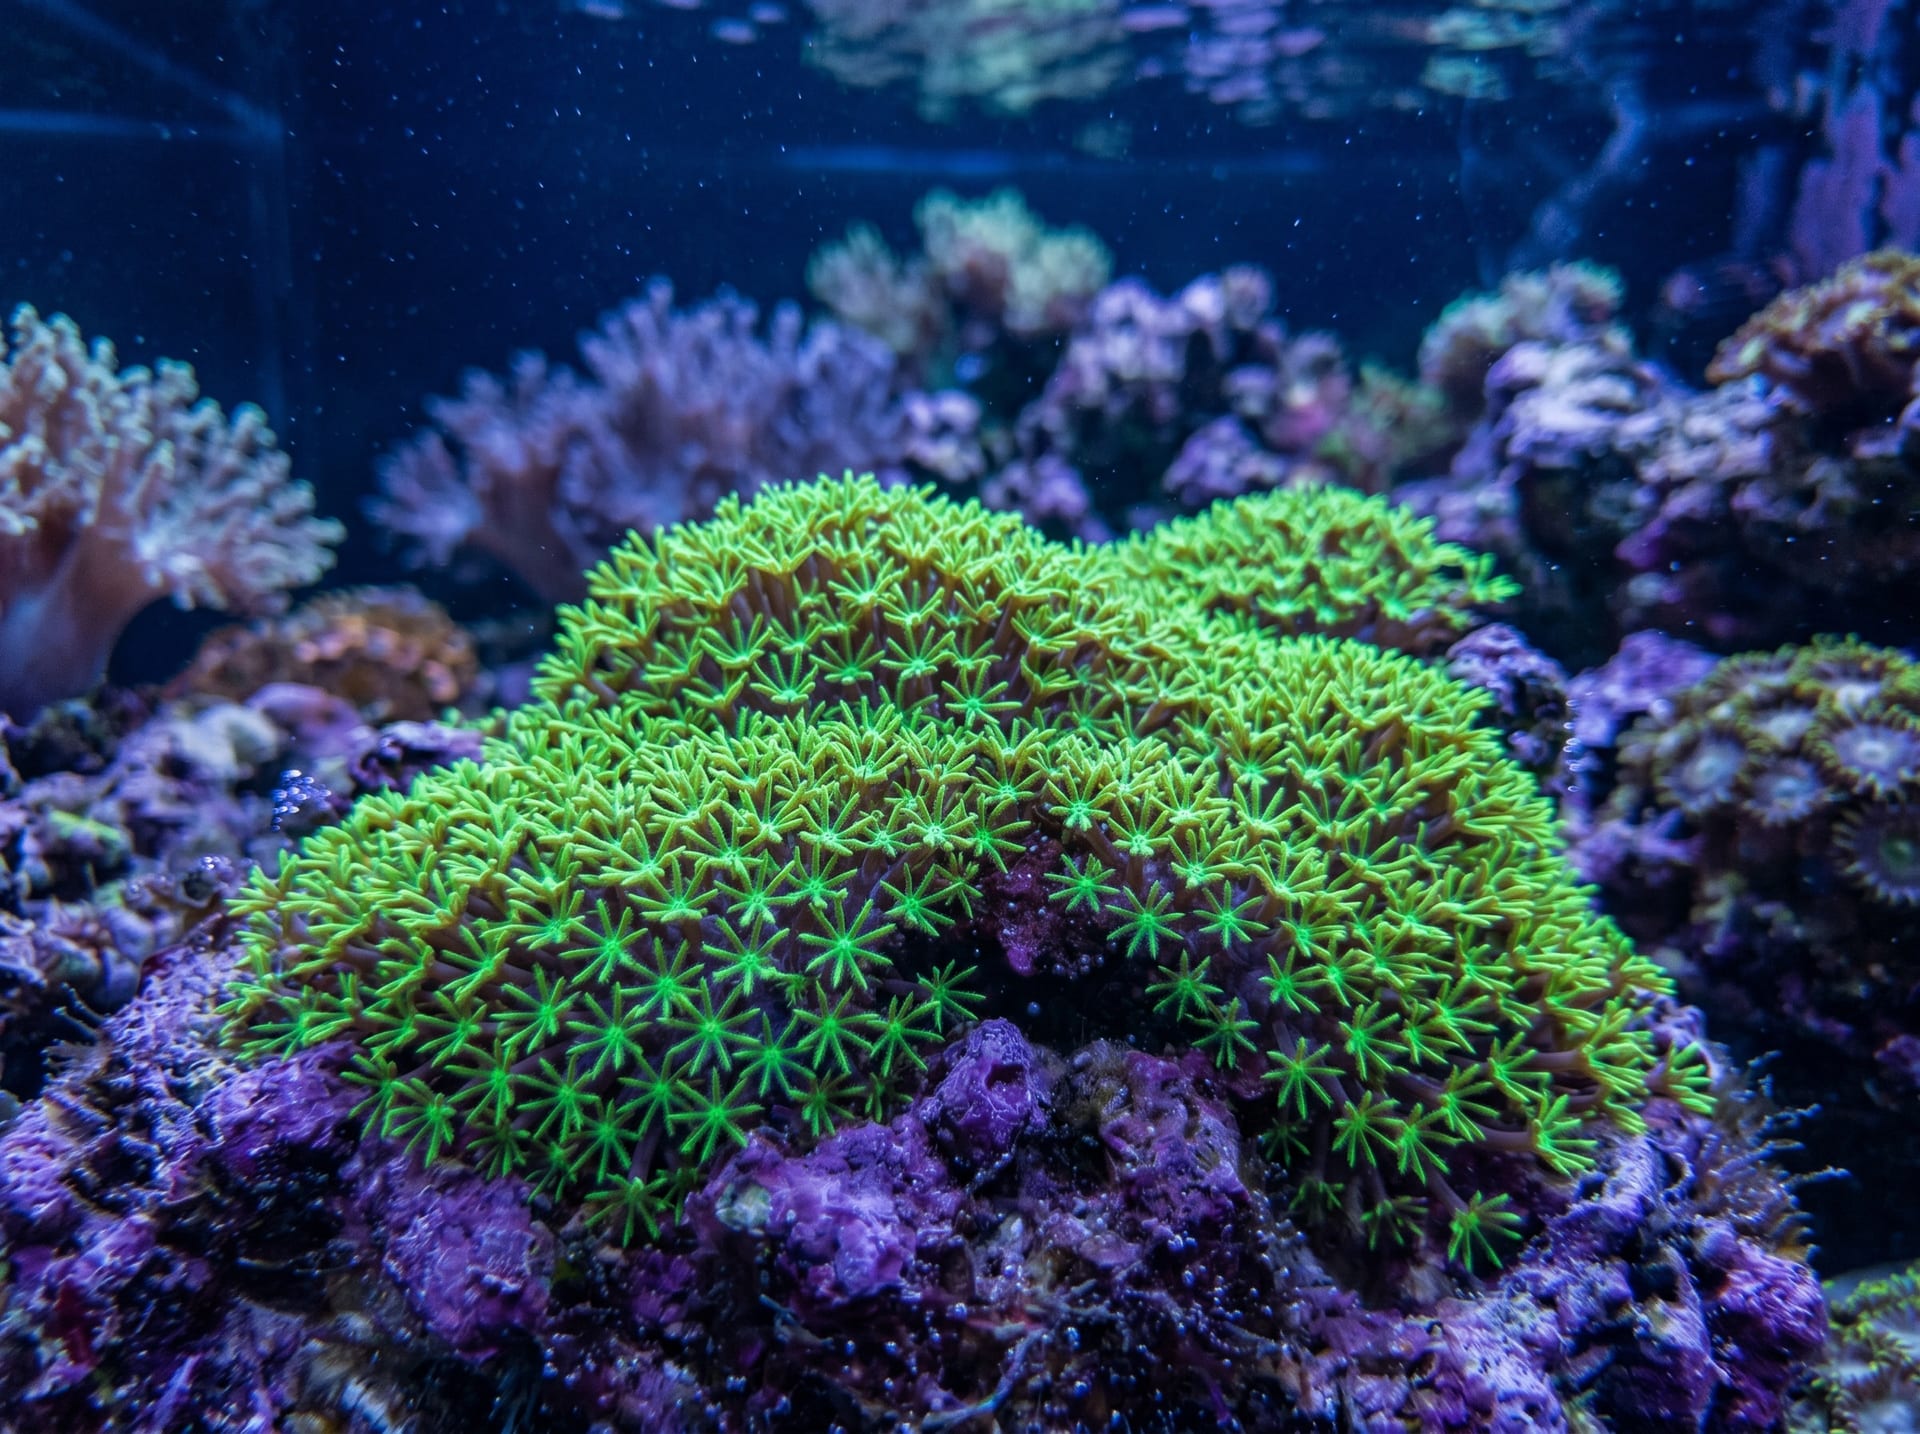
Now comes the exciting part: introducing corals. Begin with hardy LPS (large polyp stony) corals or soft corals.
Beginner-friendly coral species (starter corals)
Pulsing Xenia (Zoanthus)
Star polyps
Disc corals (Ricordea)
Soft tree corals (Alcyonium species)
See our Top 5 Beginner Corals for more recommendations. Adding large numbers at once causes water chemistry swings and stresses existing livestock. Add 2-3 corals at a time with 1-2 weeks between additions, testing water parameters each time. SPS (small polyp stony) corals and other difficult species are best attempted once your tank has been stable for at least six months.
Step 9: Daily Management for Long-Term Tank Stability
Success in setup is just the beginning—consistent care determines your tank's longevity. Build these routines into your habits.
Frequency
Task
Daily
Check temperature and appearance; remove dead organisms
Weekly
10-15% water change; clean glass
Twice weekly
Test pH, nitrate, calcium, and alkalinity
Monthly
Clean protein skimmer cup; check filter
A healthy coral tank's hallmark is "minimal daily change." Sudden temperature spikes, specific gravity swings, and lighting schedule disruptions stress corals significantly. When you notice anything unusual, start with a water test to identify the cause. For power outage preparedness, see our Coral Tank Power Backup Guide.
BreederDirect's Safety and Peace of Mind
One challenge beginners face is deciding where to source corals. Aquarium shop corals often carry transport stress, sometimes declining shortly after purchase.
BreederDirect lets you buy corals directly from breeders with extensive coral experience. By sharing your tank parameters and environment with the breeder beforehand, you receive specimens selected specifically for your setup. Many breeders offer post-purchase care consultation, providing invaluable support when questions arise during setup.
Start your first coral tank with a trusted breeder connection. As of 2026, BreederDirect features many diverse coral breeders, offering everything from soft corals to SPS species available for direct selection and purchase.