Reef Tank Layout Techniques | How to Arrange Live Rock and Placement Tips
We explain the basic techniques for arranging live rock in reef tanks, placement considering water flow, securing growth space for corals, and utilizing negative space.
Key Takeaways
We explain the basic techniques for arranging live rock in reef tanks, placement considering water flow, securing growth space for corals, and utilizing negative space.
Related Species
Reef tank layout is an important factor that affects not just the aesthetic beauty, but also the health and growth of corals, the efficiency of water flow, and ease of maintenance. The way you arrange live rock can dramatically change the impression of your aquarium and determine where corals can be placed and what water flow patterns will form. In this article, we explain reef tank layout techniques from basics to practical application.
Basic Principles of Layout
The most important principle in reef tank layout is "open structure." Rather than packing live rock like a wall, you achieve greater benefits by being conscious of gaps and open space:
By securing water flow pathways, uniform water circulation is distributed throughout the entire tank. Dead spots (areas where water flow stagnates) accumulate detritus, becoming a breeding ground for cyanobacteria. Ideally, maintain gaps between live rocks large enough to fit 2–3 fingers.
Considering maintenance accessibility, avoid placing live rock directly against the back glass of the tank. If there's about 5 cm of space between the rock and the back, you can use an algae scraper magnet and easily retrieve fallen frags.
It's also important to account for coral growth space. As corals grow over time, plan for their size half a year to a year from now, not their current size. SPS corals in particular grow quickly and can shade neighboring corals by blocking light.
Selecting Live Rock and Preparation
There are three types of live rock used in layouts: natural live rock, cultured live rock, and artificial live rock (ceramic-based).
Natural live rock has high porosity with large surface area, making it ideal for bacterial colonization. However, pests (mantis shrimp, crabs, etc.) may be hiding inside, so curing is necessary before introduction. Place it in a dark location and perform water changes while aerating for 2–4 weeks to remove dead organisms.
Artificial live rock offers the advantage of no pest risk, lightweight construction, and easy customization. In recent years, high-quality ceramic and cement-based products have increased in availability, with many now featuring porous structures comparable to natural live rock. Since they're new, no bacteria are initially present, but bacteria will naturally colonize within a few months in the aquarium.
Rock Arrangement Techniques
Stable base rock placement forms the foundation of layout. Position the largest and heaviest rock on the bottom to support the entire structure. If placing directly on the glass bottom, spread weight by laying a thin acrylic sheet or eggcrate beneath it.
Island-style layout is the current trend. This style features a single island-like structure in the center of the tank, with water flow approaching from all sides and corals positioned across the entire display. With open space on either side, maintenance is easy. This style is ideal for 60–90 cm tanks.
Twin-peak style is suited for larger tanks 120 cm and above. Create two mountains of different heights on left and right with a depression in the center. Keeping the golden ratio in mind (tall mountain : short mountain = 1.6:1) creates natural and beautiful balance.
Adhesion and fixation uses aquarium-grade underwater adhesive or epoxy putty. Firmly fixing live rock pieces prevents collapse from earthquakes or impacts from large fish. The "armature method," where ABS resin rods are inserted between rocks to create a skeleton, is also recommended for its high stability.
Placement with Light Intensity Zones in Mind
Varying the height of live rocks creates a natural gradient of light intensity throughout the tank. For detailed settings, also refer to the Coral Tank LED Light Schedule Optimization Guide.
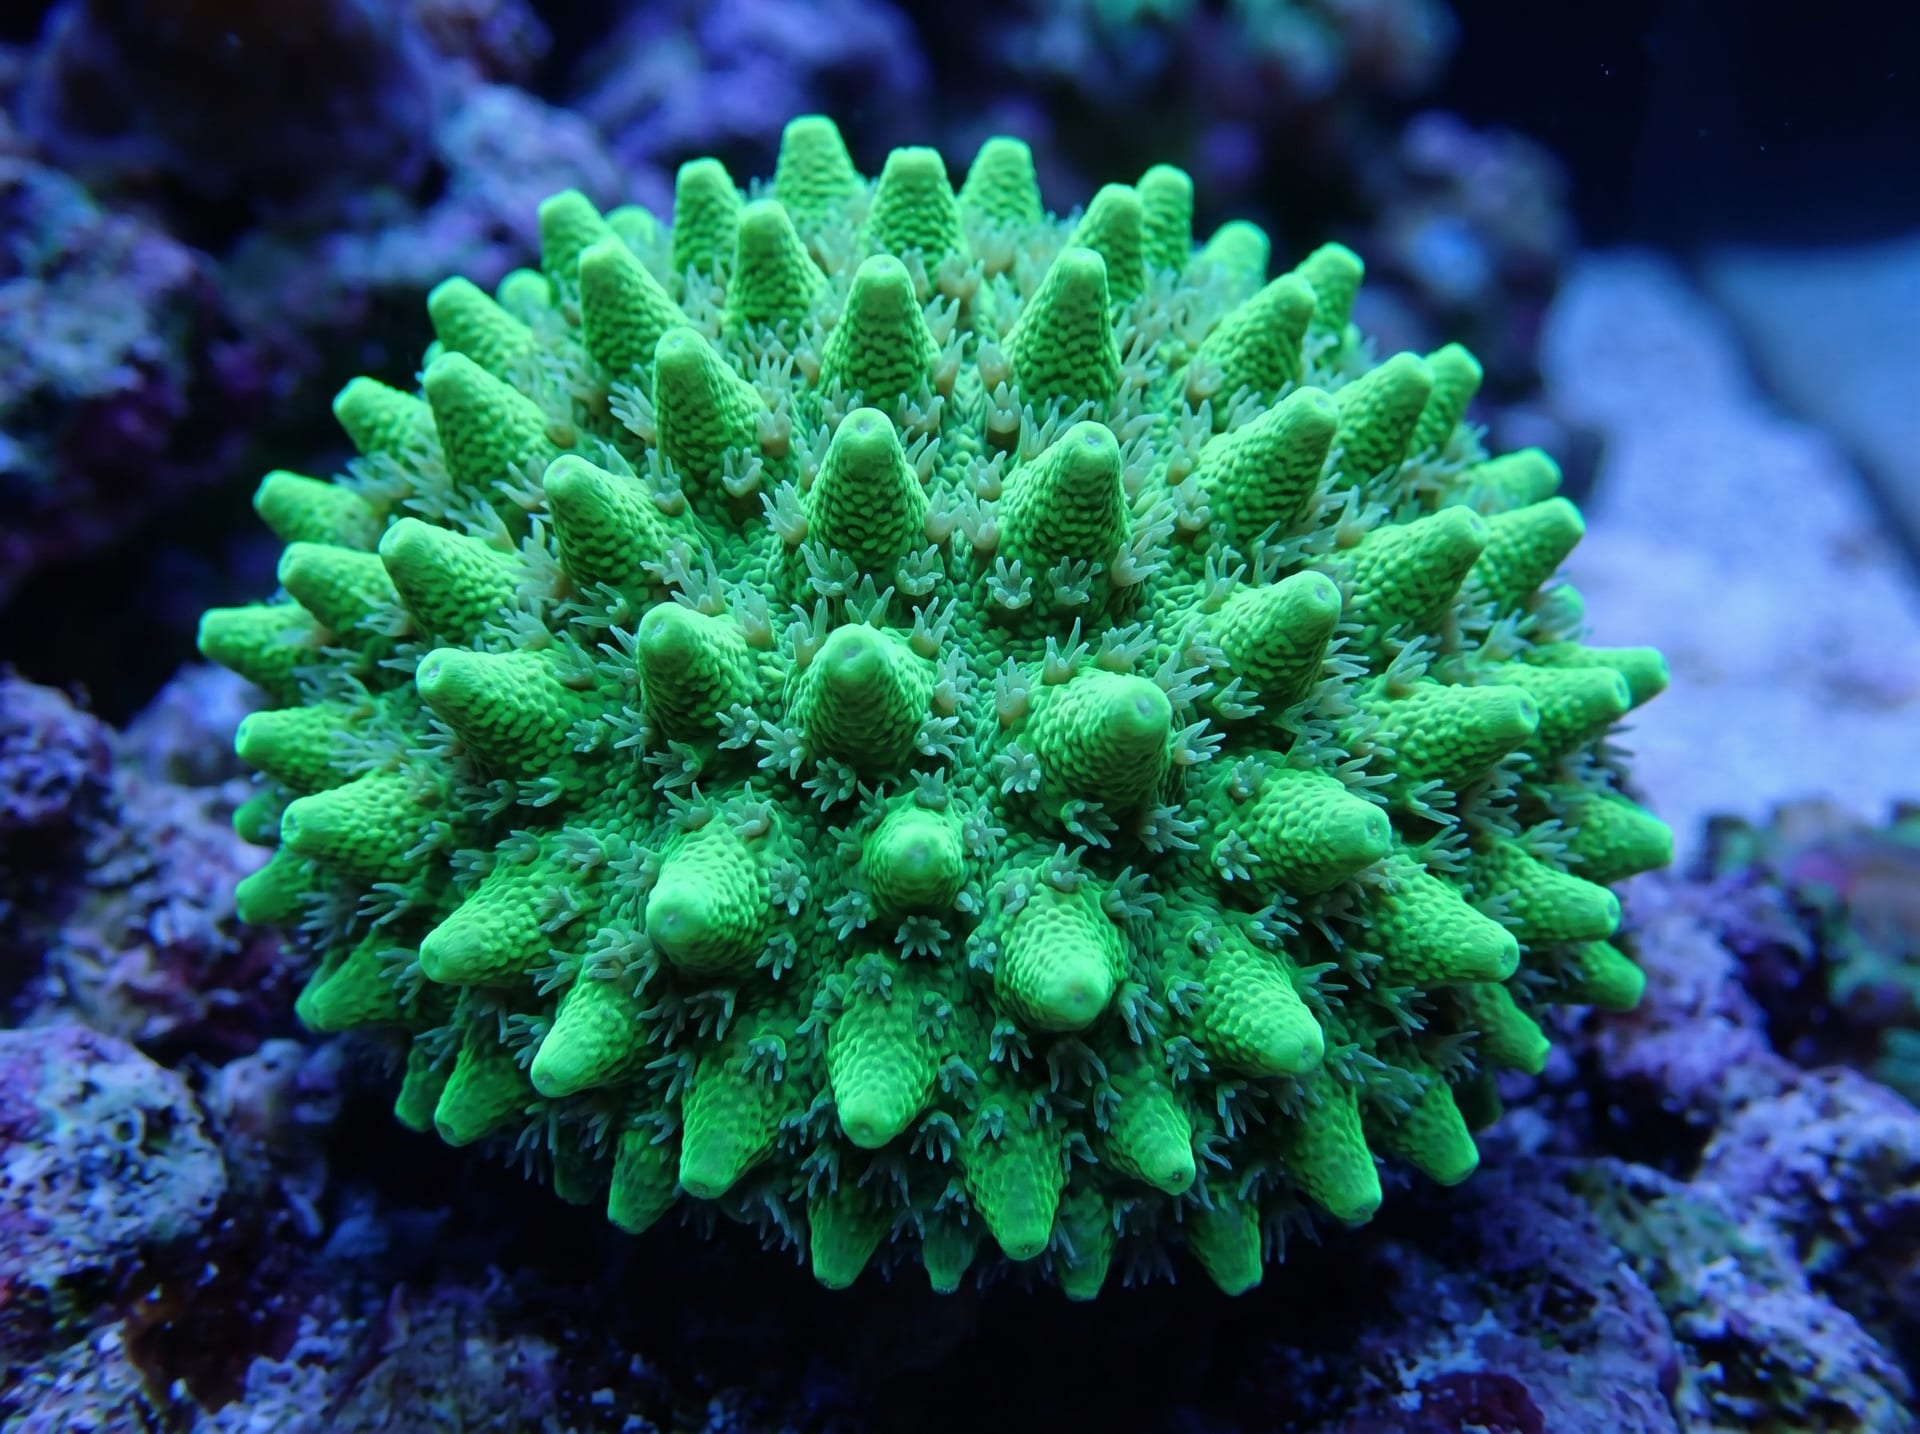
Upper level (high light zone) is where you place SPS corals (Acropora, common corals, etc.). Closer to the water surface means higher PAR values, optimal for SPS growth. The top of live rock is also the most visible spot, so placing vibrant-colored corals here stands out.
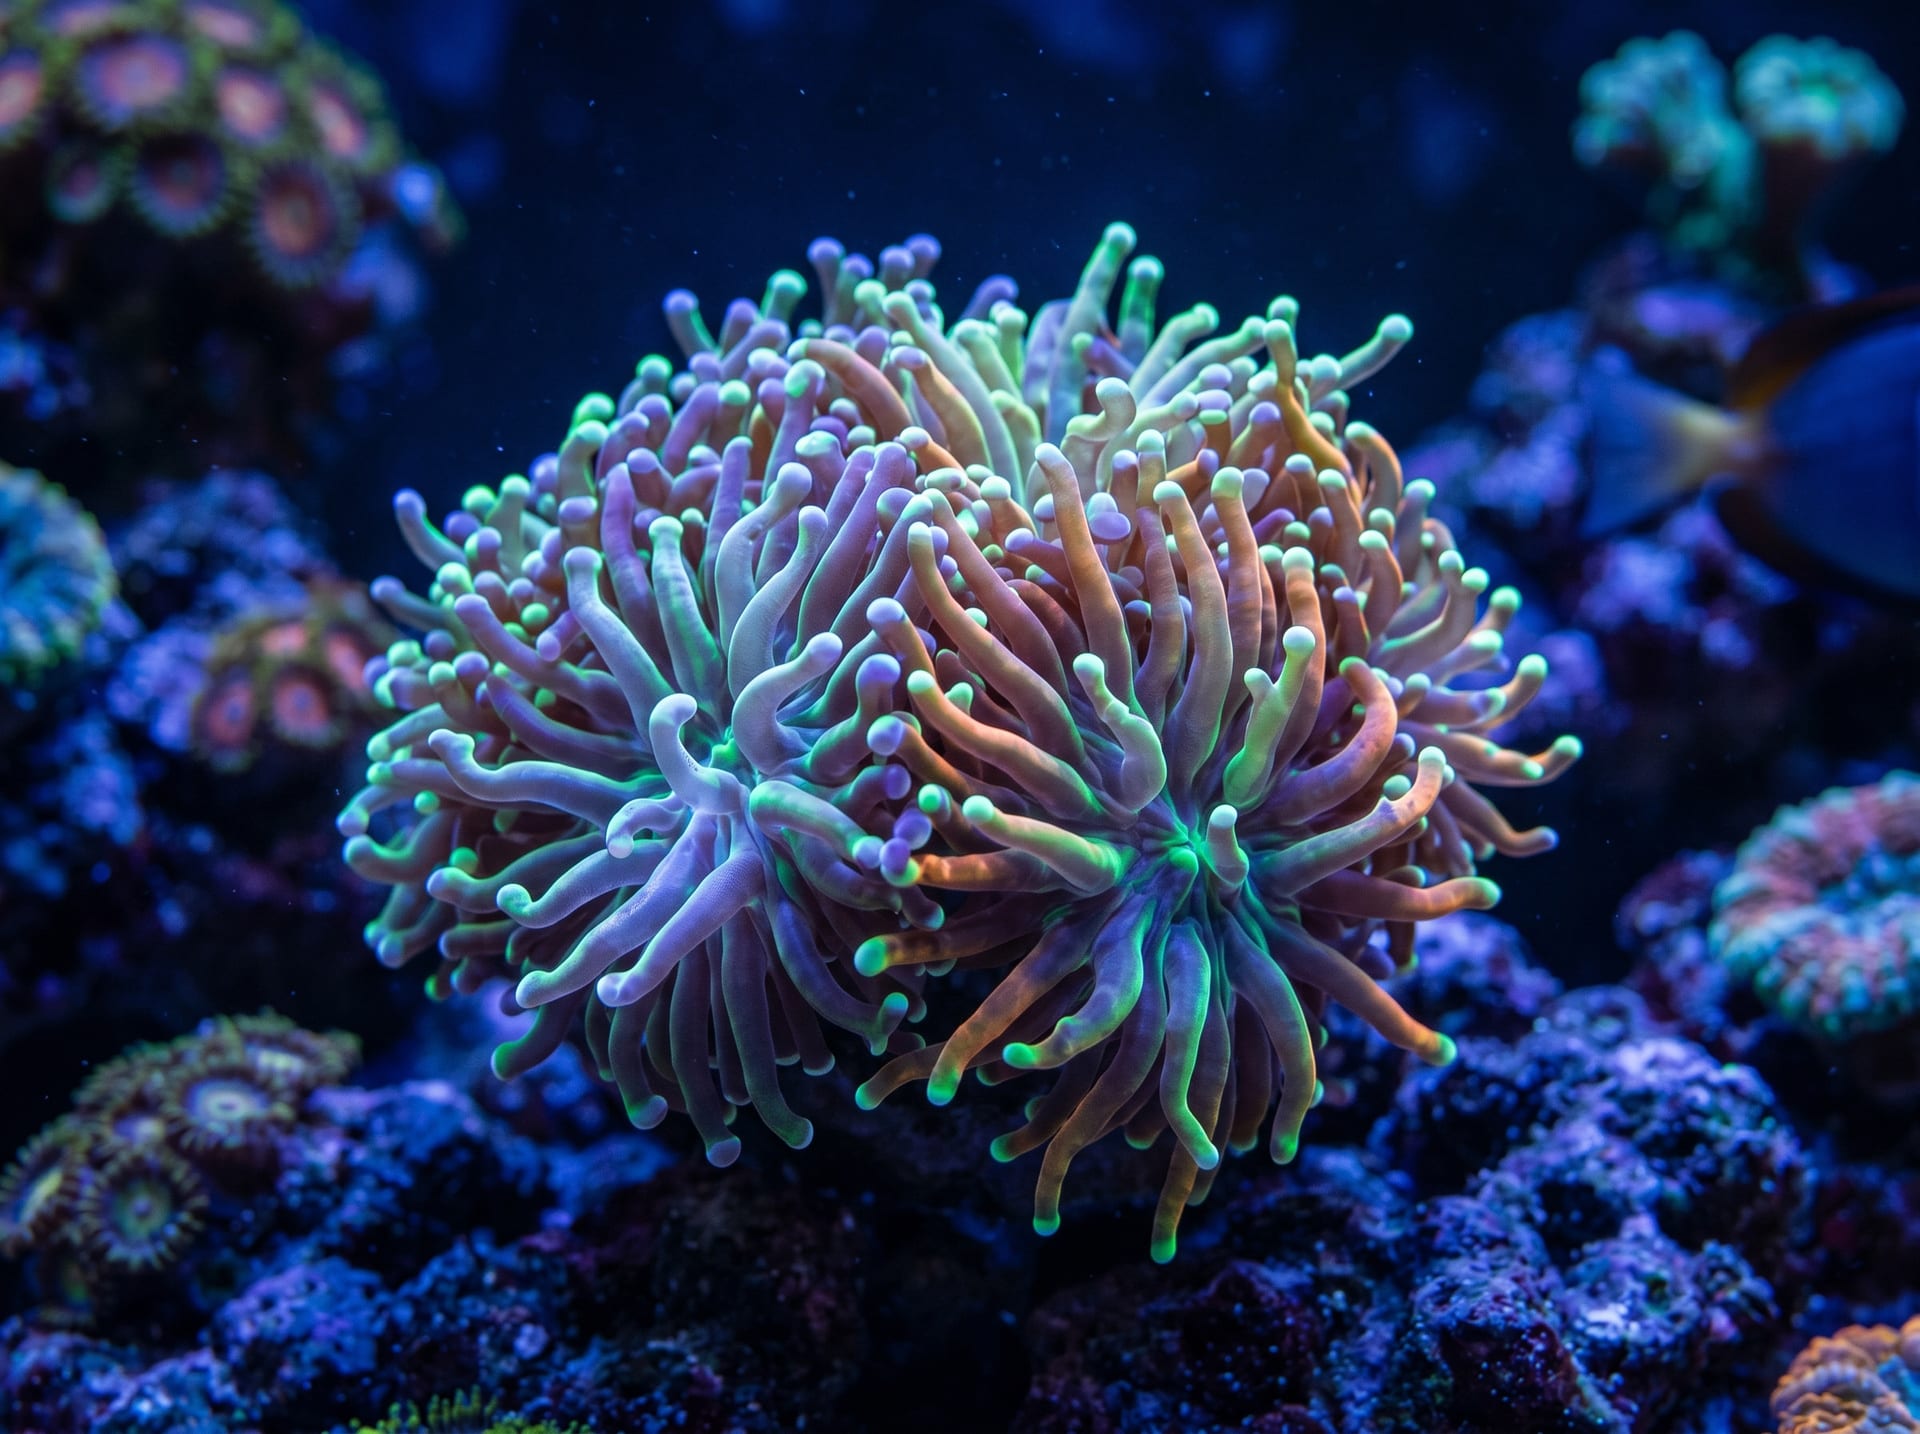
Mid-level (medium light zone) is where you place LPS corals (flowing tentacle corals, branching corals, etc.). While receiving direct light, the intensity is weaker than the upper level, providing an ideal environment for LPS.
Lower level (low light zone) is where you place soft corals (zoanthids, disc corals, etc.). Areas in the shadow of live rock or near the substrate have low light, but it's sufficient for these corals.
Utilizing Negative Space
Negative space (empty areas) greatly influences the completeness of your layout. Beginners tend to pack live rock to the limit, but the professional rule is to leave 30–40% of the tank area as open space.
Open space creates visual break-through, giving the layout depth. It also provides swimming space for fish and improves water circulation. Additionally, as corals grow in the future, this space accommodates their expansion, maintaining a beautiful layout long-term.
Long-term Layout Maintenance
Maintaining a beautiful layout requires regular maintenance. Detritus tends to accumulate in gaps between live rocks, so once a month blow debris away using a turkey baster or powerhead. As corals grow, adjacent corals may begin to contact each other. If sweeper tentacle attacks are observed, quickly adjust coral positions or control growth by fragging.
Over time, coralline algae spreads across live rock surfaces in beautiful purple and pink colors, but it can also accumulate on the glass and obstruct visibility. Glass-surface coralline algae can be removed with an algae scraper magnet or stainless steel blade. When making layout changes, avoid drastic adjustments all at once to minimize stress on existing corals—gradual adjustments are best.
Layout Procedure for Beginners
When beginners set up a layout, first dry-fit the live rocks without water in the tank to check overall balance. Take photos from multiple angles with a smartphone to verify the height difference and depth when viewing the tank from the front. The ratio between high and low areas should be 6:4 to 7:3 for beauty. Once the rock structure is stable, fix rocks together with epoxy putty or aquarium-grade adhesive to prevent collapse from earthquakes.
Find Corals That Stand Out in Your Layout at BreederDirect
Once your layout is decided, position corals suitable for each zone. At BreederDirect, you can purchase directly from coral breeders, and if you tell them the light and flow conditions of your placement locations, they'll suggest the perfect coral for you. Experience the joy of creating your own beautiful reef tank.