How to Set Up a Saltwater Fish Tank | 7 Fail-Proof Steps
A beginner-friendly explanation of how to set up a saltwater fish tank in 7 steps, from equipment installation and live rock placement to establishing the nitrogen cycle and introducing test fish—a fail-proof procedure.
Key Takeaways
A beginner-friendly explanation of how to set up a saltwater fish tank in 7 steps, from equipment installation and live rock placement to establishing the nitrogen cycle and introducing test fish—a fail-proof procedure.
Related Species
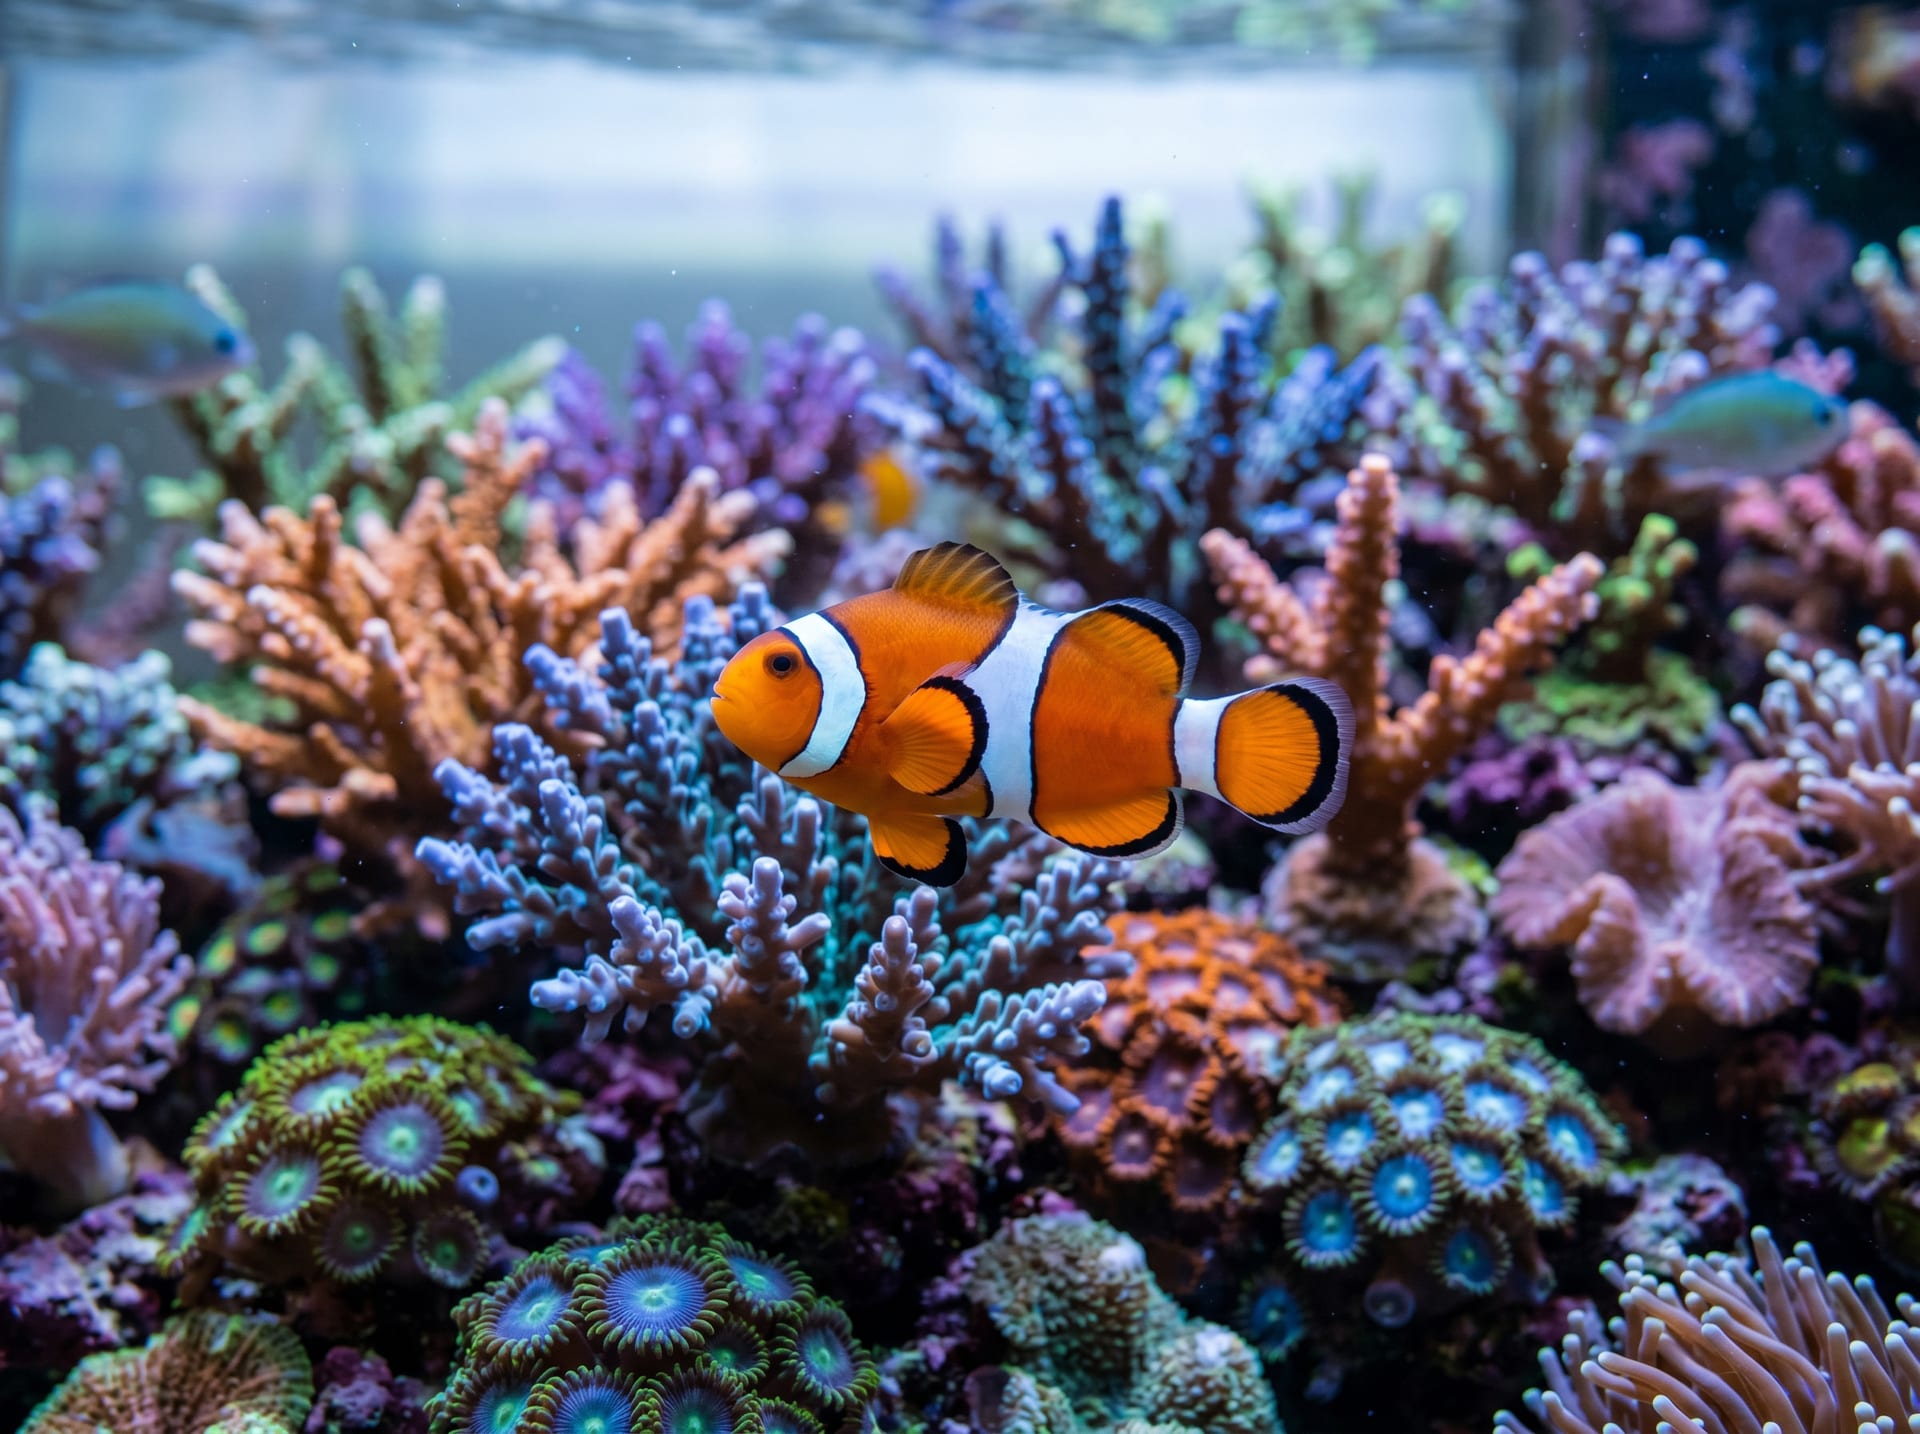
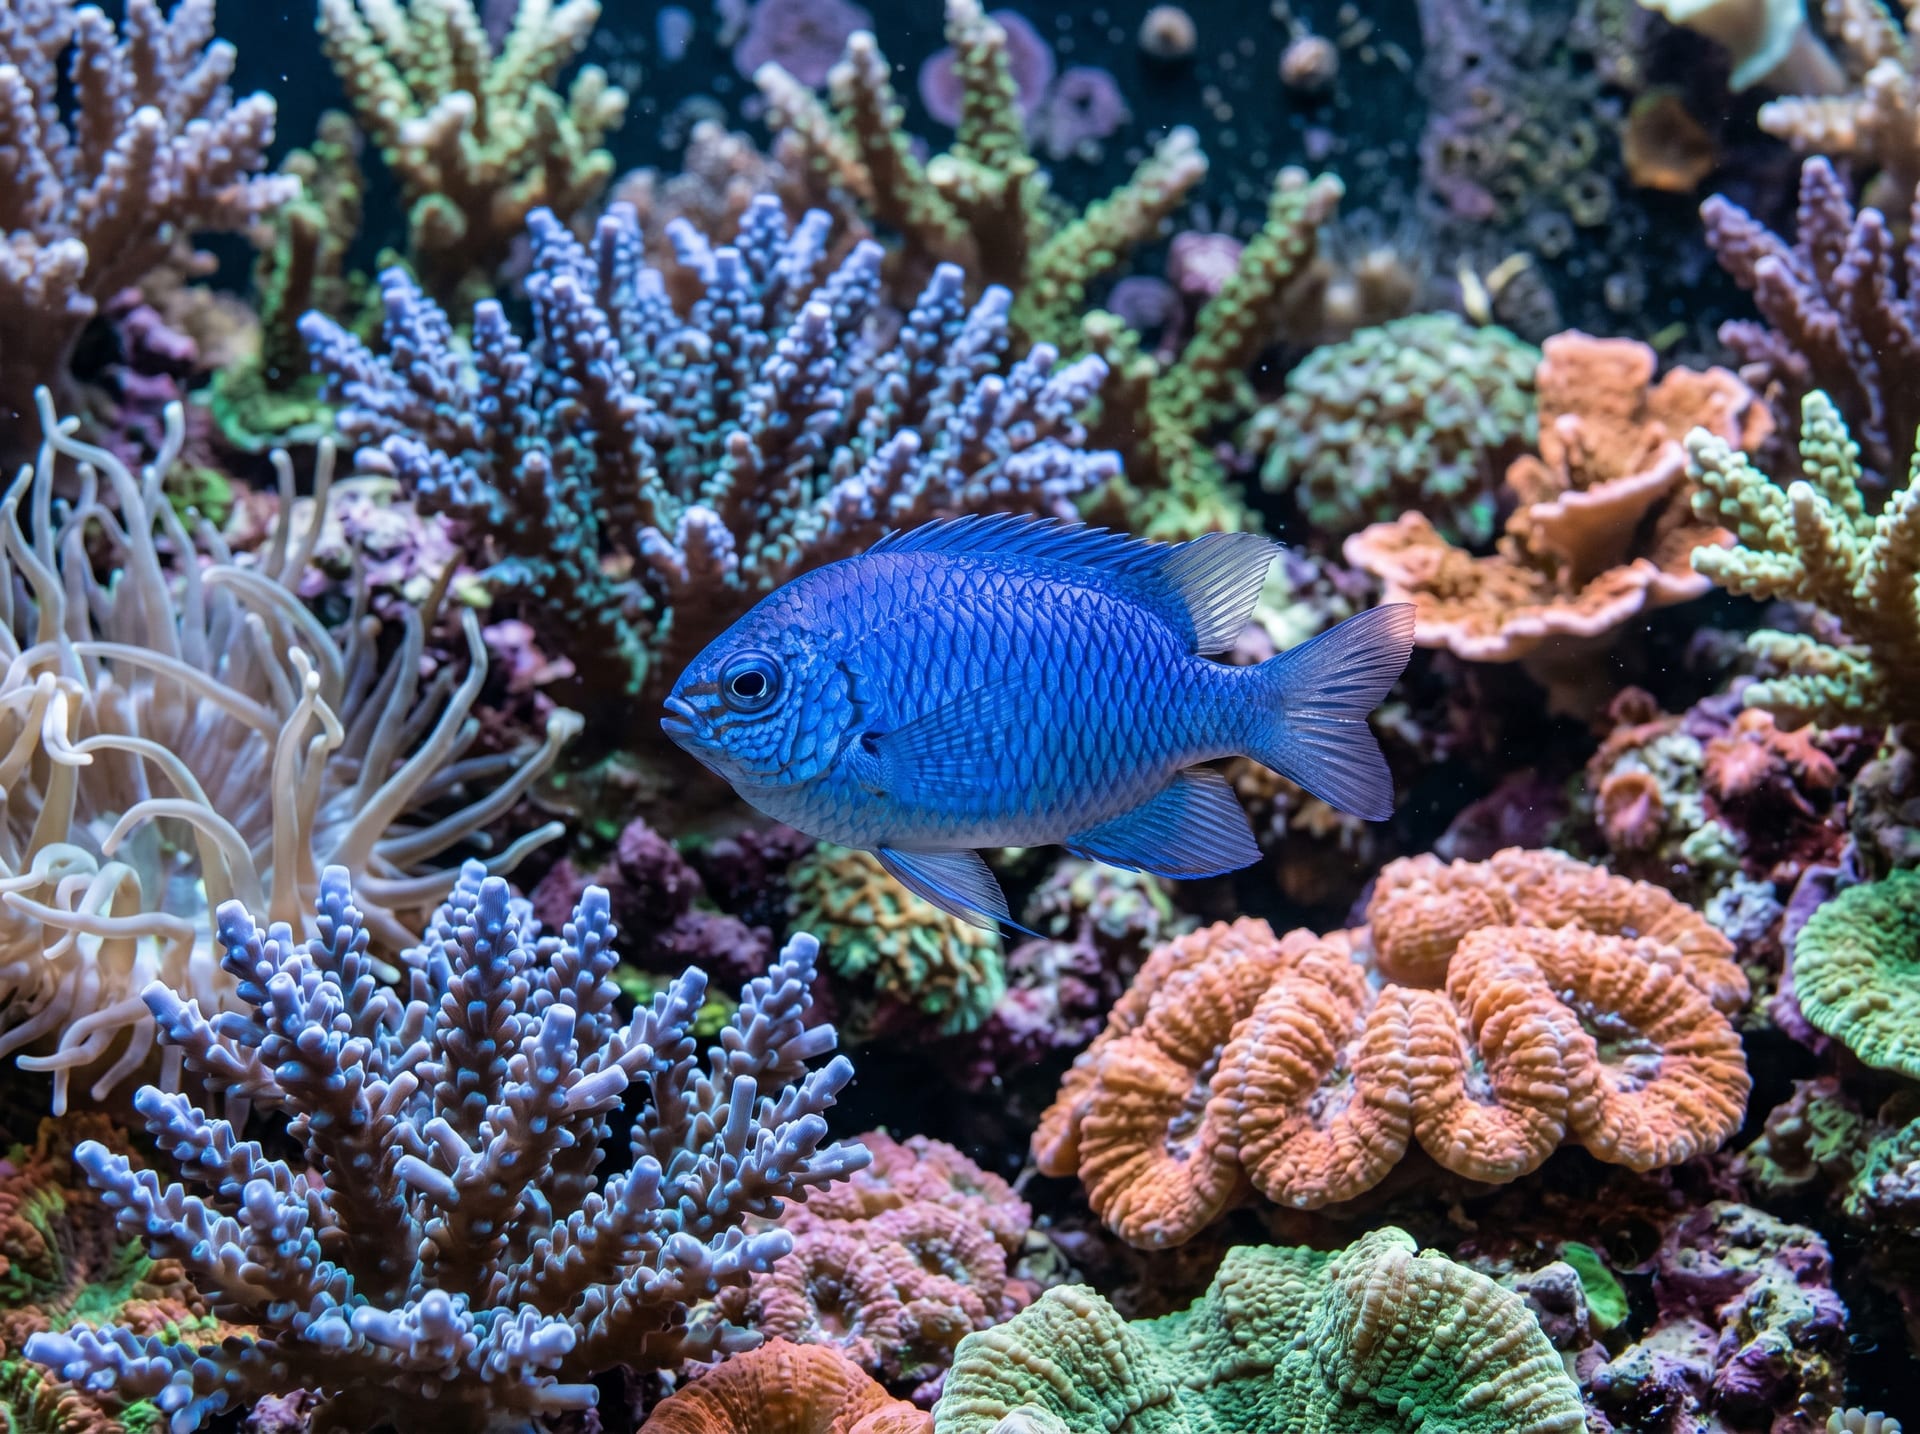
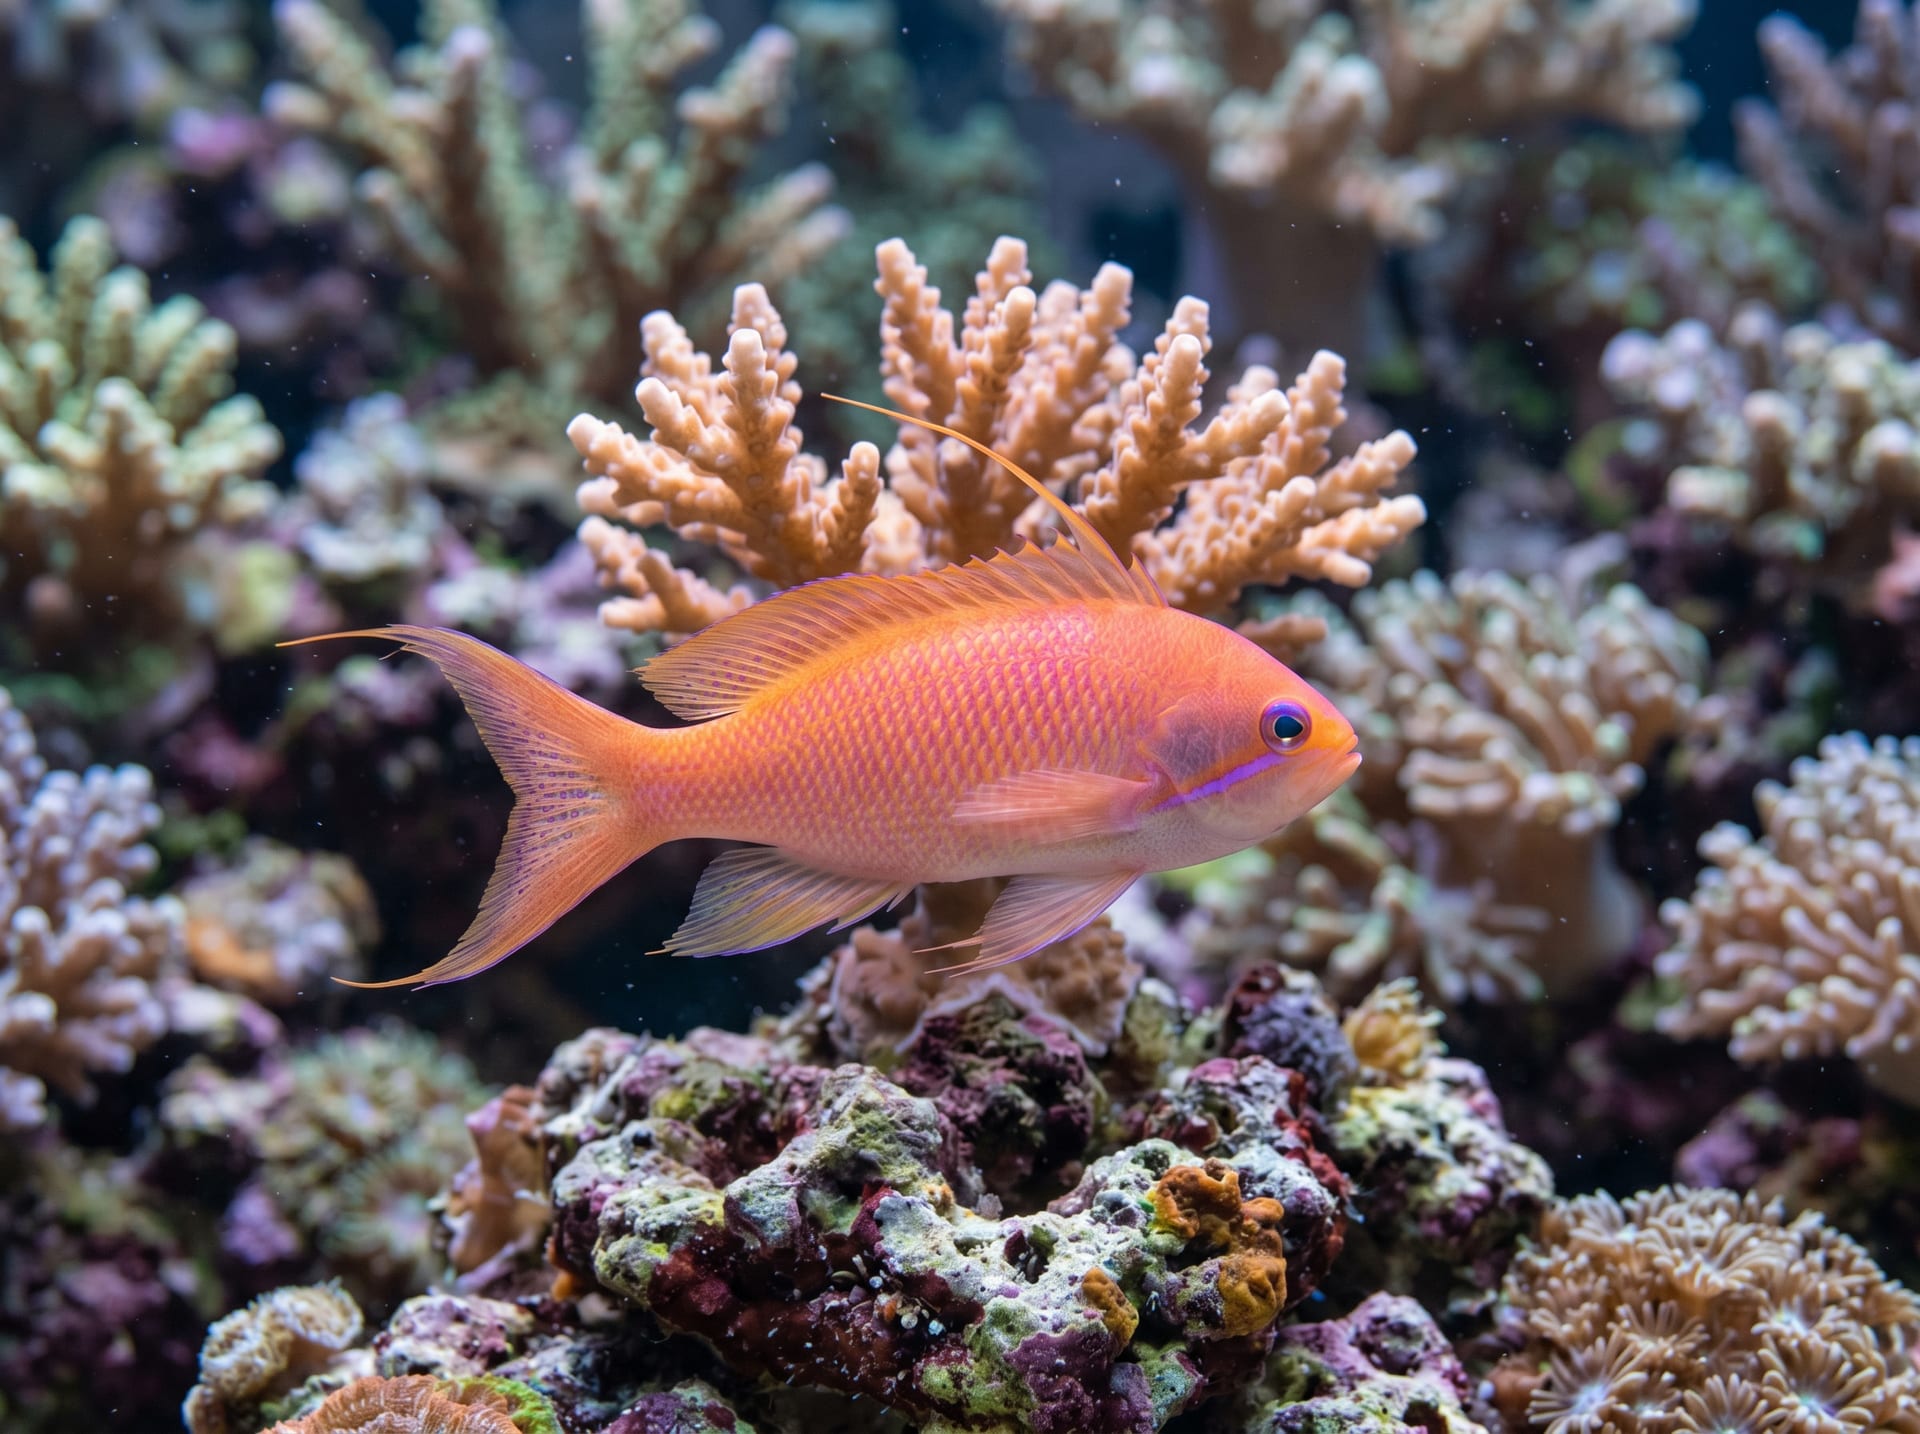
When you decide to start keeping saltwater fish, the first obstacle you'll face is "setting up the tank." While saltwater fish keeping is said to be more challenging than freshwater, much of that difficulty stems from mistakes made during the initial setup phase. Conversely, if you follow the correct procedure and set up your tank carefully, you can enjoy beautiful saltwater fish like clownfish and anthias for years to come.
This article provides a detailed explanation of the 7 steps for setting up a saltwater tank, designed for those keeping marine fish for the first time. Take your time and work through each step carefully. For information about necessary equipment, please also see Essential Equipment for Saltwater Fish Keeping.
Steps 1–2: Equipment Installation and Live Rock Placement
Choosing a Location and Tank
Choose a location for your tank that receives no direct sunlight, has a level floor, and can support the weight. A full tank weighs approximately 1 kg per liter of water. Even a 60 cm tank (about 60 liters) will weigh close to 60 kg with water alone, so always use a dedicated aquarium stand. Regular furniture cannot support this weight and risks collapse.
For beginners, a 60–90 cm tank is the easiest to manage. Smaller tanks have less water volume, making water quality more prone to sudden changes, which actually increases the difficulty.
Live Rock as the Foundation of Keeping
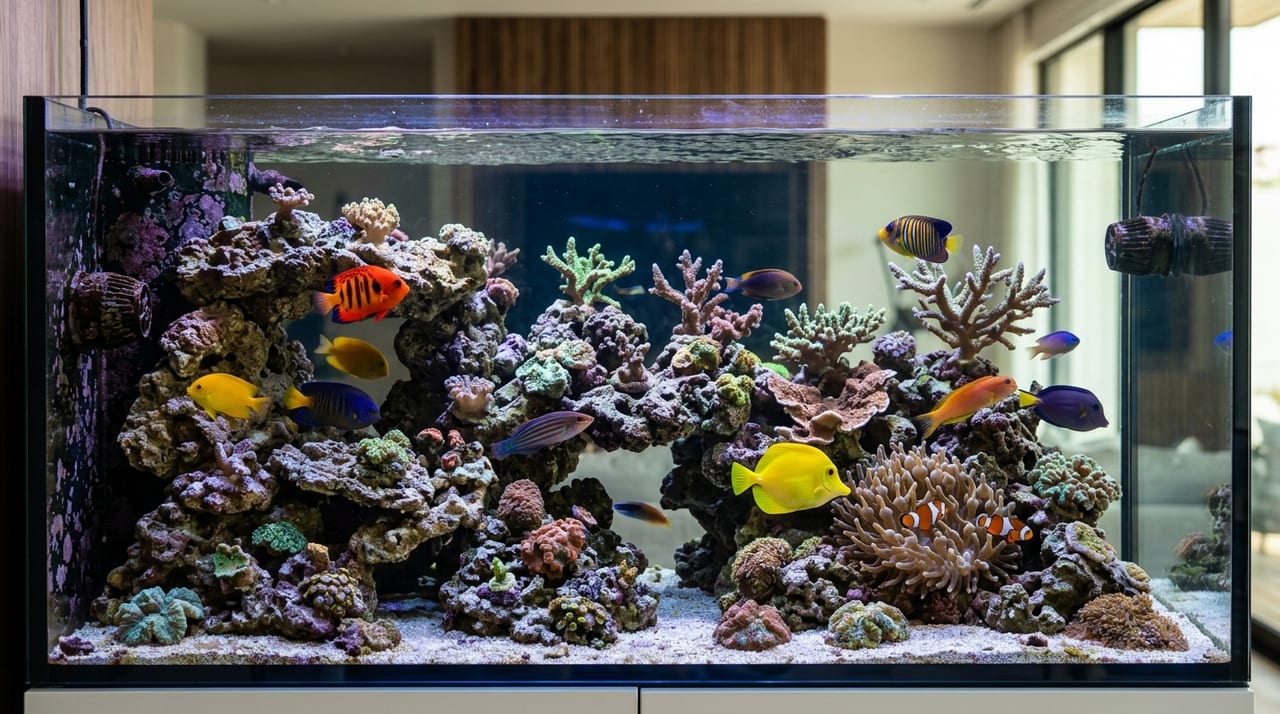
Live rock consists of coral skeletons or rocks covered with countless microorganisms and bacteria. It's not merely a decorative element—it's a crucial component for biological filtration. Its porous structure provides a home for beneficial bacteria and helps establish the nitrogen cycle, which we'll discuss later.
When placing rocks, create gaps between them so water flow reaches throughout the tank. Creating overhangs (ledge-like protrusions) gives fish hiding spots and creates a more natural environment where they experience less stress. Placing rock directly on the tank bottom makes cleaning difficult, so consider using small stones or plastic support materials as bases.
Steps 3–4: Making Artificial Saltwater and Starting Equipment
The Correct Way to Make Artificial Saltwater
Tap water cannot be used directly. Since chlorine is harmful to fish and bacteria, either neutralize it with a dechlorinator or use RO water (pure water filtered through reverse osmosis). If you plan to add corals or delicate specimens, RO water is strongly recommended.
When dissolving artificial sea salt into water, follow the manufacturer's recommended amount and check the specific gravity with a hydrometer. The proper specific gravity is 1.023–1.025. Both overly concentrated and overly dilute water stress livestock. Since specific gravity values change with water temperature, always stabilize temperature before measuring.
Essential Equipment List
| Equipment | Role |
|---|---|
| External Filter / Sump | Mechanical and biological filtration |
| Protein Skimmer | Organic compound removal (essential for saltwater keeping) |
| Circulation Pump | Creates water flow throughout the tank, supplies oxygen, prevents stagnation |
| Heater & Thermostat | Maintains water temperature at 24–26°C |
| Lighting | Viewing and maintaining livestock circadian rhythms (essential for corals) |
| Hydrometer / Salinity Meter | Monitors salt concentration |
| Water Test Kit | Measures ammonia, nitrite, nitrate, and pH |
Once all equipment is running, check for 24 hours for unusual sounds or water leaks before proceeding to the next step.
Step 5: The Critical Process – Establishing the Nitrogen Cycle
Why Wait 2–4 Weeks?
The most common mistake in tank setup is skipping or rushing this step. The nitrogen cycle is the natural process where bacteria break down ammonia (from fish waste and uneaten food) into nitrite, which is then converted by another type of bacteria into nitrate—a relatively less toxic form.
In a tank where this cycle hasn't been established, ammonia and nitrite accumulate, and fish die within a short time. Many accounts of "all my fish died the day after I added them" stem from this failure.
Checking if the Cycle Has Established
At the start of setup, introduce an ammonia source (a small amount of food, commercial bacteria starter, etc.) and test water quality daily.
- Ammonia rises → peaks and then declines
- Nitrite rises → peaks and then declines
- Nitrate begins to be detected
Once you see this sequence and both ammonia and nitrite reach values close to 0, the nitrogen cycle has been established. Don't rush—use test kits to verify the numbers before proceeding.
Steps 6–7: Introducing Livestock and Completing the Tank
Start with 1–2 Test Fish
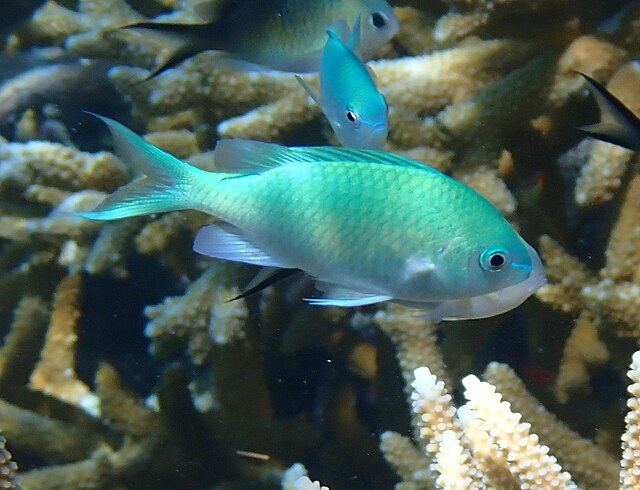
Once water quality has stabilized, it's time to introduce livestock. Choose your first fish from hardy species that adapt well to environmental changes. A classic choice is the green chromis, which is affordable and brings vibrancy to the tank with its schooling behavior.
Never add fish directly to the tank. Always perform acclimation. Float the unopened bag in the tank to equalize temperature, then gradually add tank water to the bag over time. Slowly acclimate the fish to the new water quality over approximately 30–60 minutes. For detailed acclimation procedures, see Saltwater Fish Acclimation Methods and Precautions.
Add Gradually and Patiently
Once your test fish have thrived for 1–2 weeks, you can add the next specimen. The basic rule is don't add too many at once. Introducing many fish at once generates ammonia faster than bacteria can process, causing water quality to destabilize rapidly. Add individuals at 1–2 week intervals to gradually increase the population.
Pay attention to fish compatibility as well. Territorial or aggressive species may bully newcomers even if added later. Planning the order of introduction in advance helps avoid conflict. For details on each fish species, see Saltwater Fish Encyclopedia | Characteristics and Care of Popular Species.
Breedoku's Safe and Reliable System
The initial challenge of saltwater keeping isn't just setting up the tank. "Where and what individuals should I buy?" is another worry for beginners.
Saltwater fish sold at home centers and pet shops often carry high risks of transport stress and disease. Additionally, many retailers lack knowledgeable staff to answer detailed care questions.
Breedoku lets you purchase saltwater fish directly from breeders who specialize in breeding and raising them. Captive-bred specimens adapt to environmental changes better than wild-caught individuals and are easier to keep.
Furthermore, Breedoku allows you to message breeders directly, so you can ask specific questions like "What water conditions does this species prefer?" or "How compatible is it with other species?" Being able to ask experienced breeders about concerns during setup provides significant peace of mind for beginners.
As of 2026, domestic captive-bred saltwater fish are increasing in circulation. Find a trustworthy breeder on Breedoku and build your ideal saltwater tank together.