Live Food Culture Guide | How to Raise Brine Shrimp, Daphnia, and Paramecium | ブリちょく
Tropical Fish| ✍️ BreederDirect Editorial
Live Food Culture Guide | How to Raise Brine Shrimp, Daphnia, and Paramecium
Learn how to culture live foods used in tropical fish keeping. We introduce the culture procedures for brine shrimp, daphnia, and paramecium.
Key Takeaways
Learn how to culture live foods used in tropical fish keeping. We introduce the culture procedures for brine shrimp, daphnia, and paramecium.
Live Food Culture Guide | How to Raise Brine Shrimp, Daphnia, and Paramecium
Live food is indispensable for rearing fry and promoting breeding. Unlike commercial artificial feed, providing live food stimulates the fish's appetite strongly and significantly increases growth and survival rates. Especially for newly hatched fry, whose mouths are extremely small and often respond only to moving food, a reliable supply of live food is key to breeding success.
In this article, we'll explain in detail four types of live foods that can be easily cultured at home—brine shrimp, daphnia, paramecium, and micro worms—covering everything from necessary equipment to specific procedures and tips to avoid failure.
✍️
BreederDirect Editorial
The BreederDirect editorial team specializes in care information for animals, covering veterinary care and breeding to deliver beginner-friendly guides.
Find Tropical Fish on BreederDirect
Buy directly from verified breeders
Browse Related Listings
Find Tropical Fish listings related to this article on BreederDirect. Buy directly from verified breeders.
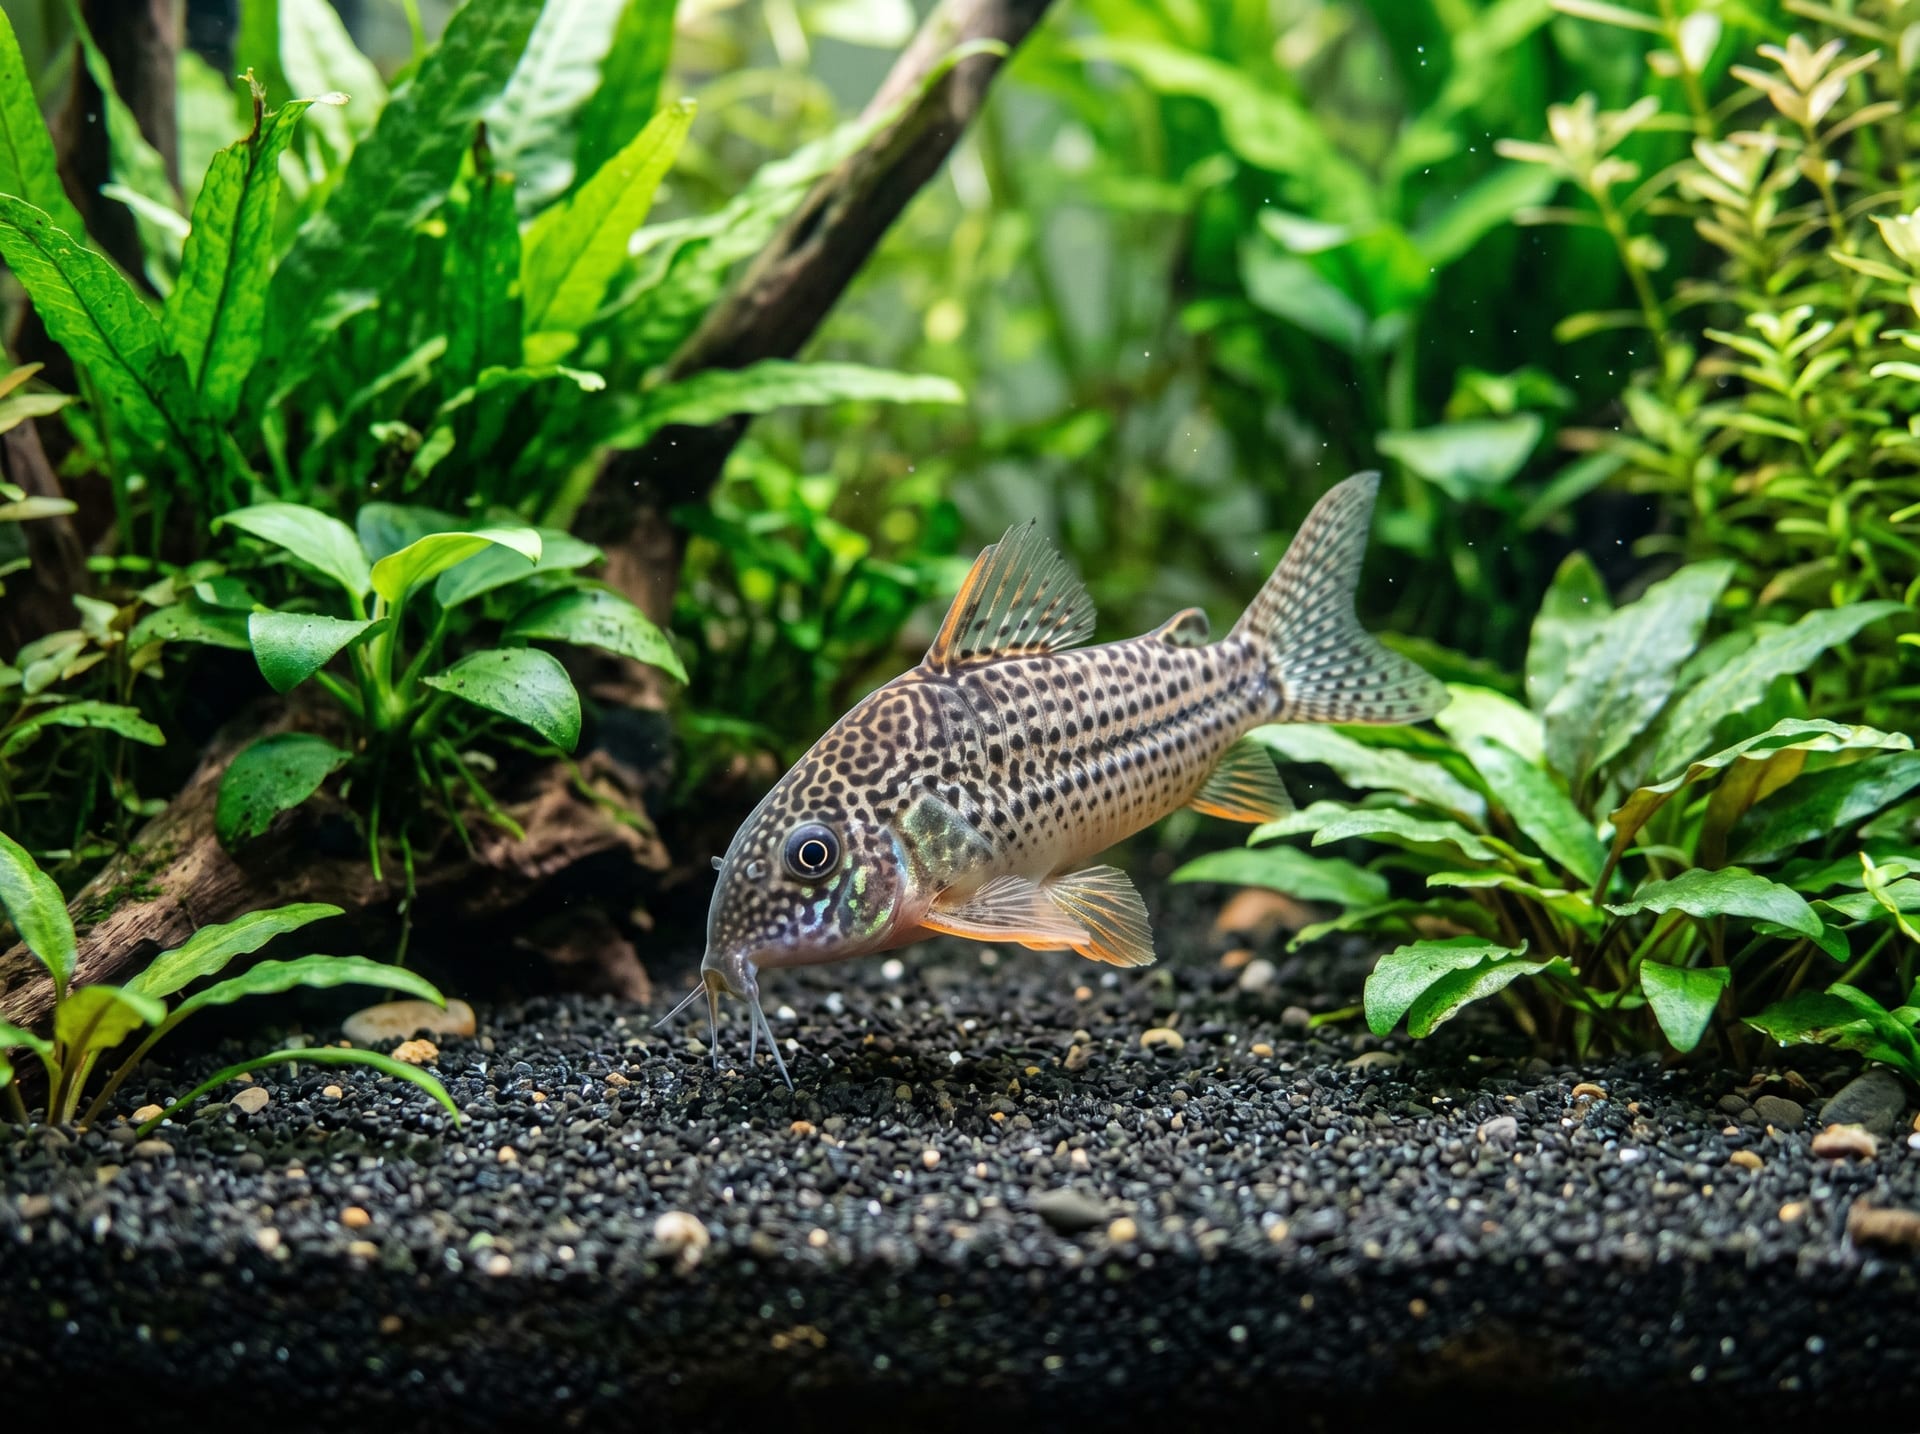
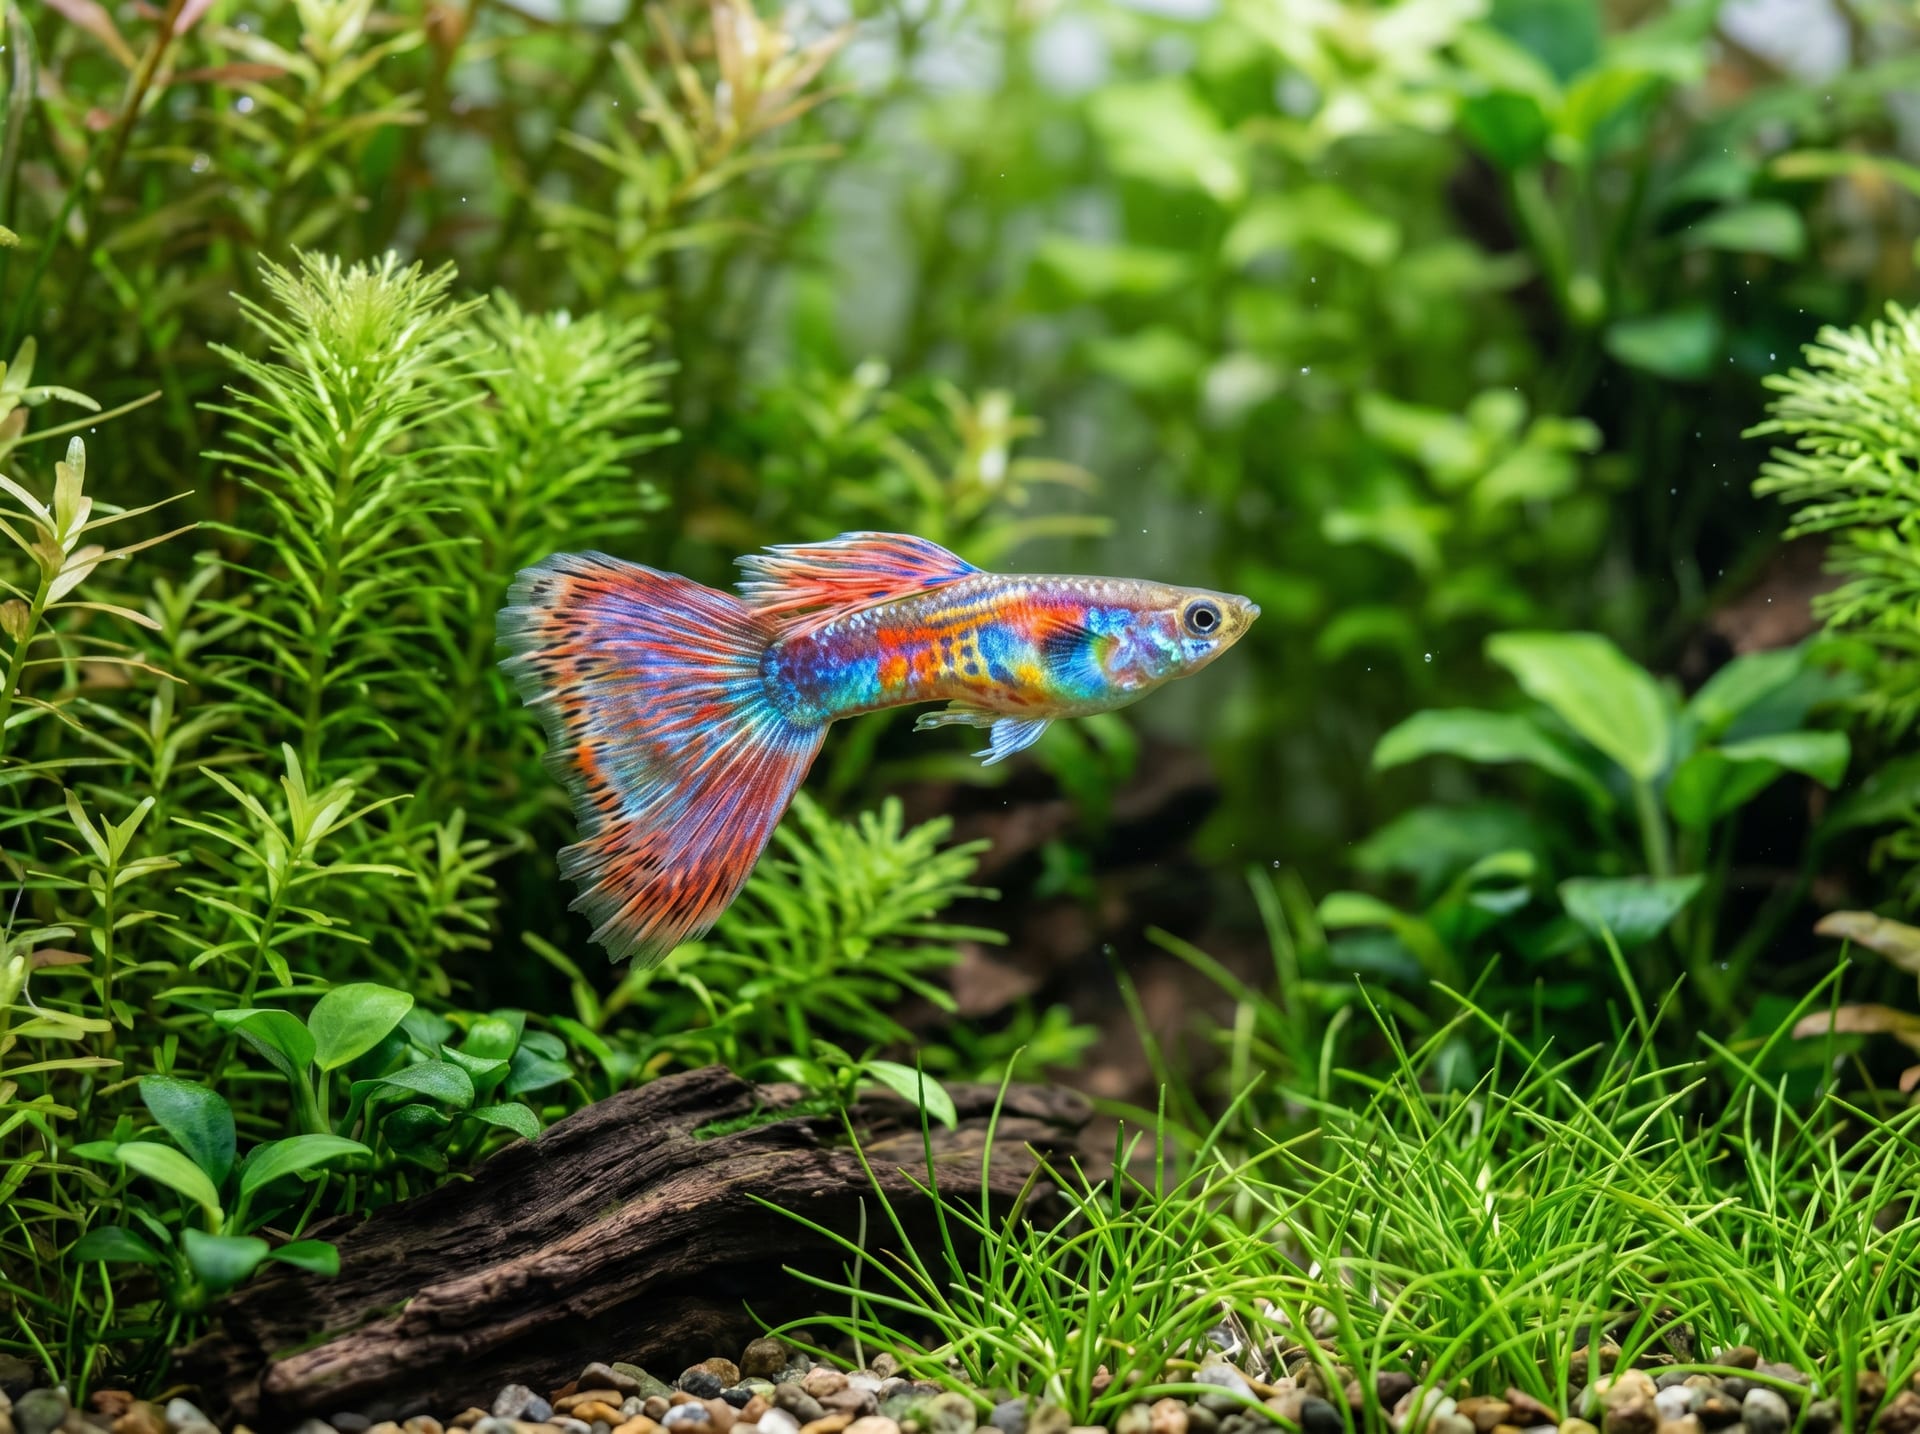
Brine shrimp (Artemia) is the most widely used live food for rearing tropical fish fry. Newly hatched larvae (nauplii) are about 0.4mm in size, making them ideal as initial food for many fry species, including guppies and corydoras.
What You'll Need
Brine shrimp eggs (dried)
Salt (coarse salt is fine)
A 500ml plastic bottle or commercial incubator
Air pump + air stone
Hatching Procedure
Dissolve 15g of salt (approximately 3% salinity) in 500ml of water
Add about one earspoon (approximately 0.5g) of brine shrimp eggs
Aerate strongly with an air pump and let sit for 24–48 hours (water temperature should be around 25–28°C)
Once hatching is confirmed, stop aeration and direct a light source (such as a flashlight) from below the container
The larvae will gather toward the light (phototaxis), so suck them up with a dropper, rinse away the salt water with a tea strainer, and then feed them to your fish
Tips for Stable Supply
To maximize hatching rates, a water temperature of around 28°C is ideal. Lower temperatures result in longer hatching times and reduced hatch rates. Additionally, adopting a "rotation culture" by starting a new batch each day ensures a continuous supply of fresh larvae. Since nauplii are most nutritious within 24 hours of hatching, feed them promptly rather than letting them sit for extended periods.
---
Culturing Daphnia
Daphnia is a versatile live food suitable for fish of all sizes, from fry to adults. In particular, the water flea is quick to multiply, has a small body size, and is easy to feed to fry, making it ideal for beginners.
Culture Procedure
Fill a 10–20L container (bucket or plastic storage box) with dechlorinated water
Introduce daphnia (either purchased or those mixed in green water)
Feed them dry yeast (about one earspoon per day) or green water in small amounts
Place in a location with bright indirect light, avoiding direct sunlight
Maintained at 20–25°C, they will multiply explosively within 3–7 days
Scoop them out with a fine mesh net and add them directly to the aquarium
Key Points to Avoid Failure
The most common failure in daphnia culture is water quality deterioration from overfeeding. Once the water becomes cloudy and starts smelling foul, the daphnia will die off completely. Feed them in small amounts to the point where the water is only slightly turbid. Additionally, when culturing outdoors, watch out for rainwater mixing in and sudden temperature fluctuations. If culturing outdoors during summer, use a shade cloth to prevent rapid water temperature increases from direct sunlight.
---
Culturing Paramecium
Paramecium is a single-celled organism measuring 0.1–0.3mm in body length and is ideal live food for ultra-small fry freshly hatched—such as killifish and tropical fish fry. Because they are smaller than brine shrimp nauplii, they are highly valued as a first food for fry with extremely small mouths.
What You'll Need
Paramecium culture (sold as a culture liquid)
A 500ml–1L plastic bottle
Unsweetened soy milk or nutritional supplements like Ebios tablets
Culture Procedure
Add a few drops of unsweetened soy milk (about 2–3ml) to 500ml of water (no need to dechlorinate)
Introduce the paramecium culture
Loosen the lid to allow gas to escape and leave at room temperature (20–25°C)
After 3–5 days, the liquid becomes cloudy white, indicating the culture is complete
Add small amounts to the fry tank with a dropper (be careful not to add too much to prevent water quality deterioration)
Long-Term Supply through Serial Culture
Serial culture—transferring a portion of the culture liquid to a new bottle before the original is completely used, to start the next batch—is efficient. By staggering the start dates of multiple batches, you can maintain a constant supply. However, if the culture liquid changes color to yellow or brown or develops a foul smell, it indicates contamination with unwanted bacteria. In that case, discard it and start fresh.
---
Culturing Micro Worms
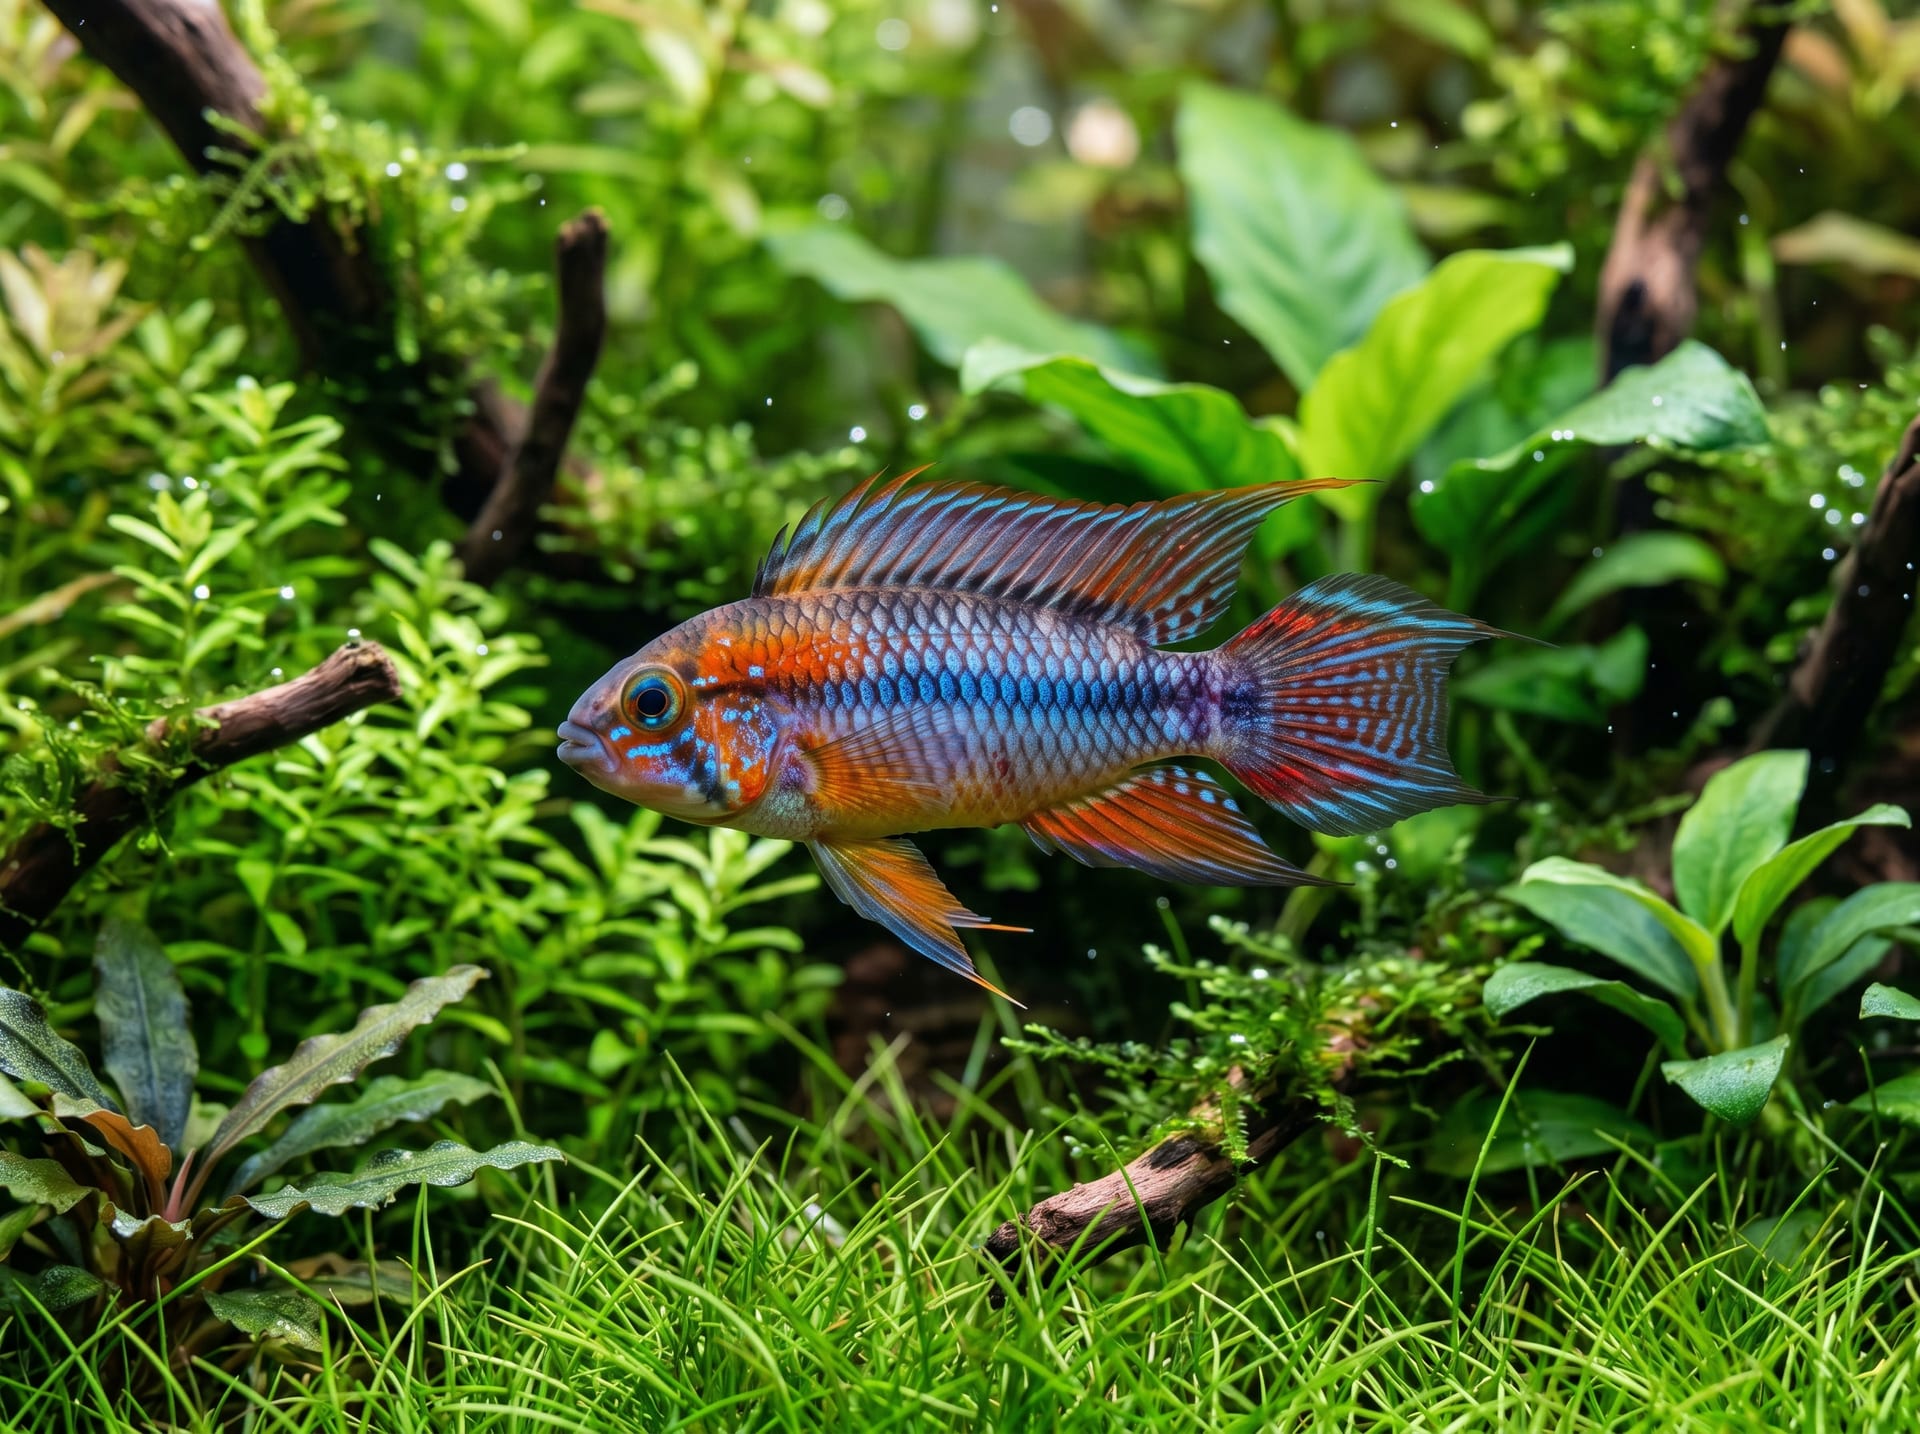
Micro worms are white, thread-like worms about 0.5–1cm in body length and are excellent live food for small fish and fry. They are high in protein and highly palatable, especially favored by bottom-dwelling fish such as corydoras and apistos.
Culture Procedure
Layer peat moss 3–5cm thick in a shallow container or plastic tub
Moisten with water to a level where squeezing causes water to seep out slightly
Place the micro worm culture on the surface
Place small amounts of bread crumbs, dried food powder, or oatmeal on top of where the worms gather
Cover and keep in a dark place at 20–25°C
After 3–5 days, worms will cluster in large numbers around the food. Collect them with a dropper or small brush and add to the aquarium. Be careful—excessive moisture and high temperatures (28°C or above) can cause mite infestations.
---
Conclusion | Succeed in Fry Rearing with Live Food Culture
While home culturing of live food may seem labor-intensive at first, once you master the technique, stable supply becomes possible. Knowing how to use each type of live food according to its characteristics will significantly impact your success rate in fry rearing.
Live Food
Size
Primary Target
Difficulty
Paramecium
0.1–0.3mm
Newly hatched fry
Easy
Brine Shrimp
~0.4mm
Small to medium fry
Easy to Moderate
Water Flea
0.5–1mm
Fry to juveniles
Moderate
Micro Worm
5–10mm
Small fish & bottom dwellers
Moderate
By combining multiple types of live food, you can provide optimal nutrition tailored to each growth stage. The basic progression is to gradually increase food size as your fry grow: start with paramecium, move to brine shrimp, and eventually introduce micro worms.
br-choku is home to many breeders with extensive experience in live food culturing. A major strength of br-choku is that you can consult directly with experienced breeders about questions like "where do I start?" or "my fry aren't growing well." We encourage you to leverage br-choku as your partner in breeding and rearing.