Specimen Preparation and Display Techniques for Stag Beetles and Rhinoceros Beetles | How to Preserve Memories of Breeding
A beginner's guide to specimen preparation for stag beetles and rhinoceros beetles. We explain the necessary tools, step-by-step specimen creation procedures, pest prevention measures, and detailed methods for beautiful display.
Key Takeaways
A beginner's guide to specimen preparation for stag beetles and rhinoceros beetles. We explain the necessary tools, step-by-step specimen creation procedures, pest prevention measures, and detailed methods for beautiful display.
Related Species
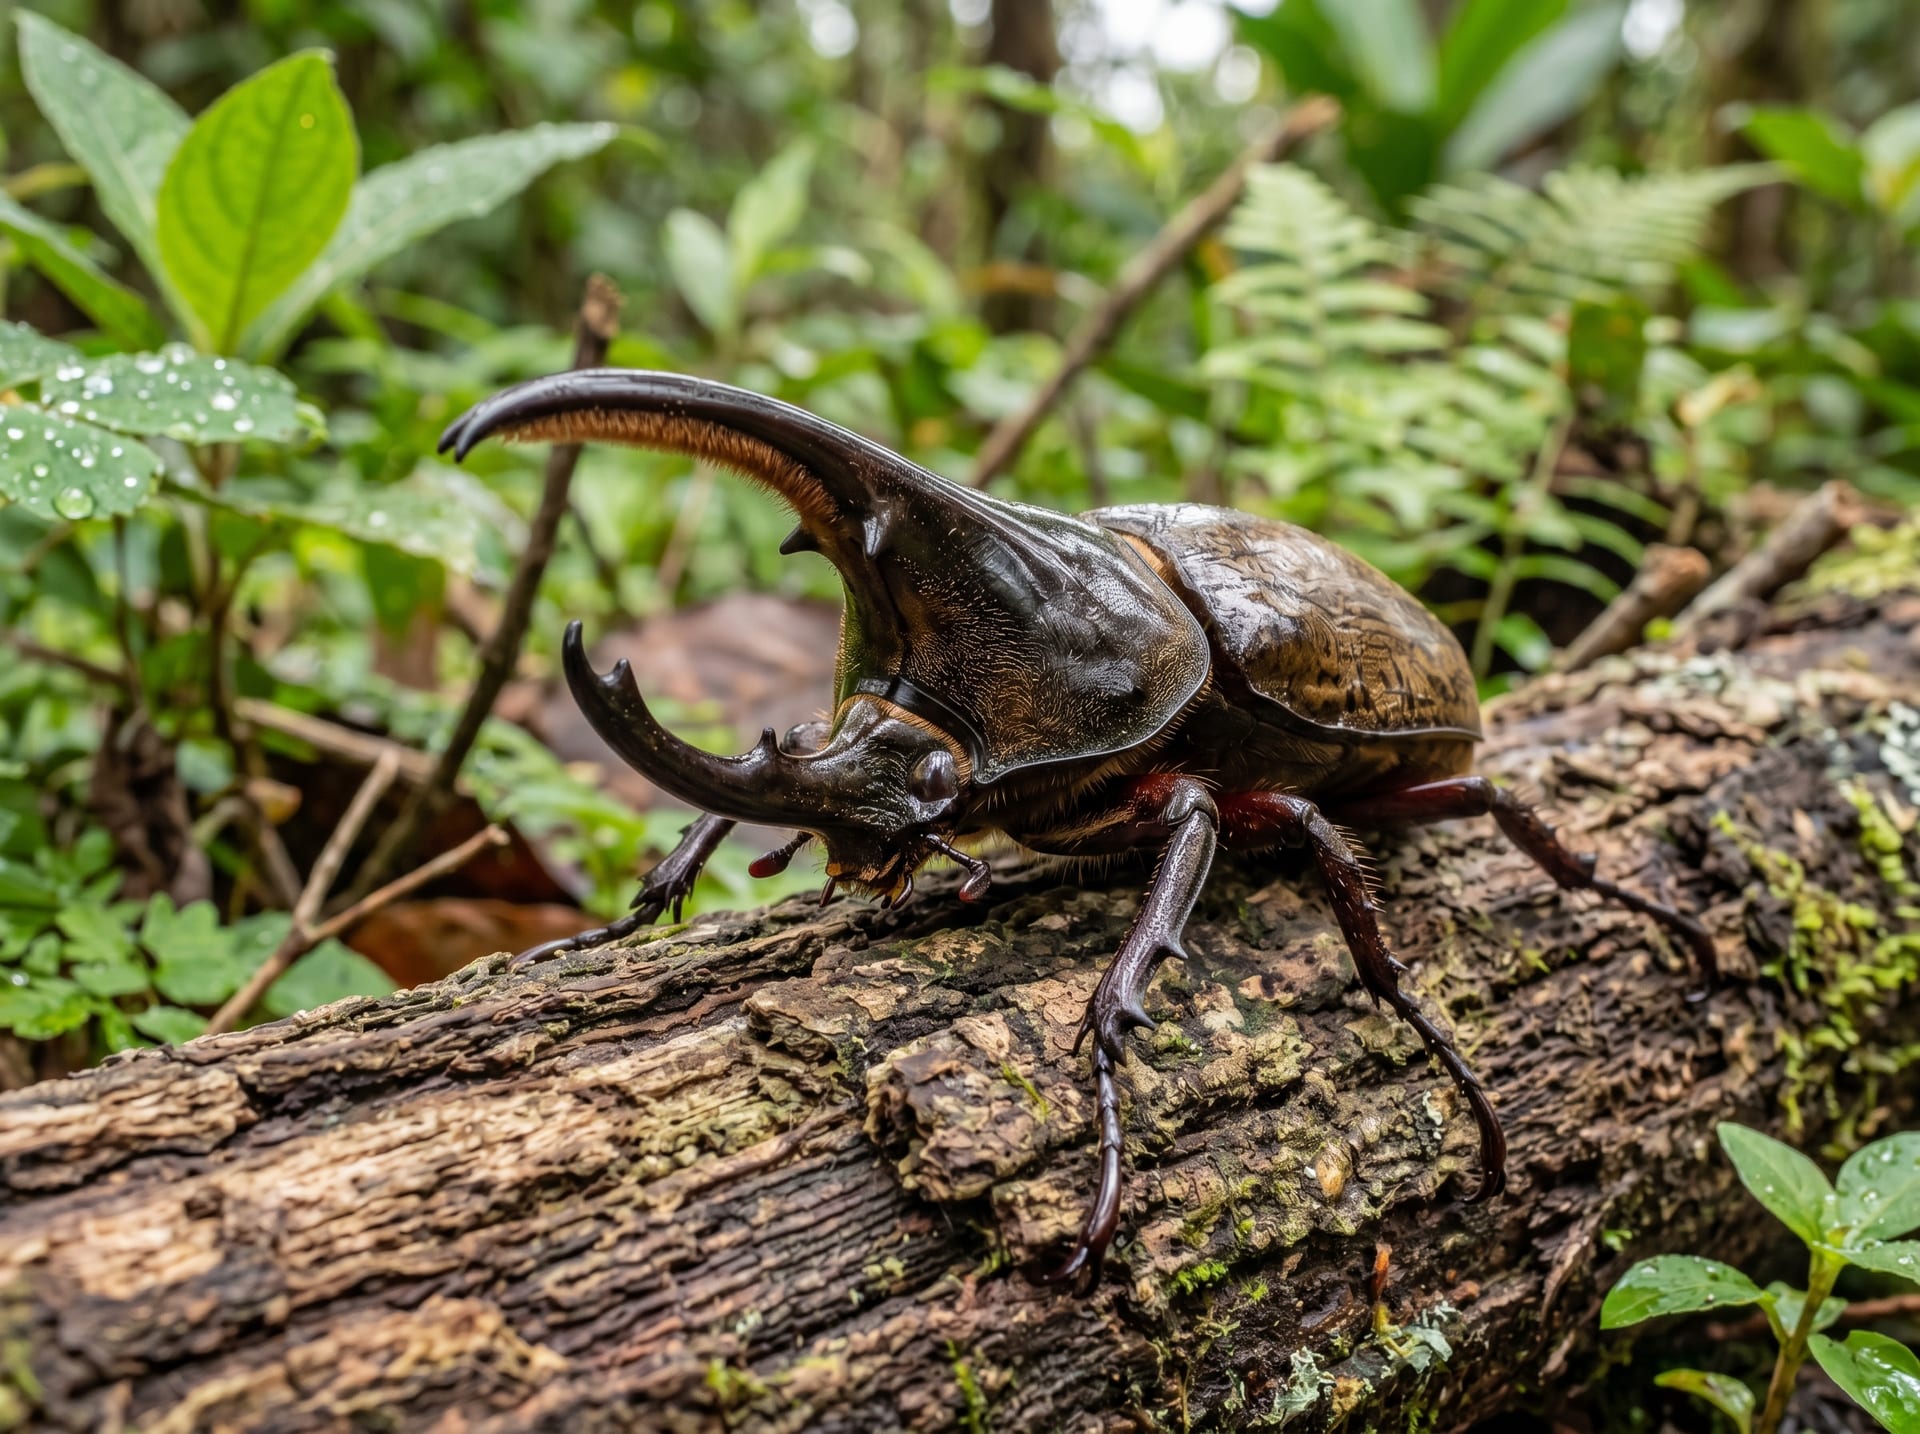
After carefully bred stag beetles or rhinoceros beetles reach the end of their lifespans, preserving them as specimens allows you to keep your breeding memories in tangible form. Beautiful specimens also have high ornamental value and can become an opportunity to deepen your understanding of insects. Here we explain specimen preparation methods that beginners can tackle, taking into account the latest tools and equipment available as of 2026.
Tools Needed for Specimen Preparation
Gather the following tools for specimen preparation.
- Insect pins: Size #3 (for medium-sized stag beetles and rhinoceros beetles) is highly versatile and recommended. For larger species, use sizes #4–5.
- Spreading boards: Styrofoam or cork boards can be substituted. A soft material makes it easier to insert insect pins.
- Tweezers: Fine-tipped tweezers make the work easier.
- Wood glue or insect-specific adhesive: Use for repairing broken legs or horns.
- Specimen box: Traditionally, German-style specimen boxes with high airtightness are ideal, but collection cases from discount stores can also work.
- Pest repellent (naphthalene or paradichlorobenzene): Essential for protecting specimens from pests.
- Other items: Have straight pins, paper tape, and labels for notes on hand as well.
Specimen Preparation Procedure
Begin specimen preparation as soon as possible after an individual dies. As time passes, the joints stiffen, making spreading difficult. If joints are already stiff, place the specimen in a sealed container with dampened tissue for 1–2 days to soften it (soaking in hot water is an option, but risks discoloring the body).
- First, gently clean the body's dirt with a soft brush and water.
- Next, insert the insect pin vertically into the right side of the thorax (near the base of the right wing). This is the international standard for insect specimens.
- Secure the pinned individual to the spreading board, align the legs symmetrically, and fix them with straight pins. Keeping the mandibles open enhances appearance. Adjust the antennae to a natural angle as well.
- In this state, dry the specimen for 2–4 weeks in a shaded location with good air circulation.
- Once fully dry, remove the straight pins and the specimen is complete.
Label Creation and Record-Keeping
Adding labels to specimens is important. Even if not an academic specimen, keeping records increases the specimen's value. Labels should include the following information:
- Species name (common name and scientific name)
- Location (collection site or purchase source)
- Date (collection date or date of death)
- Breeder's name
For bred individuals, recording lineage name, parent size, and information about the fungal substrate bottle used adds value as a breeding record. If you've kept systematic records like those in Hercules Beetle Lineage Management and Large Specimen Breeding Guide, the specimen becomes richer as the culmination of that effort. Print labels on durable paper in small text and attach them below the specimen by pinning. If handwriting, use waterproof ink. Keeping digital records as well provides a backup in case the label deteriorates.
Specimen Storage and Pest Prevention
The specimen's greatest enemies are pests (cigarette beetles and booklice) and mold. Use a specimen box with high airtightness and place pest repellent inside. Replace the pest repellent approximately every six months. Store the specimen box in a location out of direct sunlight with minimal temperature fluctuation. High heat and humidity cause mold, so pay special attention during the rainy season. Placing desiccant (silica gel) in the box helps manage moisture. Regularly inspect specimens to check for pest damage or mold. If pests appear, you can eliminate them by placing the specimen in a freezer for three days. Storing important specimens in multiple boxes reduces the risk of damage affecting your entire collection.
Display Tips and Use of BreederDirect
To display specimens beautifully, pay attention to background and arrangement. Solid black or white backgrounds enhance the specimen. Arranging size variations of the same species or systematically positioning different species creates an impressive display. Framing in UV-cut acrylic and hanging on a wall works well as décor. Using LED lighting highlights the luster of stag beetles and the body color of rhinoceros beetles. If you prefer to enjoy living beetles in a naturalistic setting, Display Terrariums for Stag Beetles and Rhinoceros Beetles are also worth considering to bring out ornamental value both during and after breeding. If your specimen was purchased from BreederDirect, displaying it along with breeding data and lineage information obtained from the breeder allows you to preserve the entire history of your breeding. We hope you'll enjoy the practice of carefully preserving specimens filled with memories as records of your breeding journey.
Choosing Display Cases and Optimal Environment
When selecting a display case, focus on three points: airtightness, visibility, and size.
- Airtightness: Since specimens' enemies are moisture and pests (such as cigarette beetles), glass or acrylic cases with high airtightness are suitable.
- Visibility: German-style specimen boxes, which are traditional in design, excel at balancing visibility and airtightness and are cherished by many collectors.
- Size: While matching your current specimen count, choose a slightly larger size to account for future growth.
The ideal storage location is a cool place out of direct sunlight with minimal temperature fluctuation. Ultraviolet light causes color fading in specimens, so consider using UV-cut glass when displaying. Remember to regularly replace pest repellents (paradichlorobenzene or naphthalene) inside the case.