A Guide to Setting Up Beetle Breeding Kits | Choosing Breeding Wood, Substrate, and Temperature Management Basics
Explains the steps for properly setting up a beetle breeding kit. Covers how to choose and hydrate breeding wood, types of substrate and how to lay it, timing for pairing, temperature management, and excavation of larvae.
Key Takeaways
Explains the steps for properly setting up a beetle breeding kit. Covers how to choose and hydrate breeding wood, types of substrate and how to lay it, timing for pairing, temperature management, and excavation of larvae.
Related Species

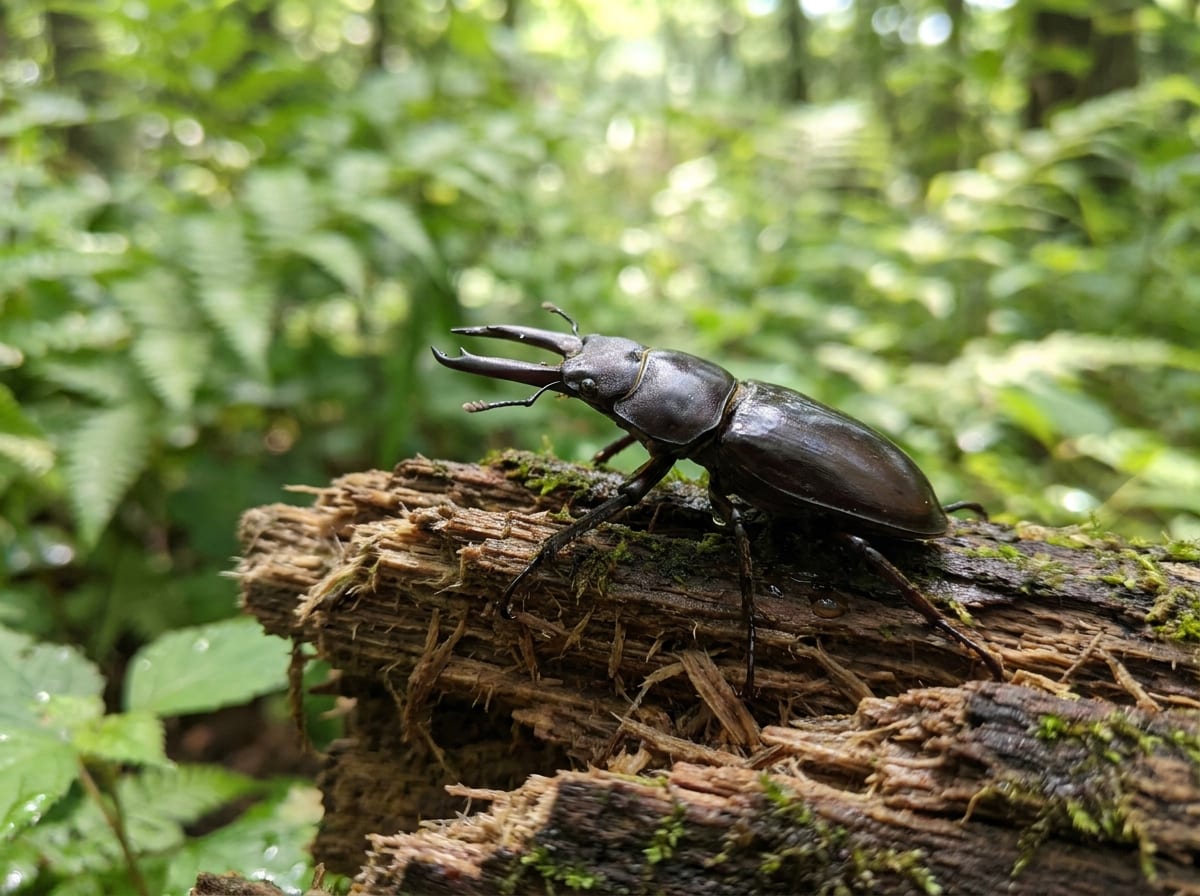
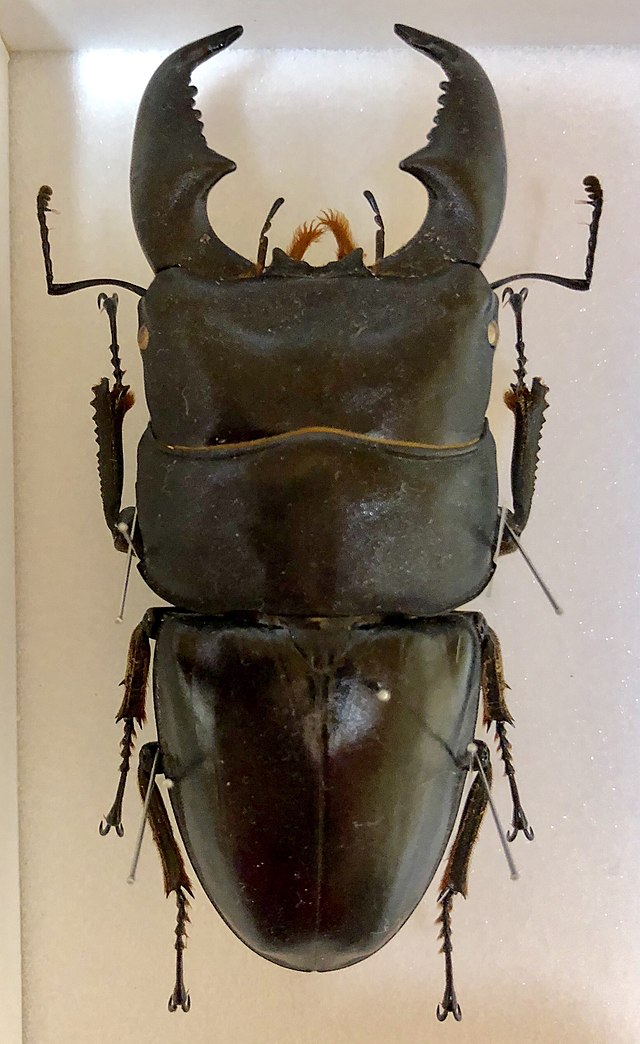
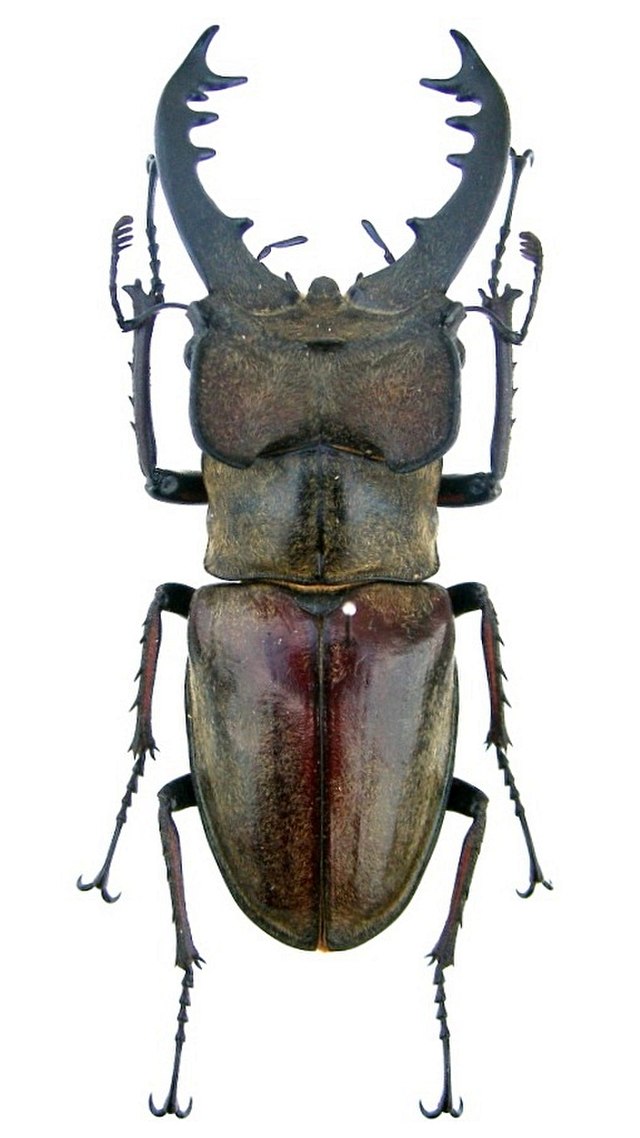
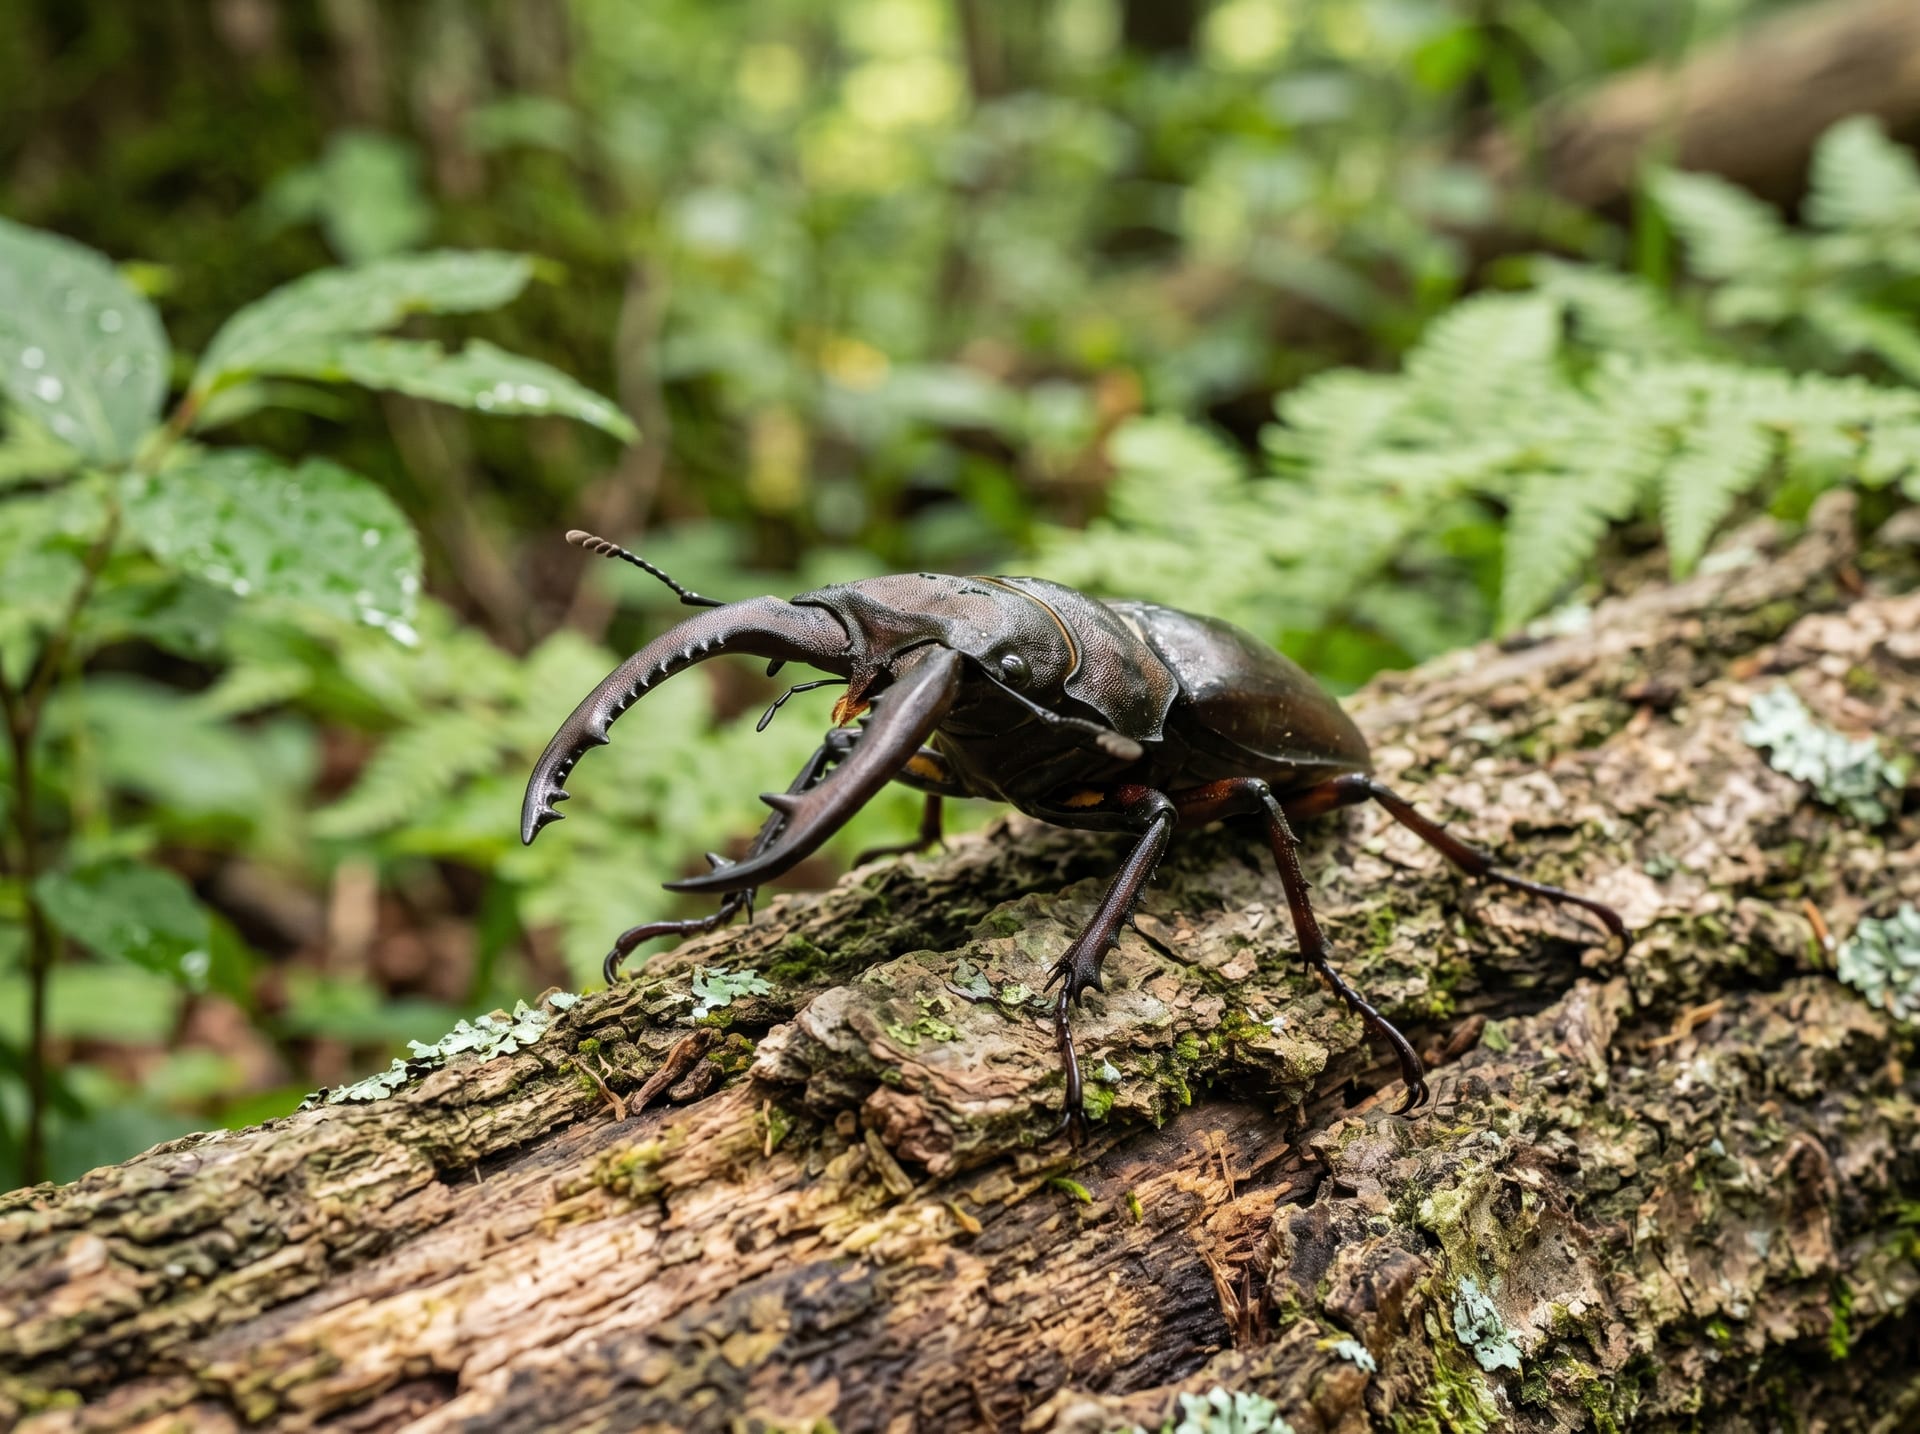
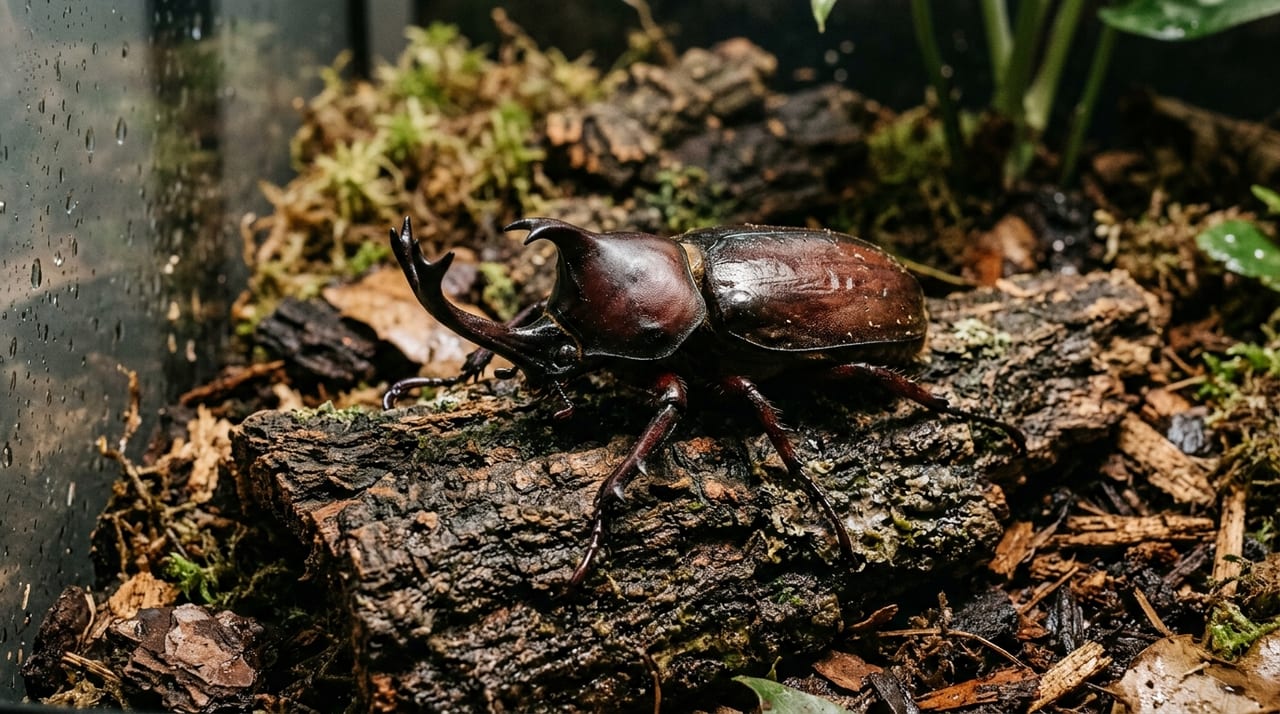
One of the joys of keeping beetles is 'breeding.' However, many people report problems such as 'I set up a breeding kit but the beetles won't lay eggs' or 'Pairing seemed successful but nothing happened.' Successful egg-laying requires the right combination of breeding wood, substrate, temperature, and humidity, and each species has its own specific requirements.
This article provides a systematic guide to setting up a beetle breeding kit, from the basics to tips for success.
Start with Pairing (Mating)
Before setting up a breeding kit, it's essential that the female has definitely mated. An unmated female placed in a kit will almost never lay eggs.
Pairing Methods
Hand pairing (direct introduction) Place a male and female in a small container simultaneously and observe them to confirm mating. This method is reliable because you can directly witness the event, but males may attack females, so you should observe carefully and be prepared to separate them immediately if necessary.
Cohabitation pairing House a male and female together for 1–2 weeks to allow them to mate naturally. This method requires less effort than hand pairing, but you should still watch for aggression from the male toward the female during this period. Species with smaller mandibles (such as Dorcus rectus) are relatively safe, but large-mandible species such as Dorcus titanus may injure the female.
After confirming pairing After confirming mating, separate the male and female and provide the female with nutritional feeding for 1–2 weeks before egg-laying. The basic approach is to provide abundant insect jelly. Details about feeding frequency and methods are outlined in How often should you replace insect jelly? Feeding beetles and stag beetles. The female's physical condition is key to successful egg-laying.
Types of Breeding Kits
Beetle breeding kits can be divided into two main types.
Wood egg-laying (species that lay eggs in wood)
Used for species that lay eggs inside rotted wood, such as Dorcus rectus, Dorcus hopei, Prosopocoilus inclinatus (some populations), and Dorcus titanus.
Substrate egg-laying (species that lay eggs in substrate)
Used for species that lay eggs directly in fermented substrate, such as Prosopocoilus inclinatus (most individuals), Lucanus maculifemoralis, and Dorcus titanus (some populations). In practice, many species lay eggs in both wood and substrate, so wood egg-laying kits typically include substrate as well.
Choosing Breeding Wood and Hydration
Types and Selection of Breeding Wood
Breeding wood (rotted wood) is typically made of Japanese chinkapin, Japanese oak, or oak, and can be purchased at home improvement stores and insect specialty shops.
Wood hardness: Breeding wood is graded by hardness as L (soft), M (medium), or H (hard). Most beetles generally prefer soft to medium wood. Dorcus hopei can tolerate slightly harder wood.
Size: Within the constraints of fitting in the breeding container, thicker and longer wood generally allows for more eggs. Diameter of 8–12 cm is a practical guideline.
Hydration Process
Most commercially available breeding wood is dry, so it must be hydrated before use.
- Fill a large bucket or container with water
- Submerge the breeding wood and weigh it down to ensure it is completely underwater
- Soak for 8–12 hours (overnight)
- Remove and do not use immediately; air-dry in a shaded, well-ventilated spot for 3–6 hours
- The ideal state is when the surface is dry but the interior is moist. When squeezed, it should release water slowly.
Over-hydration promotes decay, while insufficient hydration makes the wood too hard for successful egg-laying.
Choosing and Layering Substrate
Types of Substrate
Conditions for substrate suitable for egg-laying
- Fermented substrate (dark, moist, fully mature type) is excellent for egg-laying
- Products like "Sanran Ichiban" and various manufacturers' "breeding substrates" are standard choices
- Unfermented substrate (brown wood chip type) and adult breeding substrate are not suitable for egg-laying
Substrate Layering Method
The basic approach is a "two-layer structure" where substrate is added to a depth of 10–15 cm from the bottom of the container, with the upper half packed loosely.
- Add 5–7 cm of breeding substrate to the bottom of the container and firmly compress it by hand (important!)
- Place the breeding wood on top horizontally, and add substrate until half to two-thirds of the wood is buried
- Leave the upper substrate loosely packed
- Fill the container to about 80% capacity with substrate and wood
Firmly compressing the bottom substrate makes it easier for substrate egg-laying species to lay eggs within it.
Temperature and Humidity Management
Optimal Temperature for Egg-Laying
The optimal temperature for egg-laying varies by species, but most Japanese beetles have an ideal range of 23–27°C.
| Species | Optimal egg-laying temperature |
|---|---|
| Dorcus hopei | 22–26°C |
| Dorcus titanus | 25–28°C |
| Dorcus rectus | 22–26°C |
| Prosopocoilus inclinatus | 25–28°C |
| Lucanus maculifemoralis | 18–22°C (low-temperature management is important) |
Lucanus maculifemoralis prefers lower temperatures than other species; in high-temperature environments, egg-laying becomes difficult and adult lifespan is shortened.
Maintaining Humidity
The guideline for substrate humidity is 'forms a ball when squeezed and crumbles slightly.' Manage with the lid closed to prevent the container from drying out, and mist water every few weeks to maintain moisture. However, over-saturation with standing water causes decay and oxygen depletion.
Post-Setup Management and Confirming Egg-Laying
Basic Rules After Setup
Once the kit is set up, the basic rule is to not open it for at least one month after introducing the female. Frequent opening startles the laying female and interrupts egg-laying, and eggs may dry out.
The guideline for excavating larvae is 4–6 weeks after setup.
Signs of Egg-Laying
Before excavating, observe the following signs of egg-laying:
- Gnaw marks on the breeding wood: If the female has chewed and tunneled into the wood, egg-laying is likely occurring
- Eggs or larvae visible in the substrate: Looking through the side of the container, you may see white eggs or small larvae
- The breeding wood feels lighter: As the female eats through the interior while laying, the wood becomes lighter and hollow
Excavation Process
Excavation should be performed before hatched larvae develop into prepupae, which are fragile. The guideline is during the first to second instar stage (4–8 weeks after setup).
- For wood egg-laying, carefully split the wood and remove larvae and eggs without damaging them
- For substrate egg-laying, spread the substrate on a tray and search for eggs and larvae
- Transfer removed larvae immediately to fermented substrate or nutrient bottles. Subsequent temperature management and exchange timing are explained in detail in A Guide to Managing Dorcus hopei Larvae | Nutrient bottles, substrate, temperature control, and tips for raising larger beetles
Common Failures and Solutions
Reasons for no egg-laying
- Mating did not definitely occur → attempt re-pairing
- Temperature is outside the optimal range (too high or low) → review temperature management
- The breeding wood is unsuitable (too hard or soft) → try wood of different hardness
- The substrate is unsuitable → switch to breeding substrate
- Female lacks physical condition → re-setup after providing abundant jelly
Eggs laid but no larvae emerging
- Excavation is too early (egg stage) or too late → adjust timing
- Eggs were dry → improve humidity management
Finding Breeding Stock with Egg-Laying History on BreederDirect
Selecting a vigorous pair is also important for successful breeding. On BreederDirect, many breeders offer parent stock with egg-laying records or already-paired individuals. You can ask breeders directly about "preferred breeding wood" and "optimal egg-laying temperature" before purchasing. If you want to try breeding, by all means search BreederDirect for individuals from trusted breeders.