Complete Breeding Guide for Canaries | Pairing, Egg-laying, and Chick Rearing
A guide to successful canary breeding. From pairing conditions to nest box installation, egg management, incubation periods, and chick rearing—detailed explanations of breeding procedures that even beginners can practice.
Key Takeaways
A guide to successful canary breeding. From pairing conditions to nest box installation, egg management, incubation periods, and chick rearing—detailed explanations of breeding procedures that even beginners can practice.
Related Species
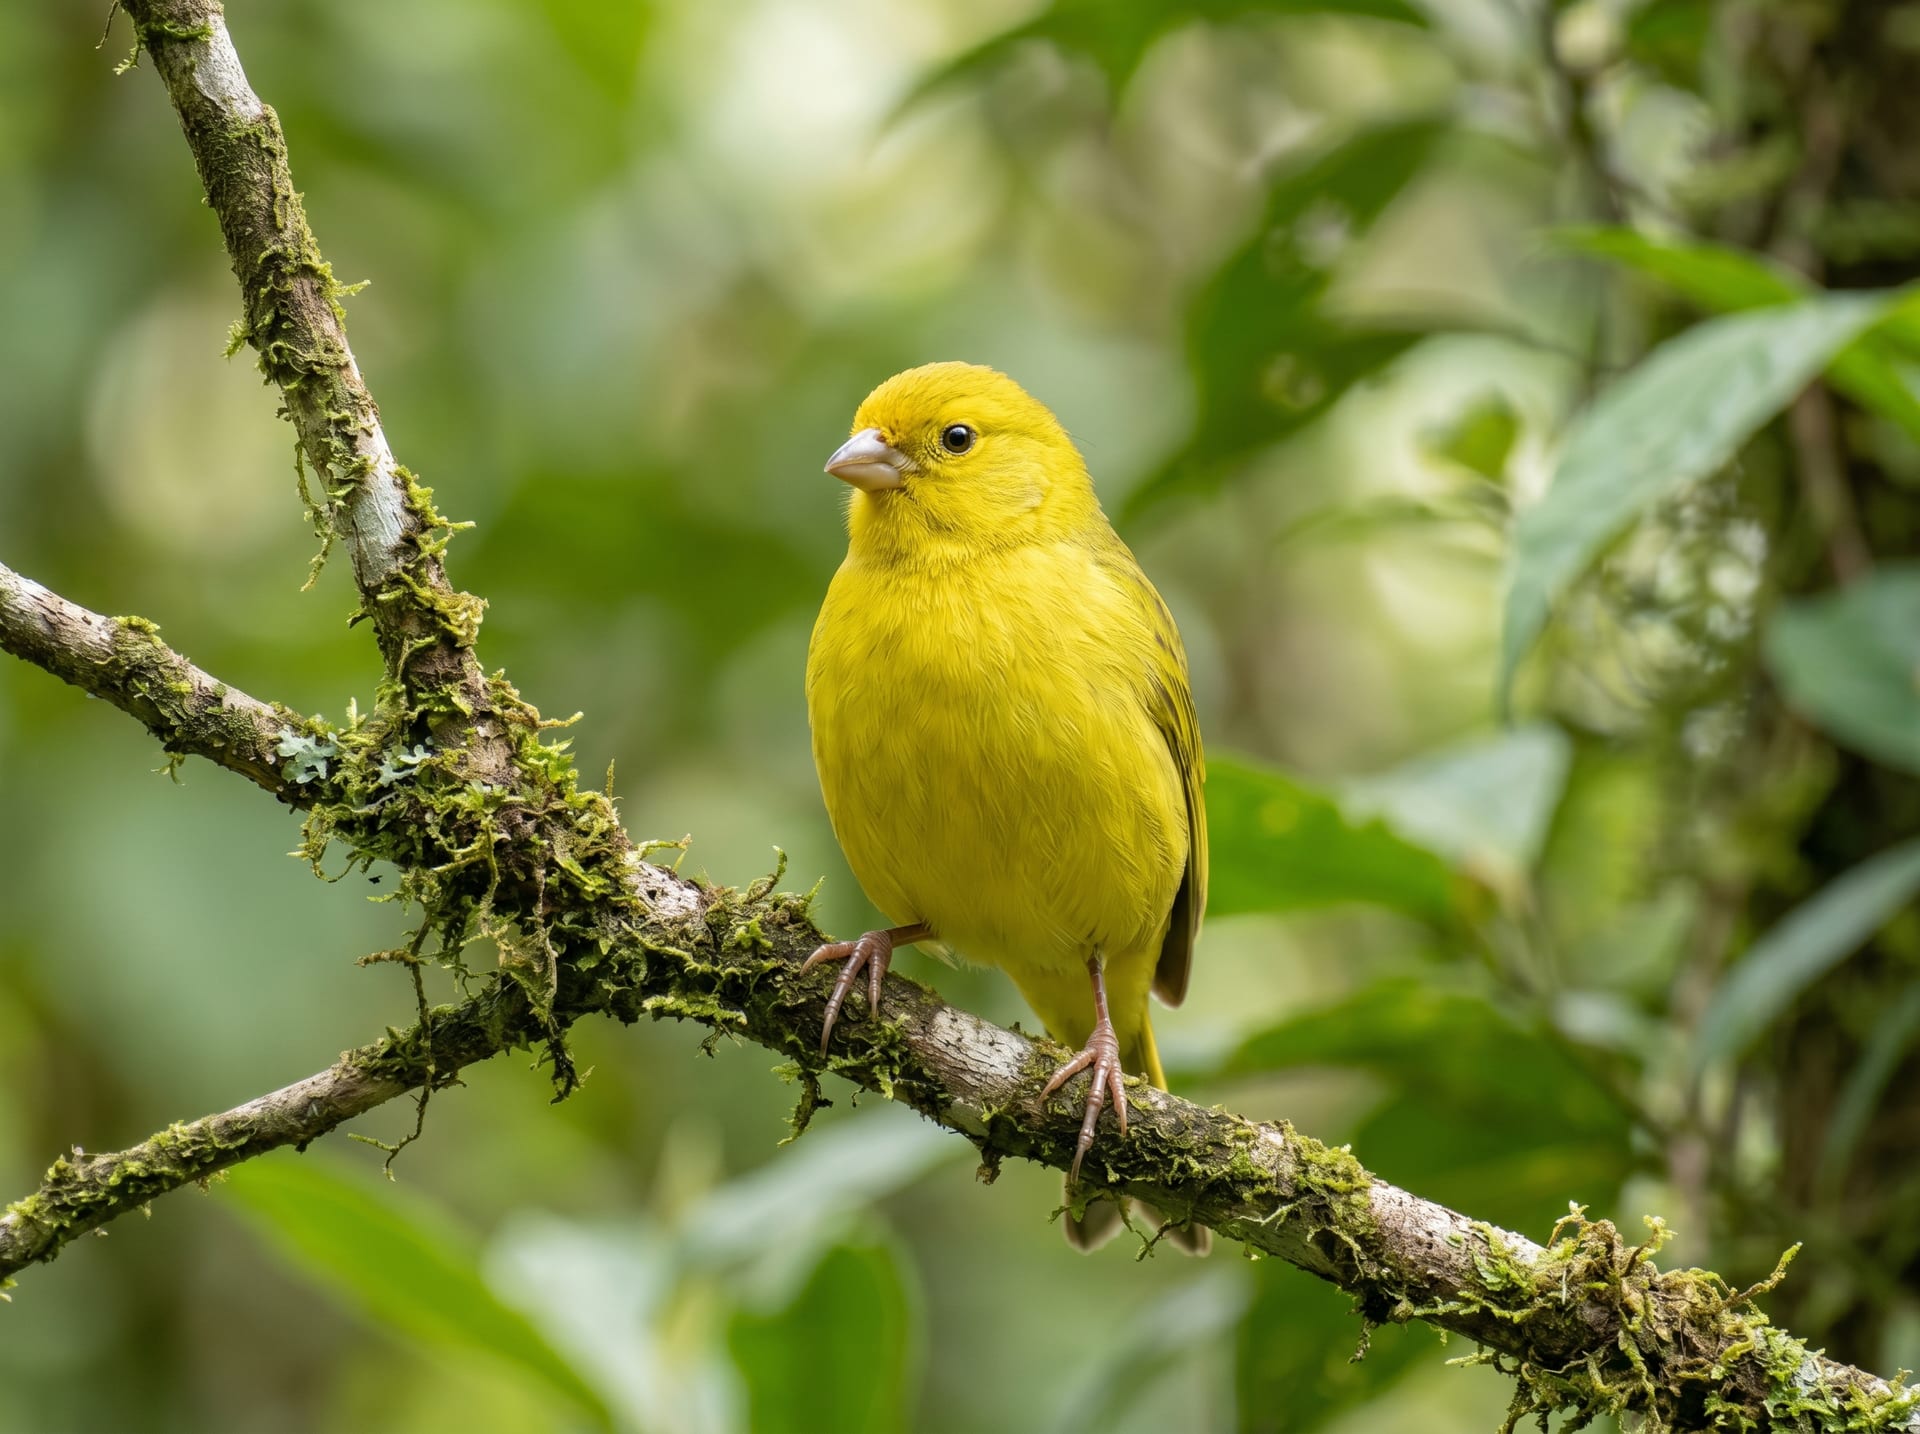
The canary (scientific name: Serinus canaria domestica) is a small finch native to the Canary Islands that has long been beloved as a captive bird for its beautiful song and diverse plumage colors. Breeding itself is relatively easy compared to other small birds, and with proper environmental conditions, canaries breed readily in captivity. However, breeding season management requires careful attention, and most failures are caused by pairing mistakes or inadequate nest boxes and environmental conditions. This article provides detailed explanations of the knowledge and practical procedures necessary for successful canary breeding.
How to Select Individuals Suitable for Breeding
The basic rule is to select healthy adult birds at least one year of age with good nutritional condition for breeding purposes. Young birds or birds that are too old have lower breeding success rates. The most distinctive feature of sex determination in canaries is that males sing persistently while females rarely vocalize. During breeding season, the male's cloaca (around the anus) becomes swollen, which also aids identification. During breeding season, females display behavior of pecking at nesting material with their beaks.
Before pairing them together, confirm that both birds are healthy. Do not use birds showing the following symptoms for breeding; prioritize treatment first.
- Feathers are puffed up
- Lack of energy
- Loss of appetite
- Abnormal fecal condition
Breeding Season and Light Management
In nature, the canary breeding season is spring (around March to June), but in indoor-kept birds, breeding can be induced by controlling photoperiod and room temperature. Extending the daily photoperiod to 14–16 hours is the primary trigger for initiating breeding. Specifically, use a timer to adjust lighting, and maintain the room temperature at around 18–22°C. Sudden temperature fluctuations and cold spells can cause breeding failure, so caution is necessary.
The timing to begin breeding is when the male becomes actively vocal, and the female begins to peck at nesting material and shows crouching (receptive posture). At this stage, place the pair in the same cage and install the nest box.
Pairing and Nest Box Installation
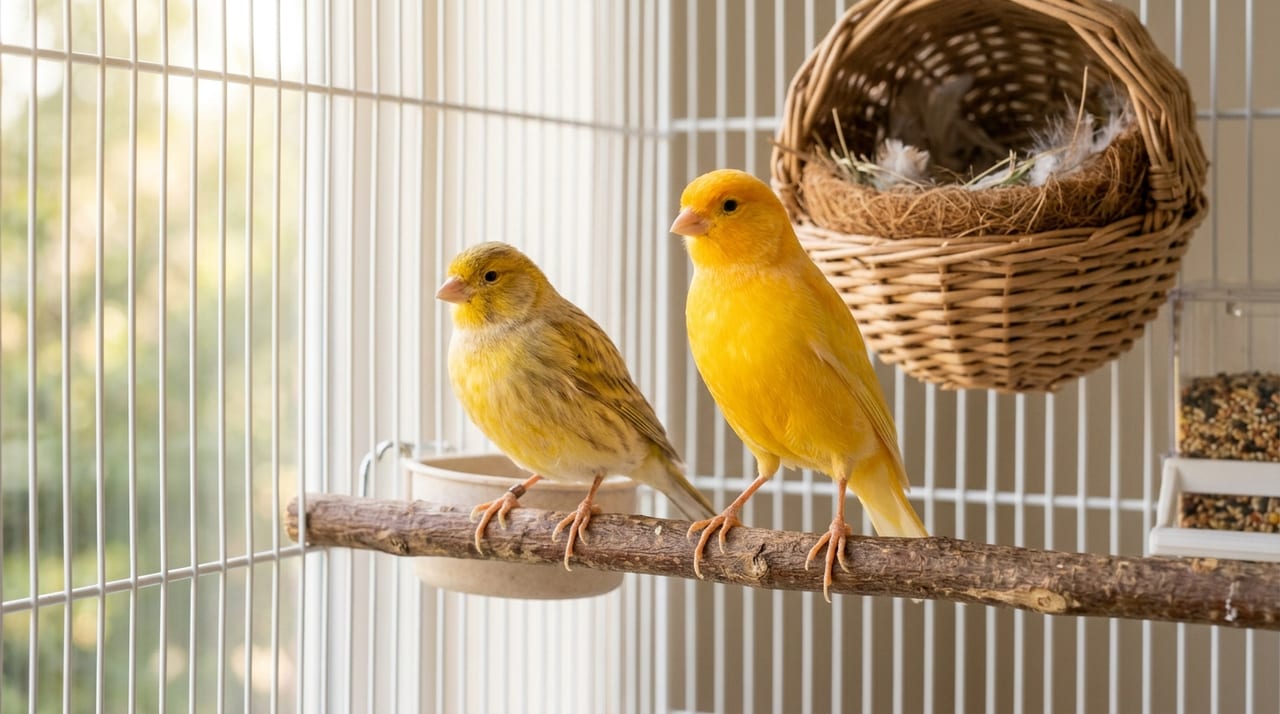
For breeding, manage males and females in separate cages initially, placing them where they can see each other and observing their behavior. When both birds begin to call to each other, it is time to put them together. Prepare a standard-sized canary cage (approximately 45–60 cm wide) and avoid overcrowding.
Use a canary-specific nest box such as a hemispherical or box-shaped design, installing it at the top or high position in the cage. Provide an appropriate amount of commercially available canary nesting material (hemp, cotton, soft grass) as nesting material. If nesting material is placed on the cage floor, the female will select her preferred materials and carry them to the nest herself. The trick is to provide small amounts at a time rather than a large amount all at once.
Egg-laying and Incubation Management
Once proper conditions are in place, the female will lay the first egg around 5–7 days after mating. Canaries typically produce 3–6 eggs per breeding cycle, laying one egg per day. The common practice is the "dummy egg method," in which the first 2–3 eggs are replaced with dummy eggs, and then all eggs are returned together once the clutch is complete. Using this method ensures that hatching dates align and chick sizes are uniform, making chick rearing easier.
The incubation period is approximately 13–14 days. During this period, it is important to disturb the cage as little as possible and maintain a quiet environment. Loud noises or frequent checking can cause incubation abandonment, so caution is necessary. However, water and food should be replenished daily. After egg-laying, do not forget to constantly provide oyster shell powder or cuttlebone for calcium supplementation.
Hatching and Chick Rearing
As hatching approaches, eggs may shake slightly. When chicks hatch, their eyes are initially closed, and their entire bodies are covered with down feathers. To allow parent birds to focus on brooding, maintain a particularly quiet environment immediately after hatching. Parent birds feed chicks "crop milk" or digested food by mouth. The owner should manage the following points during this period.
- Provide nutrient-rich rearing food. Offer boiled egg (yolk), commercially available egg food (for canaries), and plenty of fresh greens such as shepherd's purse and komatsuna. Regular seed diet alone is insufficient for the nutritional needs of chick rearing, so supplemental feeding is always necessary.
- Manage the temperature inside the nest. Newly hatched chicks cannot regulate their body temperature, so it is important to maintain room temperature at around 20–25°C.
- Maintain sanitation. When the nest becomes soiled, quickly replace old nesting material with fresh material during brief periods when parent birds are absent.
Chick Growth and Fledging
Chicks fledge approximately 20–25 days after hatching. Immediately after fledging, chicks cannot feed themselves, so parent birds continue to feed them. Keep parent and chicks in the same cage for a while, and separate them only after confirming that chicks can forage independently. As a general rule, chicks can become independent 2–3 weeks after fledging.
Young fledged birds are raised together with siblings, but once mature males become aggressive, separate the cages. Canaries may lay again after the first breeding cycle (breeding is possible 2–3 times per year), so it is important to monitor the female's condition and prepare for the next cycle. At the end of breeding season, provide sufficient nutrition and rest to prevent the female from becoming exhausted due to excessive breeding, which is key to long-term successful care.
Major Causes of Breeding Failure and Countermeasures
When breeding does not proceed smoothly, the main causes include the following.
- Poor pair compatibility
- Insufficient photoperiod
- Nutritional deficiency
- Stress (excessive observation, interference from other birds)
- Inappropriate nest box location or materials
- Unstable room temperature
Pair compatibility, in particular, varies greatly among individuals, and incompatible pairs will not mate; if only the female lays eggs (unfertilized eggs), attempting to pair her with a different male is also an option. Keeping breeding records (egg-laying dates, hatching dates, number of chicks, parent condition) in a notebook or with photographs will help with improvements in future seasons.