Budgerigar Breeding Beginner's Guide | Complete Guide from Pairing to Chicks Eating Independently | ブリちょく
Birds| ✍️ BreederDirect Editorial
Budgerigar Breeding Beginner's Guide | Complete Guide from Pairing to Chicks Eating Independently
Complete guide to successful budgerigar breeding. Clear explanations from selecting pairs, installing nest boxes, egg-laying, hatching, hand-feeding, to transitioning chicks to independent feeding—perfect for those attempting breeding for the first time.
Key Takeaways
Complete guide to successful budgerigar breeding. Clear explanations from selecting pairs, installing nest boxes, egg-laying, hatching, hand-feeding, to transitioning chicks to independent feeding—perfect for those attempting breeding for the first time.
Budgerigars are among the most commonly kept small birds in Japan, and they are also known as a species that is relatively easy to breed. However, "somehow putting in a nest box and eggs were laid" is vastly different from "deliberately raising healthy chicks." This article is aimed at those attempting budgerigar breeding for the first time, and provides detailed practical procedures from the basics of pairing to transitioning chicks to independent feeding.
✍️
BreederDirect Editorial
The BreederDirect editorial team specializes in care information for animals, covering veterinary care and breeding to deliver beginner-friendly guides.
Find Birds on BreederDirect
Buy directly from verified breeders
Browse Related Listings
Find Birds listings related to this article on BreederDirect. Buy directly from verified breeders.
For both males and females intended for breeding, at least one year after birth is ideal. Breeding individuals that are too young (especially under 6 months old) places significant strain on the body and increases the risk of egg binding and chick abandonment. Select individuals with standard body weight (approximately 25-35g), with no abnormalities in feathers, eyes, or beaks, and with vigorous appetite and good health.
How to Distinguish Males from Females
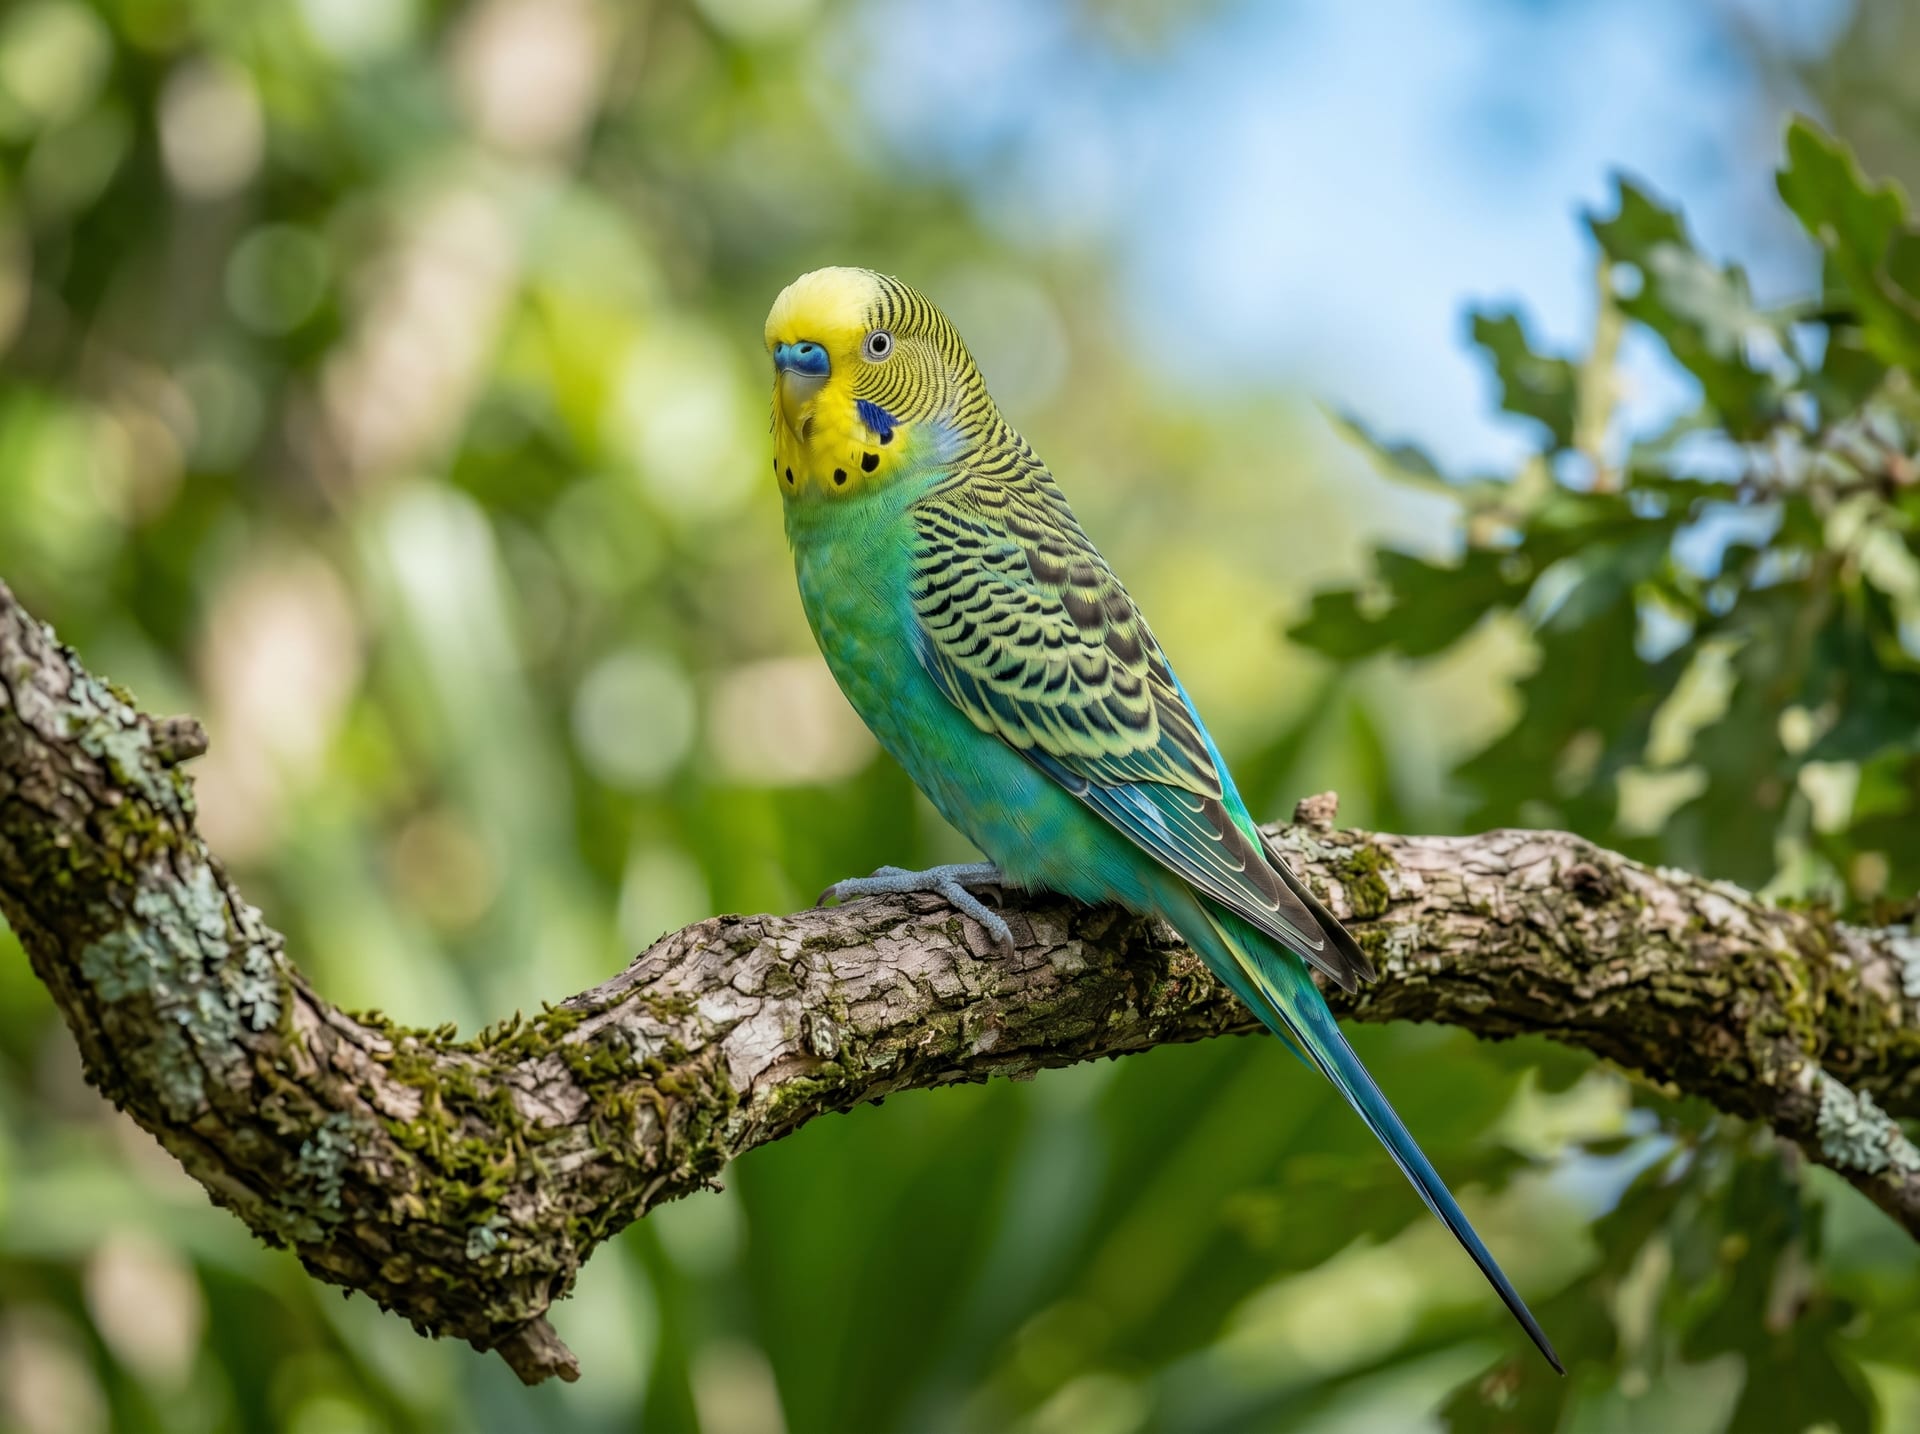
In adult birds, the color of the area around the nose (cere) serves as a guide for sex determination. Mature males have a bright cobalt blue cere, while females range from white to light brown to brown (particularly becoming darker brown during breeding season). However, certain color varieties (albino, lutino, pied, etc.) can be difficult to distinguish, and DNA testing provides definitive confirmation.
Appropriate Season for Breeding
In nature, breeding occurs in spring and summer, but in captivity, breeding behavior can be triggered year-round. Excessive breeding (three or more times per year) places serious strain on the female's body, so it is recommended to limit breeding to 1-2 clutches per year. Reproductive behavior can be encouraged by artificially controlling light exposure (approximately 14 hours of light per day), but care must be taken to avoid overbreeding.
Nest Box Preparation and Installation
Horizontal wooden nest boxes are typically used for budgerigar breeding. The standard size is an interior diameter of approximately 15×15cm with a depth of around 20cm.
Bedding inside the nest box should be clean wood shavings or specialized nesting material, applied thinly (if too thick, cleaning becomes difficult).
The nest box should ideally be positioned high in the cage. Install it in a quiet area with minimal human traffic so the female can feel secure during egg-laying and chick-rearing.
Once the nest box is placed, in most cases the female will begin inspecting the interior within a few days, and egg-laying typically begins within 1-2 weeks thereafter.
From Egg-Laying to Hatching
Budgerigars typically lay one egg per day and begin incubation after laying 4-8 eggs (one clutch). The incubation period is 18-21 days.
Important Notes:
- Carelessly peering into the nest box can stress the female and may lead to chick abandonment. Keep inspection to a minimum.
- It is normal for 30-40% of eggs to be unfertilized (infertile).
- Provide the incubating female with adequate food and water. It is important to always keep cuttlebone powder or specialized supplements available for calcium supplementation.
Chick Management After Hatching
After hatching, chicks have their eyes closed for the first several days and cannot regulate their body temperature. Continuous brooding by the parents, known as "warmth brooding," is extremely important. At this stage, human interference risks causing the parents to abandon the chicks, so observe quietly as much as possible.
After hatching, chicks begin with "crop fluid" (the parent's partially digested food) and gradually transition to powdered food.
Prioritize natural parental rearing; the principle is to avoid intervention as much as possible when parents are healthy and motivated to raise chicks. However, consider switching to hand-feeding in the following cases:
- Chicks are cold because parents are not brooding them
- Chicks make weak vocalizations and crop is not filling with food
- Parents are ill or in poor health
Hand-Feeding (Artificial Rearing) Method
For hand-rearing, use specialized hand-feeding formula (powdered type mixed with hot water is most common).
Temperature Control: The ideal temperature for prepared hand-feeding formula is 40-42°C. Cold food lowers the chick's body temperature, while excessively hot food can damage the esophagus or crop. Always verify with a thermometer.
Feeding Schedule (by age):
- Days 1-7 after hatching: Every 2-3 hours (24-hour care required)
- 1-2 weeks old: Every 3-4 hours
- 2-3 weeks old: Every 4-5 hours
- 3-4 weeks old: Every 6-8 hours (night feeding may be skipped)
- 4-5 weeks old: 3-4 times per day
- 5-6 weeks old: 2-3 times per day (weaning period)
Plastic syringe-type feeders are easy to use and hygienic. Use prepared formula completely in one session and discard any leftovers (risk of bacterial growth).
Transitioning to Independent Feeding
Gradually reduce hand-feeding amounts while placing millet spray, pellets, and seeds in the cage to allow chicks to practice self-feeding.
Confirm successful weaning by monitoring body weight. Success is indicated by stable weight after hand-feeding is discontinued. If body weight drops rapidly, continue hand-feeding.
Budgerigars typically transition to independent feeding around 40-50 days of age, though individual variation occurs. Proceed without haste, adjusting based on each chick's condition.
Chick Socialization and Beyond
For chicks after weaning, increasing human contact from an early age is key to raising tame adult birds. Socialization is important—learning to perch on hands, becoming accustomed to human voices, and experiencing various environments.
If selling chicks as a breeder, the ideal time to transfer them is after weaning is complete and body weight is stable (typically around 2 months of age). On br-choku, you can list offerings as a responsible breeder while maintaining records of breeding management and chick health status. Detailed care records and health management form the foundation of trust with buyers.