Budgerigar Breeding Season Management Guide | Complete Guide from Pair Bonding to Fledging
A practical guide to successful budgerigar breeding. Explains the complete process from selecting pairs, nest box setup, managing egg-laying through incubation, monitoring chick development, and transitioning from hand-feeding to independent eating and fledging.
Key Takeaways
A practical guide to successful budgerigar breeding. Explains the complete process from selecting pairs, nest box setup, managing egg-laying through incubation, monitoring chick development, and transitioning from hand-feeding to independent eating and fledging.
Related Species
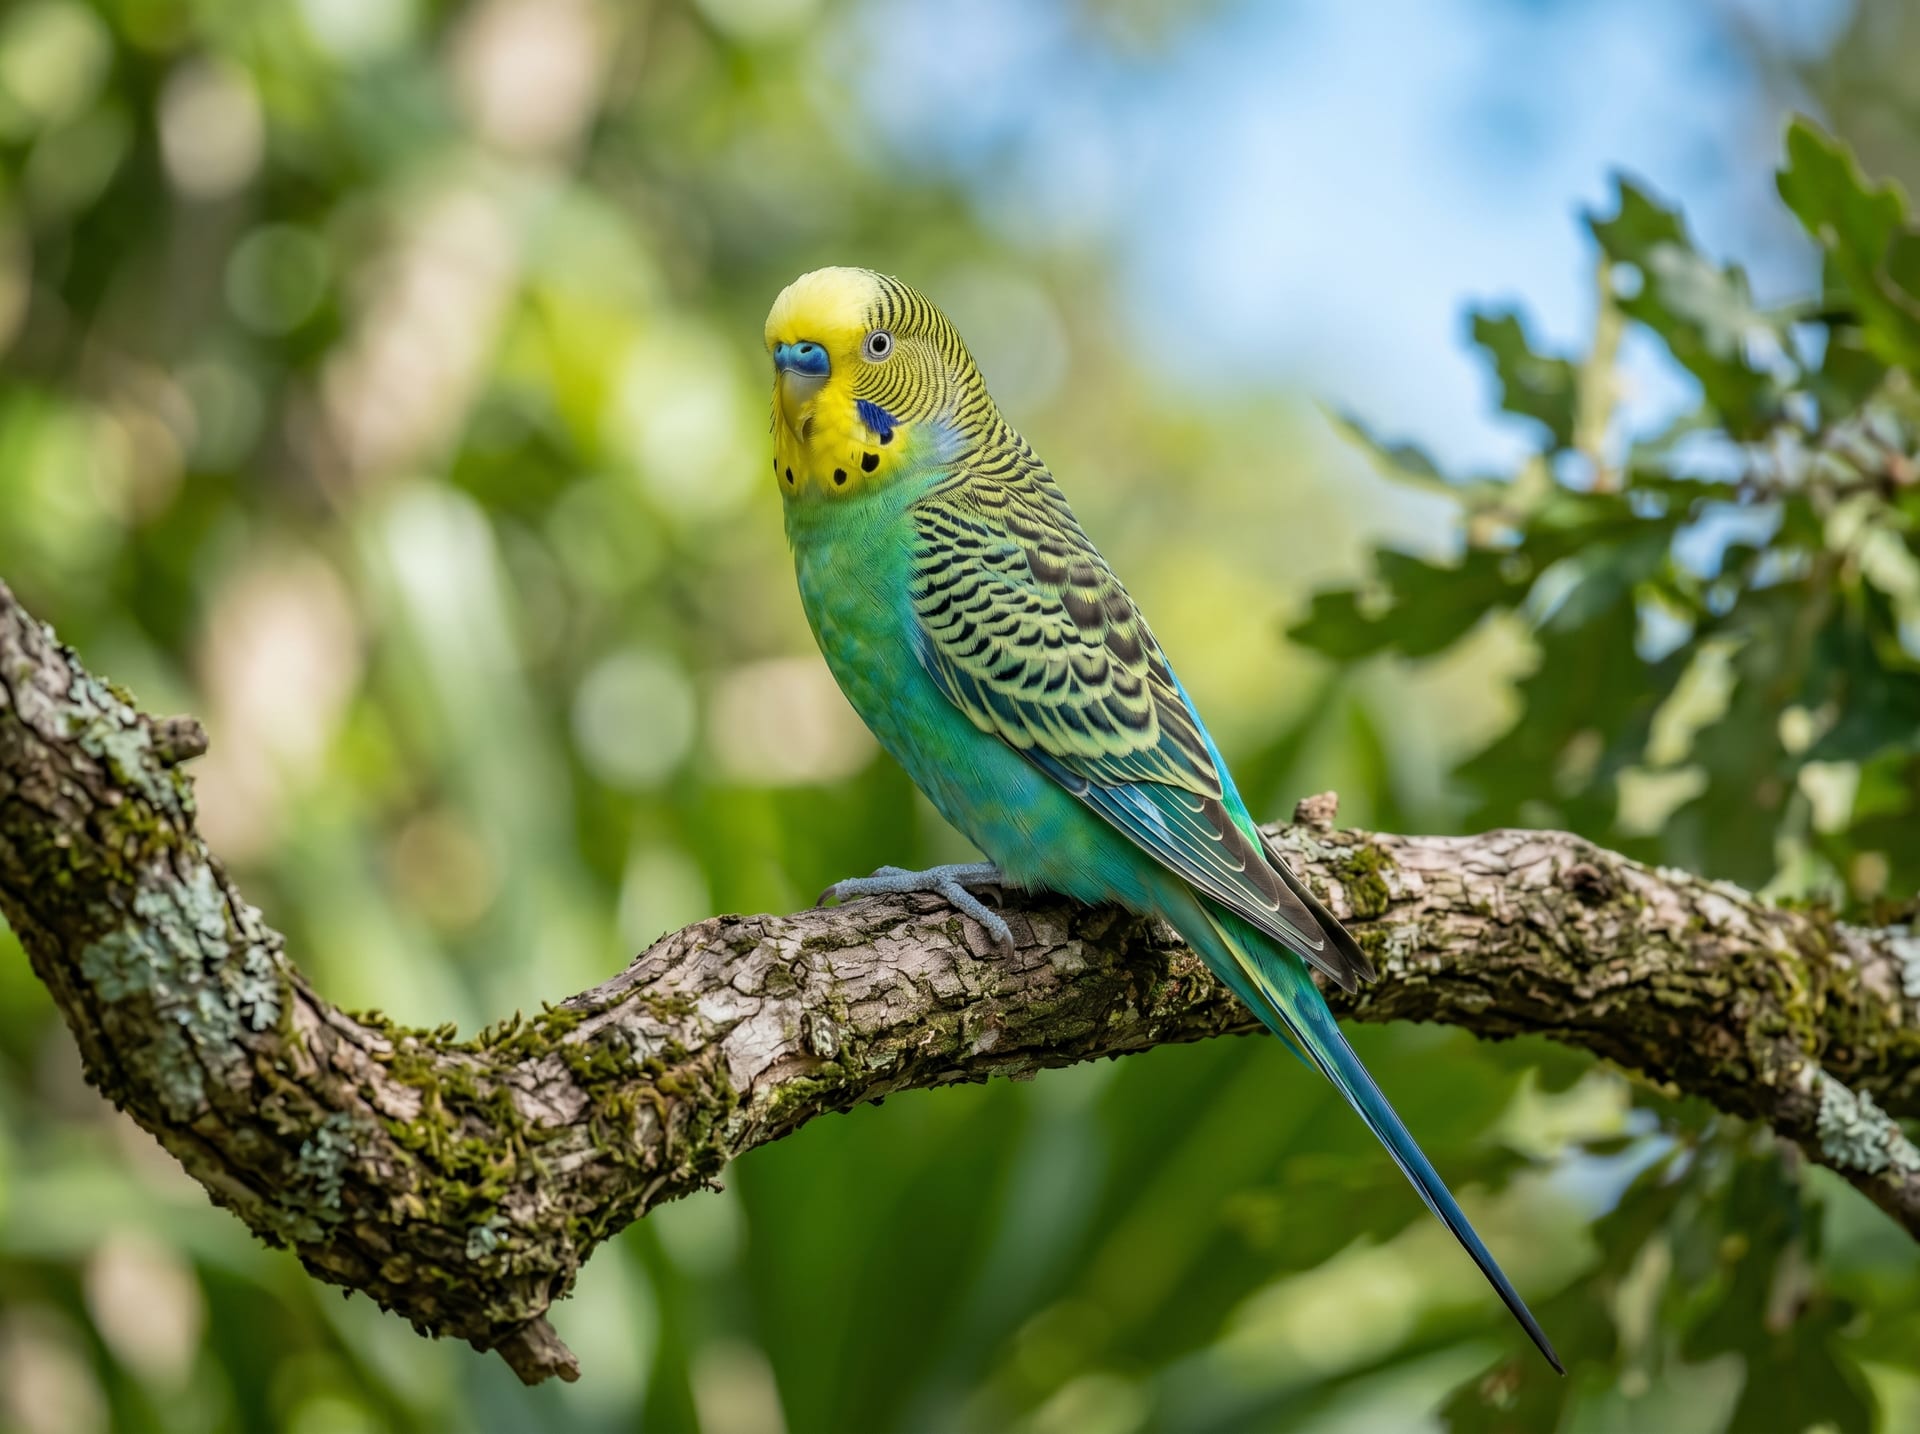
Budgerigars are known to be relatively easy to breed among birds, and with proper environment and management, even beginners can attempt breeding. However, to increase success rates and maintain the health of both parent birds and chicks, appropriate management tailored to each stage is essential. This article provides a detailed explanation of the entire process from pair bonding to fledging.
Breeding Conditions and Preparation
Optimal Breeding Period
Budgerigar breeding is possible year-round, but in nature, spring (March–May) and autumn (September–November) are the primary breeding seasons. In indoor environments, changes in daylight hours often trigger breeding, making lighting management crucial.
Optimal Breeding Conditions:
- Temperature: 18–25°C
- Humidity: 50–60%
- Light: 12–14 hours/day (breeding promotion) or 10–12 hours (rest period)
- Parent bird age: 1 to 5 years old (first breeding ideally at 1.5–2 years)
Times to Avoid Breeding: During extreme heat in summer (35°C and above) and extreme cold in winter, chick survival rates decline, so breeding should be avoided or strict temperature management must be implemented.
Selecting a Breeding Pair
Determining Sex: The sex of mature budgerigars can be determined by the color of the cere (the waxy skin above the beak).
| Sex | Cere Color | When in Heat |
|---|---|---|
| Male | Blue/purple-blue | Turns bright blue |
| Female | White/pale beige | Turns brown/dark brown |
Checking Compatibility: Observe the pair in the same cage or adjacent cages for several weeks. Good compatibility is indicated by behavior such as huddling together, preening each other, and calling to each other. If they constantly chase or attack each other, they are not suitable for breeding.
Checking Health Status:
- Body weight within standard range (30–40g)
- Feathers are glossy and not ruffled
- Good appetite
- Normal droppings (greenish-white feces)
Nest Box Setup
Selecting a Nest Box
A vertical wooden nest box is optimal for budgerigars.
Recommended Dimensions:
- Depth: 20cm or more
- Width: 15cm or more
- Height: 25cm or more (for vertical boxes)
- Entrance hole diameter: 5–6cm
Nesting Material: Line the box with 5–7cm of wood shavings or sawdust. Avoid soft materials like cotton fibers, as they can become tangled around the chicks' feet.
Placement and Angle
- Install at the highest position in the cage
- Position the entrance away from the room's wall for easier observation
- Install horizontally, not tilted, to prevent eggs from rolling
- Do not open the nest box lid to peek inside during the first few days until the birds adjust
Managing Egg-Laying and Incubation
Signs of Egg-Laying
The following signs appear 1–2 weeks after introducing a pair to a cage with a nest box:
- The female frequently enters and exits the nest box
- The male regurgitates food to feed the female (courtship feeding)
- The female's cere turns dark brown
- Mating behavior is observed (lasting only a few seconds)
Clutch Size and Hatching Timing
Budgerigars typically lay 4–8 eggs, with one egg laid every 1–2 days.
Hatching Timeline:
- Incubation begins: Full incubation starts around the 2nd or 3rd egg
- Hatching: Approximately 18–20 days from the first egg
- Completion of hatching: Ranges over several days to a week
Points to Note During Incubation:
- Do not open the nest box unnecessarily (weekly checks are sufficient)
- Maintain a quiet environment where parent birds can incubate comfortably
- Protein-rich diet: Add millet sprays, boiled egg (finely crumbled), Nekton-S, etc.
Handling Infertile Eggs
If eggs do not hatch more than 25 days after incubation begins, they may be infertile. Consider removing 1–2 eggs to reduce the burden on the parent birds. However, removing all eggs at once will trigger another clutch and burden the parents further.
Raising Chicks and Managing Fledging
Observation Points After Hatching
Once chicks hatch, check them quickly through a small window daily.
Signs of Healthy Chicks:
- Skin is reddish-translucent and plump
- The crop is full of food (milky substance)
- Movements are vigorous
Signs of Problem Chicks:
- Crop remains empty for extended periods (insufficient feeding)
- Body is cold (low body temperature/not being brooded by parents)
- Development is significantly delayed (large differences between individuals)
Starting Hand-Feeding
Ideally, let the parent birds do the feeding, but hand-feeding is necessary in these cases:
- Parents abandon the chicks
- Parents appear weak or malnourished
- Early taming is desired
Hand-feeding Start Time: Usually begins around 10–14 days after hatching (when eyes open and feathers start growing).
Preparing Hand-feeding Formula:
- Mix commercial hand-feeding powder with lukewarm water (38–40°C)
- Consistency should be like a thick soup (creamy)
- Feed using a feeder (rubber or metal syringe) about 2–5mL per feeding
- Prepare fresh formula for each feeding (no pre-made batches)
Managing the Transition from Fledging to Independent Feeding
Timeline:
- 30–35 days after hatching: Feathers fully grown, begins flying (fledging)
- 45–50 days: Begins eating pellets and millet on its own, gradually
- 50–60 days: Transitions to fully independent eating (gradually reduce hand-feeding)
Weight Management is Critical: When transitioning to independent feeding, weigh daily to ensure the bird maintains 30g or more. If weight drops below 30g, continue hand-feeding.
Steps to Transition to Independent Feeding:
- After fledging, keep millet sprays, pellets, and canary seed constantly available in the cage
- Reduce hand-feeding from 3 times daily → 2 times → 1 time
- Stop hand-feeding completely once weight stabilizes
Post-Breeding Rest for Parent Birds
Risks of Continuous Breeding: Budgerigars have high breeding drive, and some begin laying eggs again before the chicks fledge. This increases the risk of egg binding, malnutrition, and excessive egg-laying.
Managing Breeding Intervals:
- Maximum 2 clutches per breeding season
- Minimum 4–6 week rest period between clutches
- Maximum 4–5 clutches per year as a guideline
- Remove the nest box after fledging to terminate breeding mode
Summary
Successful budgerigar breeding requires five essential steps: selecting healthy pairs, proper nest box installation, maintaining quiet conditions during egg-laying and incubation, monitoring chick development, and carefully transitioning to independent feeding. By avoiding excessive breeding that burdens parent birds and maintaining appropriate intervals between breeding cycles, you can consistently produce healthy individuals over the long term.