Killifish Egg Storage and Management Guide | Annual Fish Dormant Egg Techniques
Guide to storing killifish eggs. Learn dormant egg management for annual killifish, peat moss storage methods, and hatching timing.
Key Takeaways
Guide to storing killifish eggs. Learn dormant egg management for annual killifish, peat moss storage methods, and hatching timing.
Related Species
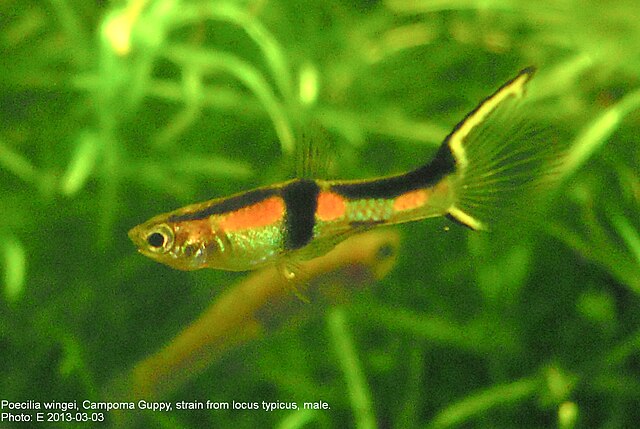
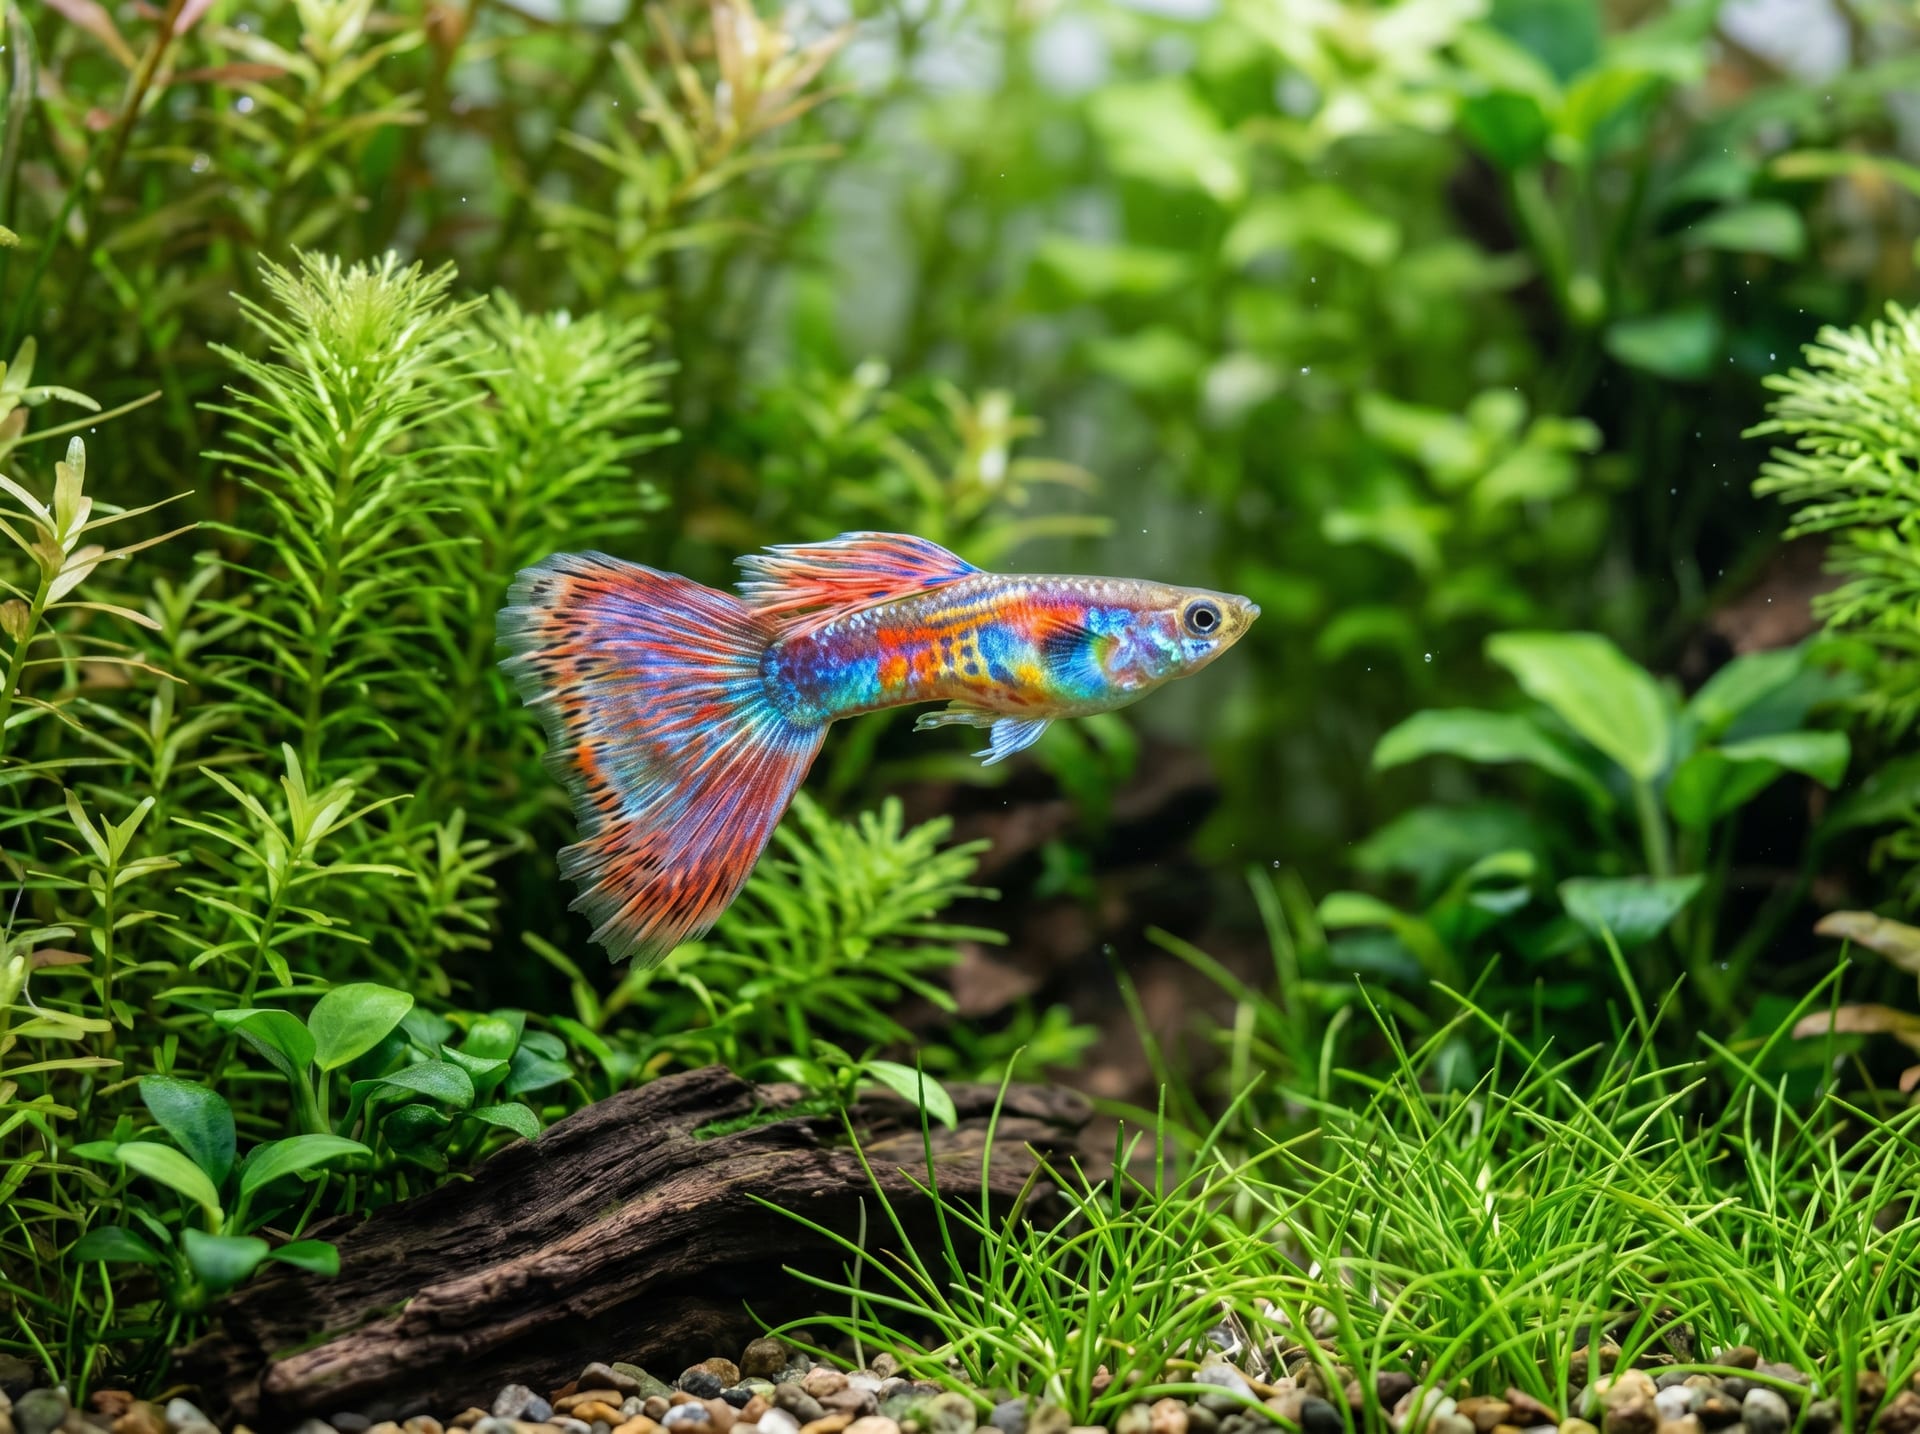
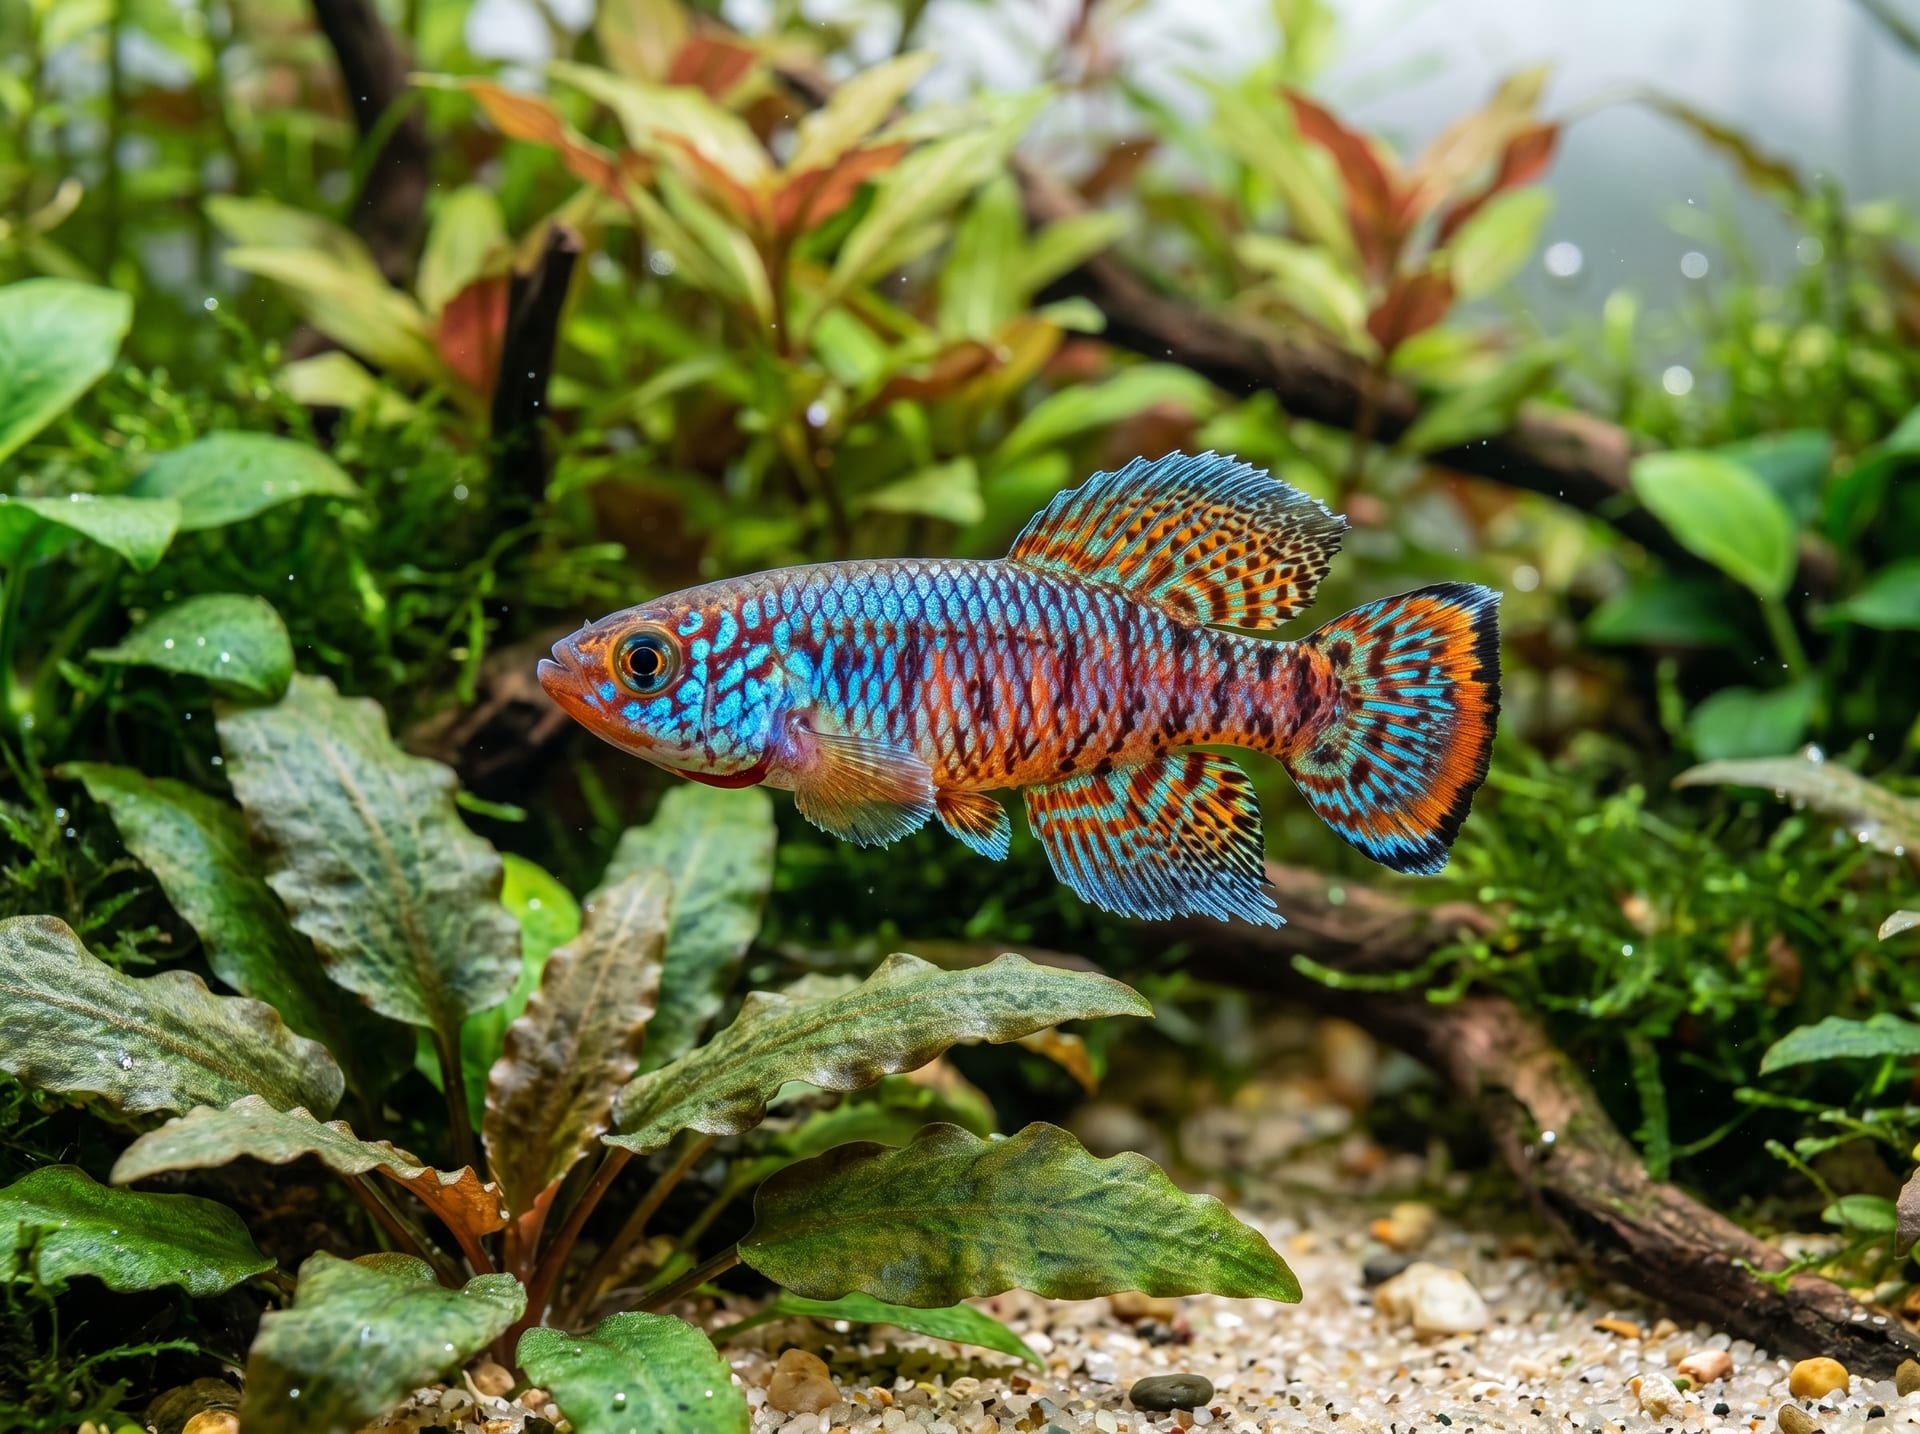
Among killifish, a group known as "annual fish" possesses a remarkable survival strategy adapted to harsh natural environments. In the dry season, water bodies completely disappear and all adult fish perish, yet their eggs remain dormant in the soil, only to spring back to life when the rainy season returns—recreating this dramatic life cycle in a home aquarium is the greatest appeal of keeping annual fish. This article guides you through each step from egg collection to storage and hatching, in a format that even beginners can follow.
What Are Annual Fish?
Annual Killifish are a group of killifish native to tropical regions of East-Central Africa and South America. They inhabit environments called "temporary water bodies"—shallow pools and puddles that form only during the rainy season.
When the rainy season arrives, eggs hatch, and fry grow into adults in just a few weeks. After spawning, the adult fish die as the dry season approaches. However, their eggs enter "dormancy (diapause)" within the soil, maintaining minimal life activity for months—sometimes over a year. When water returns the following rainy season, they hatch en masse—by repeating this cycle yearly, they earned the name "annual fish."
This trait makes it possible to transport eggs via mail packed in peat moss. Compared to transporting live fish, costs are lower and delivery over long distances is safer, making eggs popular among killifish enthusiasts both domestically and internationally. In recent years, SNS and online communities have fostered a culture of egg exchange among hobbyists, making them relatively easy to obtain for beginners.
Representative Annual Fish Species
Numerous genera and species of annual fish exist. Here are some popular starter species.
Nothobranchius Genus
Distributed primarily in East Africa. Males display extremely vibrant coloration, with red, blue, yellow, and orange often blending intricately. They have relatively low care difficulty and dormancy periods of 3–6 months typically, making them ideal for beginners. Representative species include Nothobranchius lacustris and Nothobranchius furzeri.
Austrolebias Genus
Distributed in South America's Río de la Plata system. Large species are common, with mature individuals reaching 7–10 cm. Coloration tends toward subdued metallic blue or green, combining subtlety with beauty. Dormancy periods are relatively longer, typically 4–8 months.
Simpsonichthys Genus
Small annual fish predominantly found in eastern Brazil. With body lengths of 3–4 cm, they are easy to manage in aquariums and attractive for their vibrant coloration. If water quality is properly maintained, they spawn readily.
All these genera share a trait common to killifish overall: "short lifespan but rapid generational turnover." Once you master egg management, you can enjoy repeated spawning cycles—a major appeal of keeping annual fish.
Setting Up Spawning Conditions and Egg Collection
Successfully spawning annual fish requires preparing a spawning substrate mimicking natural conditions.
Preparing the Spawning Substrate
- Prepare peat moss: Use pesticide-free varieties available at large garden centers and aquarium shops.
- Sterilize by boiling: Boil peat moss for 10–15 minutes to eliminate unwanted bacteria and insects. Allow it to cool completely.
- Set in spawning container: Layer peat moss 2–3 cm deep in a shallow plastic container or small box, then add aquarium water to moisten it.
Introducing the Pair and Spawning
Move both male and female into the container with the spawning substrate. With a healthy pair, you'll observe within hours the male guiding the female into the peat moss, both diving in together to spawn. Allow them to spawn continuously for 1–2 weeks, then remove the peat moss.
Confirming Eggs and Adjusting Moisture
Gently squeeze the peat moss by hand to remove excess water. The goal is "damp soil"—it holds shape when squeezed but doesn't drip water. Using a magnifying glass or loupe, you'll see 1 mm diameter eggs, transparent to milky white in color.
Egg Storage (Incubation) Methods
The egg storage phase is the most critical step in annual killifish keeping. Proper conditions greatly impact hatch rates.
- Container: Ziplock bags are most common. Seal with a little air remaining—not completely airtight.
- Labeling: Write "species name, collection date, and estimated hatch release date" on the bag with permanent marker. Keeping a record in your phone's notes app helps manage multiple species simultaneously and prevents confusion.
- Storage temperature: 22–25 °C in a stable, dark location is ideal. Avoid places with large temperature fluctuations.
- Dormancy period: Varies significantly by species. For Nothobranchius, expect 3–6 months; for Austrolebias, 4–8 months.
- Air exchange: Open the bag approximately once every two weeks to allow fresh air circulation. If mold appears during long-term storage, carefully remove it without damaging eggs.
During storage, ensure the peat moss never dries completely. Over-dry conditions can kill eggs. A light misting with water is sufficient for replenishment. Conversely, excess moisture promotes mold and bacterial growth, so maintaining that "damp soil" balance is key.
Hatching Triggers and Fry Management
Once the dormancy period ends, the hatching stage begins.
Hatching Method
- Place the peat moss directly into hatching water (a tank or bucket).
- Set water temperature to 24–26 °C.
- Hatching begins within hours to 24 hours.
If hatching doesn't occur, don't panic. Squeeze the peat moss, return it to the bag, allow it 2–4 additional weeks of dormancy, then try again. Hatching often succeeds on the second or third attempt. Annual fish eggs exhibit "staggered hatching," where not all eggs hatch simultaneously to spread risk.
Early Fry Care
Newly hatched fry are extremely small; initial foods include brine shrimp nauplii and microworms. They are sensitive to water parameter changes, so perform frequent, small water changes. Annual fish grow quickly—with proper care, they reach spawning size in 1–2 months. Unlike livebearing and egg-laying killies, mature annual fish have a distinct lifespan cycle, so keeping cultivation records helps you time next-generation spawning more accurately.
The Safety and Trust Behind BreederDirect
With BreederDirect, you can connect directly with breeders selling killifish eggs. Egg shipment causes far less stress than live fish transport, and eggs can be safely delivered nationwide—from Hokkaido to Okinawa.
You can review breeder profiles and transaction histories before purchasing, making it safe even for first-time annual killifish egg buyers. You can ask breeders direct questions like "How long is the dormancy period for this species?" or "When were these eggs collected?"—ensuring you receive eggs with full knowledge of post-purchase care.
Annual killifish keeping may seem challenging at first, but once you grasp the basics, even beginners can enjoy it. Start by obtaining quality eggs from BreederDirect and begin your own killifish breeding adventure.