Medaka Egg Management & Fry Care — Tips to Improve Hatch Rate
Managing medaka eggs from collection to hatching, plus fry care including feeding, water quality, and stage-specific management.
Key Takeaways
Managing medaka eggs from collection to hatching, plus fry care including feeding, water quality, and stage-specific management.
Breeding medaka is relatively straightforward, but egg management and fry rearing require specific techniques. Newly hatched fry (called "needle fry" or hariko) are extremely delicate, and many will be lost without proper care. This article provides a detailed guide from egg collection through to the stage where fry become stable.
Egg Collection Methods
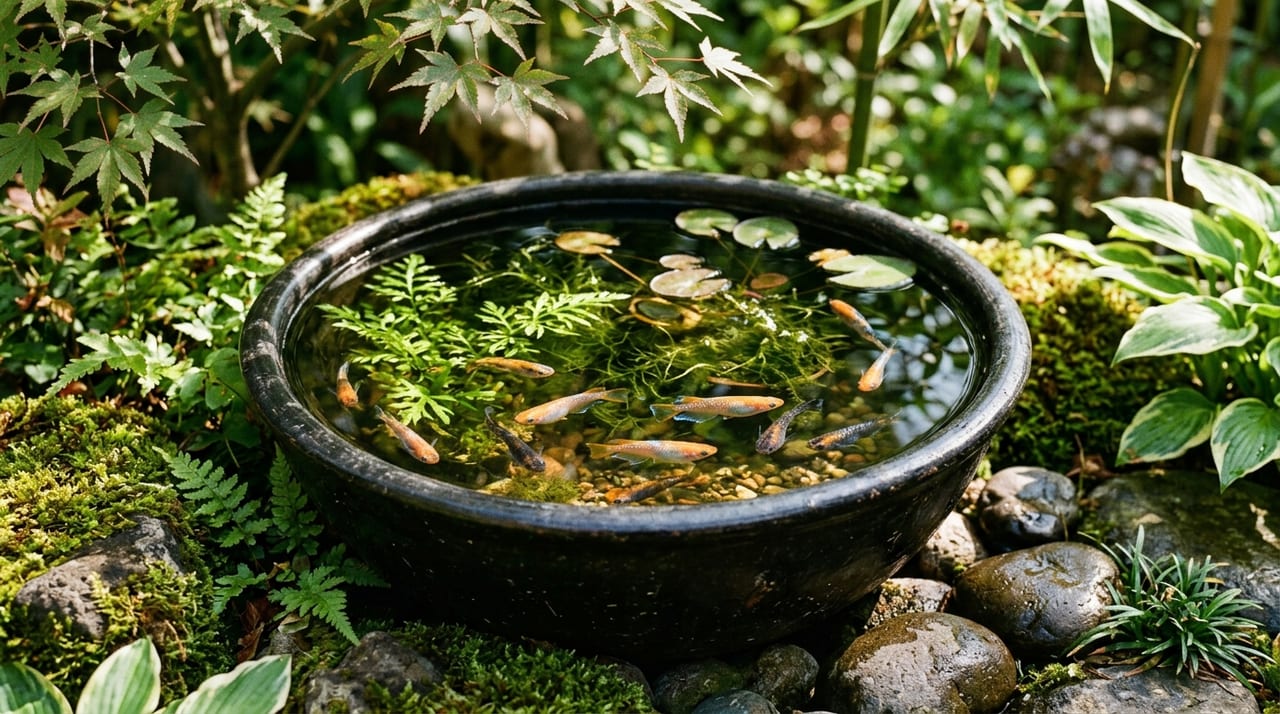
Medaka begin spawning when water temperature exceeds 20°C and daylight hours reach 13 or more. Females produce eggs in the morning, carrying them attached to their abdomen for a while before depositing them on aquatic plants or spawning mops.
Types of spawning beds: Water hyacinth roots are the most preferred natural spawning bed. Artificial spawning mops (made from palm fiber or sponge) are convenient and easy to collect. Handmade mops from bundled yarn also work well.
Egg collection: Remove the entire spawning bed from the parent tank and transfer it to a separate container. You can also pick eggs off individually with your fingers. Medaka eggs are surprisingly firm and will not burst when gently pinched. If adhesive threads are present, gently roll them between your fingertips to separate the eggs.
Why separate from parents: Adult fish will eat their own eggs and hatched fry. Always manage eggs in a separate container.
Egg Management
Container: Shallow plastic containers or food storage containers are easy to work with. A water volume of 500 ml to 1 liter is sufficient.
Water: The key tip is to use untreated tap water directly. The chlorine has a sterilizing effect that prevents fungal growth (water mold) on the eggs. Tap water chlorine is harmless to eggs, but switch to dechlorinated water as hatching approaches.
Water temperature and hatching time: Hatching time can be estimated as "250 divided by water temperature (°C)." At 25°C, eggs hatch in about 10 days; at 30°C, in about 8 days. Higher temperatures speed hatching, but temperatures above 30°C increase the rate of deformities.
Daily management: Remove infertile eggs (those that turn white and cloudy) as soon as they are found. Leaving infertile eggs causes water mold to develop and spread to nearby fertile eggs. Fertile eggs are transparent, and eyes become visible inside after a few days. Change the water every 2-3 days to keep it clean.