Medaka Breeding Container DIY & Guide | Styrofoam & Plastic Trough Modifications
Learn how to modify Styrofoam boxes, build drainage systems for plastic troughs, and create DIY rain and sun protection.
Key Takeaways
Learn how to modify Styrofoam boxes, build drainage systems for plastic troughs, and create DIY rain and sun protection.
Related Species
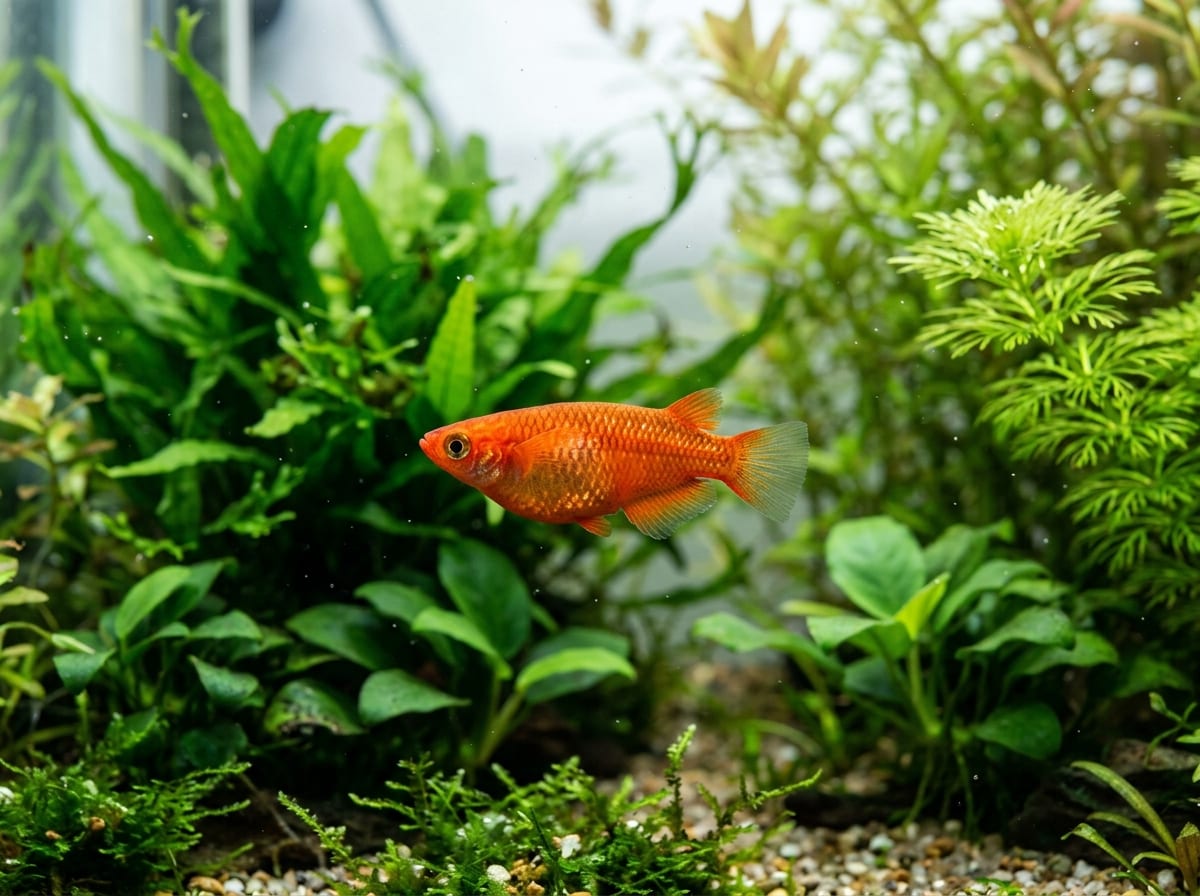
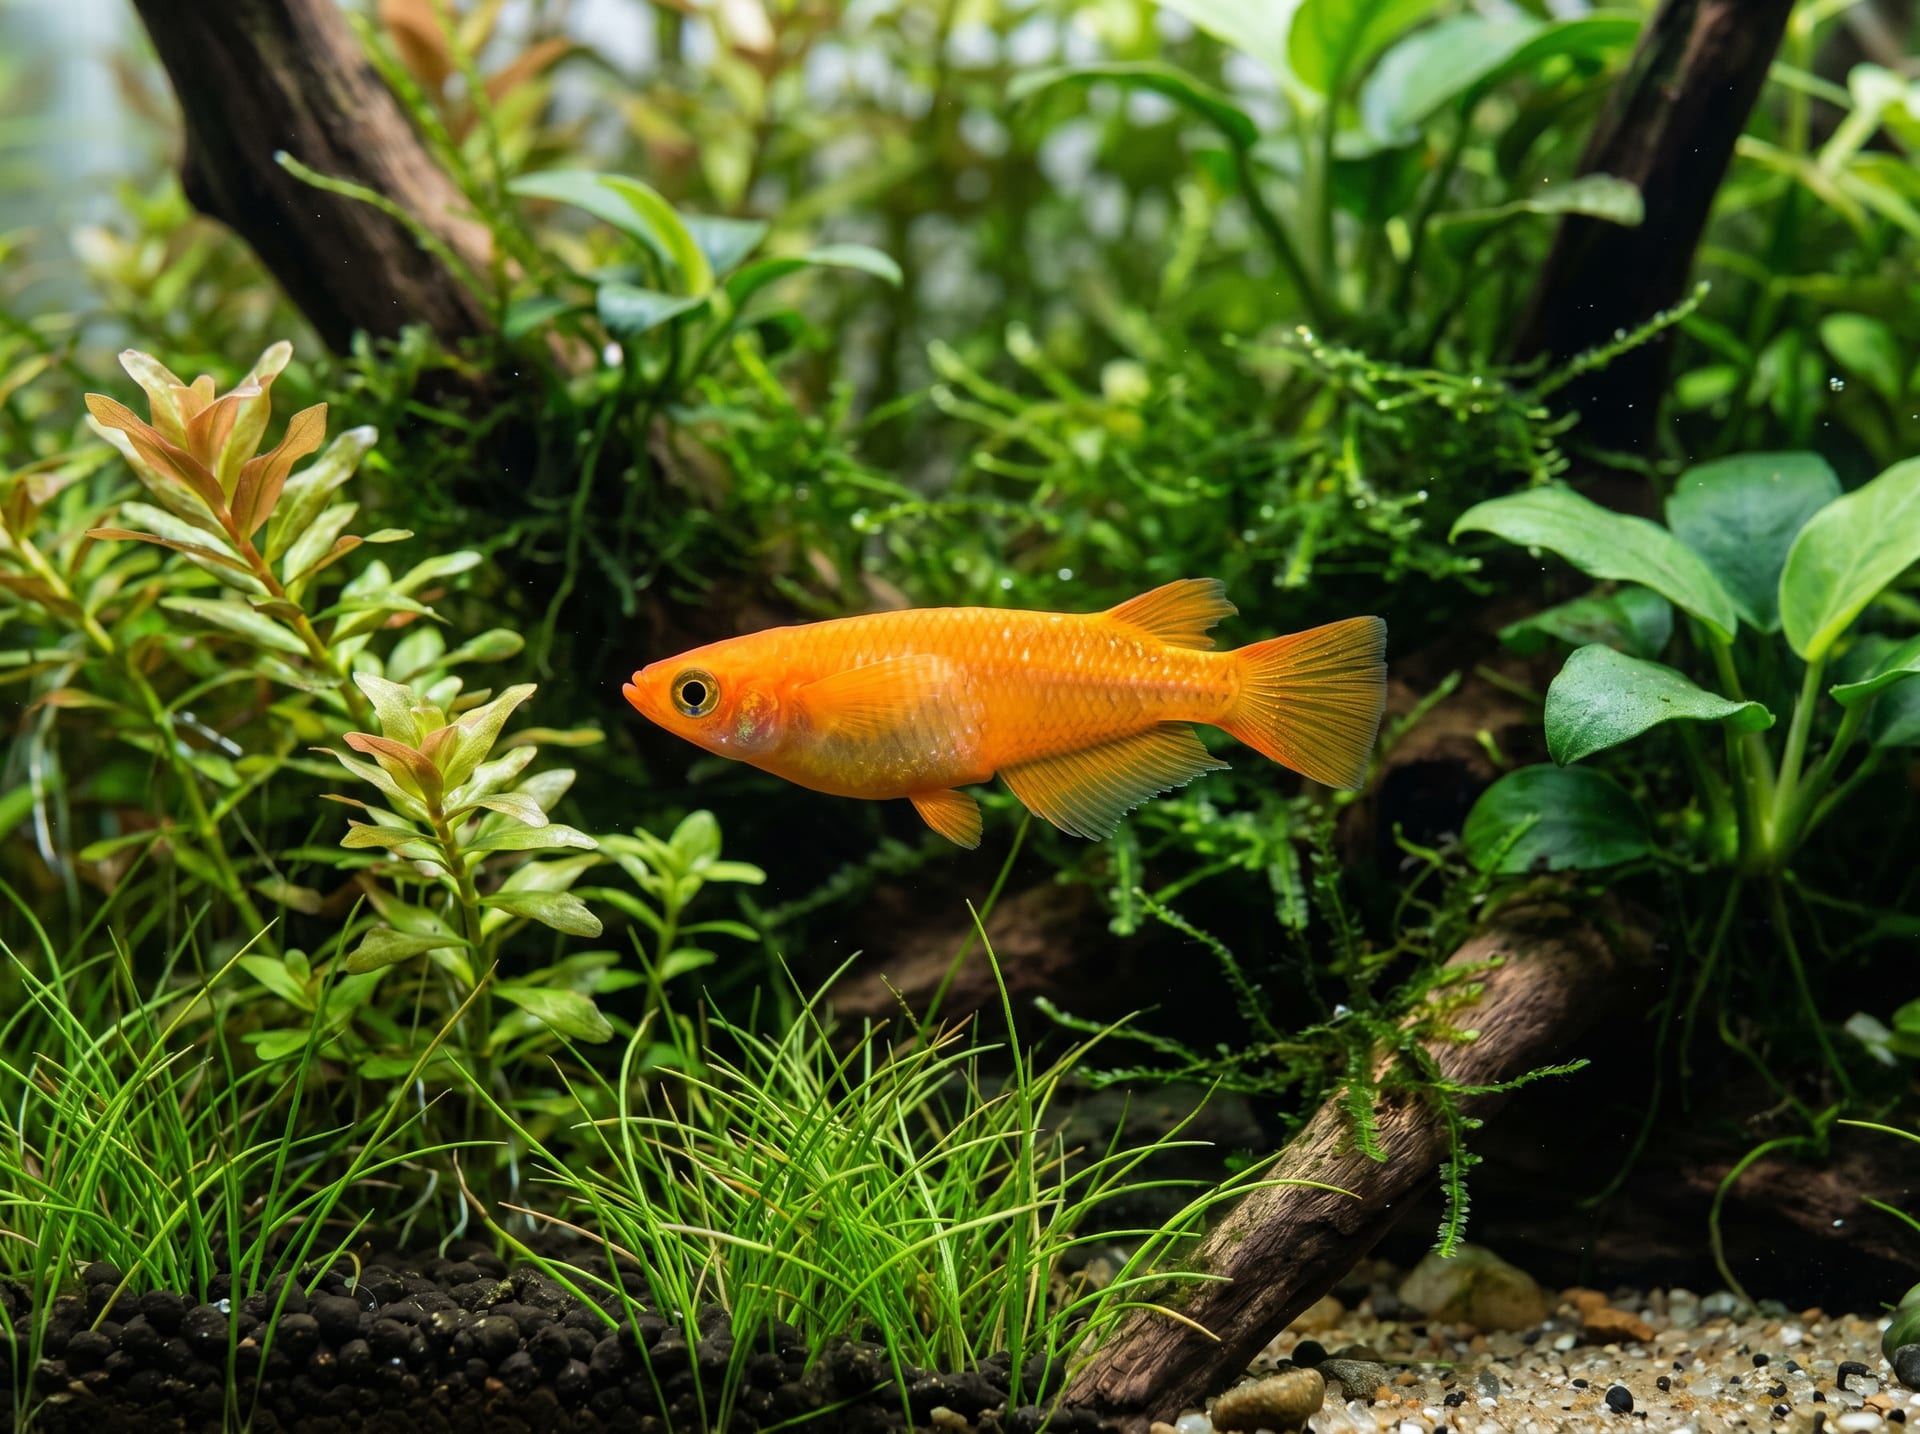
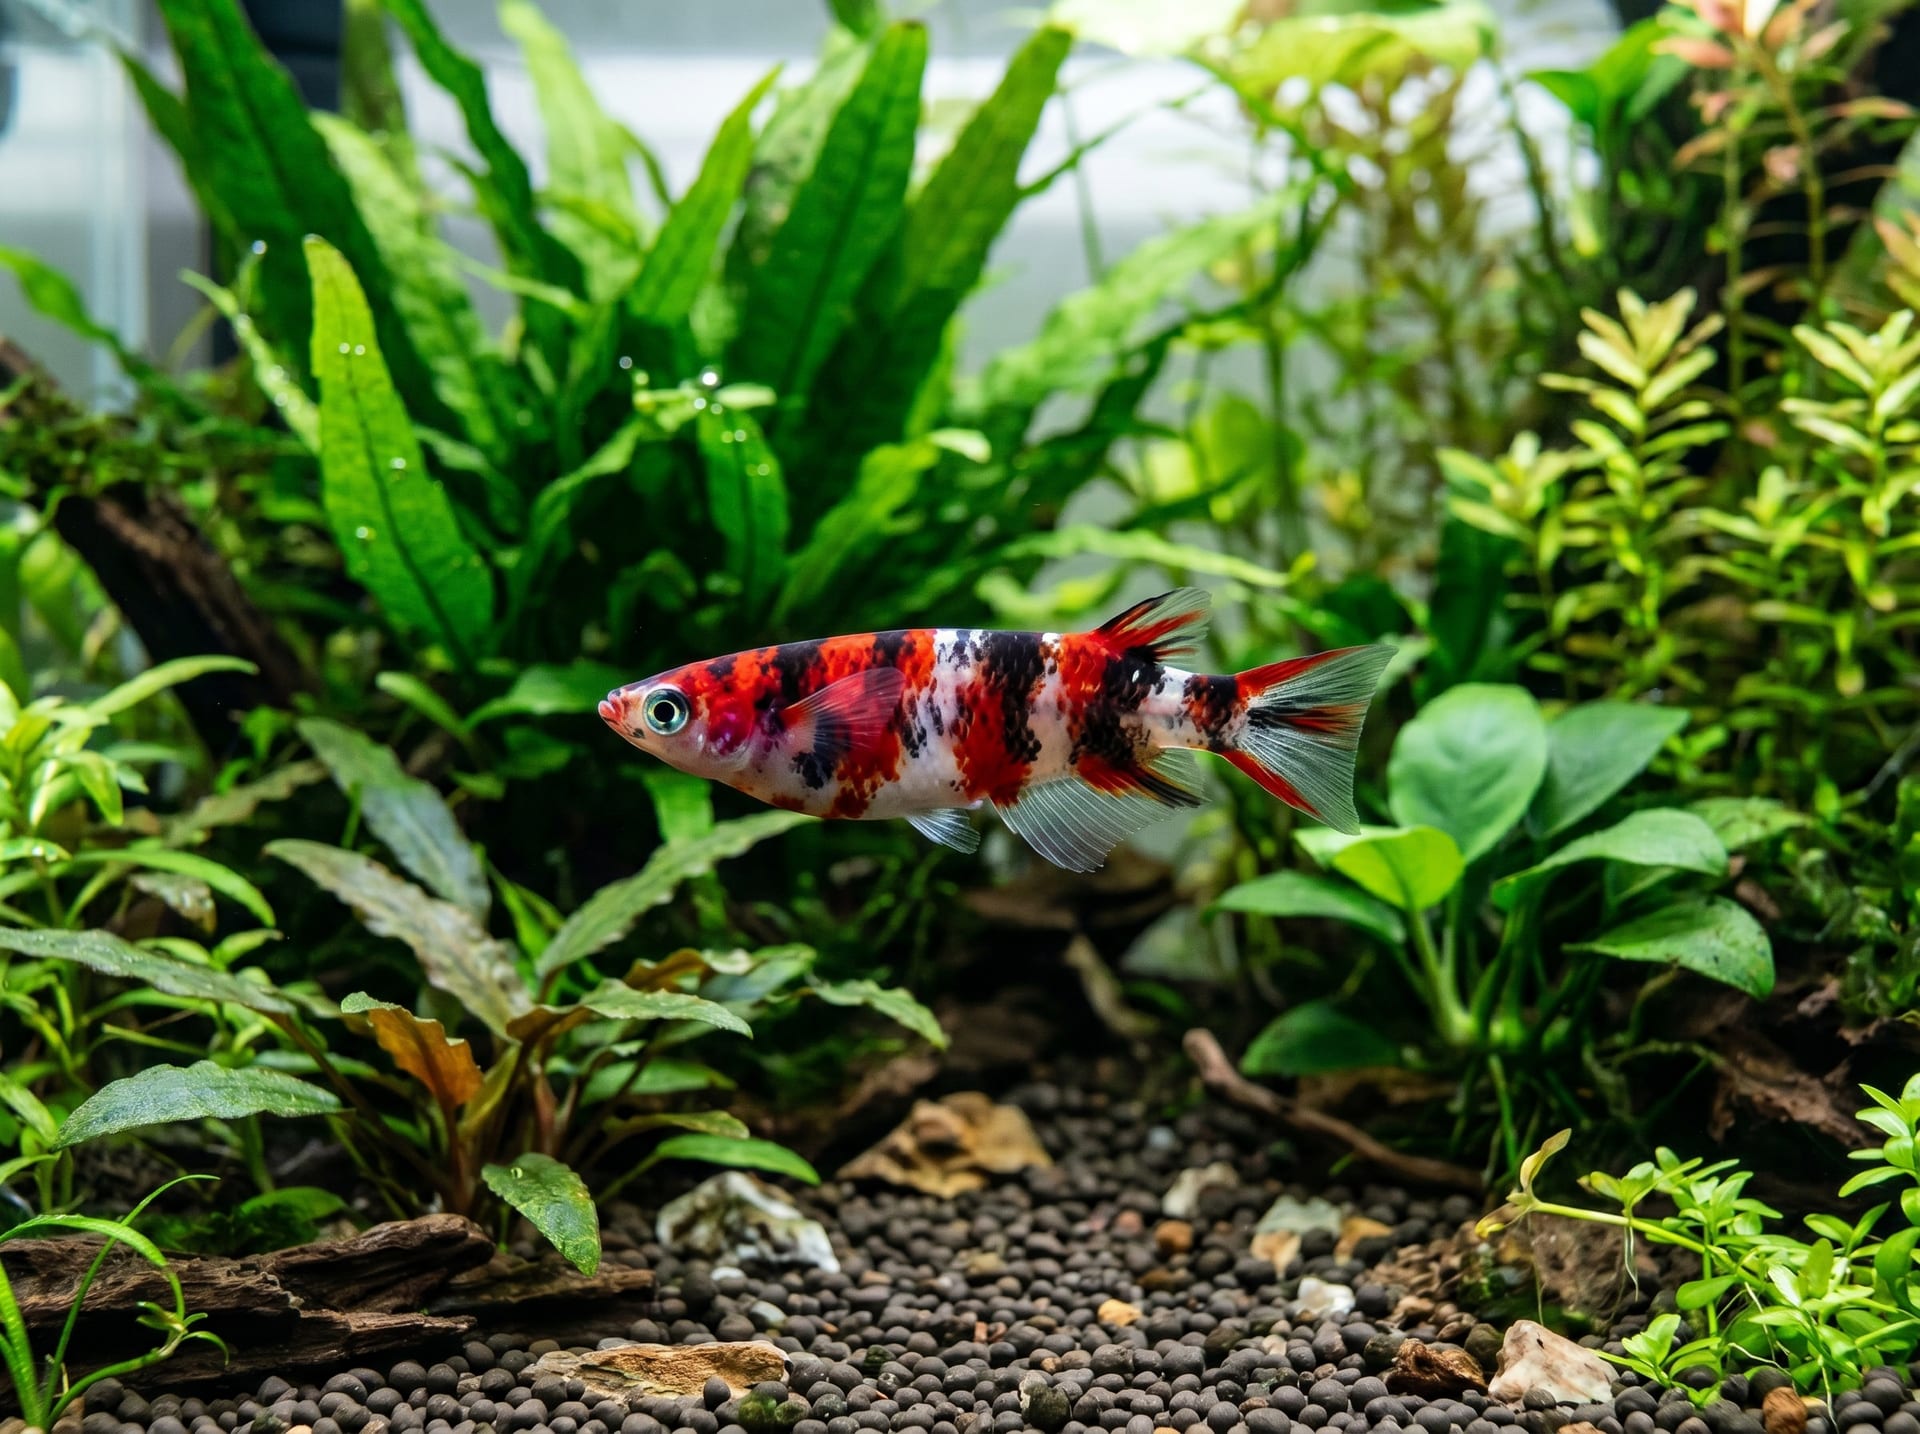
While you can buy commercially available medaka breeding containers, DIY construction allows you to create an ideal environment tailored to your breeding style at a fraction of the cost. Outdoor breeding in particular tends to require many containers, and purchasing all commercial products can become quite expensive. For breeders raising multiple varieties like Himmedaka and tri-color medaka in parallel, whether you can construct containers yourself has a major impact on breeding costs. This article provides practical DIY guidance covering everything from modifying Styrofoam boxes to building drainage systems for plastic troughs and creating rain and sun protection.
How to Use Styrofoam Boxes as Breeding Containers
Styrofoam boxes are an excellent material for medaka breeding. They offer excellent insulation, are lightweight, and can be obtained free or very inexpensively.
- Where to find them: Available free to around 100 yen at supermarket fish counters or home improvement stores. Fish vendors may also give you large boxes if you ask.
- Washing and preparation: If fish odor remains, rinse several times with water and air-dry in the sun. Never use detergent.
- Sizing guide: Boxes at least 40cm wide can house approximately 5-10 medaka. Larger boxes maintain more stable water quality.
- Interior color: White Styrofoam reflects light and can wash out medaka coloration. Line the interior with black waterproof sheeting or use black Styrofoam containers designed for medaka.
- Reinforcement: Thin Styrofoam may bulge under water pressure. Reinforce the exterior with plastic crates or wooden frames for added safety.
- Drainage holes: Drill drainage holes at water level to prevent overflow from rainfall. Cover holes with mesh netting to prevent medaka from escaping.
The biggest advantage of Styrofoam boxes is their insulation. They buffer temperature rises from summer sun and protect medaka from winter cold. They're also remarkably cost-effective, making them essential for breeders raising multiple varieties.
Plastic Trough (Toro-fune) Modification Techniques
Plastic troughs are the most popular containers for outdoor medaka breeding. While they work fine as-is, minor modifications can dramatically improve usability.
- Building a drainage system: Install a valve socket at the lower side of the trough and attach a drain valve. This allows you to drain water without lifting the heavy trough during water changes.
- Installing the valve socket: Use a hole saw (circular drill bit) to drill a hole in the trough's side, then attach the valve socket with gasket sealing. Apply silicone sealant for waterproofing.
- Installing an overflow pipe: Mount PVC pipe at water level height to automatically drain excess water during rain. Install mesh netting at the pipe's end to prevent medaka from escaping.
- Adding dividing panels: Create compartments inside large troughs using acrylic or plastic panels to manage multiple strains in one container. This is useful when you want to keep different strains separate—like Daruma medaka and standard-form Himmedaka—to prevent unwanted crossbreeding. Drill holes to share water while keeping individual fish separated.
- Bottom slope: Tilt the trough slightly by inserting a thin board under one side. Debris will collect on one side, making cleaning easier.
- Building a stand: Elevate the trough using concrete blocks or wooden racks to improve your working posture and reduce heat loss from the ground.
Installing a drain valve is the most practical modification. A 60-liter trough holds about 60kg of water, and lifting it for every water change is exhausting work. A single valve can dramatically reduce the burden of water changes.
DIY Rain and Sun Protection
When breeding outdoors, protection from rain and direct sunlight is essential. Simple DIY solutions are highly effective.
- Building a corrugated roof: The most common approach is using polycarbonate corrugated panels available at home improvement stores. Build a frame from wood or Elekiter pipe and secure the panels with screws.
- Using reed screens (sudare): Japanese reed screens are ideal traditional sun shade material—they filter light while blocking direct rays. Simply placing them over your trough is effective.
- Shade cloth: Agricultural shade cloth (50-70% light blocking rate) stretched over a frame offers good air circulation and prevents moisture buildup.
- Simple plastic greenhouse: Build a small vinyl greenhouse from Elekiter pipe and plastic sheeting to provide both rain protection and winter insulation.
- Homemade covers: Create covers from dollar-store wire mesh with insect screening attached using cable ties. This also protects against predators like cats and crows.
- Adjustable sun shade: Mount shade panels to posts with hinges to adjust the angle for seasonal light levels.
The key concern with rain protection is preventing sudden water quality changes from rainwater influx. Acid rain is harmful to medaka, and sudden temperature drops occur when large amounts of rainwater enter at once. Even if you can't completely prevent rain entry, combining a rain barrier with an overflow pipe minimizes damage.
Maximizing Breeding Space with Homemade Shelves and Racks
Managing many containers in limited space requires effective use of shelves and racks.
- Building wooden racks: The most popular method uses 2x4 lumber and L-brackets. Apply preservative to ensure outdoor durability and use thicker shelving to support the load.
- Elekiter pipe racks: Build shelves from resin-coated metal pipes. They're lightweight, rust-resistant, and reconfigurable.
- Concrete block shelves: The simplest option—stack concrete blocks and lay boards across them. Durable and inexpensive.
- Number of shelves: 2-3 shelves are most manageable. With 4 or more, upper shelf work becomes difficult and light doesn't reach lower levels.
- Weight capacity calculation: Water weighs 1kg per liter. Add the container's water volume and the container's weight, then ensure your shelf can handle it with a safety margin.
- Preventing tipping: Use L-brackets or wire to secure shelves to walls or fences to prevent tipping from earthquakes or high winds.
Consider sunlight when arranging shelves. Upper shelves receive better light while lower shelves are shadier, so you can position sun-loving varieties on top and delicate fry containers needing shade on the bottom.
Streamlining Water Changes and Feeding with DIY Solutions
As container numbers increase, maintenance efficiency becomes critical. Simple DIY solutions can dramatically cut work time.
- Centralized water distribution system: Store dechlorinated water in a large tank and distribute to each container via hose. Install the tank at an elevated point to use gravity for watering.
- Siphon drainage: Use siphon hoses to extract debris from the bottom of containers. Thicker hose tubing increases suction power.
- Automatic feeders: Install rotating automatic feeders on each container and use timers for synchronized feeding.
- Elephant watering can modification: Remove the shower head from a large watering can and attach thin hose tubing for precise watering.
- Drainage pathway: Create a water channel using vinyl sheets or gutters to direct drained water smoothly to a drain.
- Tool organization: Use tool boxes and wall-mounted hooks to keep supplies organized, saving time you'd otherwise spend searching.
Efficiency-focused DIY becomes essential once you have more than 10 containers. Planning layout and work flow with efficiency in mind from the start makes future work considerably easier.
Finding the Right Medaka for Your DIY Setup at BreederDirect
Once your breeding setup is ready, it's time to bring home medaka. At BreederDirect, you can purchase medaka directly from breeders who raise them with care. Show breeders photos of your custom setup to get expert advice on suitable varieties and stocking levels. From classic Himmedaka to improved strains like Daruma medaka, start an enriching medaka journey with your DIY environment and healthy medaka from trusted breeders.