Complete Guide to Hercules Beetle Breeding and Larval Care | Egg Laying Setup, Bedding Changes, Eclosion
Comprehensive guide to breeding Hercules beetles. From setting up egg-laying containers to managing larval substrate, controlling temperature and humidity, and achieving successful eclosion—complete procedures covered.

Key Takeaways
Comprehensive guide to breeding Hercules beetles. From setting up egg-laying containers to managing larval substrate, controlling temperature and humidity, and achieving successful eclosion—complete procedures covered.
Related Species
Before Starting Hercules Beetle Breeding
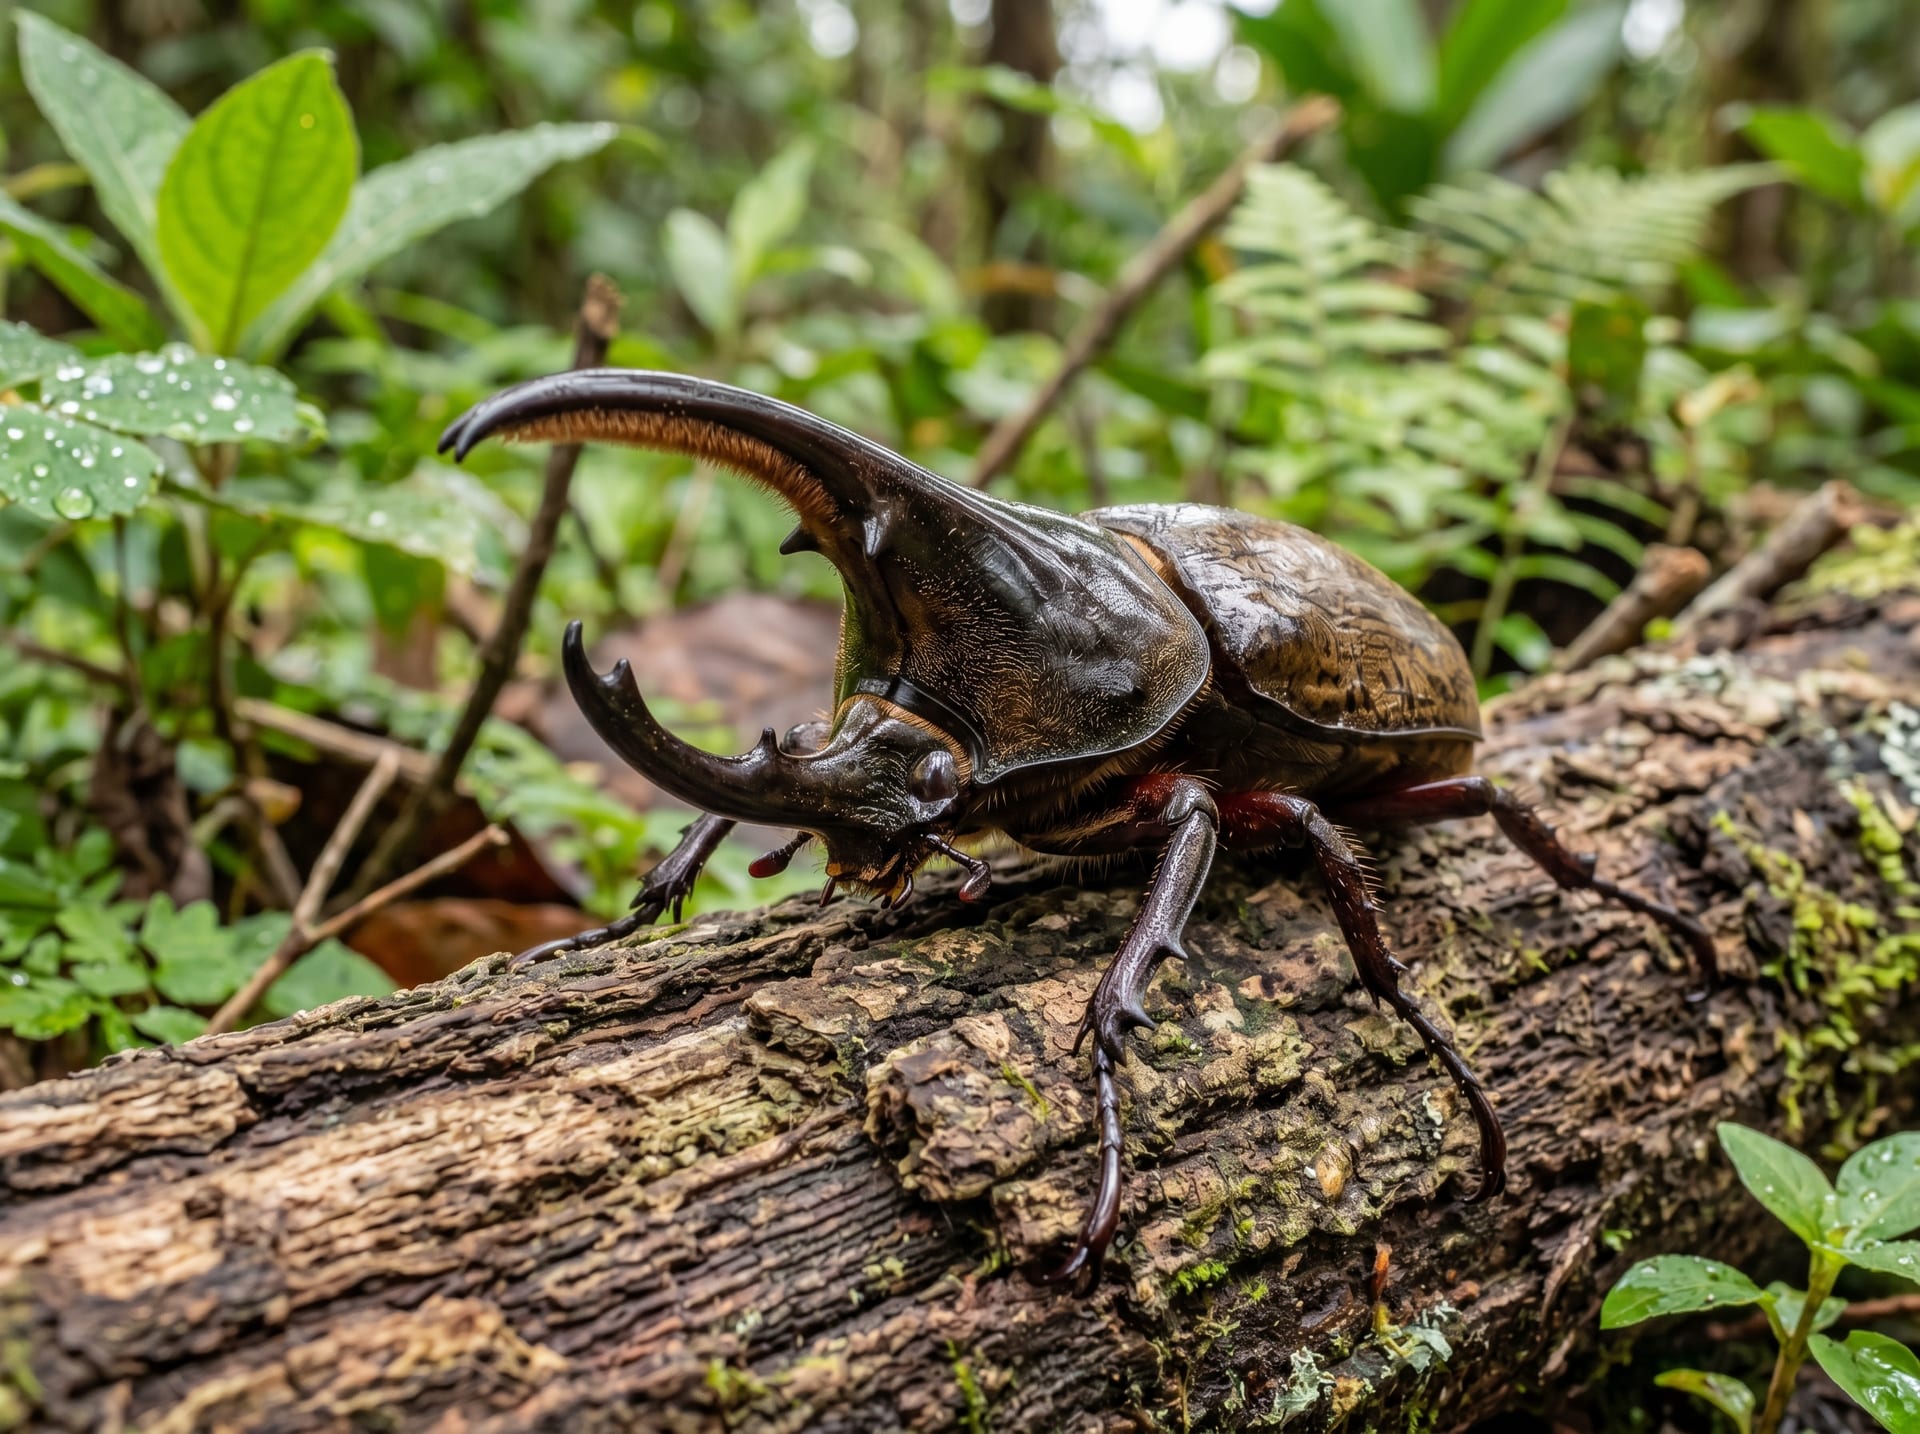
The Hercules beetle is the largest of the beetle family, earning the title "King of Insects" with its impressive body length. Its striking appearance makes it highly popular, and more and more breeders are taking on the challenge of breeding them each year. However, successful breeding and larval management require a deep understanding of the environmental conditions specific to their South American origins.
The key point to understand is that Hercules beetles undergo complete metamorphosis, meaning their environmental needs change dramatically across each life stage: egg → larva (instars 1–3) → pupa → adult. Since the larval stage alone takes 1–2 years or more, it's essential to prepare for the long term.
When obtaining a breeding pair, purchasing directly from a reputable breeder is your best option. With direct breeder sales, you get clear information on pedigree, eclosion date, and rearing history, making it easier to confirm the insect's health status. Even for first-time breeders, this gives you peace of mind to start confidently.
Setting Up the Egg-Laying Container
Required Materials
- Large plastic container (60L or larger recommended)
- Fermented substrate (beetle-grade, finely grained)
- Sufficient depth for females to burrow (minimum 20cm, ideally 30cm or more)
Setup Procedure
1. Preparing the Substrate Purchase commercially available, fully fermented substrate and remove it from the bag. Allow it to off-gas for 1–2 days. When you squeeze a handful of substrate, it should contain moderate moisture and crumble apart easily (moisture content 50–60%). Excessive moisture promotes mold and decay, so adjust carefully.
2. Filling the Container Press the bottom layer firmly (this becomes the egg-laying site) while keeping the top layer loose and airy. This two-layer structure promotes egg-laying.
3. Pairing Introduce adults to each other only after they have been eclosed for 3–4 weeks or longer (after they begin feeding). Keep them together for 1–2 weeks. Once mating is confirmed, transfer the female alone to the egg-laying setup. Avoid keeping the male with the female long-term, as it prevents the female from concentrating on egg-laying.
4. Management After Setup Maintain a temperature of 22–26°C. After placing the female in the setup, do not disturb it for at least 4–6 weeks. The stress from digging disrupts egg-laying significantly, so resist the urge to check on her.
Collecting Eggs and First-Instar Larvae, and Their Care
The optimal timing to collect eggs from the egg-laying setup is 6–8 weeks after introducing the female. Carefully excavate using a spoon or tweezers. Eggs are white, spherical, approximately 4–5mm in diameter.
Egg Care
Placing eggs directly in a large container makes it difficult to locate hatchlings later. Individual management in small cups (300–500ml) is best. Add substrate to the cup, create a small depression with your finger, place the egg in it, and cover lightly.
The time to hatching varies by temperature, but approximately 2–4 weeks at around 25°C is typical. When the white egg begins to swell, eclosion is near.
Characteristics of First-Instar Larvae
Freshly hatched larvae are approximately 1cm long and extremely delicate. During this period, avoid letting them dry out or handling them directly—move them gently with a spoon. Keeping first-instars in small cups and transferring to larger containers once they reach the second instar reduces losses.
Larval Care: Substrate Management and Temperature/Humidity Control
The most critical aspect of Hercules beetle larval rearing is substrate management. High-quality substrate and proper environmental conditions greatly influence final body size.
Container Sizing for Each Larval Stage
| Stage | Recommended Container |
|---|---|
| First instar | Small cup (300–500ml) |
| Early second instar | 800ml–1L bottle |
| Late second instar–third instar | 3–5L container or larger |
| Third instar (large individuals) | 10–20L container |
As larvae grow, cramped containers halt growth. Timely container upgrades are key.
Substrate Change Timing
- Plan to change substrate every 3–4 months
- Dark discoloration on the substrate surface (mixture of frass) signals it's time to change
- When changing, mix about 1/3 of the old substrate with new substrate to reduce larval stress
Use unfermented or low-fermentation substrate in the late larval stage to maximize weight gain. Conversely, over-fermented, high-temperature substrate can harm larvae. After changing substrate, leave the lid slightly open for 1–2 days to off-gas before adding the larva.
Temperature and Humidity Management
The ideal temperature range is 20–26°C. Hercules larvae have some tolerance for cooler temperatures, but activity drops above 28°C, and temperatures above 30°C are dangerous. Managing summer heat is the biggest challenge—air conditioning or cooling materials are essential for temperature control.
Manage humidity through the substrate itself. Keep it from drying out by misting regularly, but avoid excess moisture, which promotes mold. Maintain a slightly moist feel.
Navigating the Pupal and Eclosion Stages
Once a third-instar larva reaches sufficient size, it begins constructing a pupal chamber (pupation cell) in preparation for pupation. Recognizing this timing is crucial for successful eclosion.
Signs of Pupation
- The larva's color becomes yellowish (yellowing)
- Movement slows, and the larva stops consuming substrate
- It begins constructing a pupal chamber at the bottom or sides of the container
Once the larva begins constructing the pupal chamber, absolutely do not disturb it. Even vibrations are forbidden. Disrupting the pupal chamber leads directly to pupation or eclosion failure.
Using an Artificial Pupal Chamber
If the pupal chamber is visible from the container's side, there's no problem. If you cannot see it or if it's collapsing, create an artificial pupal chamber. Using floral foam (water-absorbing sponge) or a dedicated artificial chamber, carve a hole appropriately sized for the pupa's length and transfer it.
Because male Hercules have long horns, ensure the pupal chamber depth is at least 1.5 times the larva's body length. If the horns become bent during eclosion, they cannot be corrected, so generous sizing is critical.
Post-Eclosion Care
The adult's body is soft immediately after eclosion, so do not excavate for at least one month. The insect needs time in the substrate to dry and harden. After removal, even after initial feeding begins, avoid unnecessary handling and keep conditions quiet.
Keys to Success in Hercules Breeding
Hercules beetle breeding demands long larval periods and meticulous care, but the joy of witnessing eclosion is incomparable. The first crucial step is obtaining a quality breeding pair.
Purchasing directly from a breeder ensures you get genetically stable individuals with clear eclosion dates and growth records. Unlike pet shop specimens, these have proven breeding histories, significantly increasing your breeding success rate. At br-choku.com, you can purchase pairs directly from experienced breeders, providing confidence even for first-time breeders.
Take your time, carefully observe your larvae at each stage, and enjoy the rearing process. The long larval period becomes deeply rewarding when you document the growth. We wish you success with your Hercules beetle breeding.