Complete Guide to Goldfish Photography Techniques | Shooting Beautifully from Top and Side Views
Explains top-view bowl shooting, side-view tank shooting, lighting techniques, background selection, and tips for shooting with smartphones.
Key Takeaways
Explains top-view bowl shooting, side-view tank shooting, lighting techniques, background selection, and tips for shooting with smartphones.
Related Species
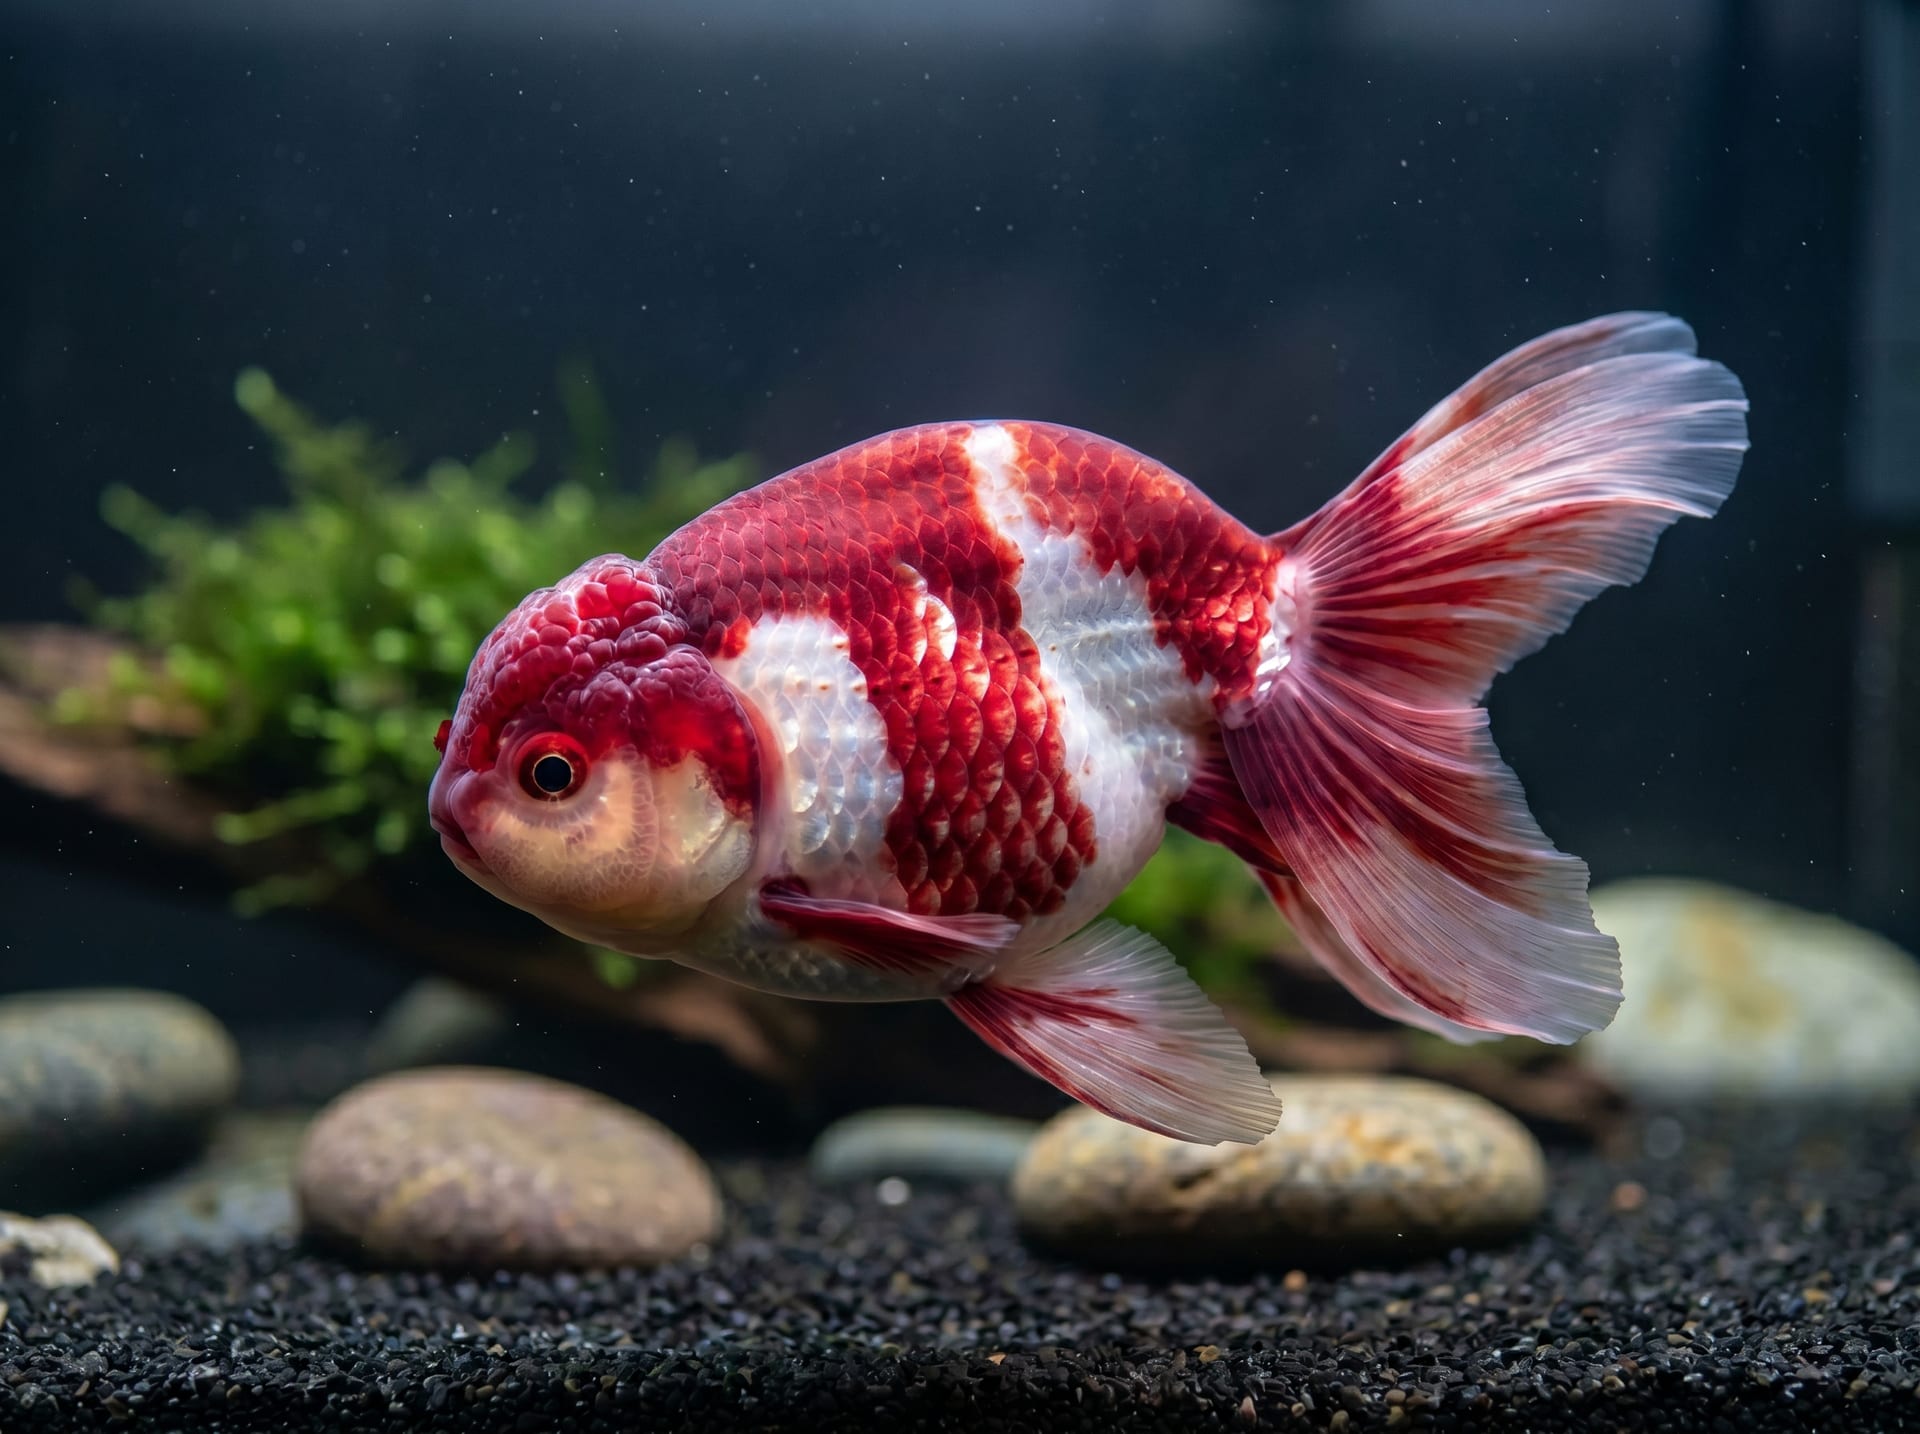

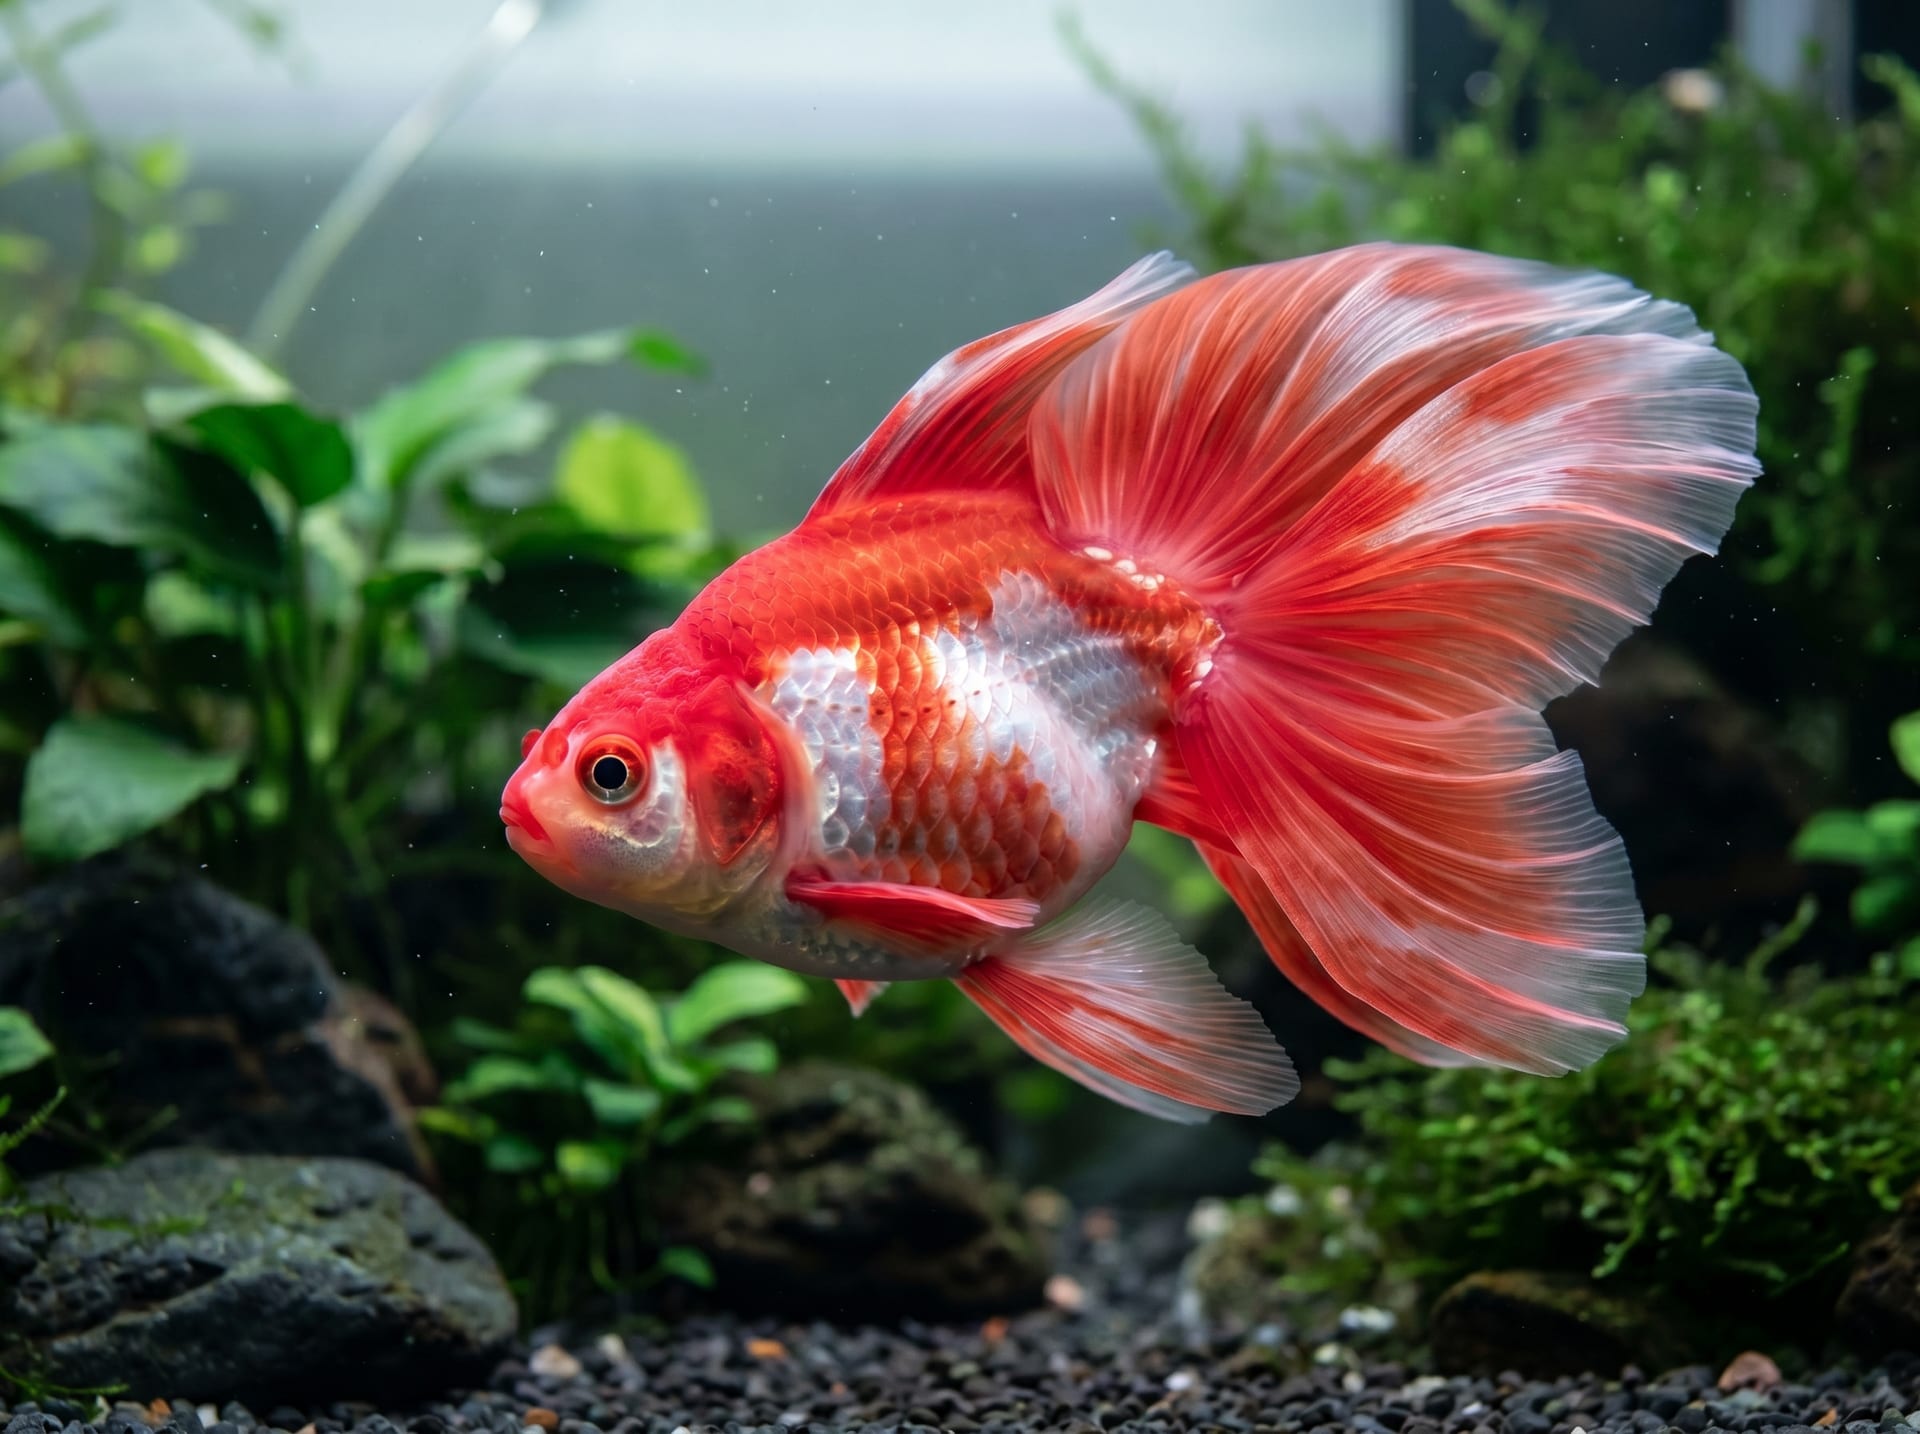
Photographing the beauty of goldfish is a technique far deeper than one might imagine. Subjects swimming in water are constantly moving, and there are many challenges unique to aquatic photography—surface reflections, glass glare, and more. However, by keeping a few key points in mind, you can capture surprisingly beautiful goldfish photos even with a smartphone. This guide explains everything about goldfish photography, from top-view and side-view shooting methods to lighting techniques and background selection.
Basic Techniques for Top-View (Bowl) Shooting
Top-view shooting is a method for bringing out the full beauty of varieties that look beautiful from above, such as ranchu and Tosa goldfish. Traditionally, shooting uses shallow containers called "bowls." Detailed care and body conditioning of ranchu themselves is explained in the Complete Guide to Raising Ranchu.
- Container Selection: White or black shallow containers are ideal. Use a depth of approximately 10–15 cm so the goldfish swims near the bottom.
- Water Depth Adjustment: Shallow water keeps the goldfish stable and makes focus easier. Adjust to 5–10 cm depending on the variety.
- Camera Angle: Shoot directly from above as the basic rule. Keep your smartphone parallel to the water surface to prevent distortion.
- Preventing Surface Reflection: Using a PL filter (polarizing filter) is effective to prevent the photographer's shadow and reflection from appearing in the shot. Clip-on PL filters for smartphones are also available.
- Tripod Use: A smartphone overhead shooting stand is convenient for stabilizing the overhead angle.
In top-view shooting, the shape of the goldfish's head (cranial bump), the line of the back, and the spread of the tail fins are important elements. Especially for ranchu show photos, aim for the moment when the balance between the head and back looks most beautiful.
Tips for Side-View (Tank) Shooting
Side-view shooting captures the goldfish's entire body through the tank. It is suitable for varieties with a beautiful body shape when viewed from the side, such as ryukin and telescope-eye goldfish.
- Glass Cleaning: Carefully wipe the inside and outside of the glass before shooting. Algae and water droplets significantly affect the photo.
- Preventing Glare: Turn off room lights and shoot using only tank lighting. Wearing dark clothing minimizes your reflection.
- Photography Tank: Using a small dedicated photography tank (photo tank) is convenient. The shallower the depth, the easier focusing becomes.
- Distance from Glass: Bring the lens as close as possible to the glass (without touching) to reduce glare.
- Focus Adjustment: Focus on the goldfish's eye as the basic rule. On smartphones, tap the eye on the screen to lock focus.
The most important factor in tank shooting is "water clarity." By increasing water change frequency 2–3 days before shooting and avoiding feeding on the day of shooting, you can maintain clear water.
Lighting Direction and Color Temperature
Lighting is one of the most crucial factors determining the success of goldfish photography. The way you direct light dramatically changes the goldfish's color.
- Using Natural Light: Window light on a cloudy day provides the most natural and beautiful light. Avoid direct sunlight (due to temperature rise and excessive contrast).
- LED Lighting Selection: Daylight white at around 6500K naturally expresses the goldfish's red color. Choose lights with high color rendering (Ra).
- Light Direction: In addition to main light from above, adding supplementary light from the side makes the scales' shine stand out.
- Backlighting: Deliberately lighting from behind makes the tail fins' translucence and the body's outline beautifully emerge.
- Light Intensity Adjustment: If too bright, the goldfish's color will blow out. Adjust to proper brightness using dimmable lights.
When photographing kohaku (red and white patterned) goldfish, the key is to set exposure slightly darker to prevent the white areas from blowing out. It's easier to brighten later than to recover blown-out areas.
Background and Composition Tips
Your choice of background greatly affects the photo's impression. Select a background that suits the goldfish's color and variety.
- Black Background: The classic background that best enhances red goldfish coloring. Use a black container for top-view shooting and a black backdrop for side-view shooting.
- White Background: Provides a clean look and is ideal for clearly showing the goldfish's body shape and fin form. Suitable for show entry photos.
- Blue Background: Creates a cool impression and evokes summer atmosphere. Works well with white goldfish.
- Japanese-Style Presentation: Using patterned Japanese fabric or wood-grain surfaces as backgrounds in top-view shooting creates tasteful photos.
- Aquatic Plant Combination: Placing small amounts of cabomba or anacharis creates a natural atmosphere. However, use only during shooting as goldfish will eat them.
For composition, the centered approach (placing the goldfish in the middle of the frame) is the basic rule. Once comfortable, apply the rule of thirds and leave space in the direction the goldfish is moving for more dynamic photos.
Practical Techniques for Shooting with Smartphones
Even without an expensive camera, modern smartphones can capture beautifully detailed goldfish photos.
- Portrait Mode Use: Blurring the background makes the goldfish stand out. However, it doesn't always work well through tank glass.
- Burst Mode Use: Since goldfish are always moving, shooting many frames in burst mode and selecting the best shot is efficient.
- Video Capture Method: Recording 4K video and extracting the best moment as a screenshot is also effective.
- Exposure Compensation: Goldfish tend to appear dark due to tank brightness. Use positive compensation to brighten the goldfish.
- White Balance: Manual adjustment to match the tank light's color temperature results in more natural colors.
- Editing App Use: Fine-tune contrast and saturation after shooting. Keep adjustments subtle to avoid unnatural results.
Timing is also important. Goldfish are most active before feeding. Conversely, for calm poses, the best time is several hours after a water change when the fish have settled.
Tips for Taking Show Entry Photos
Photos for show entry or record-keeping must accurately convey the goldfish's characteristics above all else. For information on show procedures and judging criteria, see How to Enjoy Ranchu Shows.
- Body Shape Recording: Always shoot two angles—side and top view. Make the body's balance and symmetry clear.
- Accurate Color Reproduction: Use high-quality, high-CRI lighting without flash. Standard color temperature is 5500–6500K.
- Scale Reference: Including a ruler or measuring tape conveys the goldfish's size accurately.
- Regular Documentation: Shooting regularly in the same environment and settings records growth progress and color development changes.
- Multi-Fish Comparison: For comparing siblings or documenting lineage, arrange photos taken under identical conditions side-by-side for clarity.
Photos of goldfish submitted to shows are an important element that affects judges' first impressions. We recommend setting up your shooting environment in advance and practicing multiple times.
Find Photogenic Goldfish on BreederDirect
On BreederDirect, you can directly purchase beautiful goldfish carefully raised by breeders. You can confirm individual characteristics through photos taken by the breeders themselves, and sometimes receive photography tips. Find your favorite and give photography a try!