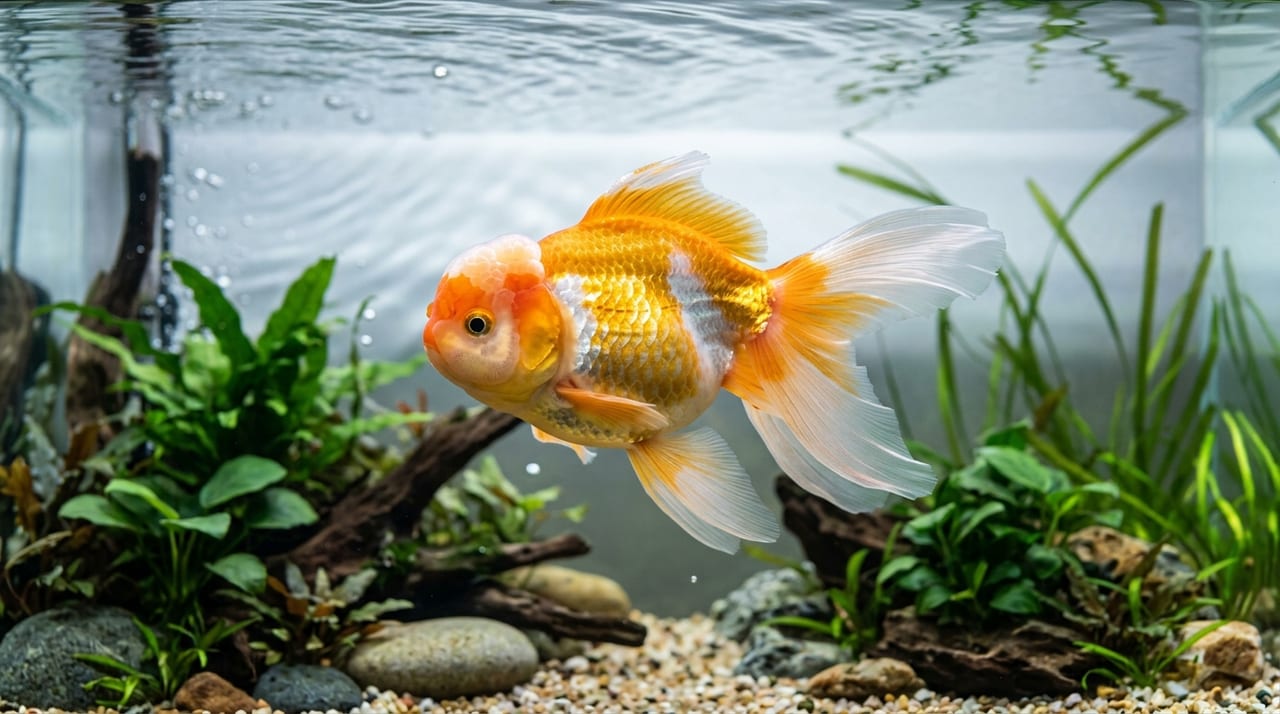
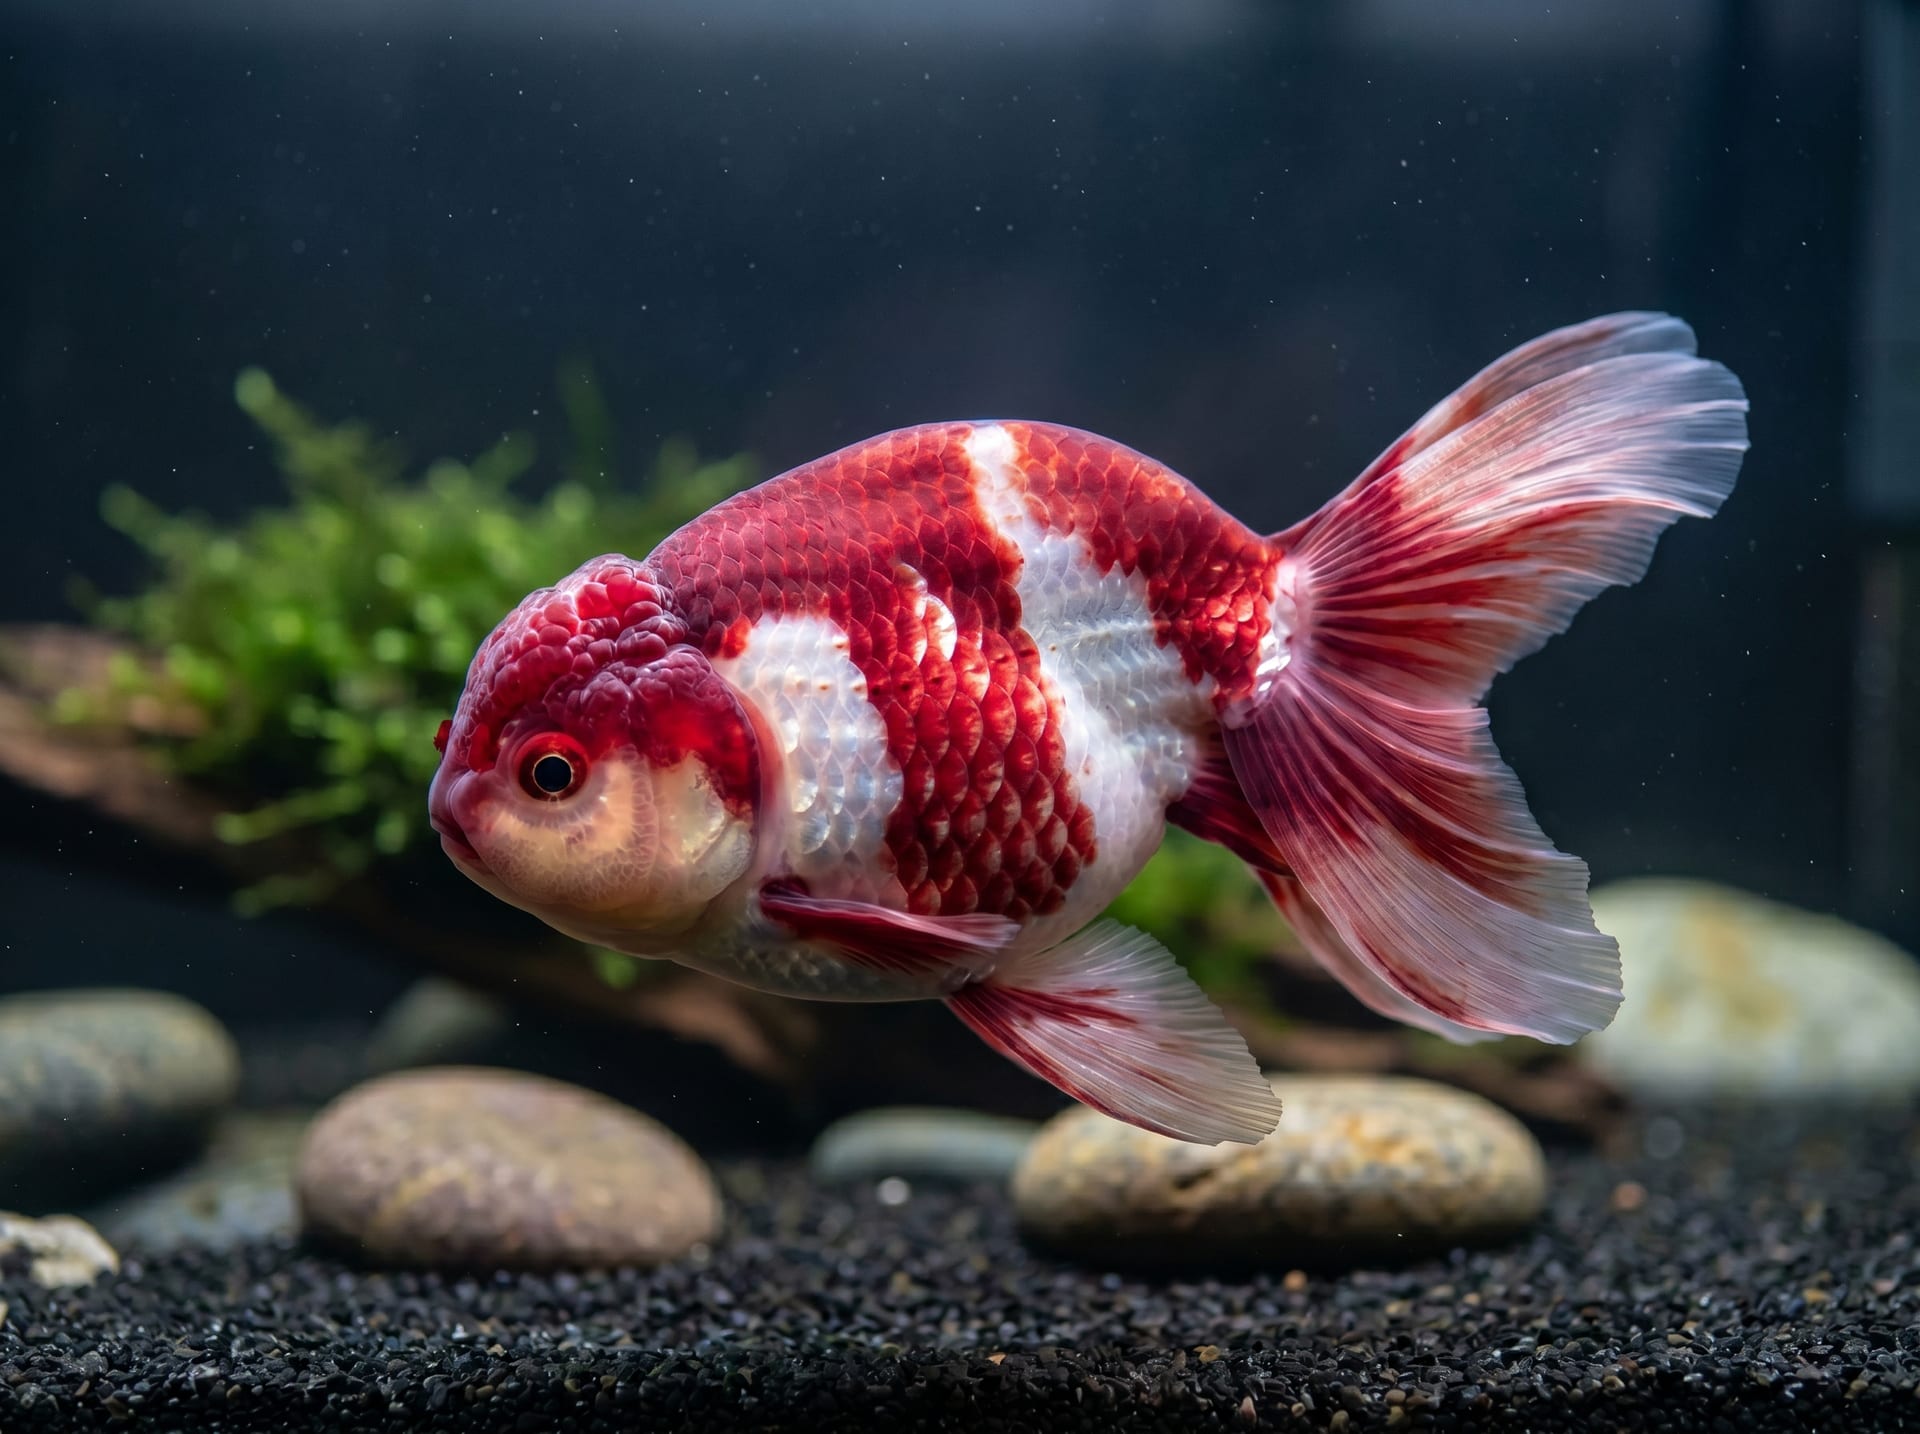
Goldfish breeding may seem difficult for first-time breeders, but with proper environment and procedures, you can succeed at home. In this article, we explain the entire breeding process from how to induce spawning in goldfish to managing fertilized eggs and raising hatched fry. As of 2026, goldfish breeder activities have become more active domestically, and an environment where it is increasingly easy to obtain parent fish directly from breeders is emerging.
Optimal Time for Goldfish Breeding
Goldfish spawning naturally occurs easily in spring (March to May). As water temperature begins to exceed 15°C and day length increases, spawning instinct is stimulated.
Spawning Triggers
| Factor | Points to Promote Spawning |
|---|
| Water Temperature | 15°C or above (20–25°C is optimal); rapid temperature rise stimulates |
| Day Length | 12–14 hours of light per day |
| Change in Conditions | Fresh water from water changes (stimulus of slight temperature drop) |
| Presence of Males and Females | Male chasing female behavior confirmed (appearance of breeding tubercles) |
Preparing for Breeding
How to Identify Mature Individuals
Male Characteristics:
- White small tubercles (breeding tubercles) appear on the head and pectoral fins (spring to early summer)
- Body is often slender and slim
- During breeding season, they chase females vigorously
Female Characteristics:
- Abdomen swells noticeably (swollen with eggs)
- Breeding tubercles are absent or extremely sparse
- Swimming becomes somewhat sluggish
Preparing the Breeding Tank
Spawning Substrate (Willow moss or artificial aquatic plants recommended):
Spawning substrate is necessary as a place where eggs attach.
- Willow moss (soft and eggs attach easily)
- Spawning-specific net (for goldfish)
- Bundles of aquatic plants for goldfish (such as Anacharis)
Tank Setup:
- Spawning tank: 60 cm or larger (90 cm or larger for large varieties)
- Place spawning substrate on the bottom or at mid-level
- Install aeration appropriately
- Induce spawning with water changes (1/3 to 1/2 water change the day before)
For those uncertain about setting up a tank, please also check Goldfish Tank Startup Complete Guide.
Observing Spawning and Fertilization
Observing Spawning Behavior
As spawning approaches, the following behaviors are observed.
- Appearance of breeding tubercles: White granules on the male's pectoral fins and head
- Chasing behavior: Male vigorously chases the female
- Spawning behavior: Female deposits eggs by rubbing them against aquatic plants and spawning substrate
- Sperm release: Male releases sperm while following the female
Typically, spawning often occurs in early morning.
Management After Spawning
Removing Parent Fish:
Once spawning is complete, promptly transfer the parent fish to a separate tank. Since goldfish have the habit of eating eggs and fry, leaving parent fish and eggs in the same tank will result in total loss.
Egg Management:
- Remove unfertilized eggs (white, cloudy eggs) (cause of water quality deterioration)
- Supply oxygen with weak aeration
- Maintain water temperature at 23–26°C
- Prevent water mold with methylene blue (diluted, commercial goldfish product)
Hatching and Fry Management
Days Until Hatching
The number of days until hatching varies with water temperature.
| Water Temperature | Days Until Hatching |
|---|
| 18°C | 5–7 days |
| 22°C | 3–5 days |
| 26°C | 2–3 days |
Management from Just After Hatching to One Week
Newly hatched fry initially obtain nutrition from the yolk sac, so no feeding is necessary for 2–3 days.
Initial State of Fry:
- Just after hatching, they stay attached to walls and aquatic plants
- Begin swimming around day 3
- Mortality rate is highest at this stage (sensitive to water quality and temperature)
Initial Feed for Fry
Begin feeding 2–3 days after hatching.
| Stage | Recommended Feed |
|---|
| 3–7 days after hatching | Infusoria (Paramecium), PSB (photosynthetic bacteria) |
| 1–2 weeks old | Frozen brine shrimp (hatched nauplii), powder food |
| 2–4 weeks old | Fry food, Daphnia |
| 1 month and beyond | Small pellets, frozen bloodworms (small) |
Culturing Paramecium:
Paramecium, which is optimal as initial feed for fry, can be cultured at home.
- Obtain starter cultures of paramecium (online retailers, aquarium shops)
- Dilute commercial soymilk (unsweetened) to approximately 500 times
- Maintain culture bottles in a warm place (25–28°C)
- Paramecium multiply within 3–5 days
Culturing methods for live foods in general are explained in detail in Live Food Culture Guide.
Fry Growth and Selection
Goldfish fry begin to show body shape and tail form 1–2 months after hatching.
Importance of Selection (Culling):
To raise high-quality goldfish, it is important to select individuals with good body shape during growth.
Selection Criteria (vary by variety):
- Tail form and symmetry
- Body shape balance
- Color and pattern (varies by variety)
- Growth rate
First selection: 3–4 weeks after hatching (when body shape becomes somewhat apparent)
Second selection: 2–3 months
For selection criteria of show varieties such as Ranchu and Oranda, please also refer to Ranchu and Oranda Lionhead Selection Standards.
Note: In commercial breeding, many "out-of-standard" individuals are born. When raising for pets, keeping individuals with unusual body shapes that live long is also an option.
Tank Management According to Growth
Density Management and Water Changes
Fry grow rapidly and easily become overcrowded.
Guidelines for Stocking Density:
- Just after hatching to 2 weeks: approximately 20–30 per 10 liters
- 2 weeks to 1 month: 10–15 per 10 liters
- 1–3 months: 3–5 per 10 liters
Frequency of Water Changes:
Fry are sensitive to water quality deterioration but also sensitive to sudden water changes.
- Basic practice is daily partial water changes (1/5 to 1/4)
- Use dechlorinated water at the same temperature
- Return a portion of siphoned water before changing (to prevent water quality shock)
For details on water quality management, please also refer to Goldfish Water Quality Management Techniques.
Lighting Management
Proper lighting is important for fry growth.
- 12–14 hours of lighting per day (promotes growth)
- Avoid direct sunlight (sudden temperature changes, algae growth)
- LED lighting is recommended for electricity cost and heat considerations
Management of Breeding Programs
Basics of Pedigree Management
To stabilize specific traits (body shape, tail form, color), pedigree management is important. More detailed breed maintenance techniques are also explained in Goldfish Breeding and Breed Maintenance Guide.
Basic Approach:
- Select parent fish with strong desired traits
- Be careful as repeated inbreeding (sibling crosses) increases genetic problems
- Periodically introduce external bloodlines
Record Management as a Breeder
- Spawning date, hatching date
- Parent fish pedigree, age
- Hatch rate, survival rate
- Selection records for each generation
How to Distinguish Males from Females and Check for Breeding Tubercles
Of course, a pair of males and females is necessary for breeding. During breeding season, males develop breeding tubercles, which is the most reliable sign for sex determination.
- Breeding tubercles: White small points appear on the soft rays of the pectoral fin and the edge of the operculum (gill cover). They feel rough to the touch.
- Abdomen shape: Females often swell asymmetrically side-to-side in the abdomen before spawning.
- Vent (anus): Females are somewhat larger and tend to protrude outward; males are small and tend to point inward.
Once you confirm a male with breeding tubercles, begin preparing your spawning setup.
How to Distinguish Fertilized from Unfertilized Eggs and Mold Prevention
Check eggs within 2–6 hours after spawning. Eggs are small spheres, transparent to pale yellow, attached to the spawning substrate.
How to Distinguish Fertilized from Unfertilized Eggs:
- Fertilized eggs: Transparent to pale yellowish, with a black point (embryo) visible in the center. Embryo movement can sometimes be confirmed 6–8 hours after spawning.
- Unfertilized eggs: White and cloudy, becoming more opaque over time. If fertilization rate is low, the entire batch turns white.
Water mold (Oomycete) prevention is a critical issue.
Water mold develops on unfertilized or dead eggs and can spread to healthy fertilized eggs. Implement the following measures in combination.
- Methylene blue addition: Dissolve approximately 0.2–0.5 mL per liter in water and transfer the spawning substrate into the dedicated tank. It has antibacterial and antifungal effects and significantly improves fertilized egg hatch rate.
- Aeration: Suppress mold growth by supplying sufficient oxygen. Install weak air stone at the tank bottom.
- Remove white eggs: Carefully remove white, cloudy unfertilized eggs with tweezers or a fine brush.
- Maintain water temperature: Keep at 20–24°C. Low temperatures delay hatching and increase mold risk.
Summary
With proper preparation and careful management, goldfish breeding is an enriching experience that can be enjoyed at home. From inducing spawning to managing fertilized eggs, feeding fry, and tank management suited to growth, different care is needed at each stage, but watching the fry develop is tremendously rewarding.
While enjoying the breeding process, producing high-quality goldfish as a breeder in the future is not an unrealistic dream. Obtain quality parent fish from trusted breeders and carefully manage them to raise ideal goldfish. BreederDirect allows you to source parent fish directly from goldfish specialist breeders, and you can confirm breeding advice through pre-purchase messaging.