Complete Guide to Coral Propagation | How to Create Fragments and Promote Growth
Explains how to create coral fragments by coral type (soft corals, LPS, SPS) with photo guidance. We introduce cutting methods, adhesive selection, fragment rack utilization, and environmental settings to promote growth.
Key Takeaways
Explains how to create coral fragments by coral type (soft corals, LPS, SPS) with photo guidance. We introduce cutting methods, adhesive selection, fragment rack utilization, and environmental settings to promote growth.
Related Species
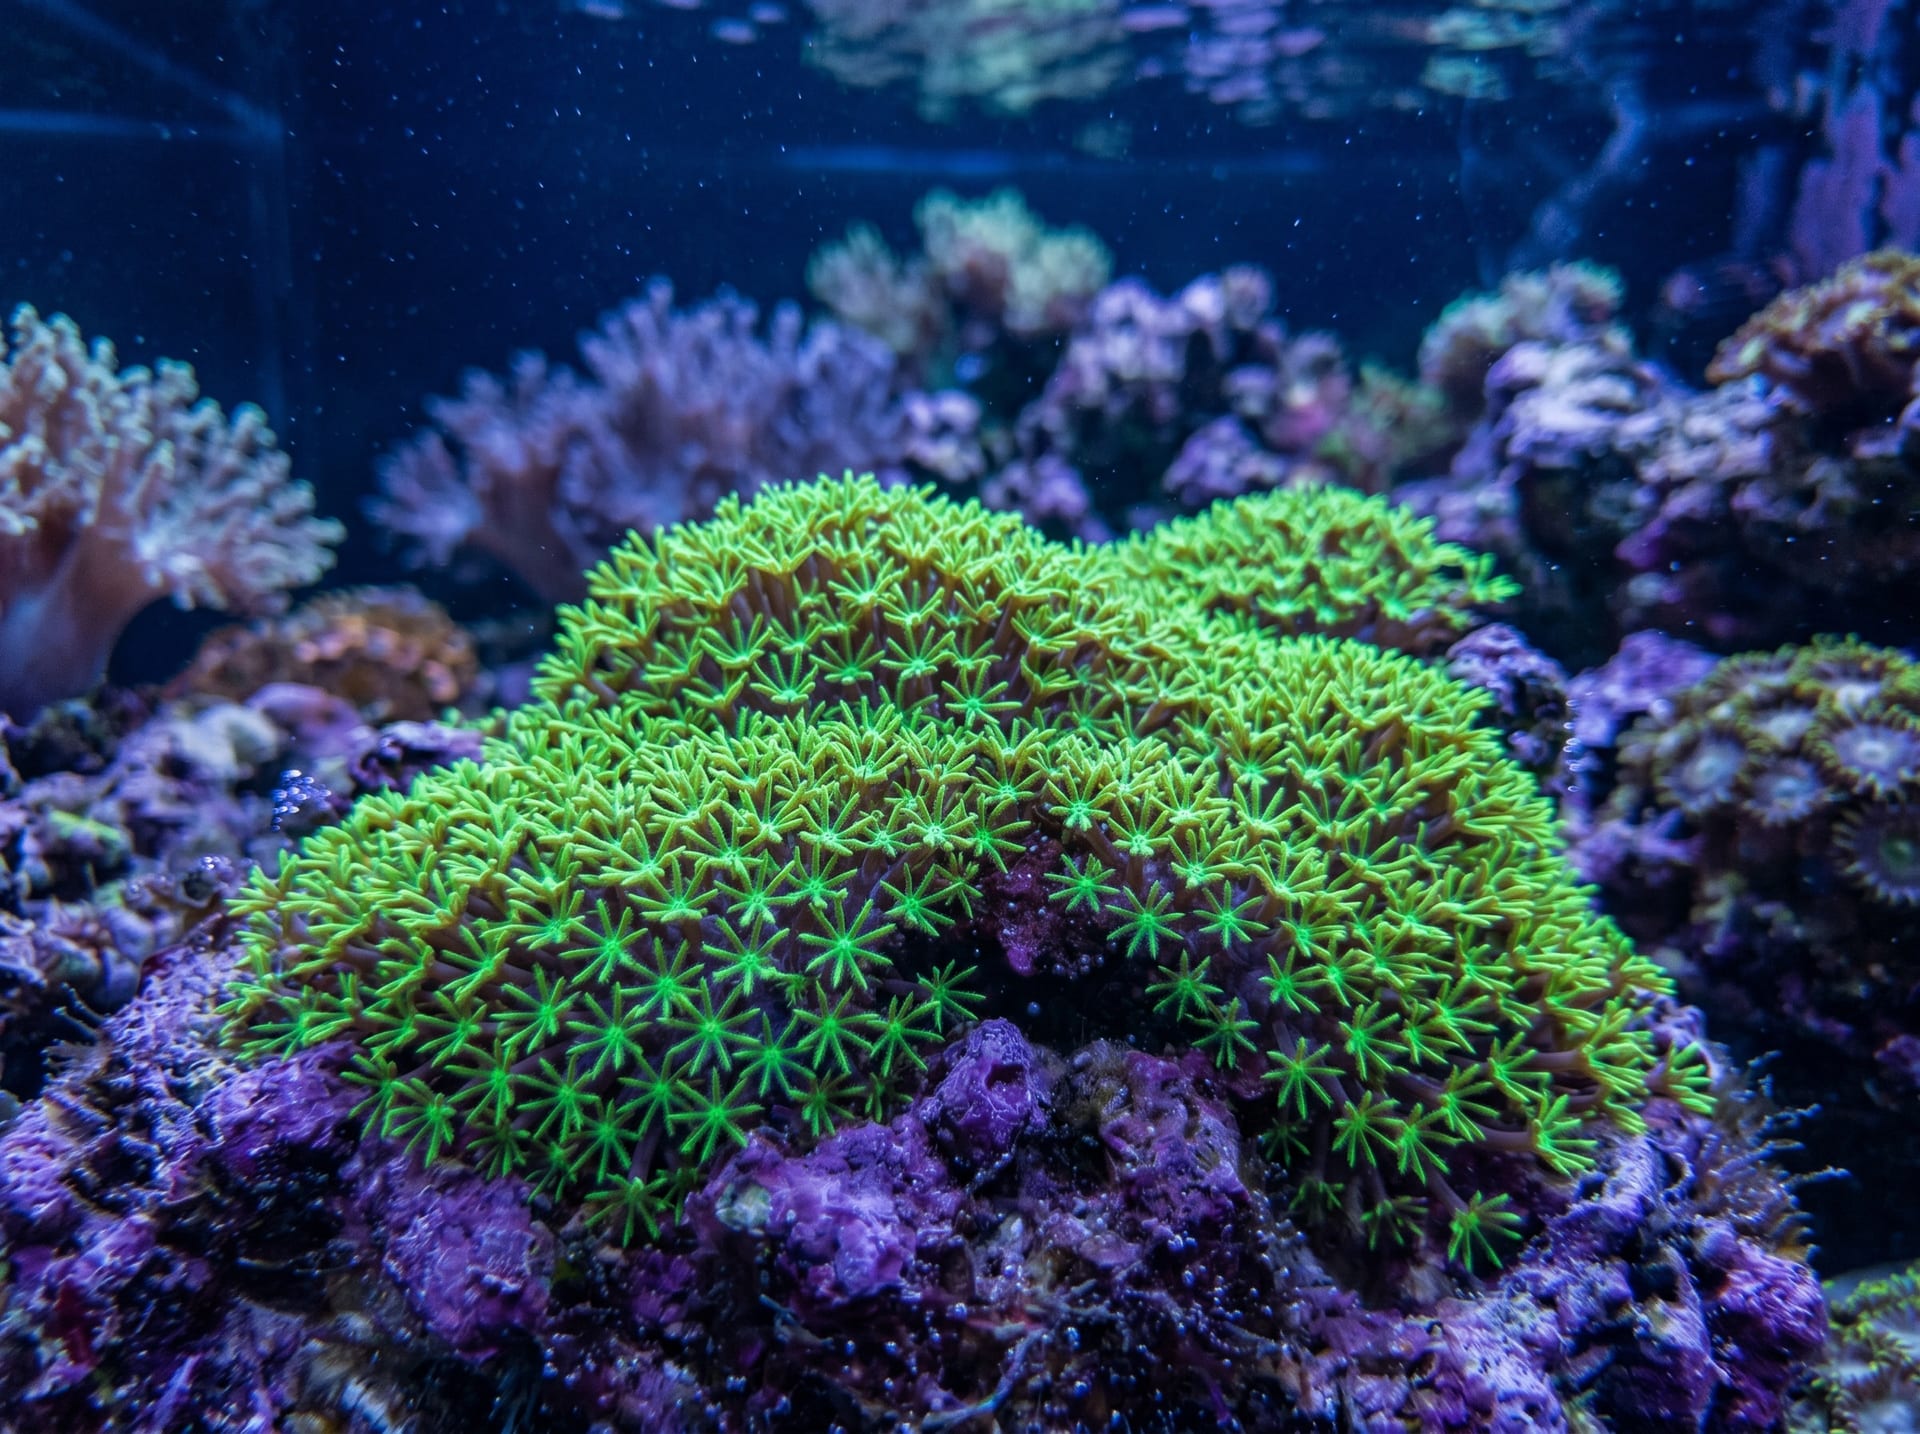
In coral propagation, "fragging" (fragmenting) is the most popular and effective technique. A frag is a method where a portion of a healthy parent colony is cut out, attached to a specialized plug (base), and grown, utilizing the asexual reproduction ability that corals possess. With the correct procedures and tools, even beginners can efficiently propagate beautiful colonies. In this article, we explain in detail the method of creating frags by coral type, tips for promoting growth, and hygiene management.
Soft Coral Frags | Start Here as a Beginner
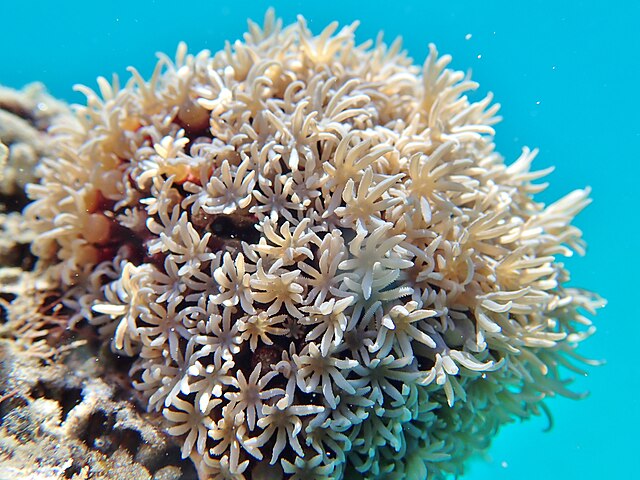
Soft corals such as Zoanthus corals, Star Polyps, and Xenia have the lowest difficulty level for frag creation and are ideal for beginner practice. Since they have no skeleton, fragments can be created simply by cutting with clean scissors or disposable razors.
Work Steps
- Prepare clean tools — Scissors and razors should be thoroughly washed with fresh water, and disposable ones are ideal.
- Cut the frag — For Zoanthus corals, cutting out the polyp tissue that is attached to live rock with a cutter is the most reliable method. For Star Polyps, cut the mat-like polyp tissue with scissors.
- Secure to the plug — Use gel-type instant adhesive, lightly wiping moisture from the bonding surface before securing. Star Polyps can be temporarily secured with rubber bands and will attach on their own within a few days.
Soft corals have very strong regenerative power and will recover even if handled somewhat roughly, making them ideal for getting a feel for fragging work. Once you're comfortable, try challenging yourself with LPS or SPS.
LPS (Large Polyp Stony) Frags | Tips for Cutting the Skeleton
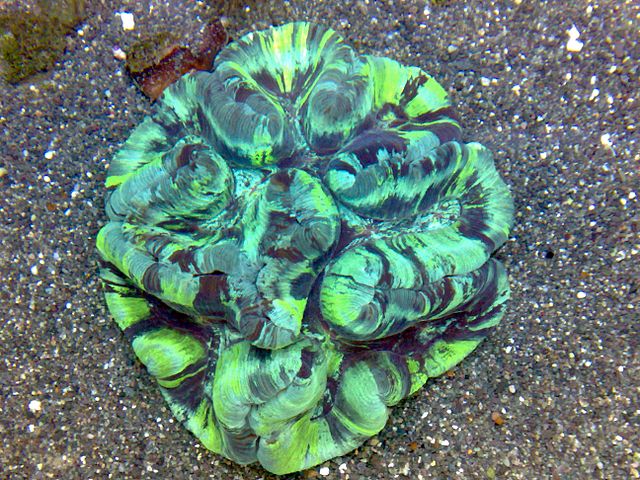
LPS corals such as Euphyllias and Open Brain corals have skeletons, which increases the difficulty of frag creation. Careful work is required to avoid damaging the polyp tissue.
Work Steps
- Cut the skeleton with a bone cutter — Cutting at night when polyps are contracted, or waiting a moment after dimming the lights, reduces tissue damage.
- Protect the cut surface — Apply epoxy putty thinly to the cut surface to prevent infection. Dipping in iodine-based coral disinfectant for 10–30 seconds is also effective.
- Secure to the plug — Attach to the plug while using epoxy putty as a base.
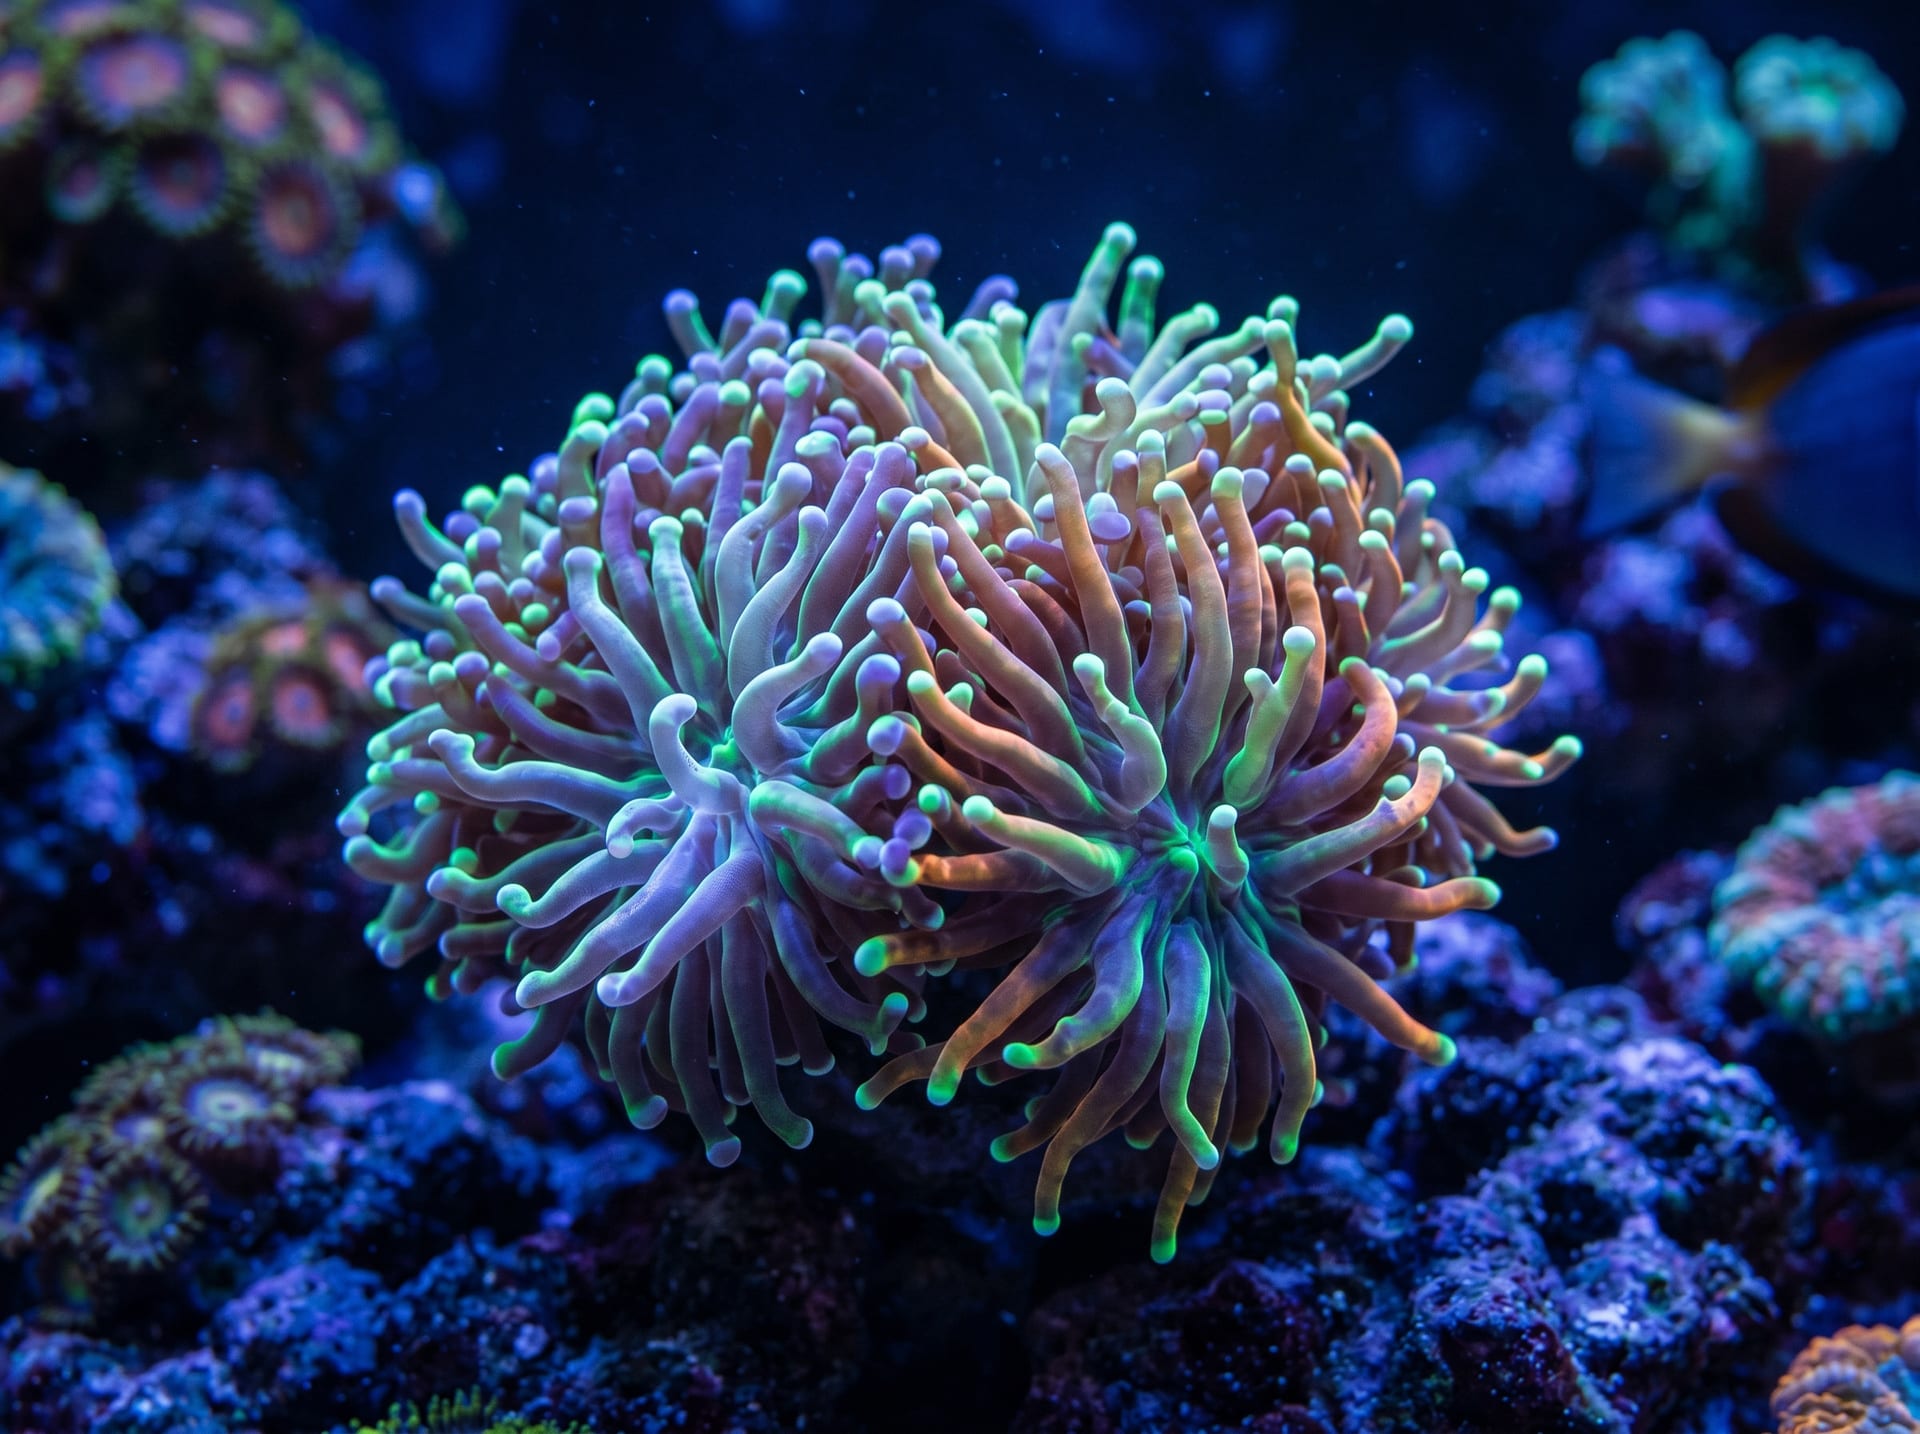
Euphyllias naturally branch, so cutting along the branch points increases success rates. Immediately after cutting, polyps appear contracted and discolored, but if water quality is stable, they will recover within 2–3 weeks and polyps will expand again. It's important to wait patiently.
SPS (Small Polyp Stony) Frags | Propagating Acropora
SPS (Small Polyp Stony) corals, exemplified by Acropora, have high difficulty in keeping and require experience and equipment for frag creation. However, if you follow the correct procedures, you can propagate them steadily, and the sense of achievement when successful is unparalleled.
Work Steps
- Cut the branch — Either gently break it by hand or cut it with a Dremel tool (rotary tool). Since dust is generated during cutting, working in a separate container is ideal to avoid affecting fish and shrimp.
- Ensure adequate fragment size — Preparing fragments of 1.5–2 cm or larger increases survival rates.
- Secure to the plug — Quickly secure with gel-type instant adhesive.
Using the tips of the parent colony's branches tends to result in faster growth. Since SPS keeping requires precise water quality management, ensure your tank is fully stabilized before creating frags.
Promoting Fragment Growth and Setting Up the Ideal Environment
For stable growth of frags, the placement environment and water quality management are most important. No matter how carefully you create frags, recovery cannot be expected if the environment is not properly set up.
Choosing the Placement Location
- Moderate light intensity — Excessive light is stressful for recovering frags. The mid-level area of the tank is appropriate.
- Moderate water flow — Place in an area where direct strong water flow doesn't hit it. Soft, indirect flow is ideal.
- Utilize a dedicated frag rack — Placing directly on substrate tends to accumulate detritus, and placing directly on live rock risks contact with neighboring corals.
Water Quality Parameter Management
| Parameter | Target |
|---|---|
| KH (Carbonate Hardness) | 8–10 dKH |
| Ca (Calcium) | 400–450 mg/L |
| Mg (Magnesium) | 1250–1350 mg/L |
| Nitrate | 1–5 mg/L (lower recommended for SPS) |
Regularly administering amino acid-based coral supplements as additives promotes tissue regeneration. Keep lighting schedules consistent and avoid sudden changes in light intensity. Once the frag grows sufficiently to outgrow the plug, you can attach it directly to live rock and cultivate it as a full-fledged colony.
Tools and Hygiene Management for Fragging
Required Tools List
- Bone cutter — Essential for cutting LPS and SPS skeletons
- Sharp scissors or razors — For soft corals
- Gel-type instant adhesive — Choose a type that hardens easily even in water
- Epoxy putty (two-part) — Used for protecting cut surfaces and securing to plugs
- Frag plugs — Available in various types such as ceramic and plastic
- Iodine-based disinfectant — For dipping to prevent infection
- Plastic tray or separate container — Protects the tank from dust and adhesive during work
Basic Hygiene Management
Thoroughly wash tools with fresh water before use, and dry metal tools well before storing to prevent rust. When sharing tools between different tanks, practice thorough disinfection to prevent introducing diseases and invasive species.
The key principle is to work as quickly as possible while keeping corals out of water to a minimum. However, rushing and working carelessly can damage tissue. Familiarize yourself with the procedure beforehand, arrange your tools within reach, and then work calmly.
BreederDirect's Safe and Secure System
The first step in coral fragging is obtaining a healthy parent colony. Corals with disease or those raised in poor water quality environments are difficult to establish as frags and, in worst cases, can negatively affect the entire tank.
BreederDirect has established a system for purchasing corals directly from specialist breeders. Sellers provide detailed information about frag condition and parent colony husbandry, and you can ask questions directly before purchasing. Specialist breeders will patiently answer specific questions like "Is this coral suitable for fragging?" and "What light and flow conditions did you raise it in?"
While it's difficult for beginners to jump straight into SPS fragging, BreederDirect features many easy-to-keep soft corals and stable LPS offerings. As a first step in enjoying coral fragging, why not start with easier species? Experience the joy of properly propagating healthy corals and creating a beautiful reef tank.