Coral Frag Cutting and Propagation Guide: Tools, Adhesives, and Aeration
A comprehensive guide to coral reproduction and propagation using frags (fragments). Covers necessary tools, cutting techniques, proper adhesive application, and aeration management for successful recovery and growth.
Key Takeaways
A comprehensive guide to coral reproduction and propagation using frags (fragments). Covers necessary tools, cutting techniques, proper adhesive application, and aeration management for successful recovery and growth.
Related Species
What is Coral Frag Cutting and Propagation? How It Works and Its Appeal
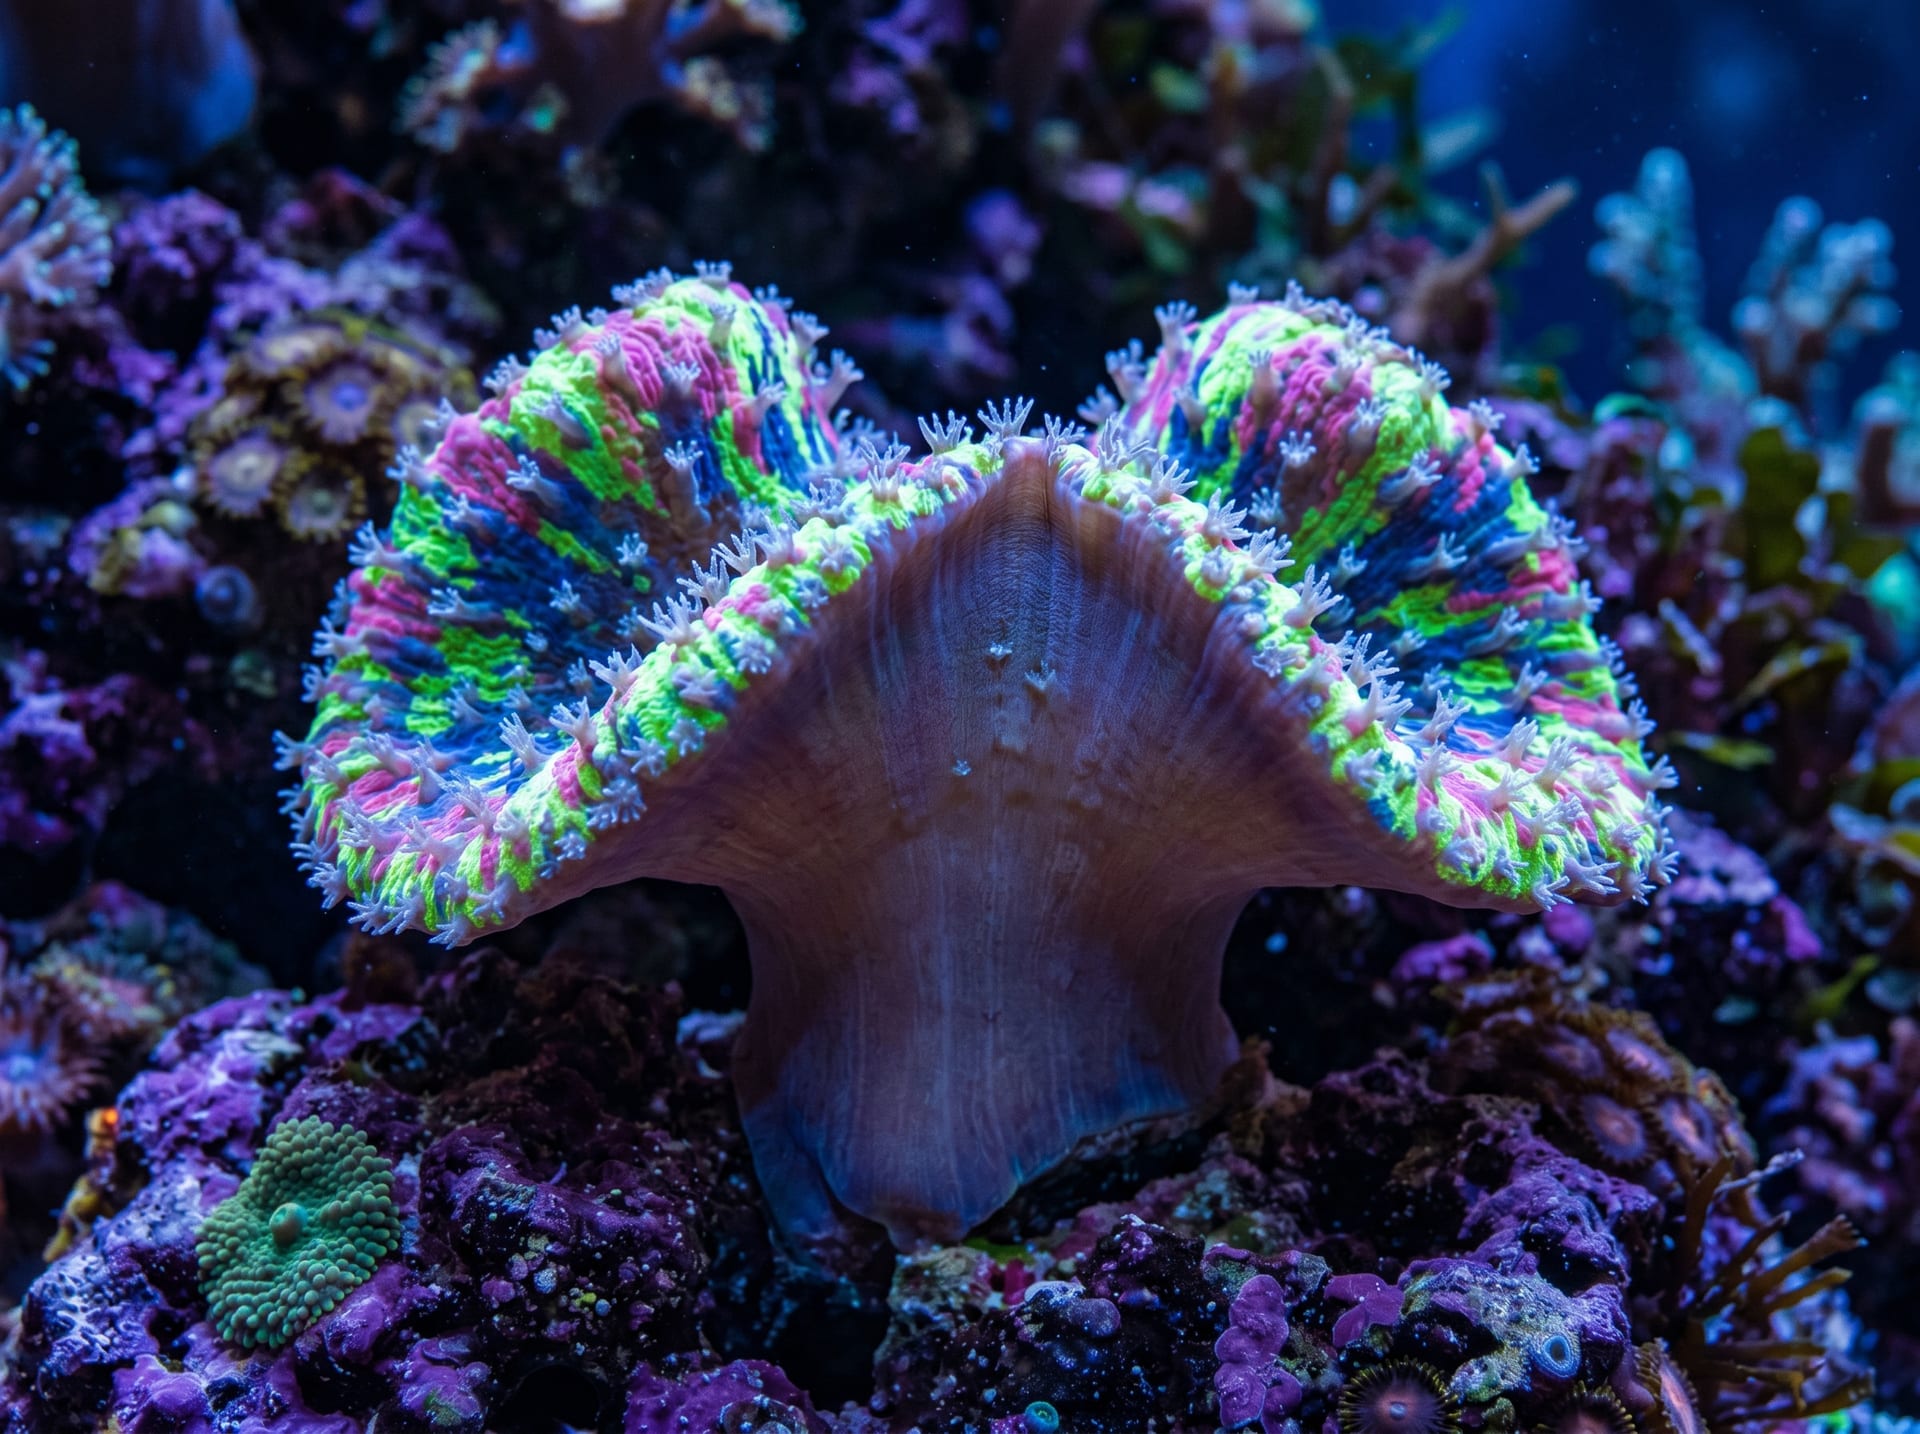
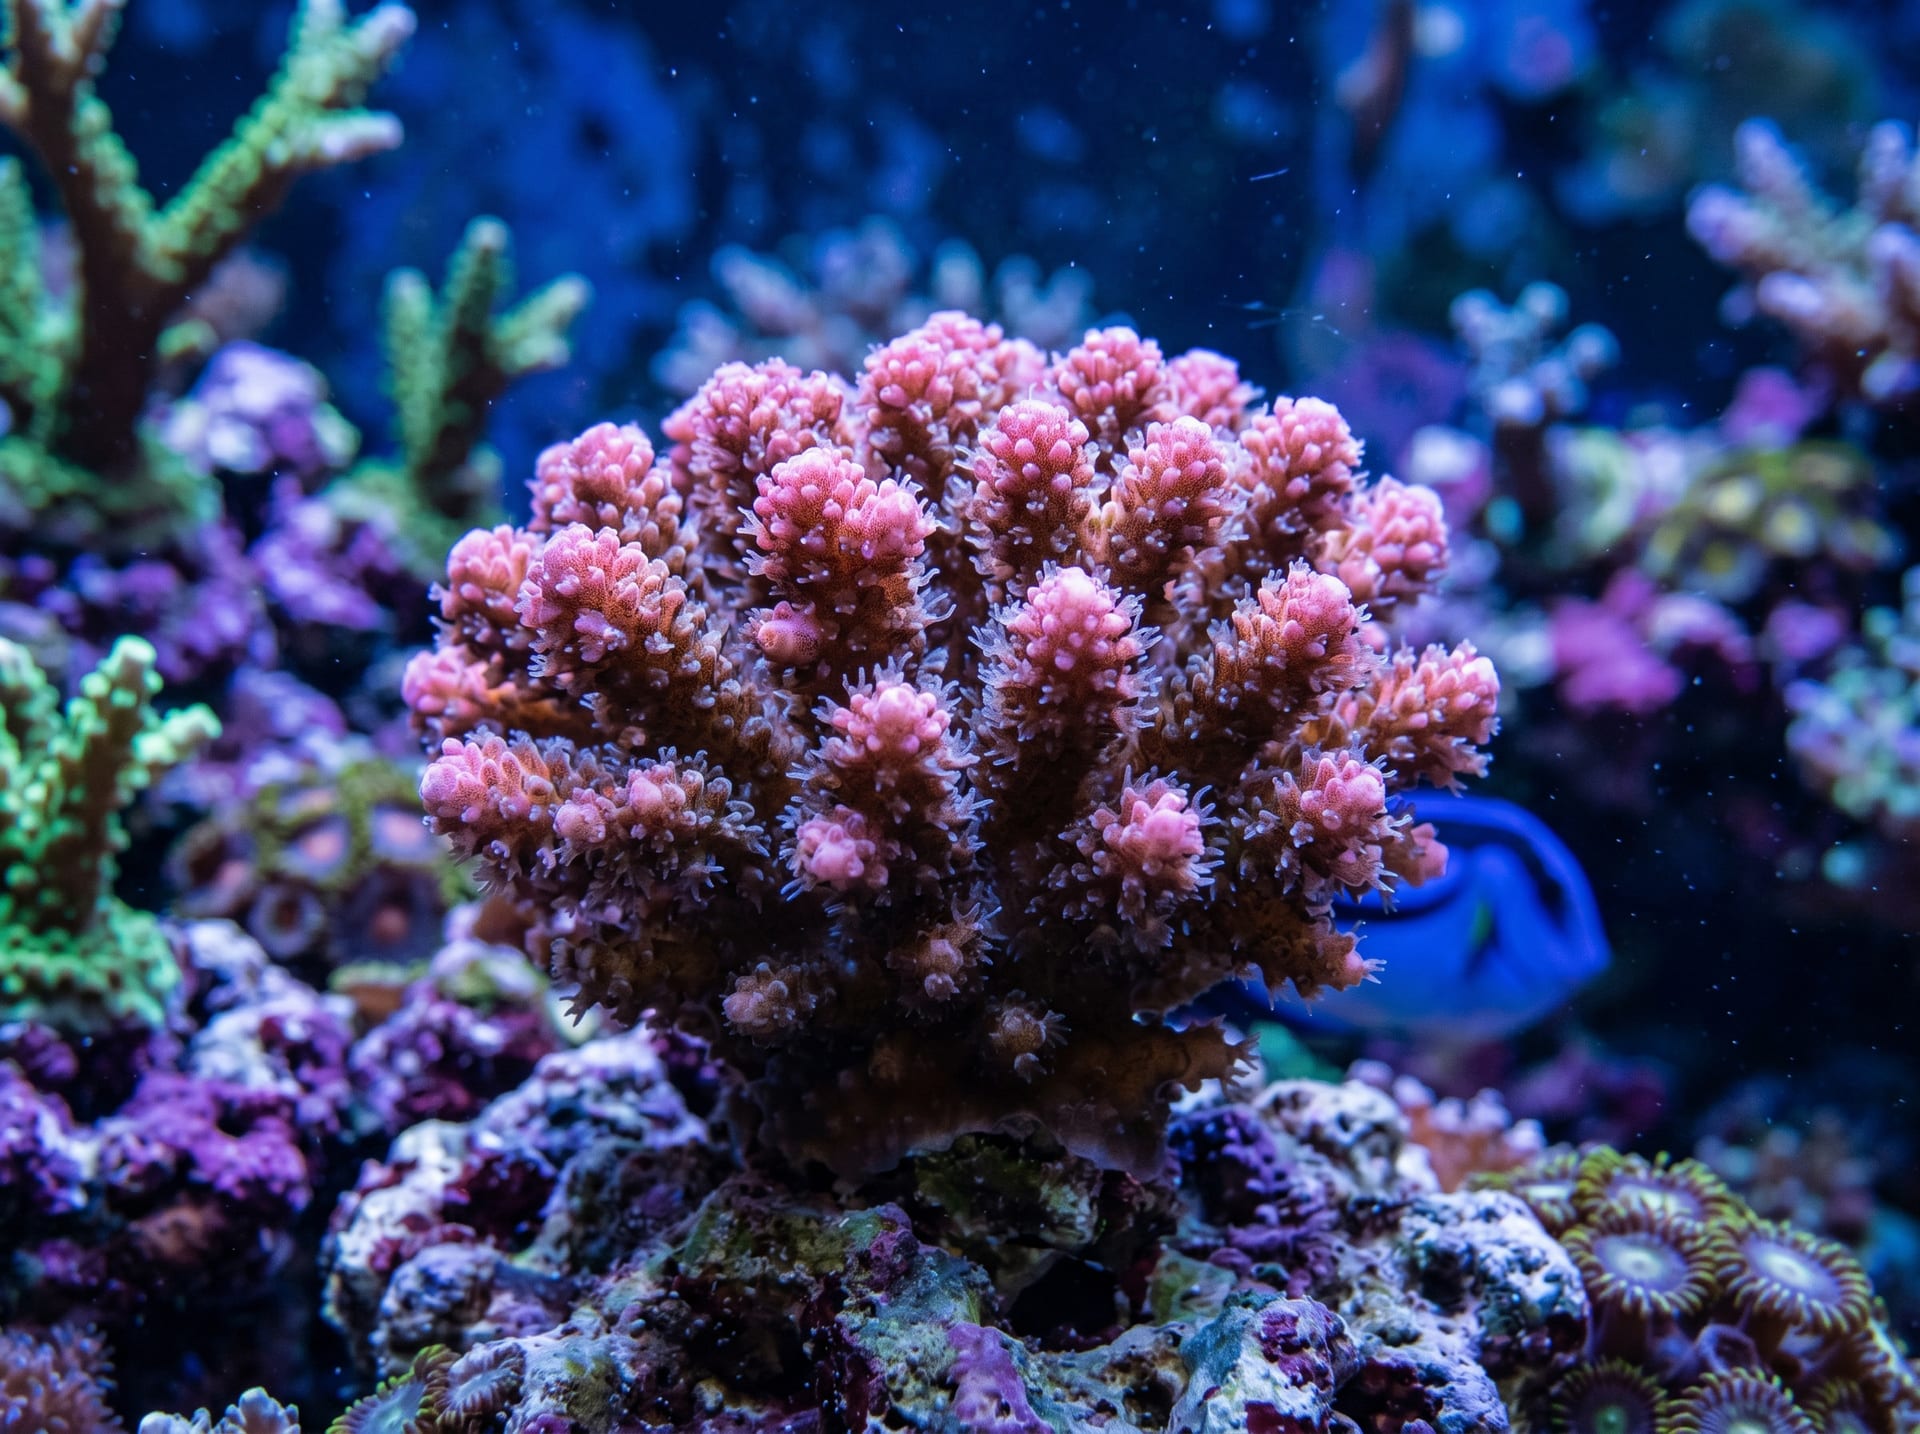
Corals can be reproduced by cutting small fragments (called "frags") and cultivating them into new individuals—a method known as "frag cutting and propagation." This mirrors a natural phenomenon: when corals break during storms and attach to new locations, they continue to grow. The principle is identical.
The greatest appeal of frag cutting is the ability to propagate favorite specimens. If you love the coloration or form of an Acropora or Coral Beauty, you can cultivate multiple clones of that exact individual. Additionally, frags serve as backup specimens in case the parent colony declines—making this technique invaluable from a risk-management perspective.
If you're new to this, it might seem daunting—but with proper tools and technique, beginners can succeed. We recommend starting with relatively hardy soft corals or LPS corals (large polyp stony corals) before moving to more delicate species.
Tools and Materials You'll Need
Proper tool preparation is essential for successful frag cutting. Using substandard equipment can cause unnecessary damage to your corals.
Cutting Tools
- Bone cutter scissors or nippers: Soft corals and leather corals can be cut with standard scissors, but hard corals like Acropora require specialized coral cutters or diamond saws.
- Razor blade or scalpel: Used for cutting soft corals like Mushroom corals.
Frag Mounting and Adhesive Supplies
- Frag plugs (frag discs): Ceramic or porcelain discs that serve as the base for securing frags. They make management easier even in sand-based aquariums.
- Coral-specific gel cyanoacrylate: A gel-based instant adhesive that hardens underwater. While general cyanoacrylate can sometimes work, specialized coral adhesive minimizes impact on the coral.
- Two-part underwater epoxy putty: Use in combination with instant adhesive for securing larger or heavier frags for added security.
Hygiene and Safety Supplies
- Nitrile gloves: Bare-hand work can expose corals to harmful oils and bacteria from your skin. Always wear gloves.
- Backup tank (frag tank) or frag rack: Dedicated space for managing frags during their recovery period.
Cutting Technique: Where and How to Cut
With your tools ready, it's time for the cutting process. The key is to work steadily without rushing.
Preparation
Skip feeding the day before cutting and avoid cutting while polyps are fully extended. Prepare a bucket of water from your main tank to briefly immerse the frags during the work. Minimize air exposure time (aim for no more than 1-2 minutes).
Choosing Where to Cut
- Acropora and Montipora: Cut approximately one-third of the way down from the branch base. Include the polyp-dense tip to encourage growth as a new individual. Aim for at least 5 cm in length.
- Leather corals and Mushroom corals (soft corals): Cut cleanly through the stalk with scissors. The parent colony recovers quickly, so you can cut generously. Aim for 3–5 cm frags, which are easy to manage.
- Mushroom corals: Remove the cap entirely with a scalpel. The stalk alone will regenerate new polyps.
Cutting Precautions
Hesitant or tentative cuts damage coral. Once you commit, cut swift and clean in a single motion. A clean, smooth cut heals faster than a ragged edge.
Adhesive Application: Securing Frags to Plugs
Glue cut frags to plugs immediately. You can work either underwater or briefly in air.
Using Gel Cyanoacrylate
- Lightly dab the cut end of the frag and plug surface with a paper towel to remove excess moisture (don't dry completely).
- Apply a small drop of gel adhesive to the center of the plug.
- Press the frag's cut end against the plug and hold for 5–10 seconds.
- White smoke (adhesive curing gas) may appear, but it's harmless if brief. Return the frag to water quickly.
Using Epoxy Putty
For heavier frags or unstable mountings, use epoxy putty. Mix equal parts of each component with gloved hands until uniformly colored. Form a base on the plug, then secure the frag on top with instant adhesive for extra strength. Shape the putty before it fully cures (within 10–15 minutes).
Post-Adhesion Check
Gently wiggle the mounted frag to ensure it's secure. If stable, place it in your frag tank or designated recovery area in the main tank.
Aeration and Water Flow Management for Recovery
Frags are extremely delicate immediately after cutting. Water quality management—particularly aeration and water flow control—can mean the difference between success and failure.
The Importance of Aeration
Cut corals secrete copious mucus from the wound, which consumes oxygen and can create hypoxic conditions. Introduce fine bubbles with an airstone to maintain dissolved oxygen. When managing multiple frags simultaneously, adequate aeration is essential to prevent oxygen depletion.
Water Flow Strength and Direction
Avoid directing strong water flow directly at newly cut frags—it damages the wound and slows recovery. The ideal is gentle, indirect flow, such as ambient current from a skimmer outlet. After about a week, as polyps begin to open, gradually increase water flow. Eventually transition to flow conditions matching your main tank.
Start with Modest Lighting
Intense light is harmful immediately after cutting. Keep lighting at 30–50% of your main tank intensity and acclimate gradually over 1–2 weeks. If monitoring PAR values, start at 50–100 PAR for safety.
Temperature and Water Quality Stability
Avoid temperature swings during recovery. Maintain 26–27°C, specific gravity around 1.025, and pH 8.1–8.3. Nitrate and phosphate tend to rise during this period, so increase water change frequency for added stability.
Common Mistakes and Troubleshooting
Your first frag cuts may encounter setbacks. Knowing what to expect helps you respond effectively.
Frag Turns White (Tissue Necrosis)
White coloration near the cut usually indicates bacterial infection or poor water quality. If whitening spreads, perform a "re-cut" to remove the infected tissue and expose a clean surface. Installing a UV sterilizer is also effective.
Adhesive Fails to Hold
Excessive mucus weakens adhesion. Let the frag release mucus in water before gluing, or switch to epoxy putty for better holding power.
Polyps Slow to Open
Polyps may remain closed for 1–2 weeks post-cut. Review water quality, flow, and lighting, and wait patiently. However, if polyps haven't opened after 2 weeks or tissue is degrading, suspect water quality problems.
While your first frag cut may feel nerve-wracking, you'll find it increasingly rewarding as you master the technique. Sharing specimens you've propagated with friends or watching frags grow into colonies in your tank is one of the great pleasures of reef-keeping. Don't hesitate—give it a try!