Complete Guide to Budgie Taming and Hand-Training | Practical Step-by-Step Handling and Trust Building
Explains step-by-step training methods for raising budgies as hand-tame birds. From environmental acclimation immediately after introduction, through perch training, shoulder training, and call-back training, this is a practical guide based on understanding avian psychology.
Key Takeaways
Explains step-by-step training methods for raising budgies as hand-tame birds. From environmental acclimation immediately after introduction, through perch training, shoulder training, and call-back training, this is a practical guide based on understanding avian psychology.
Related Species
Budgie Socialization and Taming
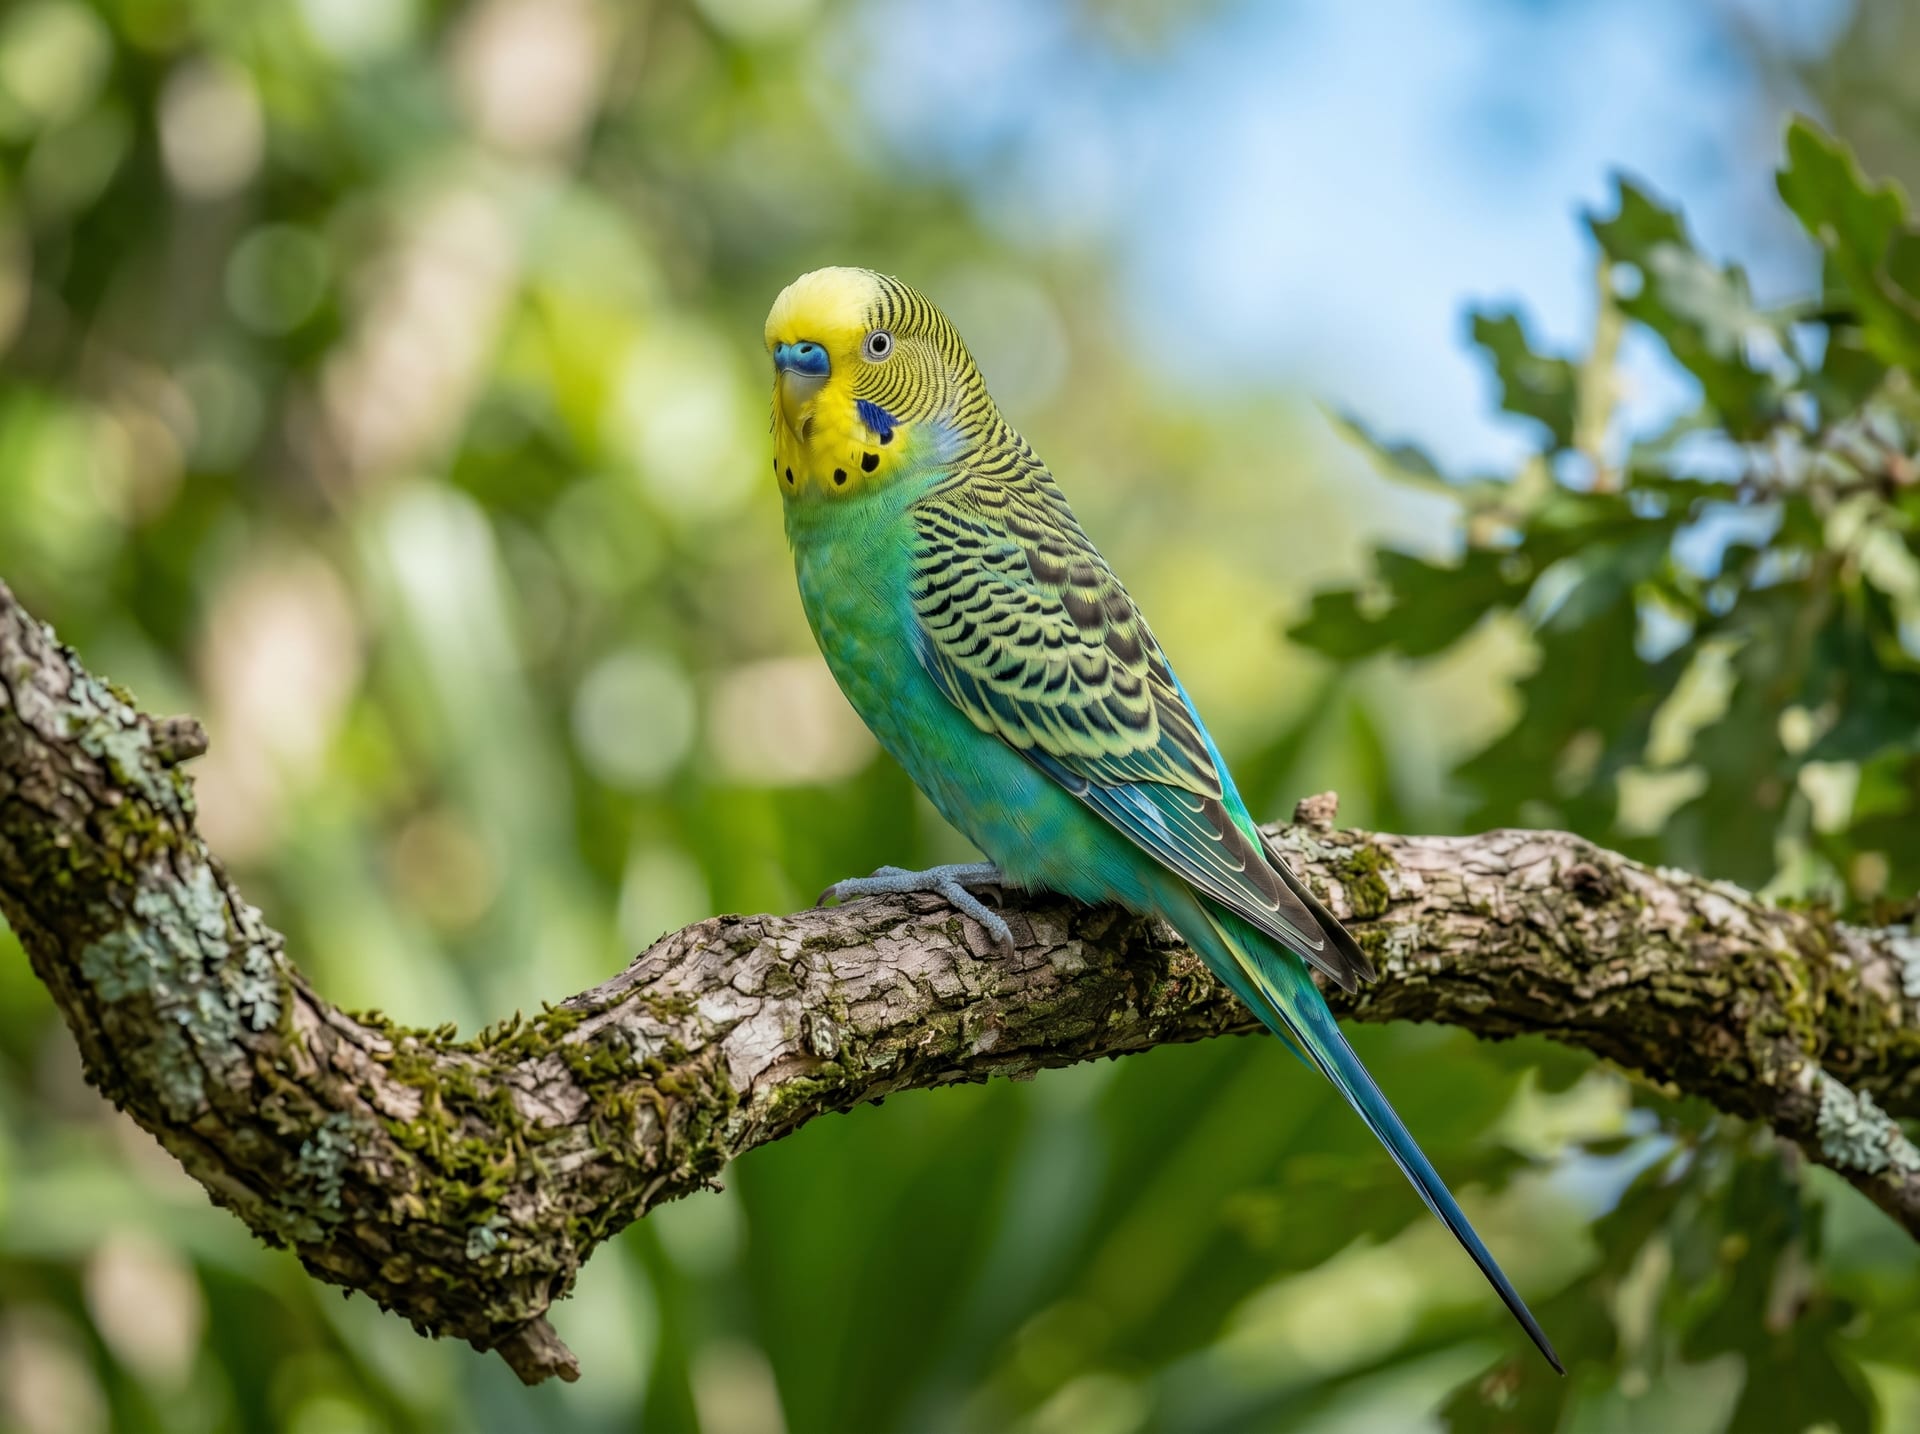
The budgie (Melopsittacus undulatus) is a small parrot native to Australia and is the most commonly kept pet bird worldwide due to its intelligence, sociability, and ease of care. Its value as a pet lies not only in its beautiful plumage and ability to vocalize, but in the potential to build a relationship with humans.
Hand-tame budgies come to perch confidently on human shoulders and fingers, respond to calls, and enjoy being stroked on the head. To build such an intimate relationship, step-by-step taming from immediately after introduction and the process of gaining the bird's trust are absolutely crucial.
Environmental Adaptation Period Immediately After Introduction (Weeks 1–2)
Adaptation to a New Environment
Newly acquired budgies experience significant stress during their first few days.
Important Principles in the Early Introduction:
- Provide a quiet environment. Avoid loud sounds such as television and vacuum cleaners
- Stable lighting environment: Turn lights on and off at the same time each day (aiming for 12 hours day and 12 hours night)
- No handling: During this period, focus on observation and avoid forcibly grasping or touching the bird
- Adequate feeding: Provide favorite vegetables and seeds to reduce stress
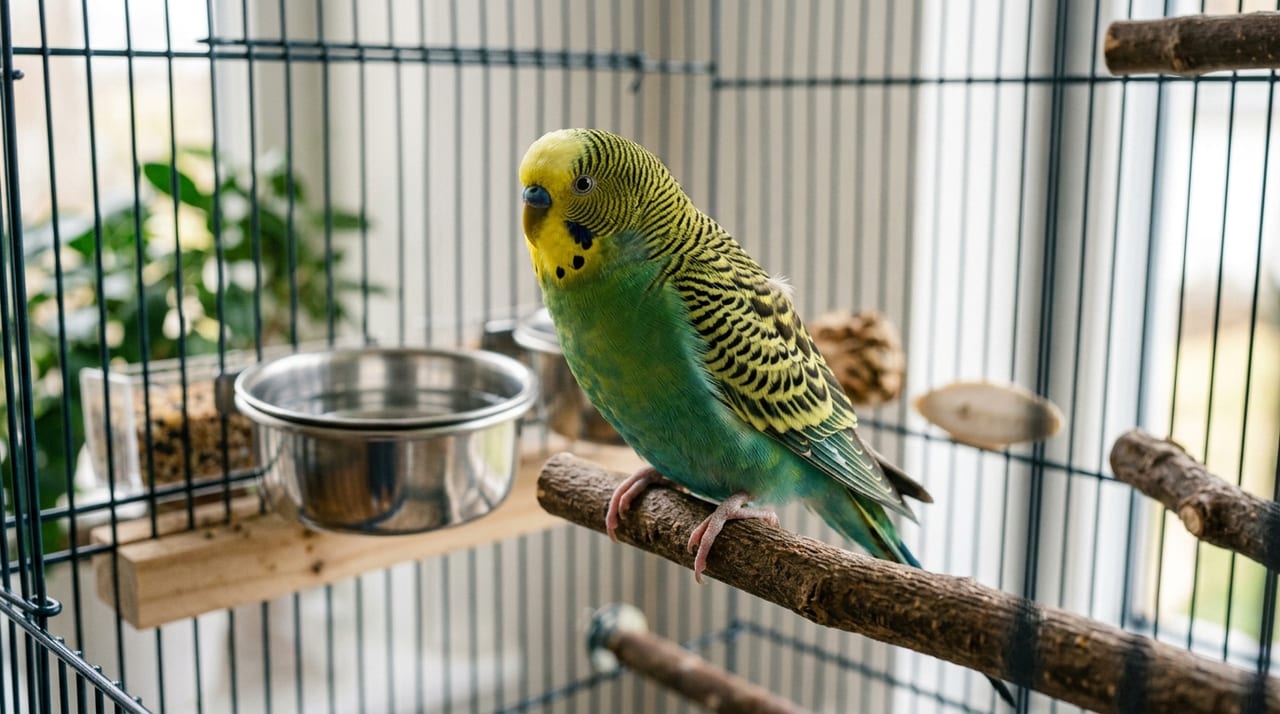
Set up perches, feeders, water dishes, and hiding spots (nest-box type accessories) inside the cage to provide a sense of security.
Signs of Adjustment to the Environment
After 1–2 weeks, if you see the following signs, you can begin gradual handling:
- Active behavior in the cage: Flying around and moving from perch to perch
- Positive response to feeding: Approaching the feeder and pecking at food
- Interest in the keeper: Approaching or observing when the keeper comes near the cage
Step 1: Practicing Perching on the Finger (Instep)
The Significance of Finger Perch Training
The "instep" (perching on a finger) is the first important milestone in the budgie taming process. It is the moment when the bird begins to trust the human hand and fingers and accepts contact.
Training Method
Step 1: Attracting with Food
Place a food budgies enjoy (such as millet or sunflower seeds) on your finger.
- Slowly bring your finger toward one side of the cage
- When the bird shows interest in the food, stop moving and allow it to peck
- Repeat several times daily for 5–10 minutes
Step 2: Accepting Contact
While the bird is eating, gently stroke its head or back.
- Start with the lightest possible touch
- If the bird doesn't startle and fly away, gradually increase contact time
- If you see signs of discomfort (open beak, backing away), end training for the day
Step 3: Perching on the Finger
Insert your finger into the cage with food placed on it.
- Aim for the moment when the bird voluntarily perches on your finger to peck at the food
- The moment it perches, praise it and offer additional food
- By repeating several times, the bird learns to associate the finger with reward
Training Frequency and Duration
- Frequency: 2–3 times daily, 5–10 minutes each
- Duration: Most individuals master the instep within 2–4 weeks
However, there is significant individual variation, and birds with strong stress responses may take more than 3 months.
Step 2: Moving Outside the Cage and Flight Habits
Building a Safe Indoor Environment
When allowing the bird to play outside the cage, environmental preparation is essential to prevent escape or accidents.
Checklist:
- Close windows: Budgies are strong fliers and can escape through open windows
- Remove other pets (dogs, cats) from the room: Risk of predation
- Clear away hazards: Power cords, chemicals, toxic plants
- Cover large mirrors or glass windows: To prevent fatal collisions
- Ensure a return route to the cage: Provide a landing point for the bird when it returns tired
Flight Habits and Trust Building
Basic approach when playing outside the cage:
- Release from the finger: Slowly release the bird from your finger as it comes out of the cage
- Observe flight and landing: The bird will fly around and land on furniture or lighting. Do not forcibly catch it
- Call-back training: After the bird lands, use food to guide it back to your finger
Through daily flight practice, the bird learns the layout of the room and recognizes dangerous areas.
Step 3: Shoulder Perching and Head Stroking
Transition to Shoulder Perching
Once the instep is established, aim to transition to shoulder perching as the next step.
Method:
- Start from the arm: Slowly bring the bird perched on your finger toward your face
- Guide to the shoulder: Move your arm to your shoulder and encourage the bird to perch there
- Praise and reward: When it perches on your shoulder, stroke its head, praise it, and offer food
Once shoulder perching is achieved, the relationship between keeper and bird becomes more intimate, and longer periods of contact become possible.
Technique for Head Stroking
The contact budgies enjoy most is gentle stroking of the head, particularly the crown and neck.
Correct Method:
- Pressure: Extremely light touch. Do not press down
- Area: Head and neck. Avoid wings and tail initially, as some individuals may be sensitive in these areas
Step 4: Call-Back Training and Voluntary Return
Establishing a Call-Back Signal
To make a budgie completely hand-tame, a command to "return when called" is essential.
Training:
- Select an audio signal: Use a specific whistle or word (such as "here") at the same time each occasion
- Pair with food: Immediately after the signal, place a favorite food in front of the bird
- Repeated practice: Repeat several times daily
Within 3–4 weeks, most birds will voluntarily return to your finger in response to the signal.
Safe Free-Flight
Once call-back training is established, you can allow flight in larger spaces (such as the entire living room).
Common Training Problems and Solutions
Bird Biting Behavior
When budgies bite their keeper's hand, it often reflects fear, defensiveness, or territorial awareness.
Solutions:
- Identify the cause: Record when and under what circumstances the bird bites
- Allow space: Don't over-handle the bird
- Avoid negative reinforcement: Don't yell or hit the bird when it bites (this amplifies fear)
- Review the environment: Check for hormonal instability (such as breeding season)
Loss of Appetite and Tendency to Fly Away
During adaptation to a new environment or taming process, budgies may stop eating from the feeder or constantly try to fly away.
Causes and Solutions:
- Environmental changes: Check whether changes in lighting, noise, or new furniture are causing stress
- Phase back: If taming is progressing too quickly, return to the previous step and restart
- Respect individual differences: Not all budgies tame at the same pace
Summary
The process of raising a budgie as a hand-tame bird is not merely acquiring technique, but building a relationship of trust with the bird step by step. The key to success is understanding the bird's psychology and motivations at each stage: finger perching, moving outside the cage, shoulder perching, and call-back training. By anticipating setbacks and taking a long-term, patient approach, you will gain a wonderful lifelong companion.