The key to successful bird hand-taming training is patience and gradual progression. Forcing the bird or touching it suddenly backfires, intensifying fear and potentially setting training back by weeks. This guide explains the correct approach for each step.
Preparation Before Hand-Taming Training
Acclimation Period After Bringing Your Bird Home (First Week)
A bird experiences significant stress upon entering a new environment. During the first week, speak gently from outside the cage and avoid excessive physical contact.
What to do during this period:
- Speak softly from a distance
- Repeat its name to help it learn your voice
- Avoid sudden movements and loud noises
- Perform necessary care (feeding, water changes) with calm, deliberate movements
Best Times for Hand-Taming Practice
Birds are most receptive to training after breakfast and during evening activity periods. They resist training when tired, in dim light, or when hungry before meals. Training sessions should last 5-10 minutes at most to maintain focus, with 2-3 sessions daily.
Step 1: Getting Your Bird Comfortable with Your Hand Outside the Cage
Familiarizing the Bird with Your Hand
Slowly bring your hand near the cage from outside, stopping at a distance where the bird doesn't flee. If it panics and runs, maintain the distance and gradually move closer each day.
Progress indicator: When the bird observes your hand without fleeing, move to the next step.
Teaching "Hand = Good Things" Through Treat Rewards
Through the cage bars, offer favorite treats like millet or millet sprays in your hand. When the bird reaches out and takes the treat, you've succeeded. The bird begins to learn that "a hand isn't scary but gives good things."
Step 2: Placing Your Hand Inside the Cage
Acclimating the Bird to Your Hand Inside the Cage
Open the cage door and slowly place your hand inside. Keep it still near the bird. It may flee at first, but daily repetition teaches it that a hand inside isn't threatening.
Important:
- Don't move your hand quickly
- Don't chase the bird
- Don't corner the bird even if it hides in a corner
Step 3: Perch Training—Offering Your Finger
Offering Your Finger as a Perch
With your hand in the cage, quietly present your index finger slightly below the bird's chest. When your finger is positioned in front of its belly, the bird instinctively tries to step onto it to maintain balance.
When the bird steps on:
- Praise gently: "Good!" or "Good bird!"
- Immediately offer a favorite treat
- Just 1-2 seconds is enough at first; don't try to keep it on longer
If the bird won't step on:
- Gently touch your finger to its belly to encourage it
- If it still won't step on, end the session there
Step 4: Hand-Taming Practice Outside the Cage
Letting the Bird Out of the Cage
Leave the cage door open and let the bird come out on its own. Never force it out. Once it's outside, offer your finger for perch practice.
Important safety precautions outside the cage:
- Close windows (prevent escape)
- Turn off fans and ventilation
- Move other pets (dogs, cats) to another room
- Check that toxic foods (avocado, etc.) aren't accessible
Hand-Taming Practice While Allowing Free Flight
If the bird wants to fly, let it. Train it to fly to your hand when you offer it. Holding a favorite treat in your hand and calling is very effective.
Step 5: "Scratch" Training (Getting Used to Petting)
Allowing Head Touching
Once the bird is comfortable with hand-taming, gently stroke its head or cheek feathers with your finger. If it sits still without resisting, you've succeeded. If it dislikes it, stop and try again later.
Be careful not to stroke feathers against their natural direction and keep your finger away from the eyes.
Common Problems and Solutions
Biting
Biting can stem from fear, intimidation, or playfulness. Fear-based biting indicates you're pushing too hard; step back and rebuild trust. Playful biting decreases naturally when you consistently end play sessions when bitten.
Not Coming When Called
Training may have progressed too quickly. Return to the previous step and rebuild positive experiences using treats.
Lost Progress After Initially Succeeding
Environmental changes (moving, new family members, seasonal shifts) or health issues often cause regression. Be patient and carefully restart from the beginning.
Breed-Specific Tips
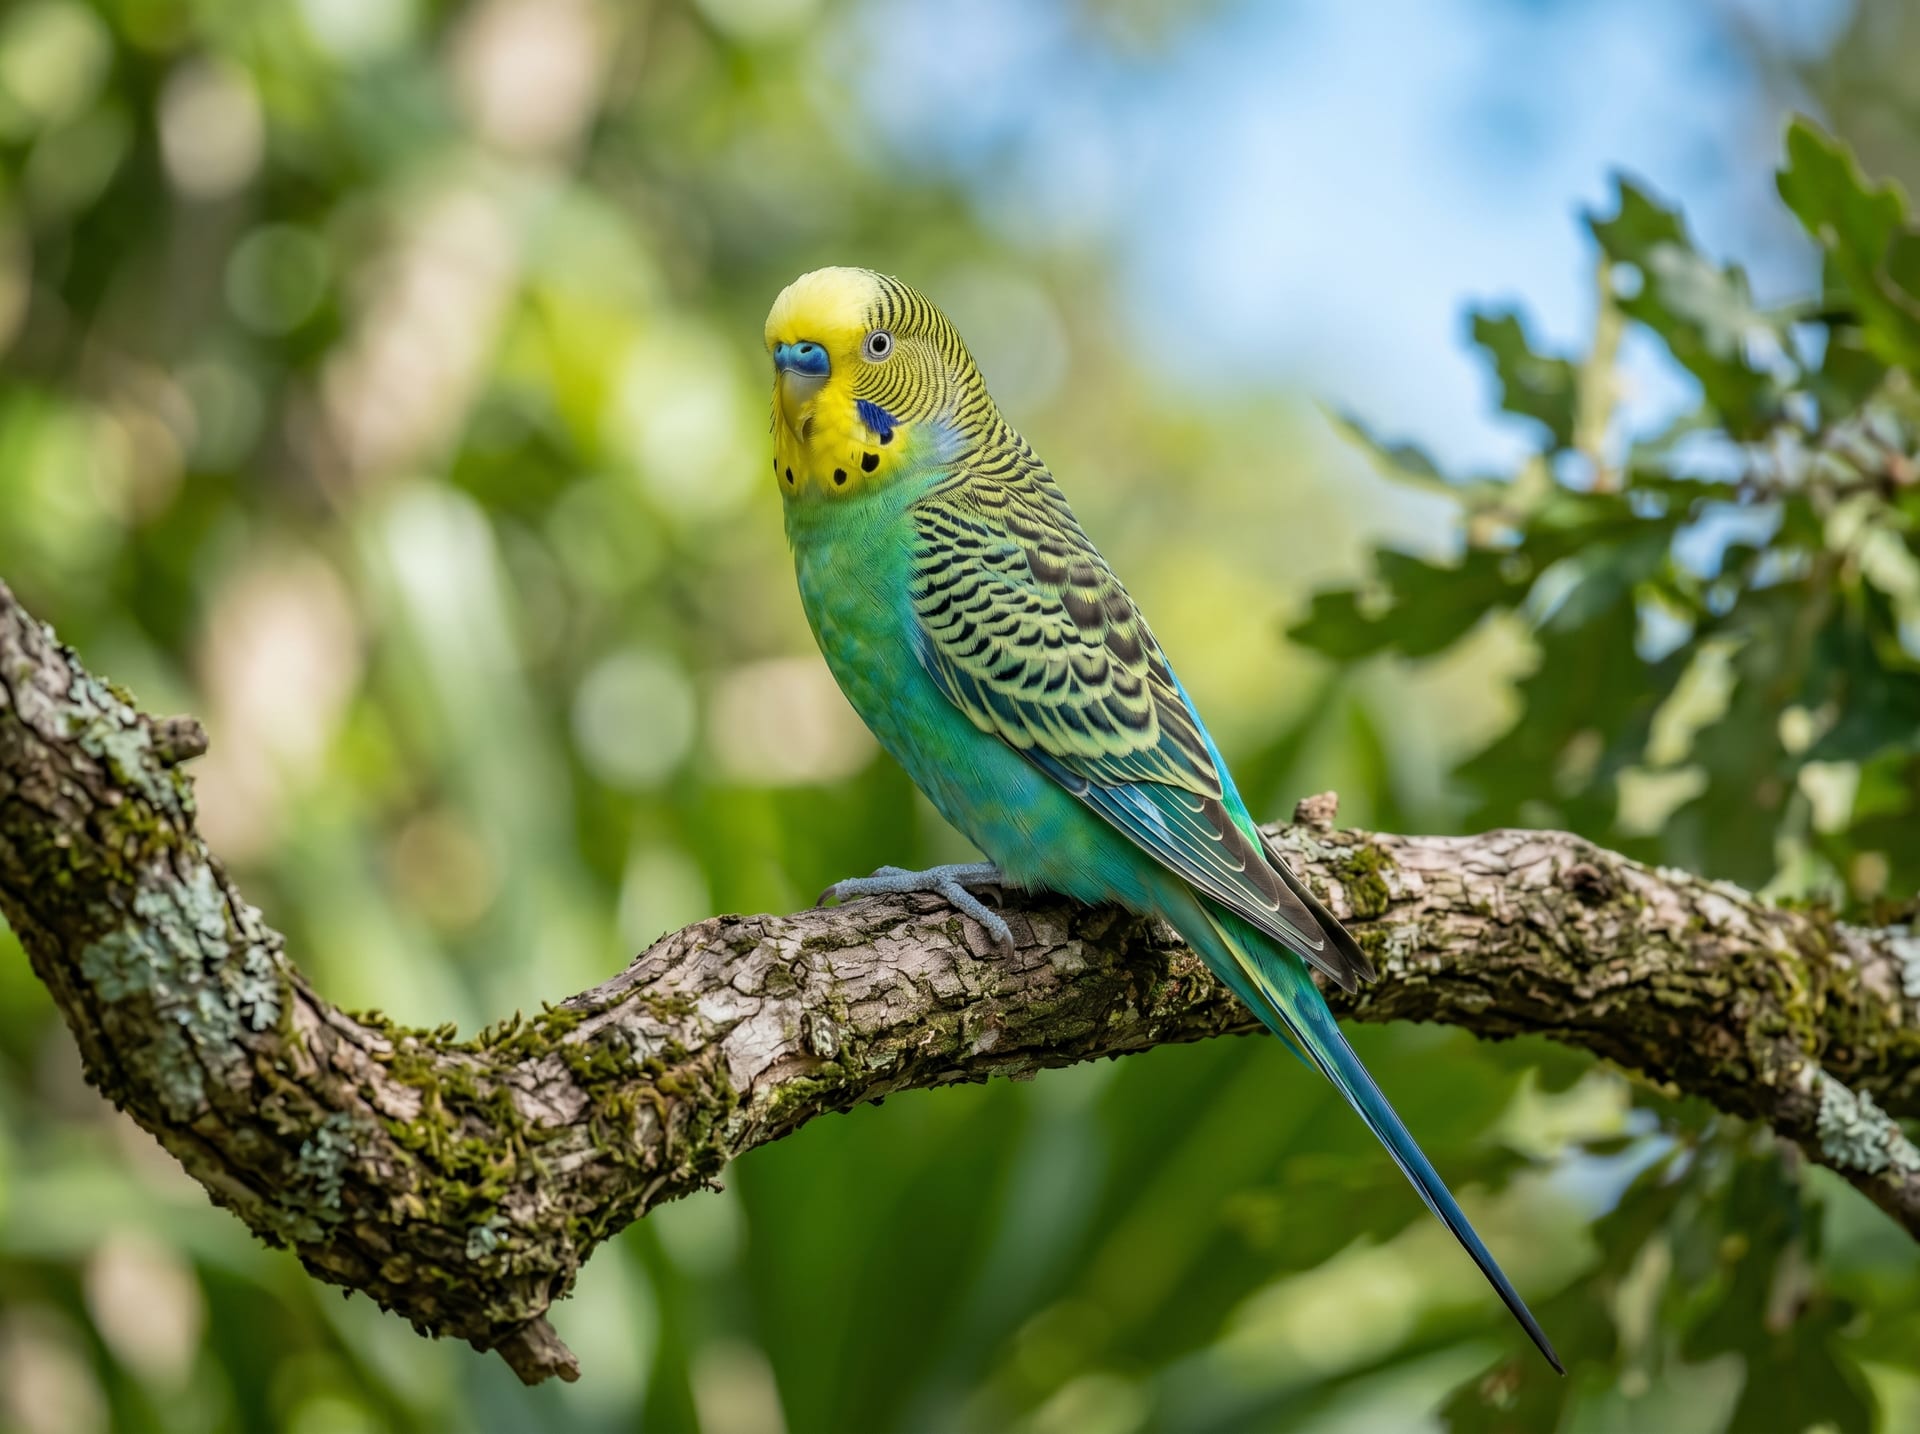
- Parakeets: Curious and relatively easy to tame. Respond well to treats and are easy to train
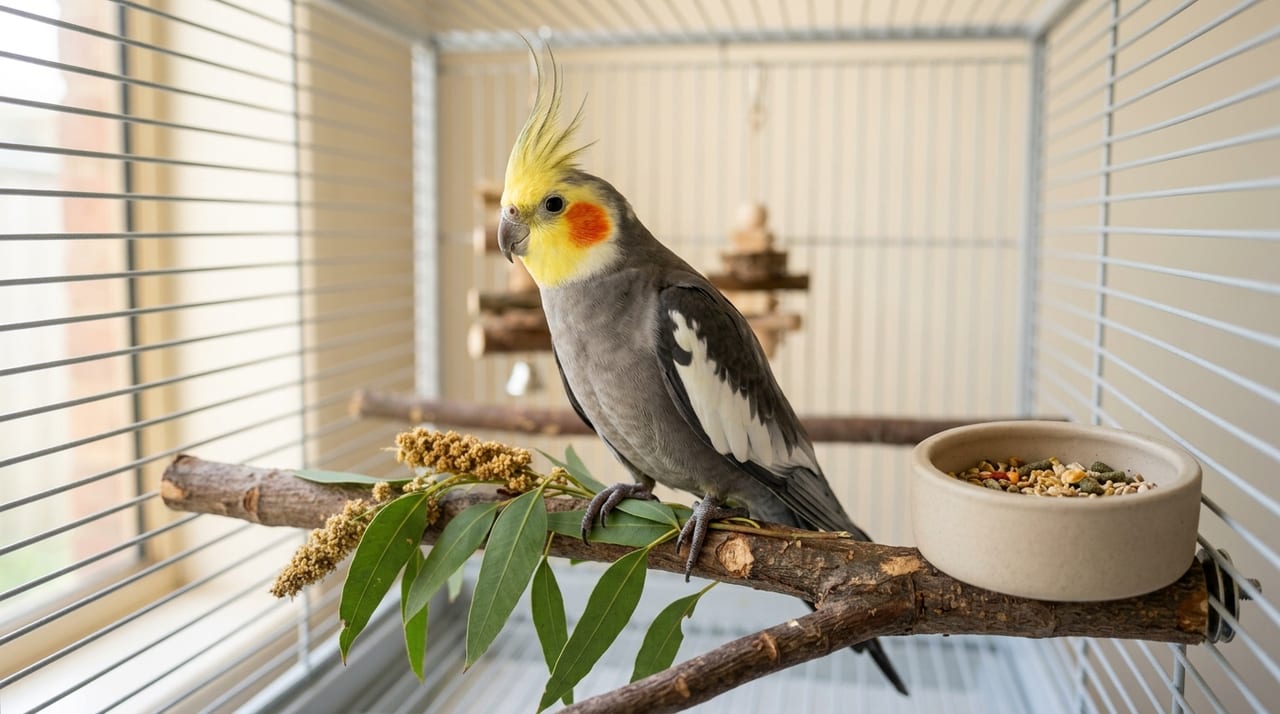
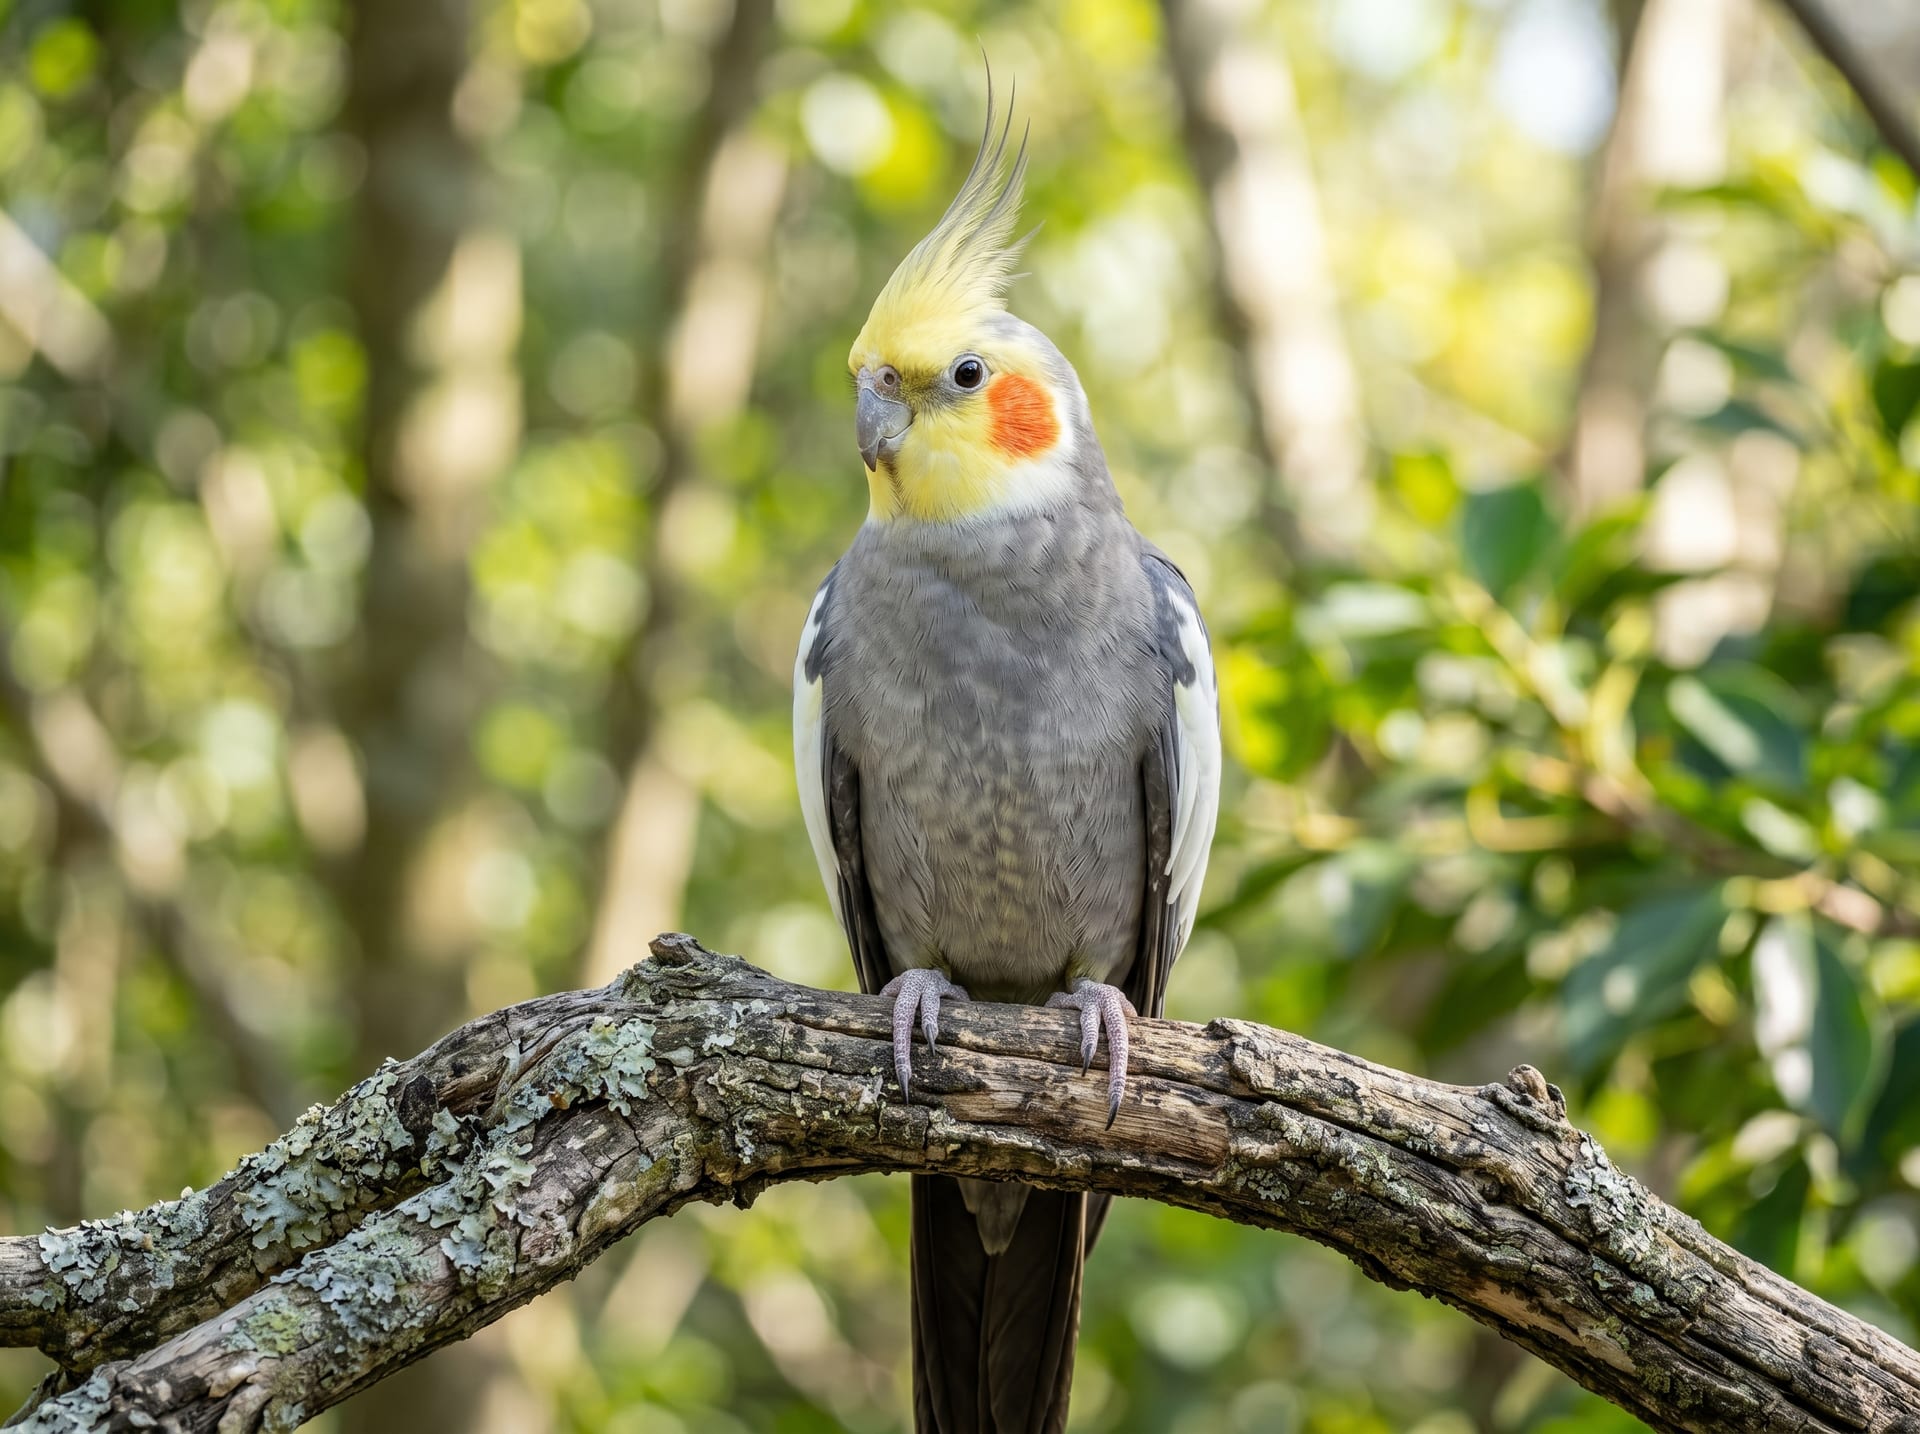
- Cockatiels: Emotionally sensitive and often timid. Patience is especially important
- Java Sparrows: Strong territorial instincts mean some individuals are more independent. Easier to tame if raised from a young age
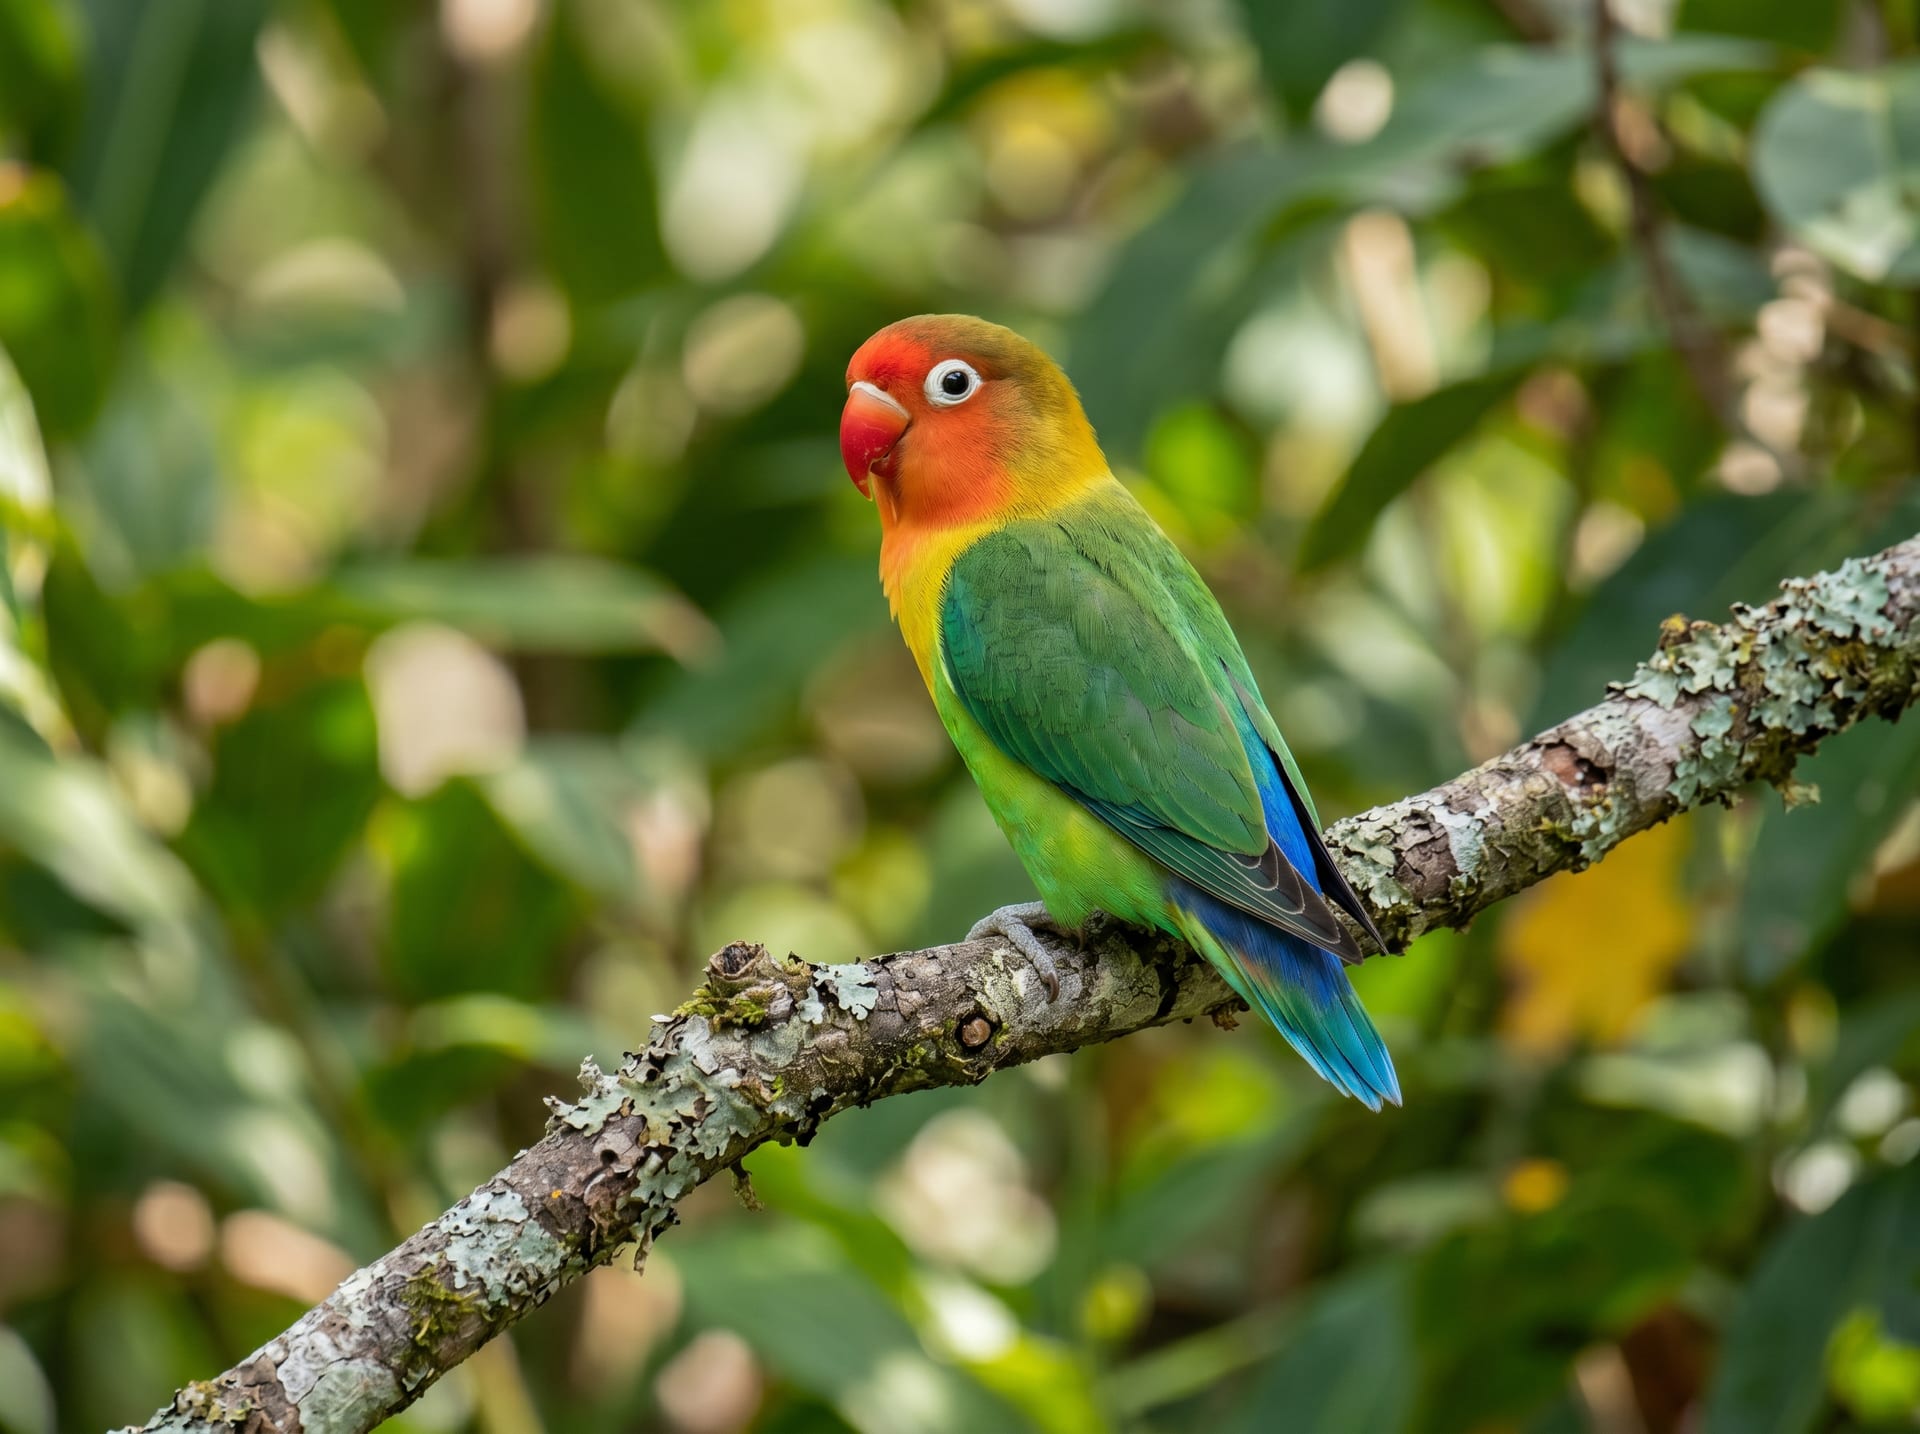
- Lovebirds: Become affectionate easily but may become overly attached
Summary
Hand-taming training often takes weeks to months. The key is consistent positive reinforcement and a patient mindset. Building trust gradually each day creates a wonderful relationship with your bird. Through BreederDirect, you can directly welcome hand-tamed birds and socialized chicks from breeders nationwide.