Discus Breeding Water Parameter Guide | Precise Management of pH, Hardness & Temperature | ブリちょく
Tropical Fish| ✍️ BreederDirect Editorial
Discus Breeding Water Parameter Guide | Precise Management of pH, Hardness & Temperature
A guide to water parameters essential for discus breeding. Learn about RO water adjustment, pH management, and creating the right environment to trigger spawning.
Key Takeaways
A guide to water parameters essential for discus breeding. Learn about RO water adjustment, pH management, and creating the right environment to trigger spawning.
Related Species
Discus Breeding Water Parameter Guide | Precise Management of pH, Hardness & Temperature
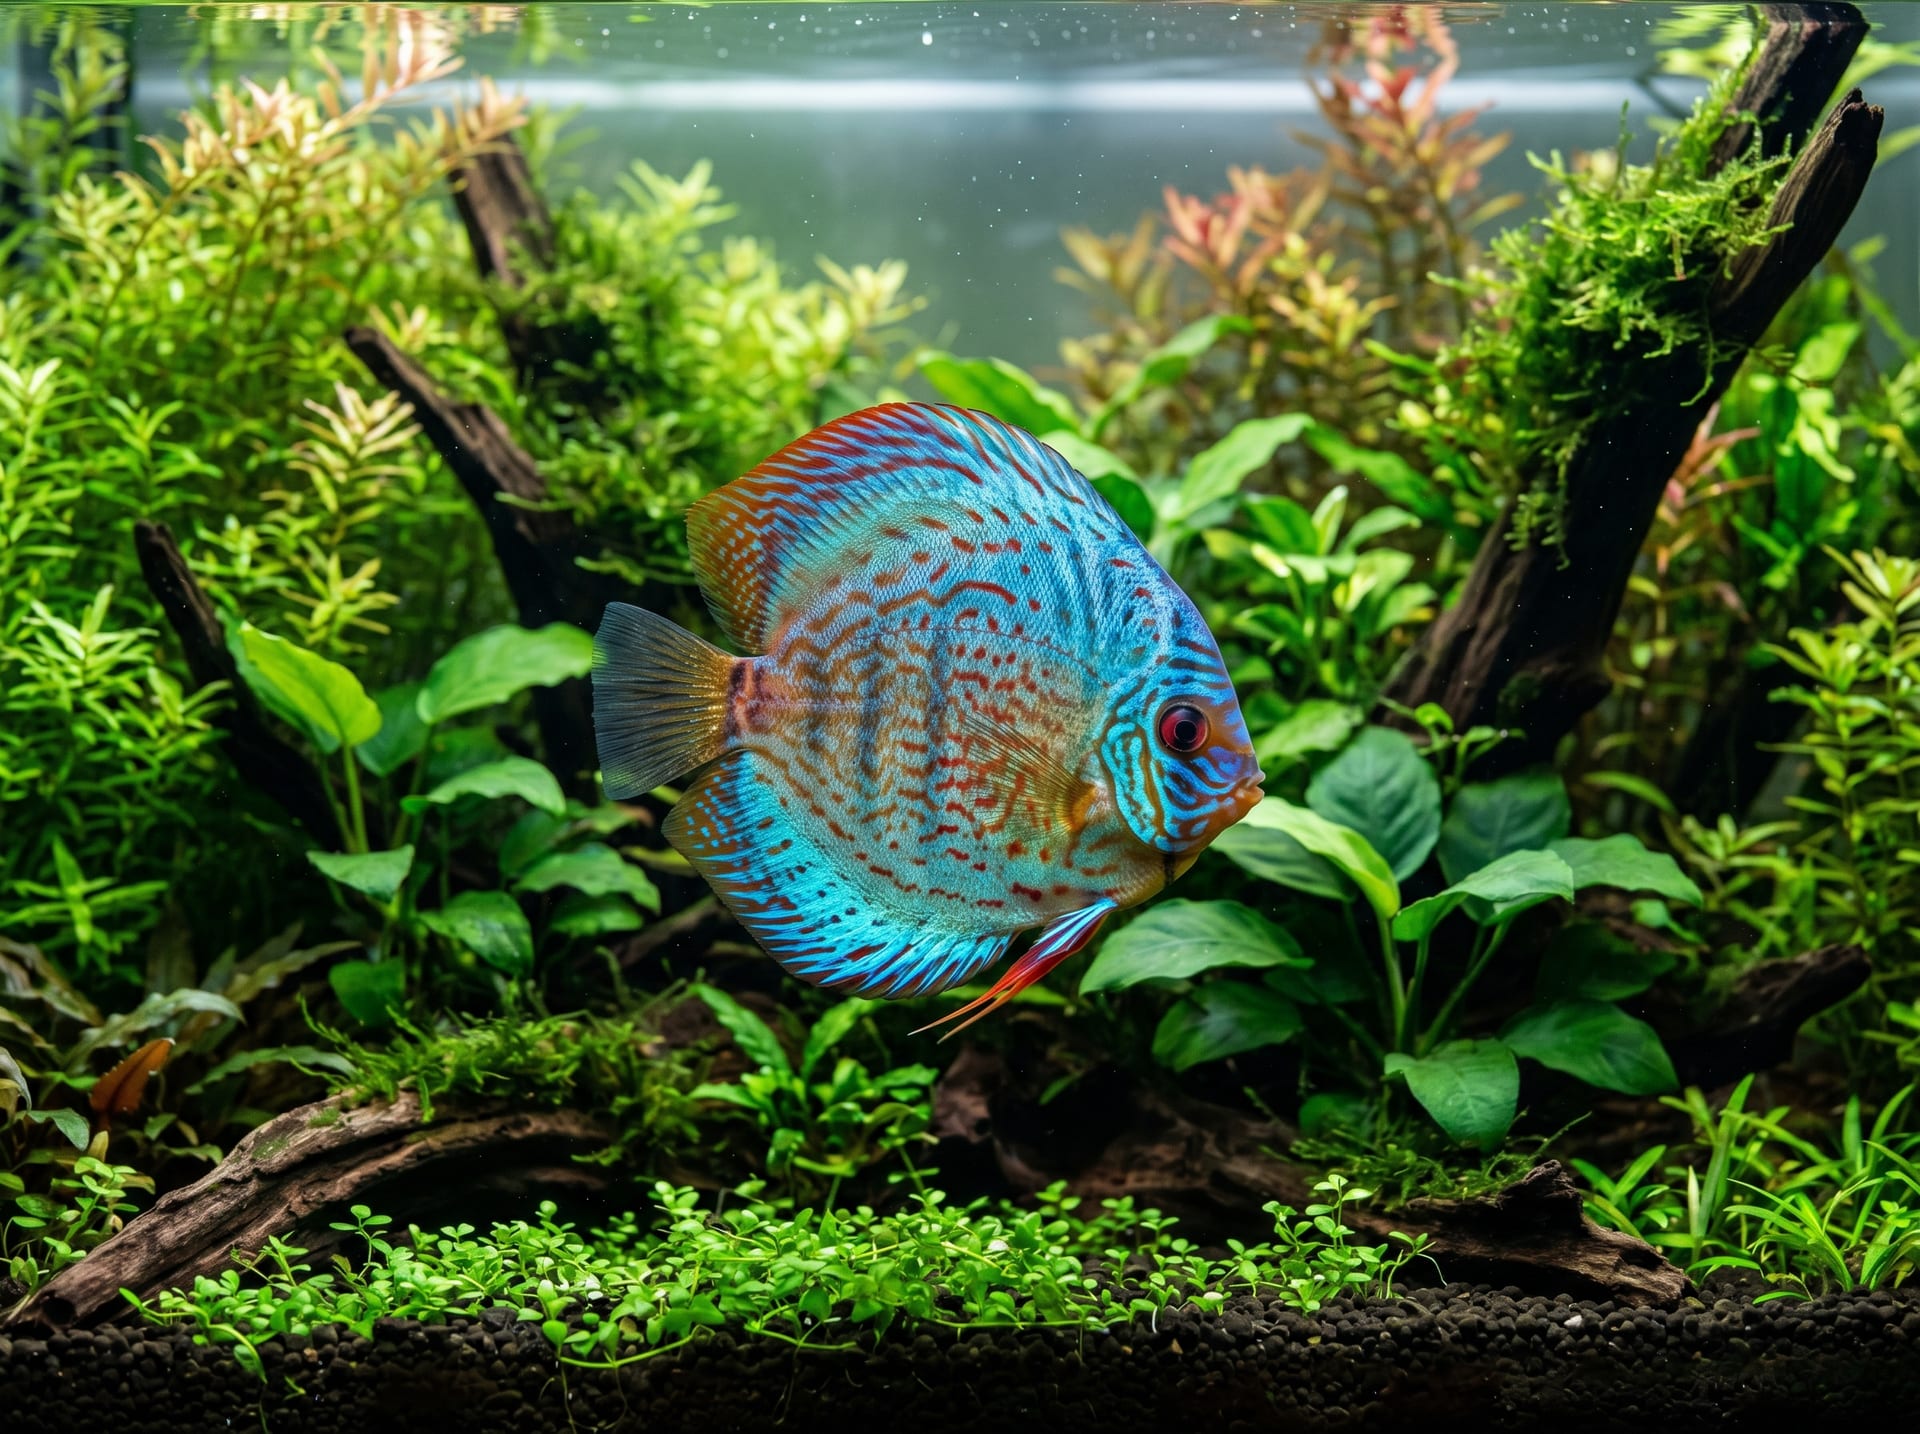
Discus fish are often called "the king of tropical fish" for their stunning beauty, and the joy of successfully breeding them is incomparable. However, their breeding is far from simple. The greatest challenge is precise management of water parameters. The Amazon River basin, home to wild discus, is a unique environment dominated by extremely soft, highly acidic "blackwater." Recreating this natural environment in your aquarium is the first step toward successful breeding.
This article provides a comprehensive guide to the meaning and target values of each parameter—pH, hardness, and water temperature—the specific steps for adjusting water quality using RO water, and techniques to trigger spawning.
---
Essential Water Parameters and Target Values for Breeding
In a discus breeding tank, the following parameters must be maintained within target ranges:
Parameter
Target Range
Notes
pH
5.5–6.5
Wild-caught: around 5.0; tank-bred: around 6.0 is acceptable
General Hardness (GH)
1–4 dGH
Ultra-soft water is ideal
Carbonate Hardness (KH)
0–2 dKH
Lower values help stabilize pH
✍️
BreederDirect Editorial
The BreederDirect editorial team specializes in care information for animals, covering veterinary care and breeding to deliver beginner-friendly guides.
Find Tropical Fish on BreederDirect
Buy directly from verified breeders
Browse Related Listings
Find Tropical Fish listings related to this article on BreederDirect. Buy directly from verified breeders.
Related Tools
Related Articles
Browse by Category
🪸Coral
🐠Marine Fish
🐟Tropical Fish
🐡Goldfish
🐟Medaka
🦎Reptiles
Share
Electrical Conductivity (EC/TDS)
80–200 μS/cm
Indicator of mineral content
Water Temperature
28–30°C
30°C is optimal for spawning and hatching
Ammonia / Nitrite
0 mg/L
Even trace amounts inhibit spawning behavior
Why pH and Hardness Are Critical
A low pH (acidic) environment enhances sperm motility and improves fertilization rates. Lower hardness also keeps egg membranes soft, making it easier for fry to hatch. Conversely, high hardness causes eggs to harden and fail to hatch properly, so maintaining GH at 4 dGH or below is essential.
Regarding water temperature, if it drops below 28°C, spawning motivation decreases. Above 30°C, dissolved oxygen levels fall, so maintaining 28–30°C is critical. Keeping daily records to track parameter fluctuations helps you quickly identify the causes of health problems or spawning failures.
---
Water Adjustment Procedure Using RO Water
Depending on the region, tap water in Japan typically has GH 5–10 dGH and pH around 7—both too high for discus breeding. This is where RO water (nearly pure water processed through reverse osmosis membranes) becomes essential.
Required Equipment
RO water purifier: Household models are suitable; monitor filter replacement frequency
pH meter (or test liquid): Digital models with high accuracy are recommended
GH/KH test kit: Essential for hardness verification
Peat extract or pH-lowering agent: For acidification
Mineral supplement (blackwater type): Provides trace minerals
Water Preparation Steps
Generate RO water and store in a bucket — Freshly generated RO water has nearly 5 μS/cm TDS, nearly pure water.
Add peat extract to adjust pH — Target pH 5.5–6.0. Add gradually to avoid overdosing.
Adjust GH to 1–4 dGH with mineral supplement — Refer to the GH conversion amount listed in the product instructions.
Aerate for 24 hours to mix and stabilize — This crucial step removes dissolved gases and stabilizes pH.
Verify all parameters before use — Always measure pH, GH, KH, and TDS before adding the water to your tank.
Perform water changes at 10–20% daily, avoiding sudden shifts in water quality. Even for larger water changes, always pre-adjust the water to match the tank's temperature and parameters. Since RO water is nearly mineral-free after generation, always add mineral supplements before use to avoid stressing the fish.
---
Techniques to Trigger Spawning
Once water quality is established, the next step is prompting spawning behavior. In the Amazon River, the dry and rainy seasons trigger breeding. By intentionally recreating this natural rhythm in your tank, you can induce spawning.
Simulating the Rainy Season with Large Water Changes
Perform a 50% or larger water change using RO water, exceeding the typical 10–20% change. This makes the water suddenly "softer and more acidic," simulating rainy-season water influx. Expect pH to drop by around 0.3–0.5.
Gradual Temperature Increase
After the water change, gradually raise water temperature from 28°C to 30°C to simulate the transition from dry to rainy season. Avoid sudden temperature shifts, but increasing by 0.5–1°C per day is effective.
Intensive Feeding with High-Nutrition Foods
For 2–3 weeks before breeding, provide abundant live foods like bloodworms and brine shrimp, frozen foods, or specialized hamburger pellets. Building up body condition increases spawning motivation. Always remove uneaten food to prevent water quality deterioration.
Pairing and Preparing the Breeding Tank
Once a pair forms, move them to a 60–90 cm dedicated breeding tank. Install a spawning cone or slate plate, and observe for several days to a week before the pair adjusts. Avoid peering at the tank excessively as it causes wariness; placing an opaque sheet on the front of the tank is an effective precaution.
---
Spawning, Hatching, and Fry Care
Discus are substrate spawners, laying eggs on the surface of spawning cones or plates. Understand the progression from spawning through fry independence.
Spawn size: Typically 100–300 eggs per spawning
Hatching: Approximately 60 hours at 30°C. Fry remain attached to the spawning substrate for a while after hatching
Discus milk: For 3–5 days after hatching, fry feed on mucus secreted from the parents' body surface (discus milk). This is the defining and most fascinating characteristic of discus breeding
Transition to prepared foods: After 2–3 weeks, fry begin separating from parents and progressively transition from brine shrimp nauplii to fine granule foods
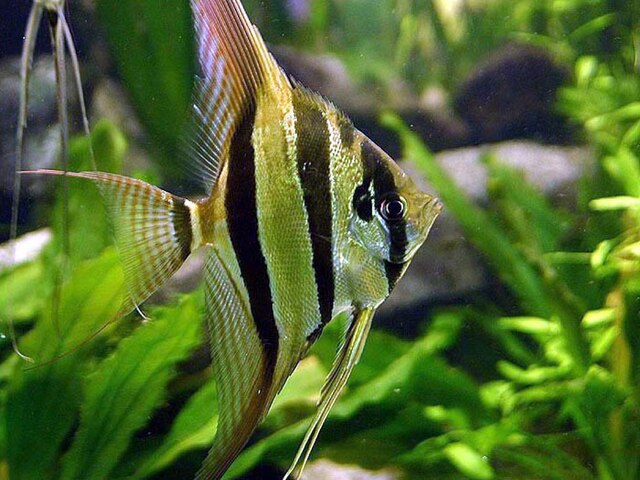
If parents consume eggs or fry (cannibalism), it usually indicates an immature pair; repeated spawning often resolves this. While other cichlids like angelfish exhibit similar behavior, discus are uniquely sensitive to water quality—even minor parameter fluctuations easily disrupt spawning behavior, making this the greatest challenge for breeders.
---
The Reliability and Safety br-choku Offers
Successful discus breeding depends heavily on obtaining "proven breeding stock" from experienced breeders with strong water management expertise.
br-choku connects you with healthy discus bred by breeders nationwide, available for direct purchase. This direct-from-breeder model offers several advantages:
Direct breeder contact: Ask questions like "What water parameters did you use for breeding?" or "What size are the parent fish?"—get answers directly from the source
Transparent individual information: Since breeders raise their own fish, husbandry environment, diet, and health status are fully transparent
Review and rating system: Choose trusted breeders based on buyer feedback and reviews
Even beginners uncertain about water management can confidently take their first step into breeding by connecting with breeders through br-choku.