Feeder Insect Breeding Guide for Leopard Geckos and West African Fat-Tailed Geckos | Cricket, Dubia, and Worm Management
Learn the benefits and methods of breeding feeder insects for leopard geckos and West African fat-tailed geckos. This practical guide covers cricket (two-spotted and house cricket) care, Dubia roach breeding, and mealworm cultivation, including enclosure setup, temperature management, and gut-loading.
Key Takeaways
Learn the benefits and methods of breeding feeder insects for leopard geckos and West African fat-tailed geckos. This practical guide covers cricket (two-spotted and house cricket) care, Dubia roach breeding, and mealworm cultivation, including enclosure setup, temperature management, and gut-loading.
Related Species
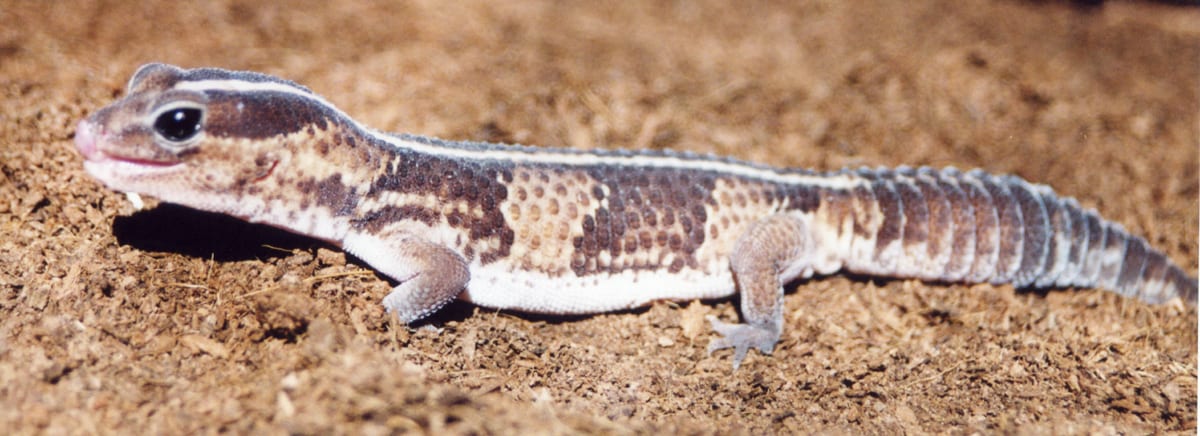
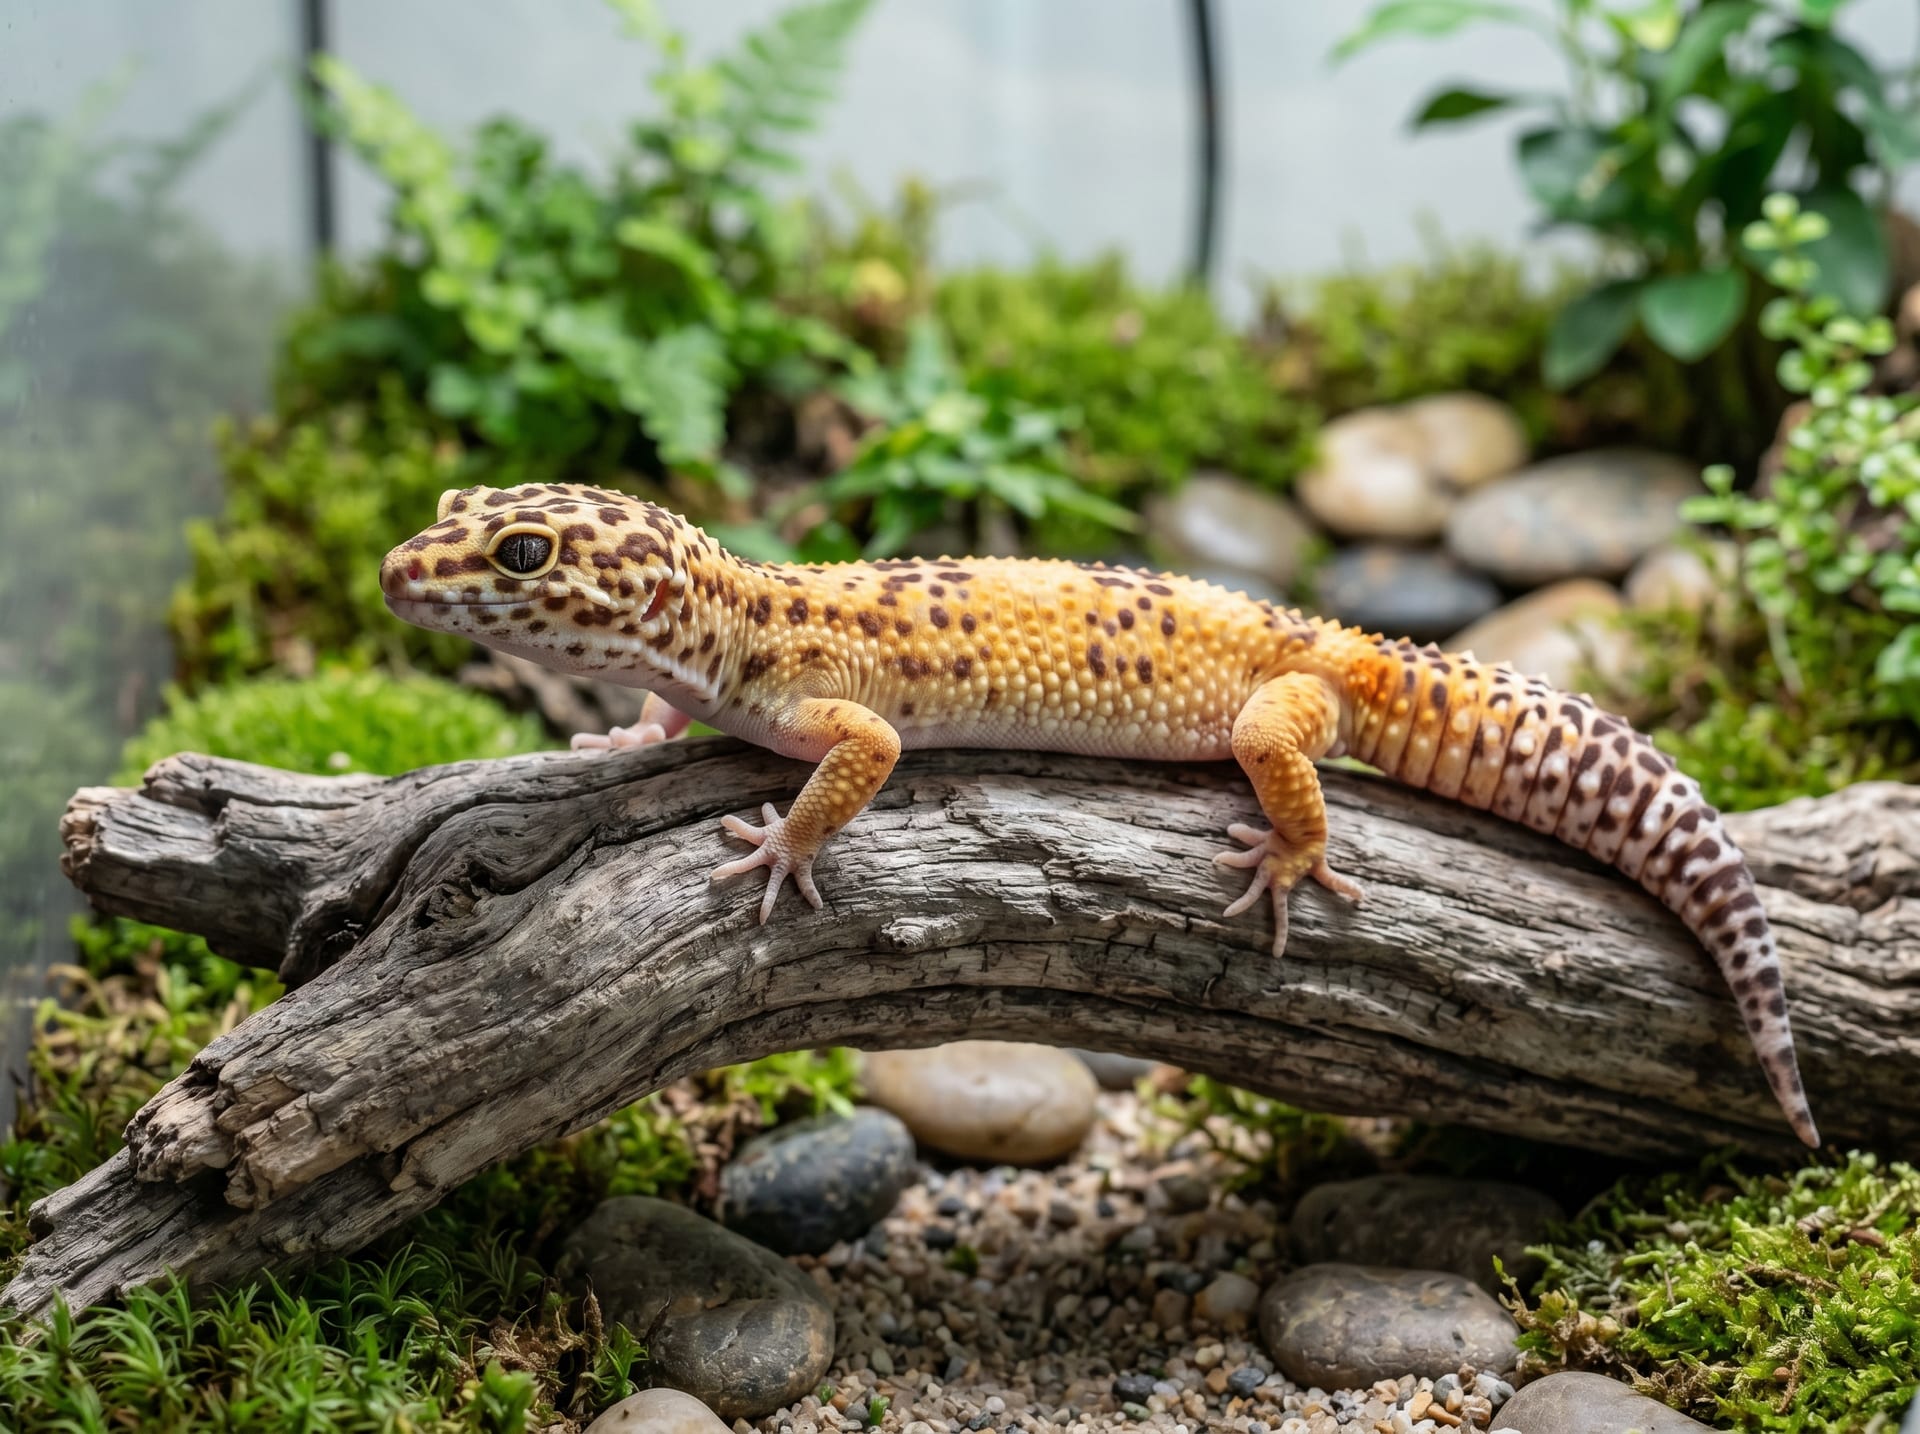
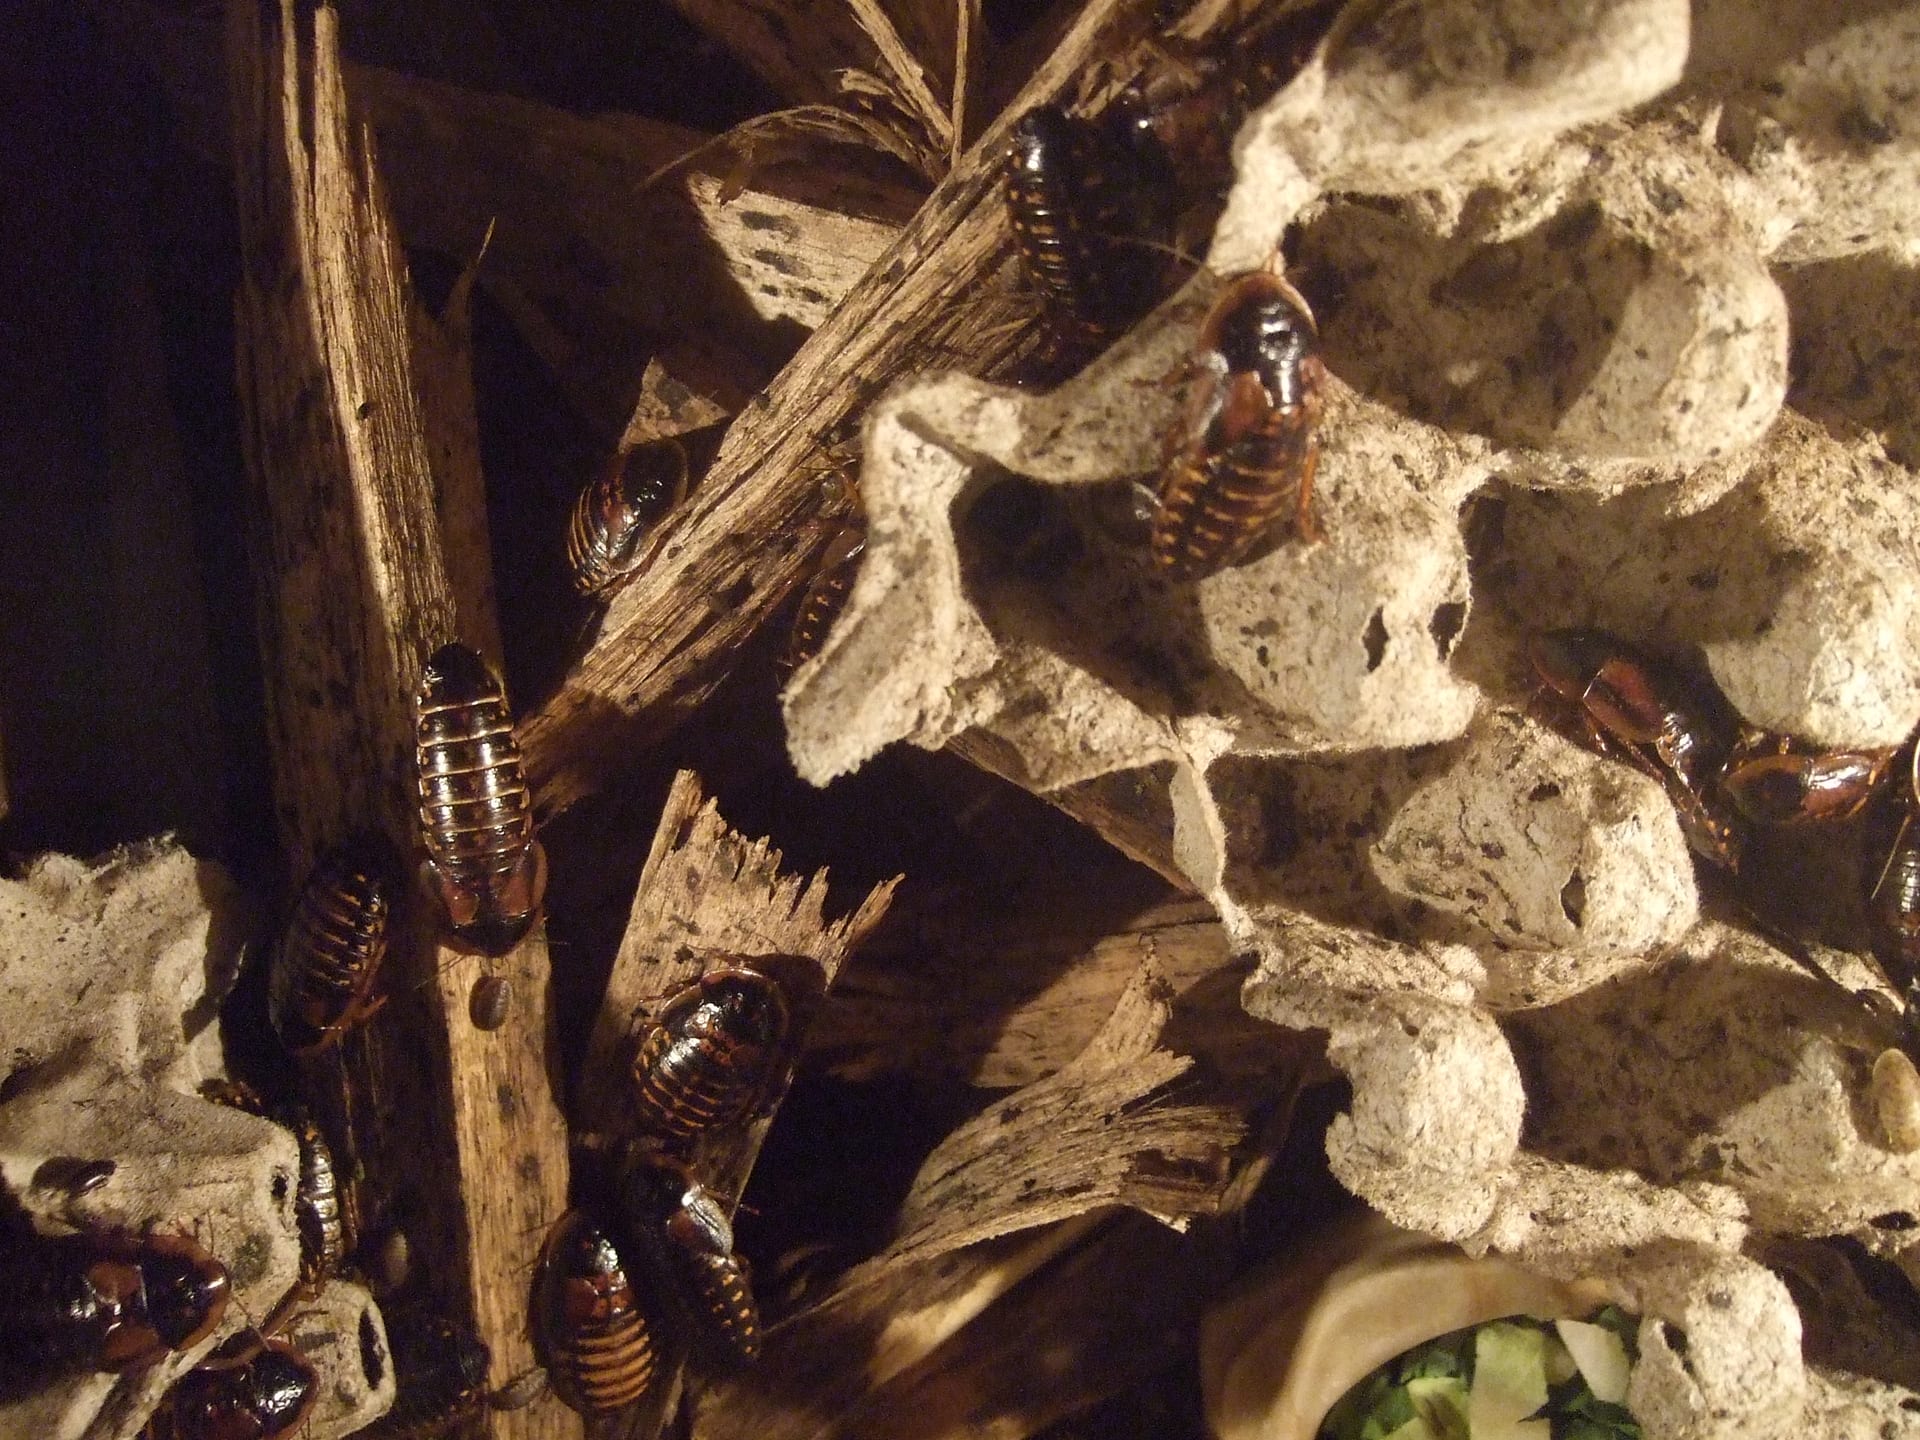
Keeping leopard geckos (Eublepharis macularius) and West African fat-tailed geckos requires a consistent supply of feeder insects. While pet shop purchases are convenient, they're expensive and inventory can be unreliable. Breeding feeder insects at home solves these problems while also improving nutritional management for your geckos.
Benefits of Home Breeding
- Cost savings: Initial equipment costs are typically just a few thousand yen, often becoming cheaper than monthly purchases
- Fresh insects on hand: Eliminates the risk of dead or degraded quality insects
- Gut-loading control: You can feed insects nutritious food the day before feeding them to enhance their nutritional value
- Size selection: You always have the right size available for each growth stage, from hatchlings to adults
Cricket Breeding (Two-spotted Crickets and House Crickets)
Basic Setup
What you'll need:
- A container (a plastic box of about 45 liters)
- Several egg trays (cardboard is fine) for hiding spots
- A heating device (heat panel)
- Breeding container (a small plastic cup filled with soil)
- Water dish (with cotton or sponge to prevent drowning)
- Food dish
Temperature: 28-32°C is ideal (lower temperatures reduce egg-laying and hatch rates)
Breeding Process
- Place adult male and female crickets in the container (at a ratio of about 3:1)
- Set up the breeding container and allow them to lay eggs for 2-3 weeks
- Remove the breeding container and transfer it to a separate container, maintaining humidity and warmth for hatching (hatches in 10-14 days)
- Raise the hatchling crickets to adulthood
Important notes: Crickets are cannibalistic, so reduce density and provide plenty of hiding spaces within the container. Remove dead individuals immediately.
Gut-loading
Gut-load crickets by feeding them nutritious food 24 hours before feeding them to your geckos.
Recommended foods: Kale, carrots, squash, or commercial cricket food
Dubia Roach Breeding
Dubias are popular feeders that produce minimal odor and are easier to manage than crickets, with simple breeding requirements.
Setup
- Enclosure: 30-60 liter plastic container
- Temperature: 28-30°C (optimal for breeding)
- Hiding spots: Stack egg trays vertically
- Food: Vegetable scraps, grains, or commercial roach food
They reproduce quickly—females are ovoviviparous and produce 20-30 nymphs per month. Nymphs reach adulthood in approximately 5 months.
Important notes: While they rarely escape, keep the lid secured. Check local regulations as they're not designated invasive species in Japan, but some areas may have restrictions.
Mealworm Breeding
Mealworms are among the easiest feeders to breed. However, they're high in fat, so use them as a supplementary food.
Setup
- Container: A plastic box of 10-20 liters
- Substrate/food: Bran (wheat bran) or commercial mealworm food
- Hydration: Vegetable scraps (carrots, potatoes, etc.) provide moisture
- Temperature: 25-28°C
Breeding cycle: Larvae (mealworms) → pupae → adults (Tenebrio beetles) → egg-laying → hatching repeats. Adults lay eggs in the same substrate.
If mealworms escape the enclosure, they can cause foul odors, so manage carefully.
Combining Gut-loading and Dusting
The greatest benefit of home breeding is the ability to manage nutrition.
Gut-loading (24 hours before feeding):
- High-calcium vegetables: Kale, bok choy, dandelion greens
- Beta-carotene sources: Carrots, squash, bell peppers
- Moisture: Carrots or fruit (also prevents cricket drowning)
Dusting (immediately before feeding): Coat insects with calcium powder (containing vitamin D3) before feeding. Limit vitamin supplementation to 1-2 times per week to avoid overdosing.
Cost Breakdown
| Feeder | Initial Cost | Monthly Maintenance |
|---|---|---|
| Crickets (home-bred) | ¥3,000-5,000 | ¥500-1,000 |
| Dubias (home-bred) | ¥5,000-8,000 | ¥500-800 |
| Store-bought (50 crickets) | — | ¥500-1,000 |
Initial costs are recouped within 1-2 months.
Summary
While breeding feeder insects requires initial effort, it delivers both cost savings and improved insect quality in the long term. We recommend starting with Dubias or mealworms, then adding crickets as you gain experience. At BreederDirect, you can directly acquire healthy fat-tailed geckos from breeders throughout the country.