The Complete Guide to Tarantula Molting Management | Pre-Molt Signs, Environmental Setup, Prevention and Treatment of Molting Failure
Tarantula molting is one of the most stressful events for keepers. This guide provides practical explanations of pre-molt signs, what not to do, humidity and substrate management, and how to handle stuck molts.
Key Takeaways
Tarantula molting is one of the most stressful events for keepers. This guide provides practical explanations of pre-molt signs, what not to do, humidity and substrate management, and how to handle stuck molts.
Related Species
What is Tarantula Molting?
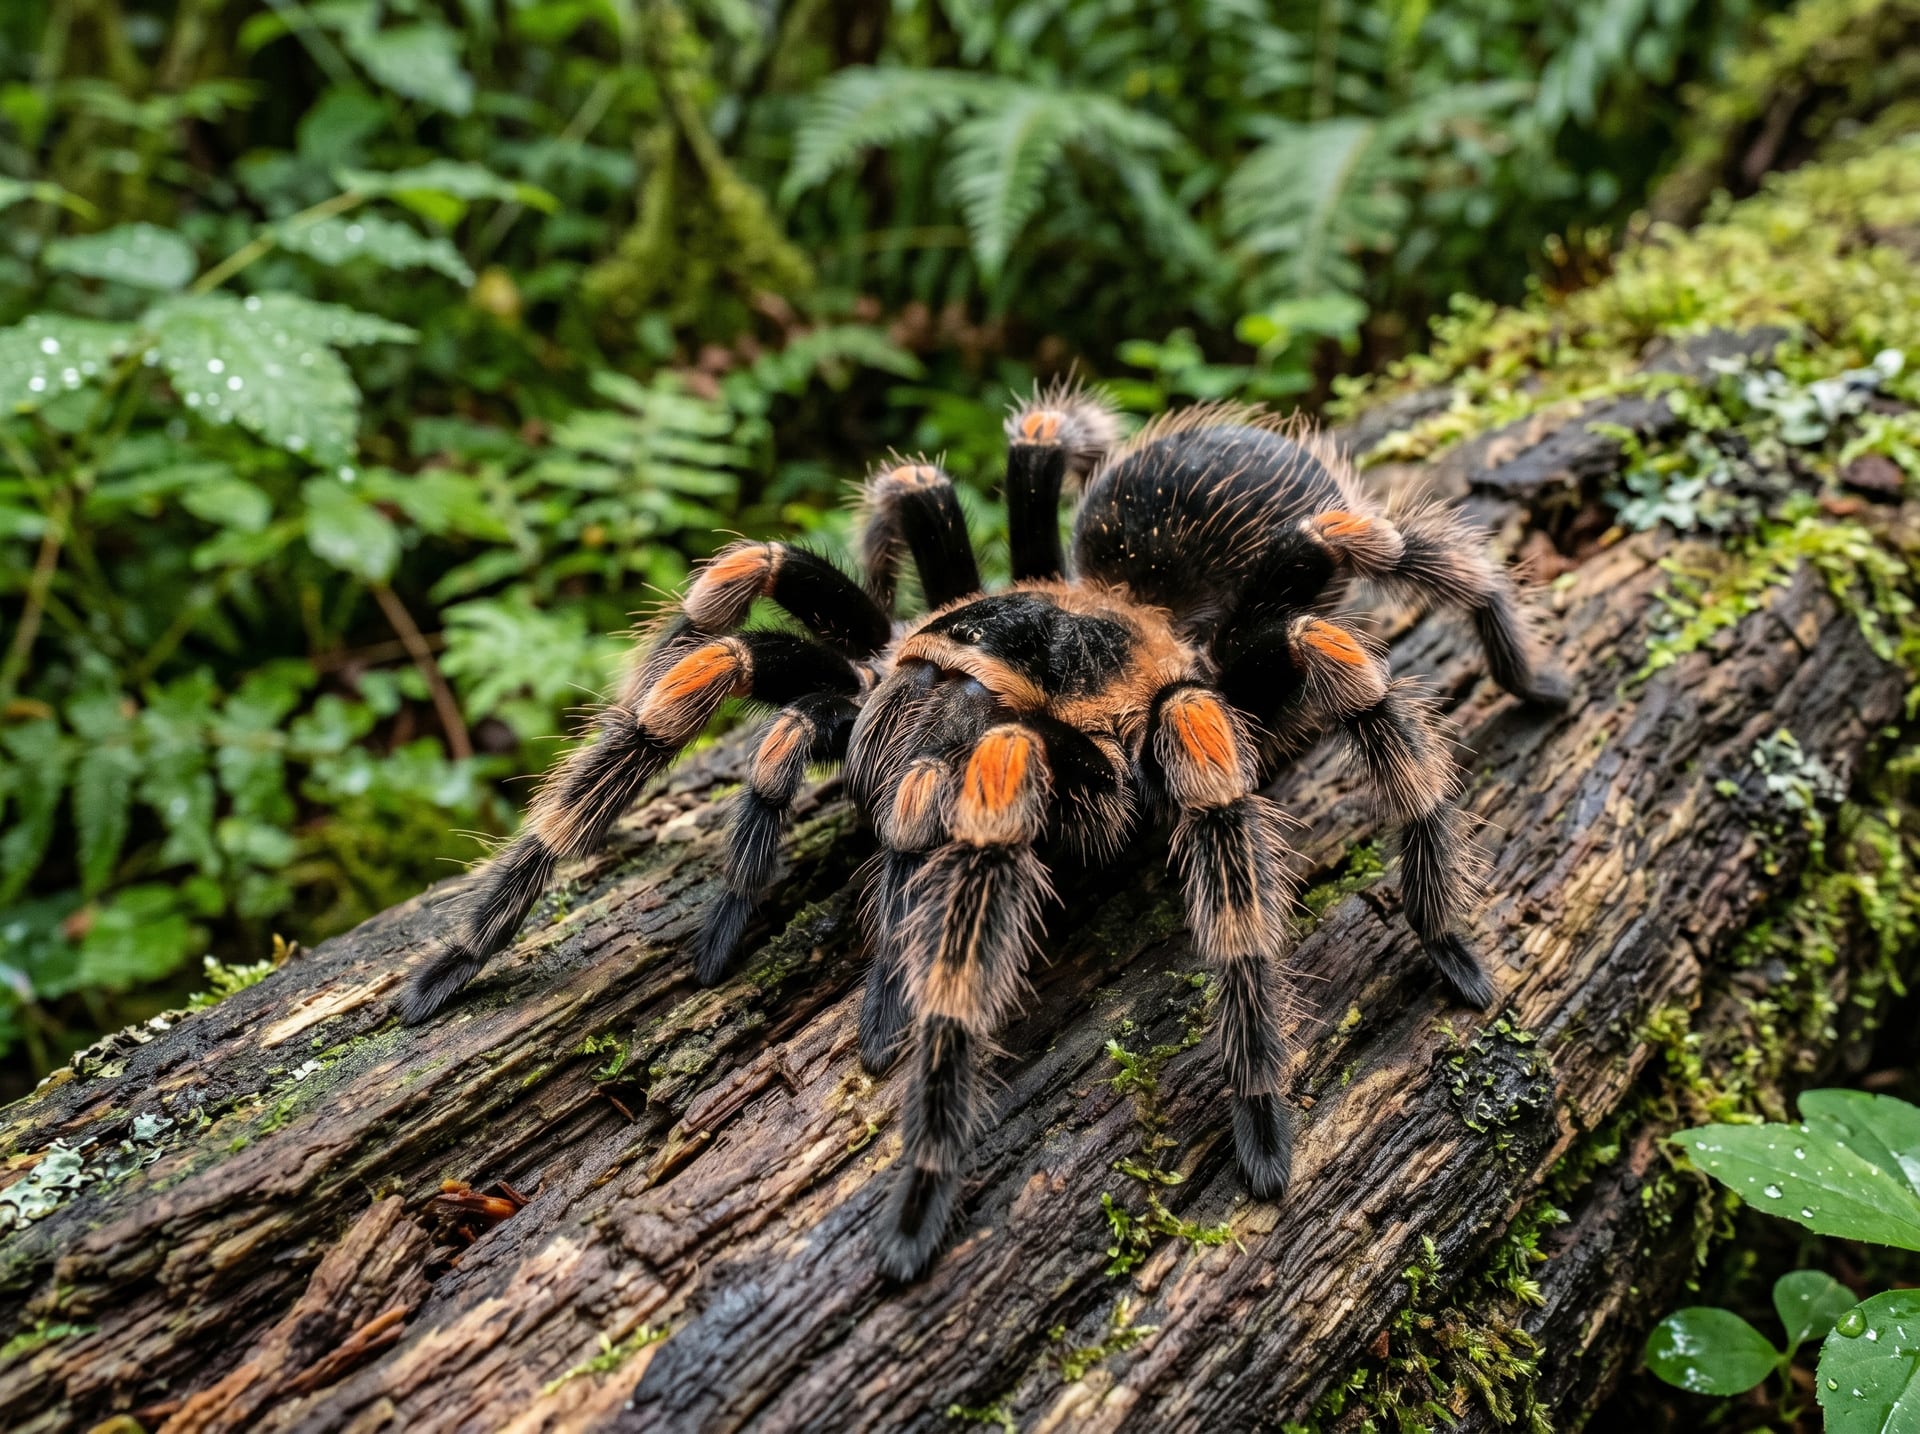
Arthropods, including tarantulas, undergo molting (Ecdysis) in which they shed their old exoskeleton (shell) as they grow. Unlike human skin, the exoskeleton cannot stretch and shrink, so they must shed the old shell with each growth cycle.
While juveniles molt approximately once every few months, the frequency decreases as they approach adulthood. For adult females of large terrestrial tarantulas, molting occurs approximately once per year.
For tarantulas, molting is also a life-threatening event. They are completely defenseless during molting, and failure can be fatal. Keepers' proper knowledge and preparation of the environment is key to the longevity and health of tarantulas.
Pre-Molt Signs
Several weeks to months before molting, the following changes appear. When multiple signs are observed together, it indicates that molting is near.
Behavioral Changes
Dramatic loss of appetite or refusal to eat This is the most prominent sign. If a normally feeding individual suddenly refuses food, suspect pre-molt. Loss of appetite often begins 2-8 weeks before molting, and in some cases, they may stop eating 3+ months beforehand.
Decreased activity and reclusion They retreat into burrows or hiding spots and stop coming out. Arboreal species may seal their webs thicker.
Web reinforcement and silk replacement They increase their silk-laying behavior on the substrate and walls. This is preparation for the molting mat.
Stiffness in pedipalps and legs Leg movements may become awkward, and they may appear to lack strength.
Physical Appearance Changes
Darkening of the abdomen The abdomen (opisthosoma) darkens. This indicates that a new exoskeleton is forming inside. When held up to light, the interior appears dark.
Abdominal shrinkage and wrinkles Conversely, the abdomen may appear smaller and wrinkled (this is a physiological change, not dehydration).
Increased drinking behavior Some individuals drink large amounts of water before molting. This is preparation to increase hemolymph pressure to break the old exoskeleton from the inside.
Pre-Molt and Molting Environmental Management
What You Must Never Do
1. Never feed If crickets or live prey are placed in the enclosure during molting, the feeder insects may attack and kill the defenseless molting tarantula. Do not introduce food for at least 1-2 weeks after molting is complete.
2. No handling or enclosure relocation Vibrations, light, or stress during molting can interrupt the process or cause panic-related falls.
3. No forced molting assistance (Warning for beginners) Do not pull or force the process even if molting seems slow. Handling of stuck molts (discussed later) should be careful and a last resort.
4. Do not waterlog the enclosure Standing water during molting creates a drowning risk.
Enclosure Preparation
Substrate depth Terrestrial tarantulas molt on their backs, so the substrate must be sufficiently deep. Ensure substrate depth is at least 1.5 times the tarantula's body length.
Water availability Always keep the water dish filled before molting. Maintaining hydration is crucial as they regulate hemolymph pressure through drinking.
Humidity While it varies by species, maintaining slightly higher humidity before molting aids exoskeleton flexibility.
- Arid species (African baboon tarantulas, etc.): 50-60%
- Tropical species (Poecilotheria, Brachypelma, etc.): 65-80%
Lighting Provide the darkest, quietest environment possible. Molting typically occurs at night.
The Molting Process
Stage 1: Turning on Back
When a tarantula begins molting, it flips onto its back (dorsal side down). Keepers seeing this for the first time often mistakenly think the spider is dead, but this is completely normal. Do not touch under any circumstances.
Stage 2: Exoskeleton Separation
The pedicel membrane (boundary between the opisthosoma and cephalothorax) separates first, and gradually the entire exoskeleton lifts away from the body within.
Stage 3: Extraction of Legs and Pedipalps
Through repeated hemolymph pressure contractions (pumping), the tarantula withdraws its legs, pedipalps, and chelicerae (fangs) from the old exoskeleton. This stage takes the longest (30 minutes to several hours) and is the most exhausting.
Stage 4: Molting Complete
The old exoskeleton (exuvia) completely separates from the body. Immediately after completion, the tarantula is extremely soft and defenseless. The body color appears pale (white to light tan).
Stage 5: Hardening Period
It takes 1-2 weeks for the new exoskeleton to harden. During this time:
- Do not feed (fangs are not hardened and the tarantula could be injured)
- Do not handle
- Only check the water dish
Handling Stuck Molts
When a tarantula cannot extract itself from the exoskeleton during molting, it is called "Stuck in Molt." If legs or pedipalps become trapped in the old exoskeleton and begin to harden, the tarantula will die if left untreated.
When to Intervene
- No movement for 4-6 hours after the start of molting
- One or more legs clearly trapped and hardening in the old exoskeleton
- The tarantula is attempting to move but making no visible progress
Only in these cases should you attempt careful intervention.
Intervention Steps (Last Resort)
- Place the tarantula in a shallow container (1-2 cm deep) filled with warm water at 37-38°C. The warm water softens the exoskeleton.
- Wet a cotton swab and gently soften the exoskeleton around the trapped leg.
- Use tweezers to slowly pull the exoskeleton away (remove the exoskeleton, not the leg).
- Work slowly and carefully, keeping intervention to the absolute minimum.
The tarantula may die during intervention. Consider consulting with an experienced keeper or exotic animal veterinarian.
Prevention
Most stuck molts result from dehydration, improper substrate, or nutritional deficiency.
- Always keep the water dish clean and full
- Feed well before molting (but reduce feeding as molting approaches)
- Maintain proper substrate depth and humidity
- Avoid stressful stimuli
Post-Molt Care
Handling the Exuvia
Remove the exuvia (shed exoskeleton) after the tarantula has fully hardened (1-2 weeks later). Dried exuviae can be preserved as specimens and used to confirm sex (reproductive organ impressions on the inside).
Resuming Feeding
- After the fangs are fully black and hardened (usually 2-3 weeks later)
- Start with smaller prey for the first 1-2 feedings
Growth Records
Recording body length and weight after each molt helps you track growth and predict the next molt.
Summary
Tarantula molting is simultaneously the most stressful event for keepers and the most critical care point.
If you follow the three principles—"don't assume it's dead even if on its back," "don't feed," and "don't handle"—and maintain proper humidity, substrate, and water availability, the tarantula will complete its molt safely on its own in most cases. The patience to watch without rushing is what makes tarantula keeping truly rewarding.