Spring Breeding Season Preparation Guide | Key Points by Animal and Plant Category
Learn how to prepare for spring breeding season by animal and plant category. Covers setting up spawning beds for killifish, post-cooling management for reptiles, optimal timing for succulent leaf propagation, and orchid division timing.
Key Takeaways
Learn how to prepare for spring breeding season by animal and plant category. Covers setting up spawning beds for killifish, post-cooling management for reptiles, optimal timing for succulent leaf propagation, and orchid division timing.
Related Species
Spring marks the beginning of breeding season for many organisms. Rising water temperatures and increased daylight hours trigger breeding responses in various species. By implementing proper preparation and management during this period, you can significantly increase breeding success rates.
Killifish Spawning Bed Setup and Water Temperature Management
Killifish begin spawning when water temperature exceeds 18–20°C.
Spawning Bed Preparation
Place commercially available fiber spawning beds or artificial spawning substrates (sponge-type) in your tank or breeding container. The spawning bed should ideally be a fibrous material where female killifish can rub their eggs; when you observe females in spawning condition (gravid, with eggs in their abdomen), it signals the spawning bed is ready.
Water Temperature Management:
- Optimal spawning temperature: 20–28°C
- If using a heater, set to 22–26°C
- For outdoor breeding, allow water temperature to rise naturally
Spawning Bed Collection Timing: Remove spawning beds with eggs 2–3 times per week and incubate them in separate containers. If left with parents, the eggs and fry will be consumed.
Breeding Promotion Tips
- Provide 13–14 hours of light daily (adjust with artificial lighting indoors)
- Prepare fine-grain fry food (powder food) in advance
Post-Cooling Management and Breeding Pairing for Reptiles
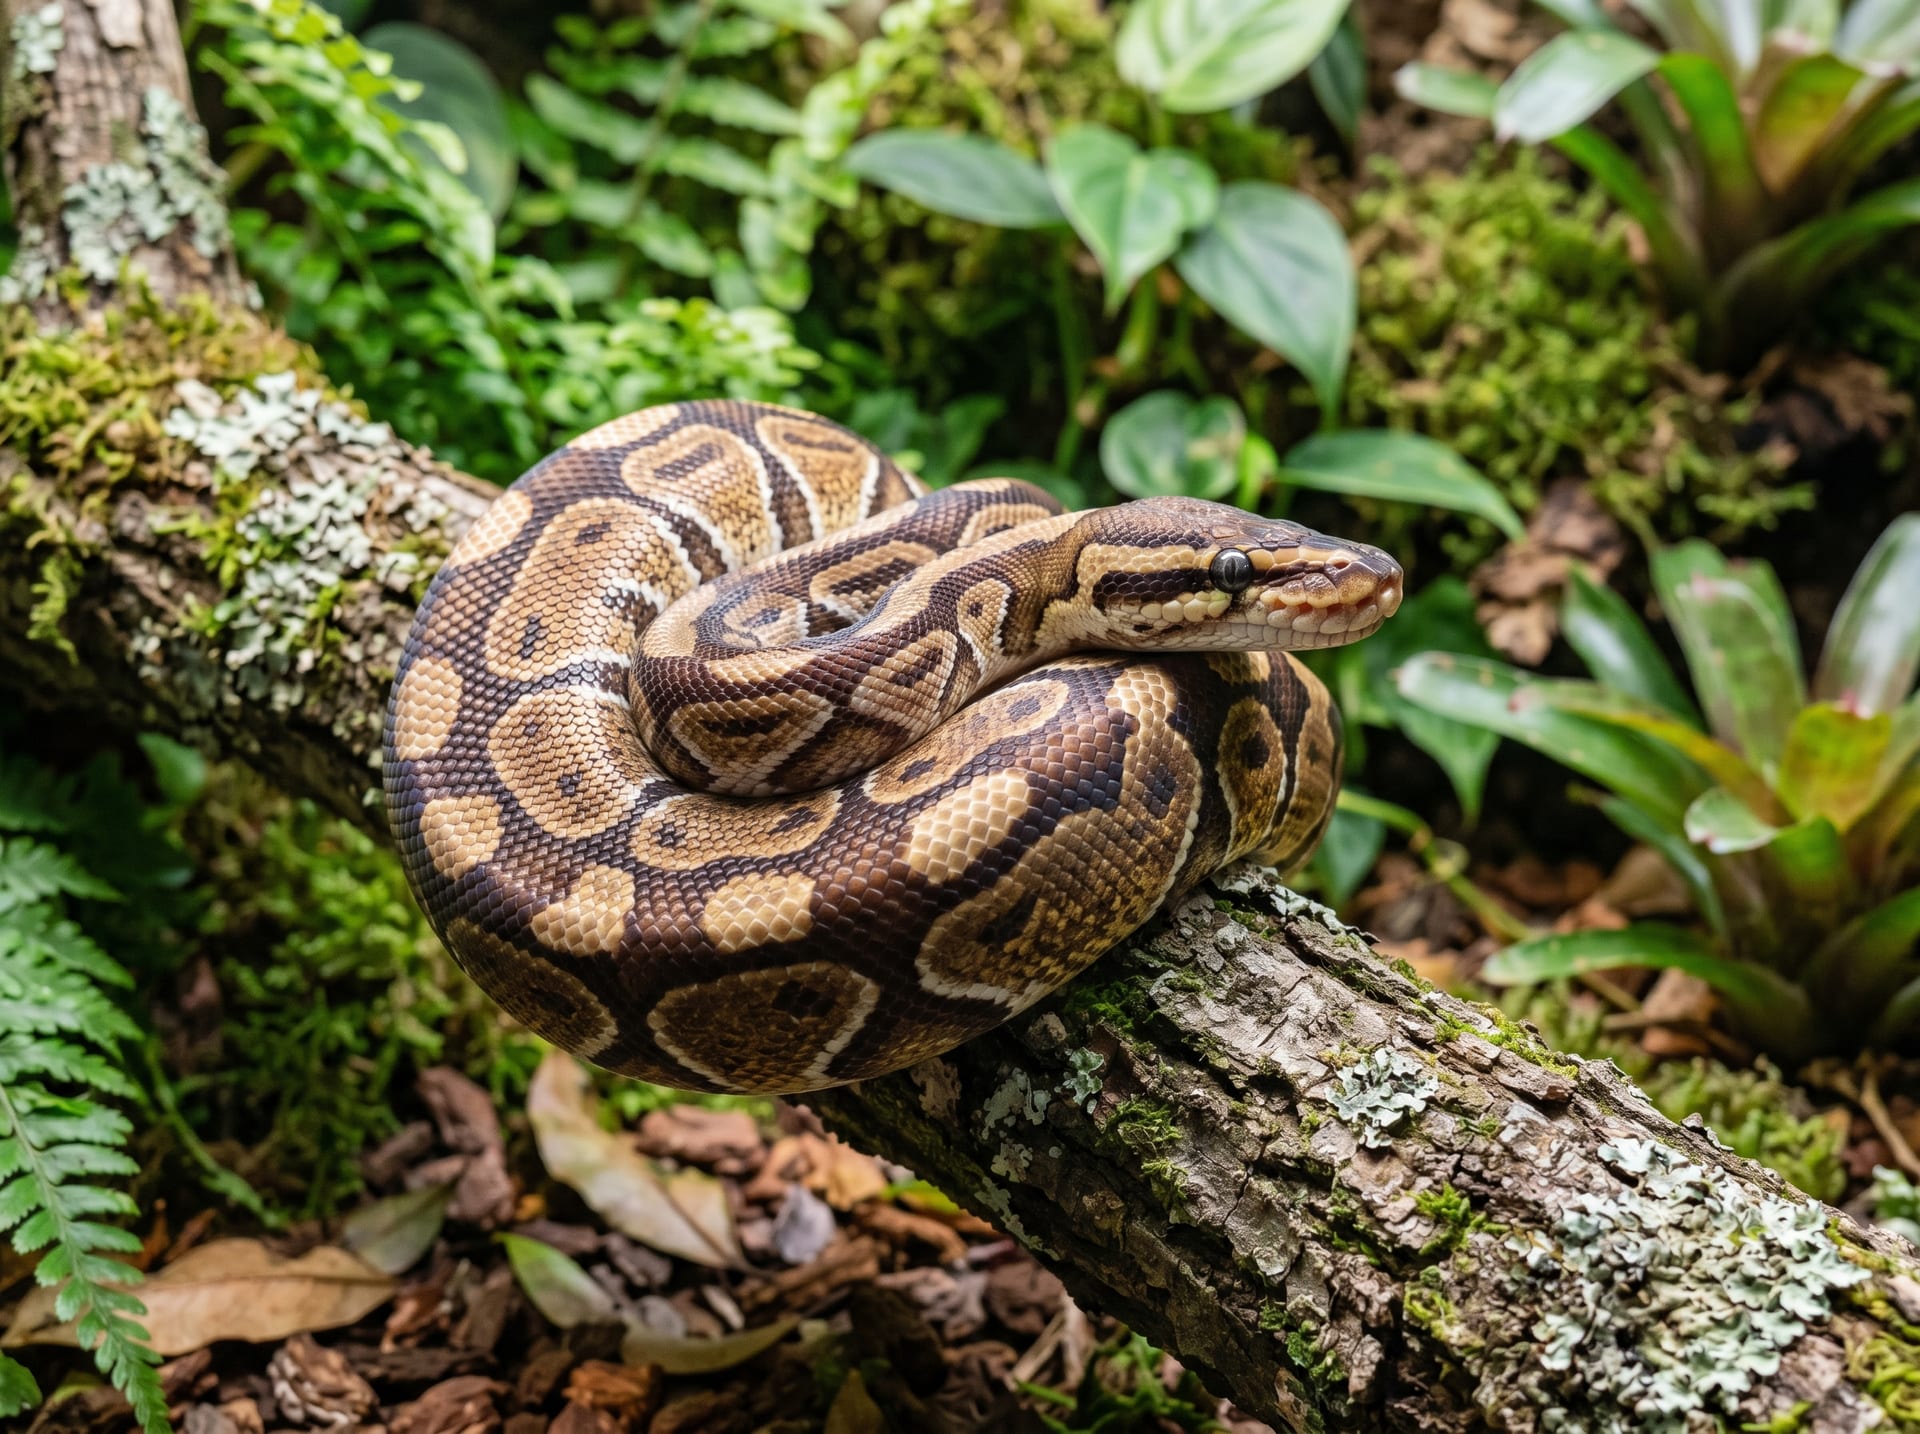
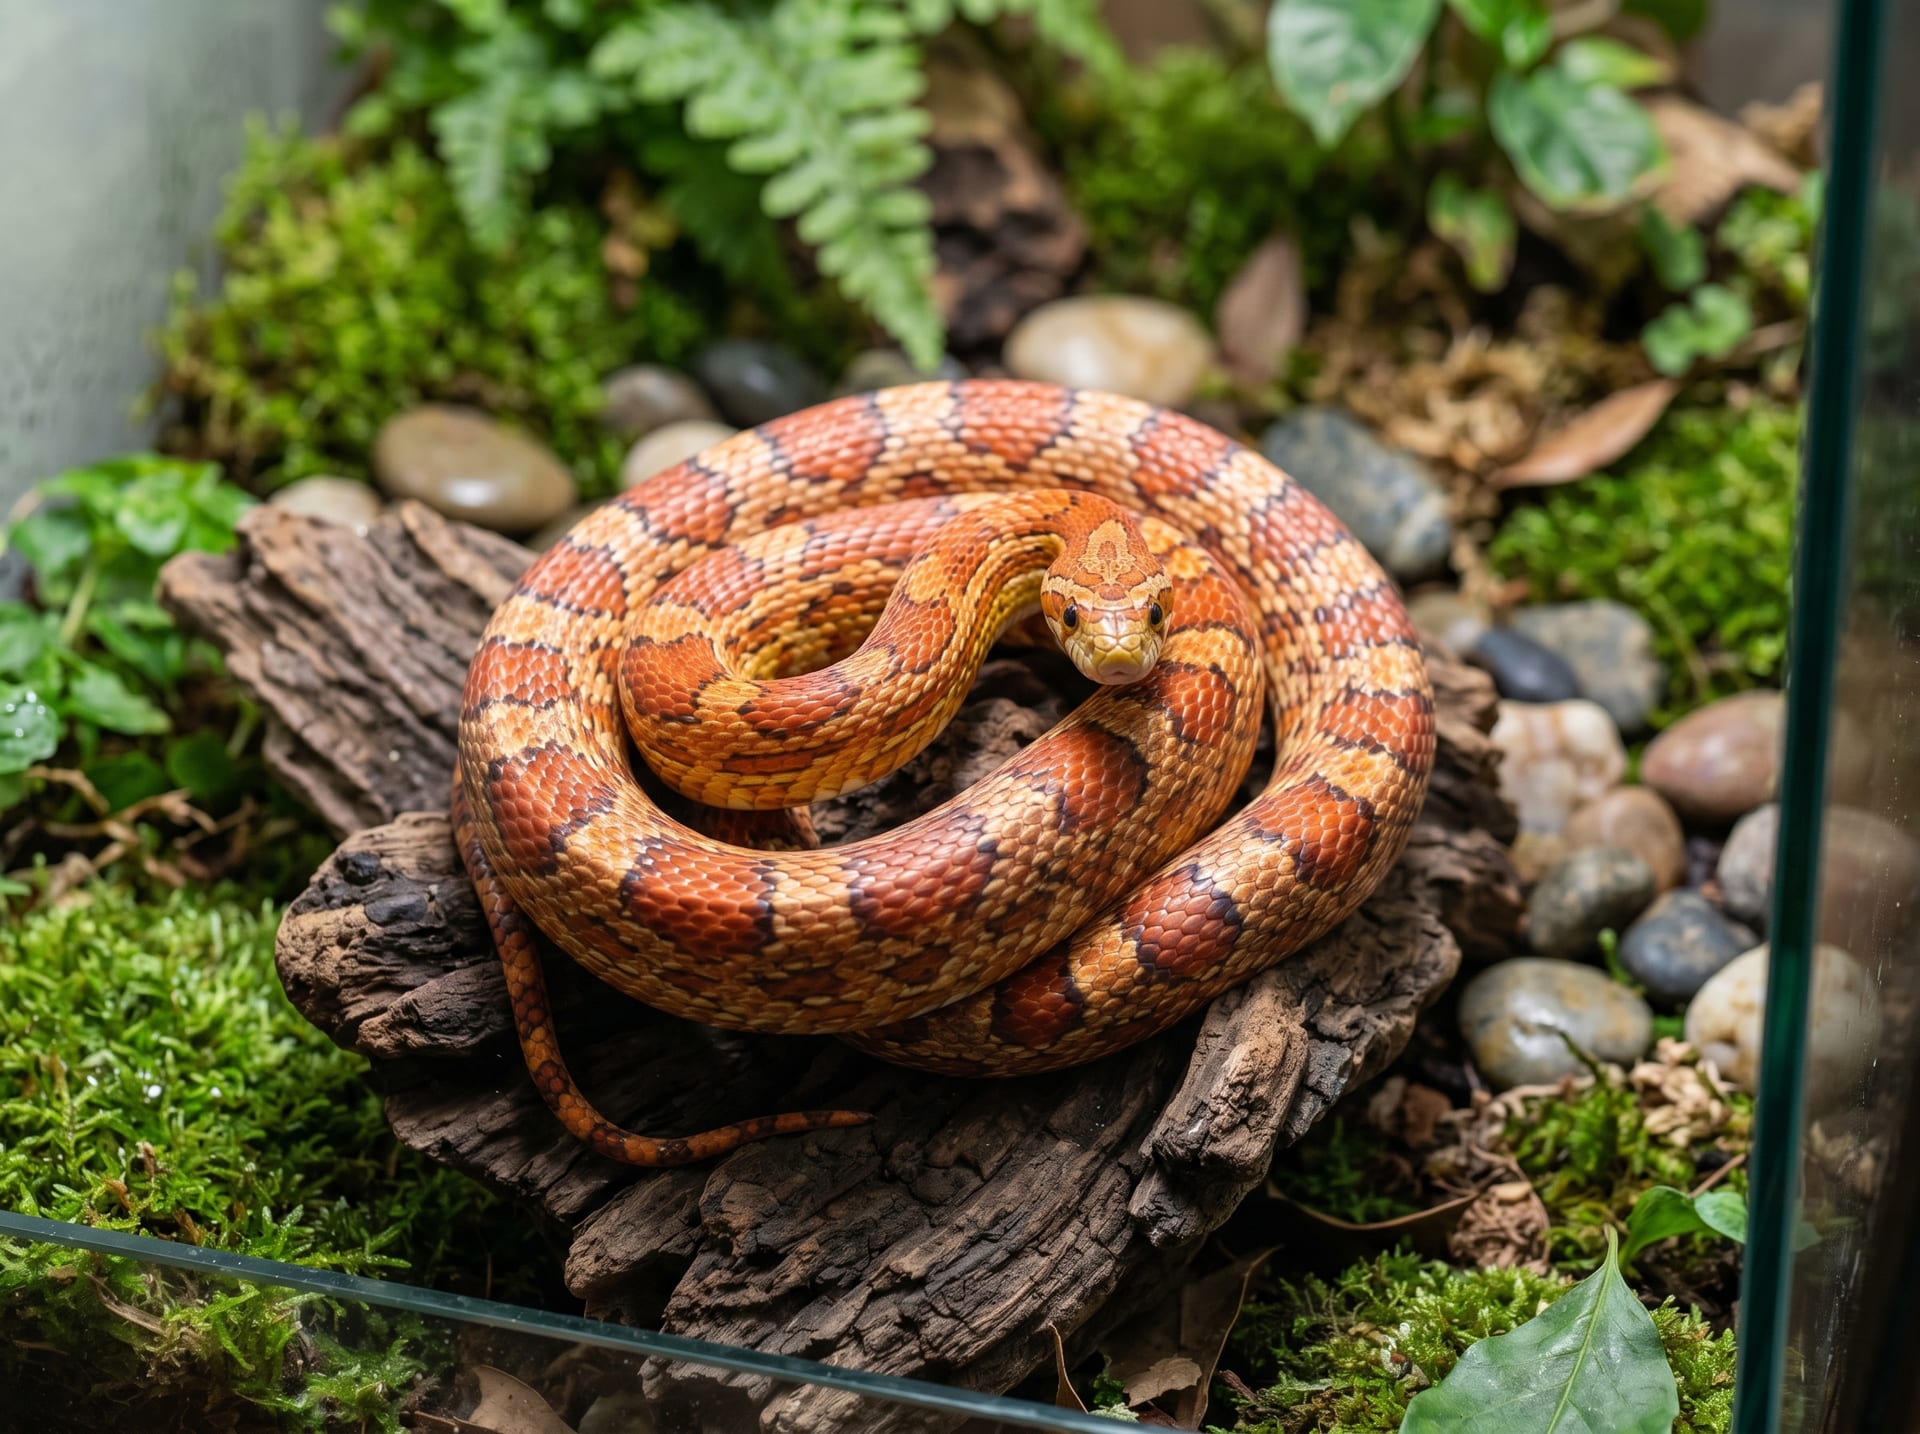
For reptiles such as leopard geckos, corn snakes, and ball pythons that have undergone winter cooling for breeding purposes, raising temperatures in spring triggers their breeding response.
Post-Cooling Management
- Gradually return temperature to standard maintenance levels (28–32°C) over 1–2 weeks
- Do not feed for the first 1–2 weeks (wait for digestive function to resume)
- Verify body weight is within appropriate range (according to species and size guidelines)
- Check that excretion is normal
Breeding Pairing
Begin pairing 2–4 weeks after cooling ends, once you confirm the animals have recovered their condition.
Pairing Precautions:
- Always conduct pairing under supervision; separate immediately if fighting or stress occurs
- Aim for 1–2 hours per pairing session
- Repeating pairing multiple times increases fertilization rates
Optimal Timing for Succulent Leaf Cuttings and Stem Propagation
Spring (March–May) is the active growth period for succulents, making it the optimal time for leaf and stem propagation with the highest success rates.
Stem Propagation Steps:
- Cut elongated stems or lateral shoots
- Allow cut surfaces to dry for 2–3 days
- Insert into dry rooting substrate
- Keep in a bright location away from direct sunlight until roots develop (2–4 weeks)
Leaf propagation conducted during this same period also yields high rooting rates. For detailed instructions, refer to the Complete Leaf Propagation Guide.
Orchid Division Timing
For many orchids such as dendrobiums, cattleyas, and cymbidiums, spring (before new growth emerges or as it begins) is the ideal time for division.
Division Tips:
- Target plants with 3–4 or more pseudobulbs
- Divide with a sterile cutter and apply fungicide (such as benomyl solution) to cut surfaces
- Repot divisions in fresh orchid-specific media (bark, sphagnum moss, etc.)
- Keep in shade for 2–3 weeks after division
Creating a Goldfish Spawning Environment
Spring, when water temperature reaches 15–20°C, is spawning season for goldfish.
Setting Up the Spawning Environment:
- Confirm water temperature has reached 15–18°C
- Install aquatic plants (such as watersprite or hornwort) or artificial spawning beds
- When males begin chasing females (driving behavior), spawning is imminent
- Separate eggs from parents immediately after spawning (parents will consume them)
Post-Hatching Management:
- Eggs hatch in 5–7 days (at approximately 20°C)
- No feeding required for 3–4 days after hatching (yolk sac provides nutrition)
- Begin feeding fine-grain artificial food thereafter
Purchase with Confidence on BreederDirect
The most important step before starting reproduction is securing healthy breeding stock. On BreederDirect, you can purchase directly from breeders specializing in killifish, reptiles, succulents, orchids, and more, ensuring you obtain quality specimens suitable for breeding. As you prepare for spring breeding season, explore BreederDirect to find your ideal breeding stock and parent plants.
Common Failures and Solutions
Impatience to start breeding too early is the biggest cause of failure in spring reproduction.
Failure 1: Pairing Before Water and Air Temperatures Stabilize A temperature drop from late spring frosts halts spawning and increases unfertilized eggs. The basic rule is to wait until not just daytime but also early morning minimum temperatures are stable.
Failure 2: Collecting Without Establishing Proper Nutrition in Breeding Stock Parents are depleted immediately after winter. Whether you provide 2–3 weeks of high-nutrition feeding before spawning significantly affects egg quality and hatch rates.
Failure 3: Neglecting Overcrowding After Egg Collection Even if hatching proceeds smoothly, high densities at the fry and juvenile stage cause growth variations, cannibalism, and deformities. Prepare additional hatching containers before egg collection.