5 Tips for Taking Product Photos That Sell
Take professional-grade product photos even with a smartphone! This guide explains photography techniques—lighting, backgrounds, angles, and more—to boost your click-through and conversion rates.
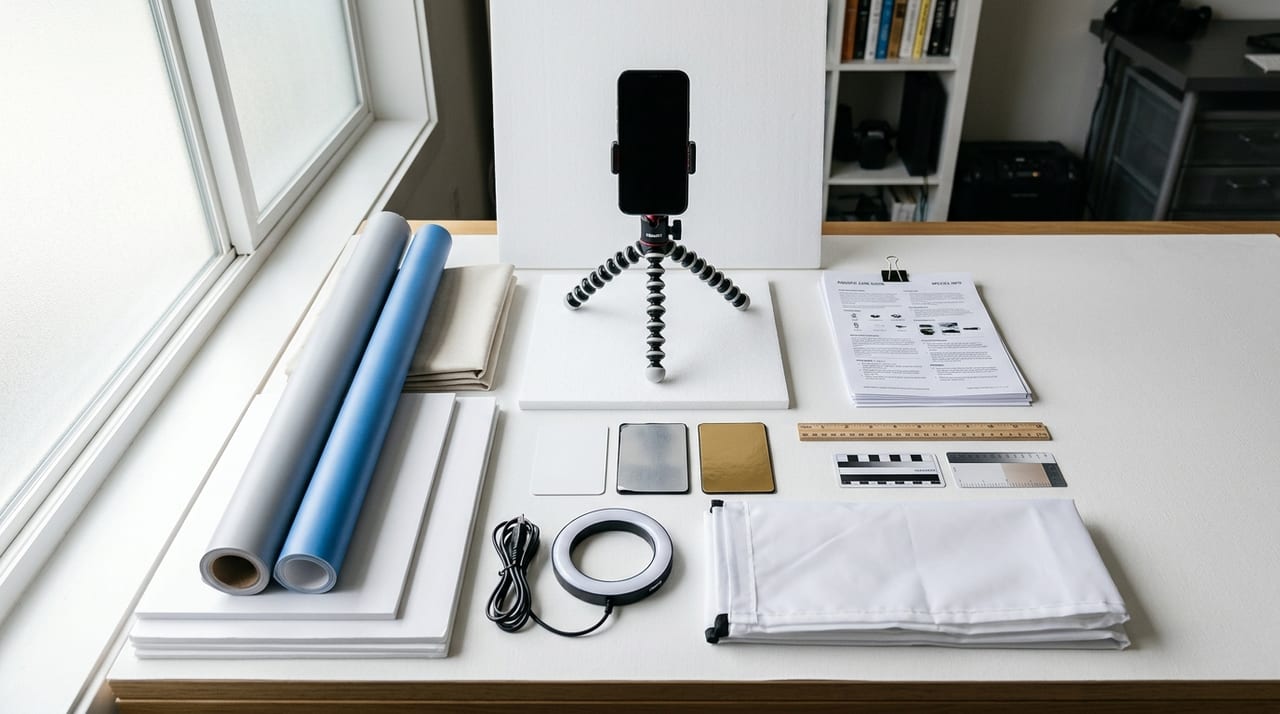
Key Takeaways
Take professional-grade product photos even with a smartphone! This guide explains photography techniques—lighting, backgrounds, angles, and more—to boost your click-through and conversion rates.
Why Product Photos Make or Break Your Sales
When buyers purchase animals online, the first thing they see is a photo. Since they can't handle the animal in person, the photo's impression becomes their primary decision-making factor. No matter how healthy or rare an individual is, a dark, blurry photo fails to convey its appeal. Conversely, even a smartphone photo can dramatically increase click-through rates, inquiries, and sales by applying a few simple techniques.
For animal listings, it's safe to say "photos carry more than half the weight of a product description." This article walks you through five shooting techniques that even beginner breeders can implement immediately, along with the reasoning behind each.
Tip 1: Maximize Natural Light
Lighting is the single most important factor determining photo quality. Indoor fluorescent or LED lighting alone distorts colors—yellowing or greening the tones—and creates harsh shadows that prevent the animal's true colors from showing through.
Recommended Shooting Environment
- Shoot by a window: Soft, diffused light through sheer curtains (not direct sunlight) is ideal. Light hits uniformly from one direction, creating natural shadows.
- Best shooting time: 10am to 2pm: During these hours, the sun's altitude is optimal and color temperature is stable. Avoid early morning or late afternoon, when light has a reddish cast.
- For aquatic animals, use specialized LEDs head-on: A tank-specific LED light angled 45 degrees from the front brings out vibrant body colors. Combining this with natural outdoor light is even more effective.
- For reptiles, shoot under basking lights: Capturing animals during natural basking behavior produces vivid colors and a lively impression.
Never use flash. It causes severe stress to the animal and degrades photo quality by washing out eyes and creating reflective glare.
Tip 2: Keep Your Background Simple
Distracting background elements divide the viewer's attention and undermine the animal's appeal. Guide the buyer's eye naturally toward your subject by keeping the background as simple as possible.
Choosing and Preparing Your Background
- White or light gray boards/poster board: Budget-friendly options from dollar stores. They look clean and complement any animal's color.
- For aquarium shots: Wipe the glass clean beforehand, then apply blue or black backing sheets for an instantly professional look.
- Suggest a natural environment: Placing the animal on driftwood or rocks creates familiarity with its natural habitat and gives buyers peace of mind.
- Clear away clutter: Always check that feeding bowls, tanks, cables, and other equipment stay out of frame.
Background organization is a form of "putting your subject in the spotlight." A few minutes of prep significantly transforms your photo's impact.
Tip 3: Shoot Multiple Angles
A single photo cannot convey the animal's full appearance, fine details, and size simultaneously. Make it a habit to shoot at least 3–5 images from different angles and include them in your listing. Comprehensive coverage of what buyers want to see eases their concerns before they inquire.
Must-Have Shots
- Full body: A shot showing the entire animal. Communicates actual size accurately.
- Front/Face close-up: Highlights eye shine, expression, and pattern beauty. This is what buyers scrutinize most.
- Top-down view: Essential for showing shell patterns (turtles, lizards), coral colony shapes, plant leaf spread, etc.
- Detail close-ups: Zoom in on scales, polyps, patterns, and unique features that define the individual.
- Size comparison: Placing a ruler or coin beside the animal makes its dimensions immediately clear. Especially effective for small species.
For active animals (fish, birds, insects), use burst mode and select the best shot afterward to reduce failures.
Tip 4: Review Your Phone Settings and Shooting Technique
Even without an expensive DSLR, optimizing your smartphone's camera settings and technique alone dramatically improves photo quality. Modern smartphones have excellent cameras, and proper settings combined with good technique easily rival professional results.
Settings to Check
- Enable grid lines: The rule of thirds (placing your subject at the intersections of a 3×3 grid overlay) produces balanced compositions.
- Enable HDR (High Dynamic Range): In high-contrast scenes, it prevents blown highlights and crushed shadows while preserving detail.
- Set resolution to maximum: This allows cropping and zooming in post-processing without quality loss.
- Tap to focus: Tap directly on the animal's eye or distinctive markings to lock focus.
Shooting Tips
- Prevent camera shake: Grip the phone with both hands or place it on a stable surface. Using the self-timer is also effective.
- Align your eye level with the animal's: Lowering the camera to the subject's height creates a natural, relatable photo.
- Wait for calm moments: Photograph when the animal is still and settled to minimize blur.
Tip 5: Polish Your Edit
A simple post-processing pass elevates your image further. Your phone's built-in Photos app or free editing apps are more than sufficient.
Effective Editing Steps
- Brighten slightly: Raising overall brightness by one or two stops adds cleanliness and makes the animal pop.
- Increase contrast moderately: This deepens the animal's color and adds punch. Avoid overdoing it—too much looks unnatural.
- Crop: Remove excess white space and background, positioning the animal slightly above center for better composition.
- Fine-tune sharpness: A subtle boost clarifies the animal's outline and brings out pattern detail.
Edits to Avoid
- Oversaturating colors to make the animal look more vibrant than reality
- Dramatically altering the overall color tone with filters
- Removing or erasing blemishes and defects
Photos that deviate significantly from the real thing invite trouble. Poor reviews saying "It looked different when it arrived" damage your credibility as a breeder. Remember: photos should honestly and attractively represent the real animal.
Summary: Invest in Photos, Build Trust
The quality of your listing photos communicates not just the animal's value, but also your professionalism and care as a breeder. Whether buyers think "I want to buy from this person" hinges largely on the photo's first impression.
Here's a quick recap of the five tips:
- Use natural light: Soft window light reveals the animal's true colors.
- Simplify the background: Create a composition where the animal is the star.
- Shoot multiple angles: Cover the whole body, face, fine details, and size comparison.
- Optimize phone settings: Use grids, HDR, and manual focus.
- Edit conservatively: Adjust brightness, contrast, and cropping with restraint.
No special equipment needed. Everything here is actionable starting today. Better photos increase inquiries, support fair pricing, and ultimately build your reputation as a breeder. Combine these techniques with compelling product descriptions, and put them into practice on your next listing.