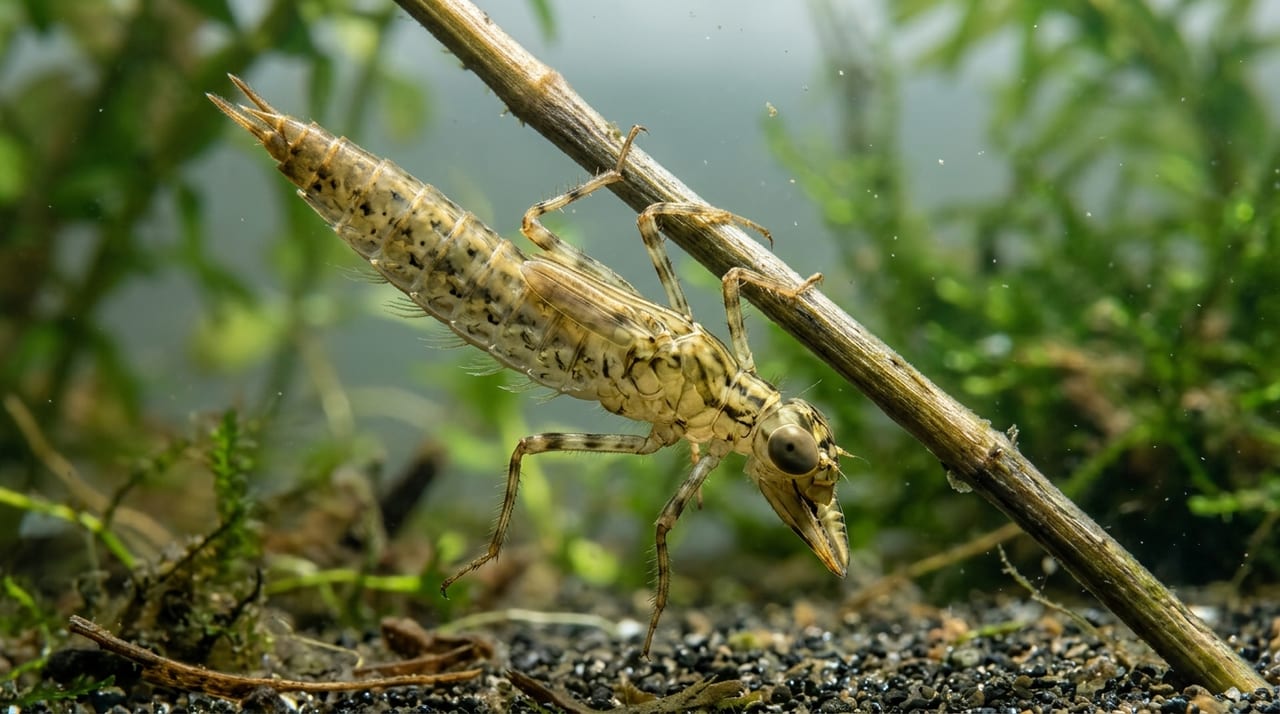
Insect Photography Guide — Beautiful Shots with Smartphone & DSLR
Insect photography techniques: macro basics, lighting angles, background selection, and minimizing stress during photo sessions.
Key Takeaways
Insect photography techniques: macro basics, lighting angles, background selection, and minimizing stress during photo sessions.
Recording the beauty of insects through photography multiplies the enjoyment of keeping them. The glossy shell of a rhinoceros beetle, the impressive mandibles of a stag beetle, the delicate wing patterns of a butterfly — capturing these beautifully requires certain techniques and considerations. This article covers the fundamentals and advanced methods of insect photography, from smartphones to DSLR cameras.
✍️
BreederDirect Editorial
The BreederDirect editorial team specializes in care information for animals, covering veterinary care and breeding to deliver beginner-friendly guides.
Find Insects on BreederDirect
Buy directly from verified breeders
Browse Related Listings
Find Insects listings related to this article on BreederDirect. Buy directly from verified breeders.
Related Tools
Related Articles
Browse by Category
🪸Coral
🐠Marine Fish
🐟Tropical Fish
🐡Goldfish
🐟Medaka
🦎Reptiles
Share
Understanding Macro Photography Basics
The core of insect photography is macro photography (close-up). Let's cover the basics of capturing small subjects large and in sharp detail.
What is macro photography: A technique for photographing subjects at life-size or larger. It can capture every facet of an insect's compound eye, leg hairs, and wing venation patterns
Focus is the biggest challenge: In macro photography, depth of field (the range in focus) becomes extremely shallow. Focusing on the insect's eye often causes the wings to go out of focus
Aperture settings: For DSLRs, stopping down to around F8–F16 provides adequate depth of field. Going above F22 causes diffraction, degrading image quality
Balancing ISO and shutter speed: Stopping down the aperture slows the shutter speed. Compensate by raising ISO sensitivity, but too high introduces noise. ISO 400–1600 is the practical range
Tripod and remote shutter: A tripod is effective for stationary insects. Even slight camera shake is fatal in macro photography. Use a remote shutter release or self-timer
Smartphone Insect Photography Techniques
With some creativity, even high-performance smartphone cameras can produce surprisingly beautiful insect photos. The greatest advantage is ease of getting started.
Clip-on macro lenses: Clip-on macro lenses for smartphones (around 1,000–3,000 yen) dramatically improve close-up capability. A magnification of about 10x is recommended
Portrait mode: Portrait mode that blurs backgrounds is also effective for insect photography. The subject stands out, giving a professional look — though some models won't activate at close range
Manual focus: When autofocus won't lock on, tap the screen to set the focus point. Dedicated camera apps (ProCamera, Halide, etc.) also offer manual focus
Burst mode: Moving insects provide limited shooting opportunities. Burst mode lets you capture multiple shots and select the best one
Stabilizing the phone: Use a small tripod or GorillaPod for smartphones. Even a 100-yen store phone stand works. Hand-held shots produce noticeably more blur
Professional Shooting with DSLRs and Mirrorless Cameras
For higher-quality insect photos, DSLRs and mirrorless cameras are ideal. Lens choice and settings greatly influence the results.
Macro lens selection: 90–105 mm macro lenses are the standard for insect photography. The working distance means less chance of scaring the subject. 60 mm suits indoor shooting; 180 mm suits wary outdoor insects
Extension tubes: Even without a macro lens, extension tubes (close-up rings) on existing lenses enable close-ups. An affordable starting point, but infinity focus is lost
Focus bracket shooting: Capturing multiple images at different focus points and combining them in software (focus stacking) fundamentally solves depth of field issues
Shooting in RAW: RAW files offer far more flexibility in post-processing exposure and white balance adjustments. Accurately reproducing the subtle colors of insects becomes possible
Flash usage: Macro photography often lacks sufficient light. Ring flashes (attached to the lens front) produce shadow-free, even lighting. Twin flashes create more three-dimensional images
Choosing Lighting and Backgrounds
Lighting and backgrounds dramatically influence the impression of a photo. Small adjustments can transform quality.
Natural light: Overcast days or shade produce the most beautiful results. Direct sunlight creates harsh shadows and blown highlights. Soft indirect window light is also ideal for indoor shooting
Diffuser use: Attaching a diffuser (light-spreading cover) to a flash or LED light creates soft, natural lighting. Tissue paper or tracing paper works as a substitute
LED photography lights: Compact LED lights are affordable (2,000–5,000 yen) and highly effective. Choose models with adjustable color temperature for accurate color reproduction
Background selection: Using plain colored paper or fabric as a background makes subjects stand out. Black backgrounds suit metallic beetles; white backgrounds suit species with translucent wings. For a natural feel, use leaves or bark as the background
Reflectors: Use white paper or aluminum foil as reflectors to brighten shadowed areas. A 100-yen store reflector works perfectly fine
Stress-Free Photography Methods for Live Specimens
The desire for beautiful insect photos is understandable, but minimizing stress on live specimens is the top priority. Never forget respect for living creatures while photographing.
Limit shooting time: Keep each session to 15–20 minutes. Prolonged lighting can raise body temperature. Pay particular attention to heat from LEDs and flash
Avoid refrigerator slowing: The method of placing insects in a refrigerator to slow their movement is sometimes mentioned, but rapid temperature changes cause serious harm to specimens and is not recommended
Photograph in natural poses: Don't flip insects over or force unnatural positions. Place them naturally on perches or leaves. Forcing poses risks damaging legs and antennae
Flash impact: Direct flash startles insects. Indirect light through a diffuser or constant LED lighting is preferable. Avoid continuous flashing especially
Post-shoot care: Return specimens promptly to their habitat after shooting. Check food and water, and allow recovery from stress. Keep them undisturbed the day after shooting
Using and Editing Your Photos
Editing and proper use of your insect photos can add even more value. Here are tips for sharing on social media and archival purposes.
Basic retouching: Minor adjustments to brightness, contrast, and saturation can significantly change a photo's impression. Overdoing it creates an unnatural look, so subtle adjustments are key
Cropping: The ability to adjust composition after the fact is a digital photography advantage. Placing the insect along rule-of-thirds lines rather than dead center looks more appealing
Social media sharing: Insect photos on Instagram and X generate strong engagement. Using hashtags (insect photography, life with bugs, etc.) helps connect with fellow enthusiasts
Catalog-style records: Record shooting date, species name, and specimen information as metadata. Can also serve as growth records for captive individuals
Recommended editing apps: Lightroom mobile (free features are sufficient), Snapseed (free Google app), VSCO (rich filter selection)
Enjoy Photography with Insects from BriChoku
On BriChoku, you can purchase beautiful insects directly from trusted breeders. Specimens lovingly raised by breeders have excellent luster and build, making them outstanding photographic subjects. Being able to check individual photos with the breeder before purchase is another unique advantage of BriChoku.