Ladybug Rearing Guide | Species Types and Care Methods for Seven-Spotted and Twenty-Eight-Spotted Ladybugs
A detailed guide to keeping the common insect, the ladybug. A complete guide covering how to catch Seven-Spotted Ladybugs, feeding, breeding, and how to distinguish beneficial insects from pests—useful for children's independent research projects.
Key Takeaways
A detailed guide to keeping the common insect, the ladybug. A complete guide covering how to catch Seven-Spotted Ladybugs, feeding, breeding, and how to distinguish beneficial insects from pests—useful for children's independent research projects.
Ladybug Species and Basic Ecology
Ladybugs are small beetles belonging to the order Coleoptera, family Coccinellidae, with over 180 species inhabiting Japan. Their round appearance with red or yellow bodies marked by black spots endears them to children, but their diet varies greatly depending on the species.
Major Species and Dietary Differences
Beneficial insects (species that eat aphids and scale insects):
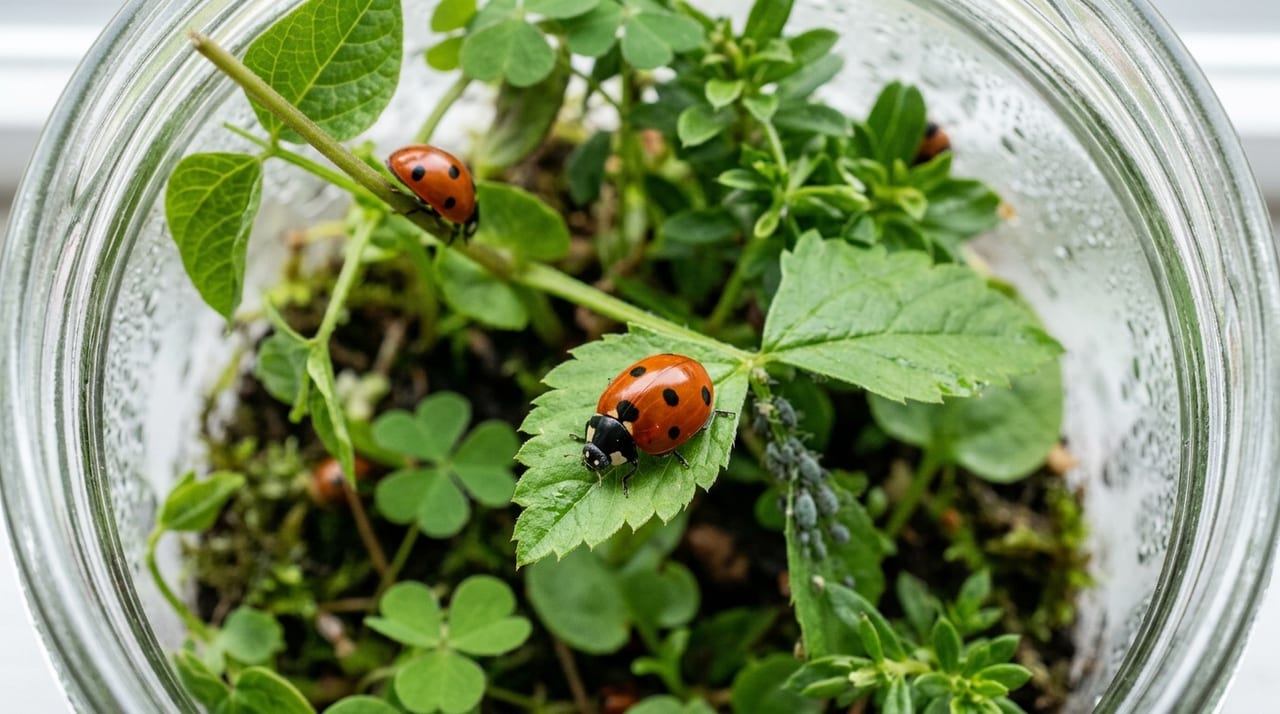
- Seven-Spotted Ladybug (Coccinella septempunctata): Body length 5–8 mm. Red body with seven black spots. The most common species in Japan, consuming tens to over 100 aphids per day.
- Harlequin Ladybug (Harmonia axyridis): Body length 6–8 mm. Highly variable in pattern (red on black, black on red, etc.), so diverse that they might not appear to be the same species. Feeds on aphids and scale insects.
- Two-Spotted Ladybug and Cross-Spotted Ladybug: Both feed on aphids.
Pest insects (species that eat plant leaves):
- Twenty-Eight-Spotted Ladybug (Henosepilachna vigintioctopunctata): Body length 6–7 mm. Yellow-orange body with 28 black spots. An agricultural pest that feeds on the leaves of eggplants, potatoes, cucumbers, and similar plants. Though similar in appearance, it lacks luster and releases body fluid (containing yellow bitter compounds) when touched.
The two species most popular for keeping are the Seven-Spotted Ladybug and the Harlequin Ladybug. This guide focuses primarily on these two species.
Methods for Collecting Ladybugs
Collection Season
Spring (April–May) and autumn (September–October) are the easiest seasons for collection. Ladybugs gather on plants where aphids are abundant (such as roses, broad beans, and rape blossoms)—check the undersides of leaves.
During overwintering (November–March), adults often cluster under dead leaves, under rocks, or in the gaps of fallen logs. Though movement is sluggish and collection is easy during this period, overwintering individuals must be kept at low temperatures (5–10°C) until spring if brought indoors.
Collection Tips
- First locate plants infested with aphids (finding the ladybugs' feeding grounds)
- Carefully check both sides of leaves and stems
- When catching by hand, quickly pinch with your fingertips (they may fly away when sensing danger)
- Collecting the leaf together with the ladybug in a plastic container minimizes damage to the individual
Note: When threatened, ladybugs secrete yellow body fluid containing alkaloids from their joints. After collection, wash your hands to avoid contact with eyes or mouth.
Rearing Containers and Environment Setup
Choosing a Container
Because ladybugs are small, very little space is needed for rearing.
- Basic container: A 500 ml–1 L plastic case or cup (with air holes drilled in the lid)
- For observation: A clear-bottomed acrylic case or commercial insect observation container
- Ventilation: Seal the container and the insects will suffocate from moisture; always drill holes in the side or lid and cover with mesh
Environment Setup
- Bedding: Not necessary (keep the bottom dry). A single damp paper towel on the bottom helps with water absorption
- Temperature: 18–25°C (room temperature management is sufficient)
- Light: Place in a bright location during the day. Avoid direct sunlight even near a window, as it raises temperature
- Plant leaves: Placing branches and leaves of plants infested with aphids recreates a natural environment that serves as both food and foothold
Feeding—Stable Supply of Aphids Is the Key Point
The most difficult aspect of rearing ladybugs is maintaining a stable supply of aphids. While substitute foods exist, first master the basics of feeding aphids.
How to Feed Aphids
The simplest method is to place plant leaves and stems with aphids directly in the container. When aphids run out, replace them with fresh leaves that have aphids.
Artificial aphid cultivation:
- Plant broad bean or spinach seedlings in a bucket and allow aphids to reproduce
- They become dense in 1–2 weeks and provide a stable food source
- Use potted plants that have not been treated with pesticides (pesticide-treated aphids cause immediate poisoning)
Substitute Foods
- Pollen: Pollen collected from flowers such as roses or daisies, placed with tweezers (effective as nutritional supplement)
- Mealybugs and cottony cushion scale insects: Serve as substitute food if available
- Commercially available dried aphids: Available at some pet shops and online. Reduced palatability due to lower freshness, but effective as emergency food
Note: Sugar water, diluted honey, and insect jelly provide temporary sustenance, but aphids are essential for long-term rearing.
Breeding and Larval Management
Setting Up the Breeding Environment
Pairing males and females with appropriate food (aphids) and temperature (20–25°C) naturally triggers mating and egg-laying.
Egg characteristics:
- Yellow oval eggs laid in clusters of 20–60 on leaves or stems
- Approximately 5–7 days from egg-laying to hatching (temperature-dependent)
Larval Rearing
Larvae begin feeding on aphids immediately upon hatching. Larvae are caterpillar-like and elongated, with a completely different appearance from adults. Many species have black bodies with orange or yellow spots.
Larval management key points:
- Do not run out of aphids: Larvae require even more aphids than adults
- Prevent drying: Larvae are sensitive to drying; mist leaves with a spray bottle
- Isolation management: Cannibalism can occur; house larvae separately if numerous
- Preparation for pupation: When larvae reach the fourth instar, movement stops and they attach to leaves or walls to pupate. Avoid vibration during this period
The pupal stage lasts about one week. Newly emerged adults have pale coloration and may lack visible spots. True coloration appears in 1–2 days.
Identification Points for Seven-Spotted and Harlequin Ladybugs
Identify the species accurately before rearing.
| Feature | Seven-Spotted Ladybug | Harlequin Ladybug |
|---|---|---|
| Number of spots | 7 (fixed) | 2–19 (highly variable) |
| Base color | Red only | Red, black, orange, etc. (variable) |
| Pronotum | Black with 2 white marks | Black with white or entirely black |
| Body shape | Slightly elongated oval | Nearly circular |
| Size | 5–8 mm | 6–8 mm |
Application to Independent Research
Ladybugs are ideal for elementary school independent research because their complete life cycle (egg → larva → pupa → adult) can be observed in a short period (approximately 3–4 weeks).
Example observation themes:
- "How many aphids does a ladybug eat in a day (measuring consumption)"
- "Number of molts and days for larval development (to fourth instar)"
- "Measuring the days from hatching to adulthood"
- "Behavioral comparison between Seven-Spotted and Harlequin Ladybugs"
Observation note: Body fluid containing alkaloids can irritate skin; ensure thorough hand-washing if children handle them with bare hands for extended periods.
Summary
Though common, ladybugs are important insects that prey on aphids. Because of their small size, little rearing space is needed, and their complete life cycle (egg → larva → pupa → adult) can be observed in 2–3 weeks, making them excellent for educational observation. With a stable supply of aphids, long-term rearing and breeding are entirely feasible.
BreederDirect shares information on rearing insects related to ladybugs. Please try your hand at rearing related beetles as well.