Guide to Breeding Crickets and Mealworms at Home | How to Secure Feeder Insects Reliably at Low Cost
A comprehensive guide to breeding feeder insects (crickets and mealworms) at home. Covers breeding container setup, egg management, gut-loading (nutritional enhancement), escape prevention, and odor control in practical detail.
Key Takeaways
A comprehensive guide to breeding feeder insects (crickets and mealworms) at home. Covers breeding container setup, egg management, gut-loading (nutritional enhancement), escape prevention, and odor control in practical detail.
Related Species
Benefits of Breeding Live Food at Home
When keeping reptiles and insects, you need to regularly secure live food such as crickets and mealworms (feeder insects). While these can be purchased at pet shops or online, breeding them yourself enables significant cost reduction. This is an especially important skill for breeders with high consumption rates.
The main benefits of home breeding are as follows:
- Costs drop dramatically: Once breeding is established, food expenses become just the cost of maintaining breeding stock
- Secure needed quantities anytime: You can control size and quantity to match demand
- Better understanding of feeder health: With clear breeding environments, it's easier to manage risks of pesticides, bacteria, and parasites
- Adjustable sizing: You can supply smaller sizes like juvenile crickets when needed
Home Breeding of Crickets (Two-Spotted and House Crickets)
Species Used
The two main types of feeder crickets commonly used in Japan are:
| Species | Characteristics | Best For |
|---|---|---|
| Two-Spotted Cricket (Gryllus bimaculatus) | Dark, large, high protein | Large reptiles, large frogs |
| House Cricket / European House Cricket (Acheta domesticus) | Light-colored, low odor, easy to keep | Small to medium reptiles, all gecko species |
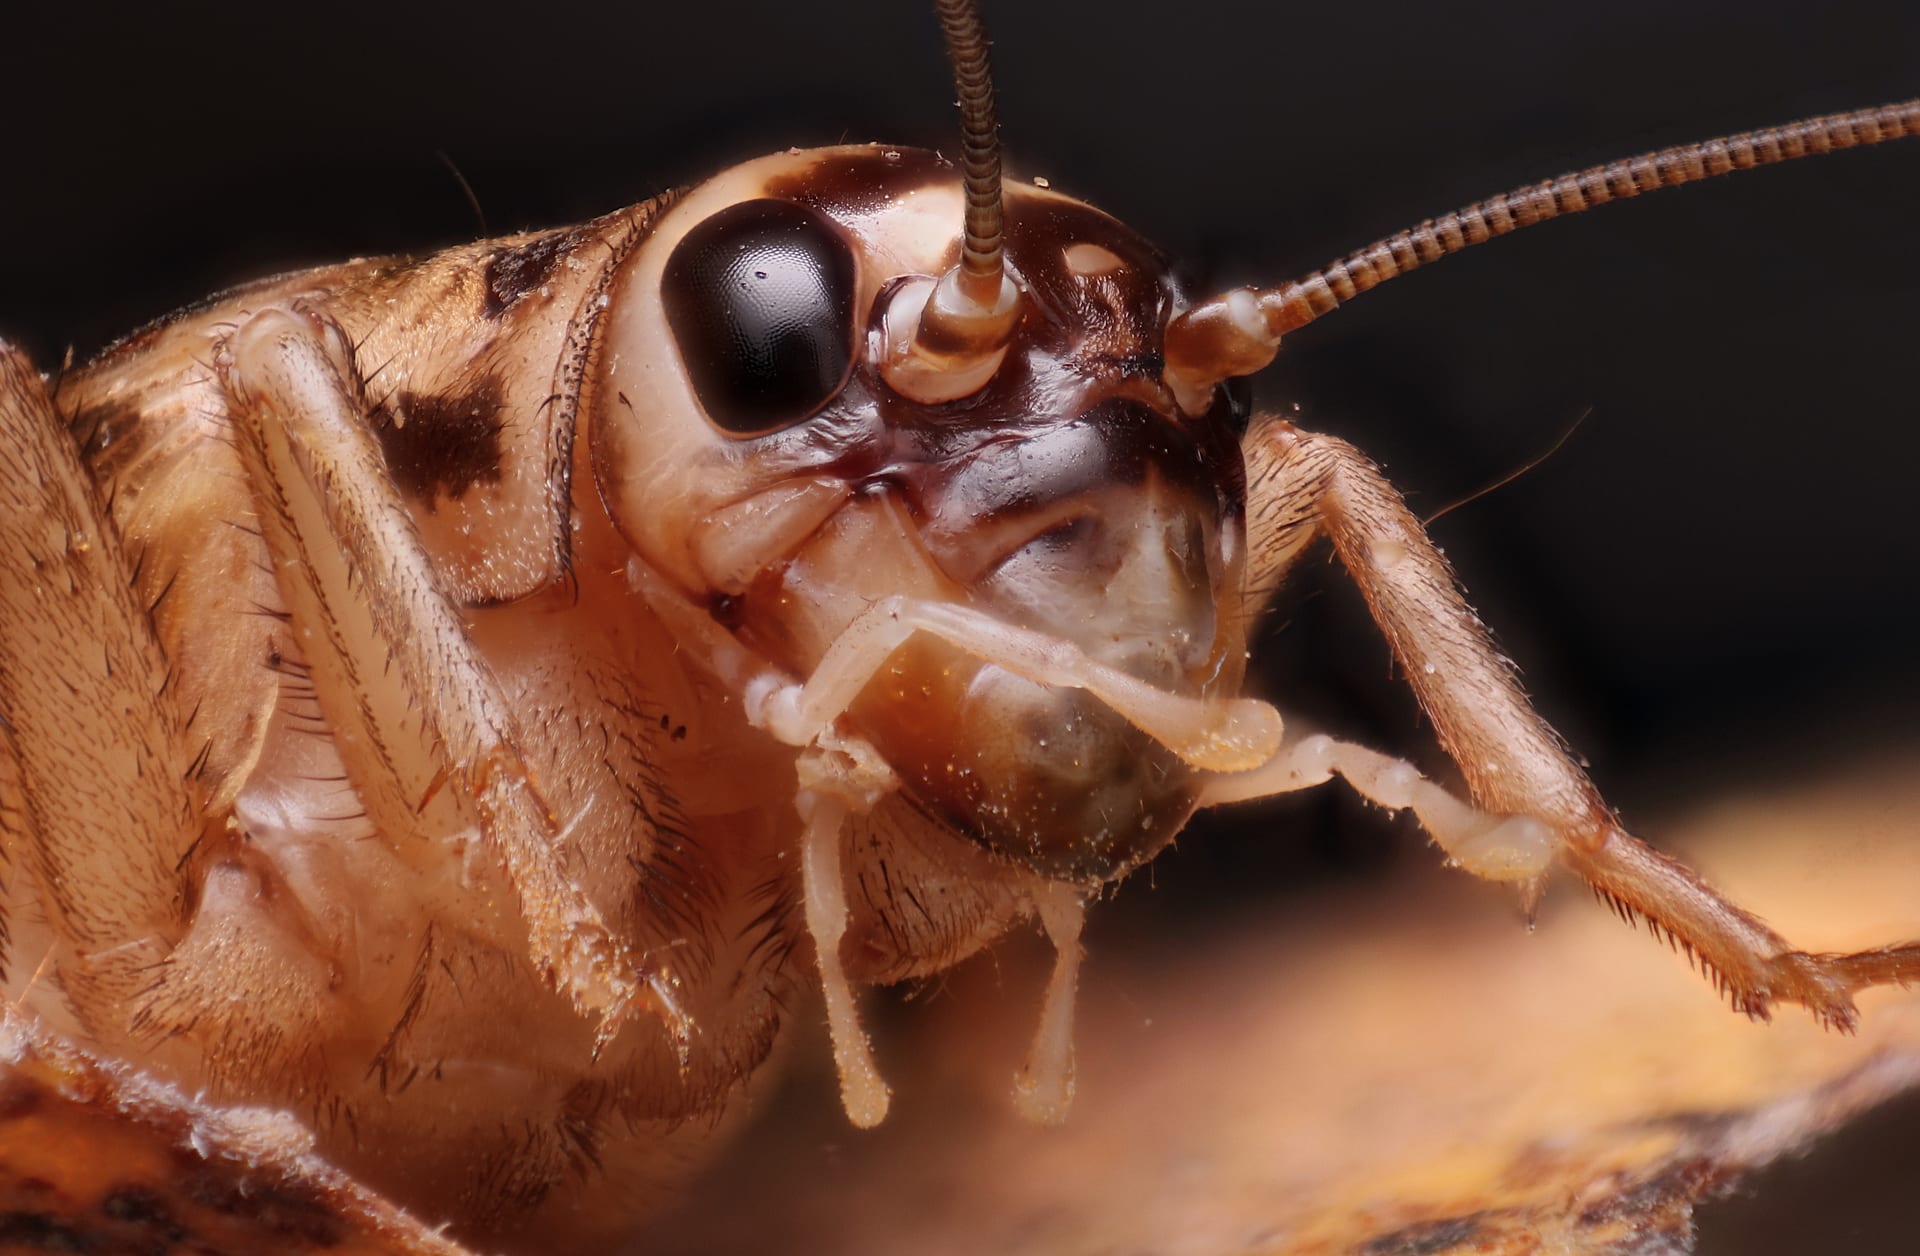
House crickets are recommended for beginners as they're easier to breed. Two-spotted crickets are high-protein and calorie-dense, but tend to die more easily and have a stronger odor.
Setting Up Breeding Containers
Items needed:
- Plastic container (45L or larger ideally)
- Egg cartons or paper egg crate (hiding spots)
- Damp containers with substrate and red soil for egg-laying (breeding boxes)
- Water dispenser (use cotton or artificial turf to prevent drowning)
- Heating device (heat tape or under-tank heater)
Temperature and humidity:
- Optimal temperature: 27–32°C (breeding slows significantly below this)
- Egg-laying substrate humidity: Moist but not waterlogged
- Overall container humidity: Maintain good ventilation to avoid excess moisture
Egg-Laying and Egg Management
Females insert their ovipositor into soil to lay eggs. Set up egg-laying substrate (moistened red soil or vermiculite) in small containers within the main container.
- Substrate replacement frequency: Replace every 2–3 weeks and transfer to separate containers to await hatching
- Hatching period: Approximately 10–14 days at 25–30°C
- Eggs per female: A single female lays 50–200 eggs over multiple sessions
Once hatched, first-instar nymphs (pinheads) are extremely small and can be eaten, so moving the entire substrate to a separate container before this happens is key.
Feeding and Nutritional Enhancement (Gut-Loading)
The nutrition of crickets directly affects the health of animals fed them. Combine gut-loading (internal nutritional enhancement) and dusting (applying nutritional powder).
Recommended foods:
- Vegetables: Komatsuna, bok choy, carrots, pumpkin
- Grains: Wheat bran, unsweetened corn flakes
- Commercial cricket food
Gut-loading 24–48 hours before feeding is particularly effective. Immediately before feeding the crickets to your animals, dust them with calcium powder (dusting) to improve the calcium-to-phosphorus ratio.
Home Breeding of Mealworms (Tenebrio)
Mealworm Characteristics and Cautions
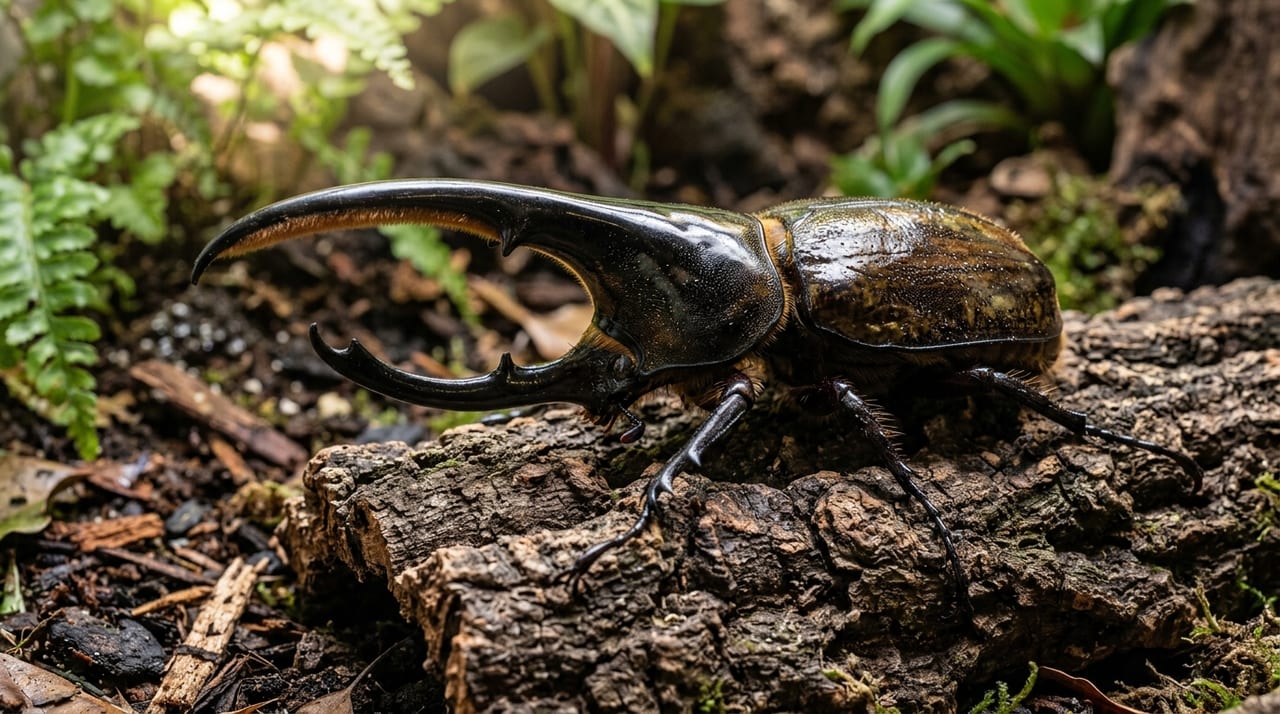
Mealworms are larvae of the mealworm beetle (Tenebrio molitor). They're easy to manage and can be bred in bulk at low cost, but their high fat content means a poor calcium-to-phosphorus ratio, making them unsuitable as a sole staple food. They're best used as part of a rotational feeding schedule.
Breeding Cycle
Mealworms undergo complete metamorphosis (larva → pupa → adult) to reproduce.
| Stage | Duration (25°C) | Management Tips |
|---|---|---|
| Larva (mealworm) | Several weeks to several months | Keep in wheat bran or flour |
| Pupa | 1–3 weeks | Manage in dry individual containers |
| Adult (beetle) | 2–3 months | Use wheat flour in egg-laying substrate |
Setting Up Breeding Containers
Items needed:
- Shallow plastic container (with lid to prevent escape, or apply Teflon spray to inner walls)
- Substrate and food: Wheat bran (minimum 3–5cm depth)
- Moisture source: Vegetable slices (zucchini, carrots, etc.)
Temperature: 25–30°C is optimal. Activity drops significantly below 20°C.
Pupa Management
When larvae begin pupating, remove them individually and place them slightly buried in bran or in the corner of a shallow container. Since pupae don't move, establish separate pupa compartments or transfer them to separate containers to prevent adults from biting them. Once adults emerge, transfer them to the egg-laying container to breed.
Using Crickets and Mealworms Strategically
| Factor | Crickets | Mealworms |
|---|---|---|
| Protein | High | Moderate |
| Fat | Low | High |
| Calcium | Low | Very low |
| Breeding difficulty | Somewhat challenging | Easy |
| Odor | Somewhat strong | Minimal |
| Use | Primary food | Supplementary food / treats |
Many breeders favor a rotation using crickets as the main food and mealworms as supplementary feeding.
Issues to Watch for When Breeding at Home
Mass Die-Off of Crickets
Crickets are prone to mass die-offs from overcrowding, poor ventilation, dehydration, and infection.
Solutions:
- Reduce density (aim for about 500 crickets per 50L container)
- Ensure proper ventilation (use mesh lids)
- Remove dead insects regularly
- Split populations across multiple containers to spread risk
Escape Prevention
Crickets are excellent escape artists. Applying petroleum jelly or Teflon to the inside walls of containers or placing tape around the outer edge is effective. While mealworms move slowly, adult beetles (mealworm beetles) can fly, so a secure lid is essential.
Odor Control
Effective methods:
- Remove dead insects daily
- Avoid excessive vegetable moisture sources (prone to rotting)
- Mix EM bacteria or bio-deodorizer into the substrate
- Ensure thorough ventilation in the breeding area
Summary: Steps to Start Home Breeding
- Start by purchasing 50–100 house crickets and keep them in a 45L container
- Set up an egg-laying substrate; after 2–3 weeks, move it to a separate container to await hatching
- Once hatched nymphs have grown, keep some as breeding stock and use the rest for feeding
- Once you're comfortable, start breeding mealworms in parallel and develop a rotation schedule
The first 2–3 months before the colony stabilizes may have some failures, but once established, self-sufficiency becomes a reality. Breeders with high consumption volumes especially appreciate the benefits of home breeding. Give it a try!