Insect Specimen & Collection Management Guide | From Creation to Preservation
Explains how to create and preserve insect specimens. Covers necessary tools, procedures for spreading butterfly and moth wings and positioning beetle legs, preservation methods including pest prevention, labeling practices to preserve collection records, and how to organize and utilize your collection—all presented in an easy-to-understand way for beginners.
Key Takeaways
Explains how to create and preserve insect specimens. Covers necessary tools, procedures for spreading butterfly and moth wings and positioning beetle legs, preservation methods including pest prevention, labeling practices to preserve collection records, and how to organize and utilize your collection—all presented in an easy-to-understand way for beginners.
Insect specimens are an intellectual hobby that allows you to preserve the beauty of nature in semi-permanent form. When created and stored correctly, they can maintain their beauty for decades, even over a century or more. Specimen creation not only deepens your understanding of insects but also creates a record of academic value. This article explains everything from the basics of specimen creation that even beginners can tackle, to practical knowledge for collection management.
Tools Needed for Specimen Creation
Here are the essential tools you'll want to have on hand to get started with specimen making. The initial investment is relatively small, and you can gradually build up your collection of tools.
Spreading board: A board for spreading and securing butterfly and moth wings. Types with adjustable groove width are convenient. Soft polystyrene foam is easy to handle
Leg-setting platform: A platform for arranging the legs of beetles, wasps, and other insects. Can also be homemade from polystyrene foam or cork board
Insect pins: Stainless steel pins designed for this purpose. Available in sizes from #0 to #7, chosen based on insect size. #3 is standard for medium beetles, and #5 for large beetles
Forceps: Fine-tipped precision tweezers. Stainless steel reverse-action forceps (that close when released) are easier to work with
Softening agent: A chemical used to soften dried specimens. Ethyl acetate or commercial softening solutions can be used. Alternatively, sealing a specimen in a container with moistened tissue paper works too
Pinning block: A platform for keeping pin insertion heights uniform. Commercial versions exist, but you can make one by marking a polystyrene block
Wing Spreading Procedure - Butterfly and Moth Specimens
Wing spreading is the most important step in creating butterfly and moth specimens. Here are the tips for spreading wings beautifully and symmetrically.
Softening: Dried specimens have brittle wings that break easily, so place them in an airtight container with moistened tissue paper and soften for 24-48 hours. Adding a few drops of phenol helps prevent mold
✍️
BreederDirect Editorial
The BreederDirect editorial team specializes in care information for animals, covering veterinary care and breeding to deliver beginner-friendly guides.
Find Insects on BreederDirect
Buy directly from verified breeders
Browse Related Listings
Find Insects listings related to this article on BreederDirect. Buy directly from verified breeders.
Pinning: Insert the pin straight through the center of the thorax. For butterflies, insert from the dorsal side; moths are the same. Insert in one swift motion to prevent the pin from bending
Securing to the spreading board: Place the body in the groove and spread the wings upward. The basic position is having the trailing edge of the forewing at a right angle to the body axis. Hold the wings in place with wax paper (glassine paper) and secure with pins
Drying: Dry in a well-ventilated place away from direct sunlight for 2-4 weeks. Two weeks is typical in summer, four weeks in winter. Rapid drying can cause wings to warp
Finishing: Once completely dry, remove the wax paper and pins. Adjust the position of the antennae and verify the wings are symmetrical
Leg-Setting Procedure - Beetle and Other Specimens
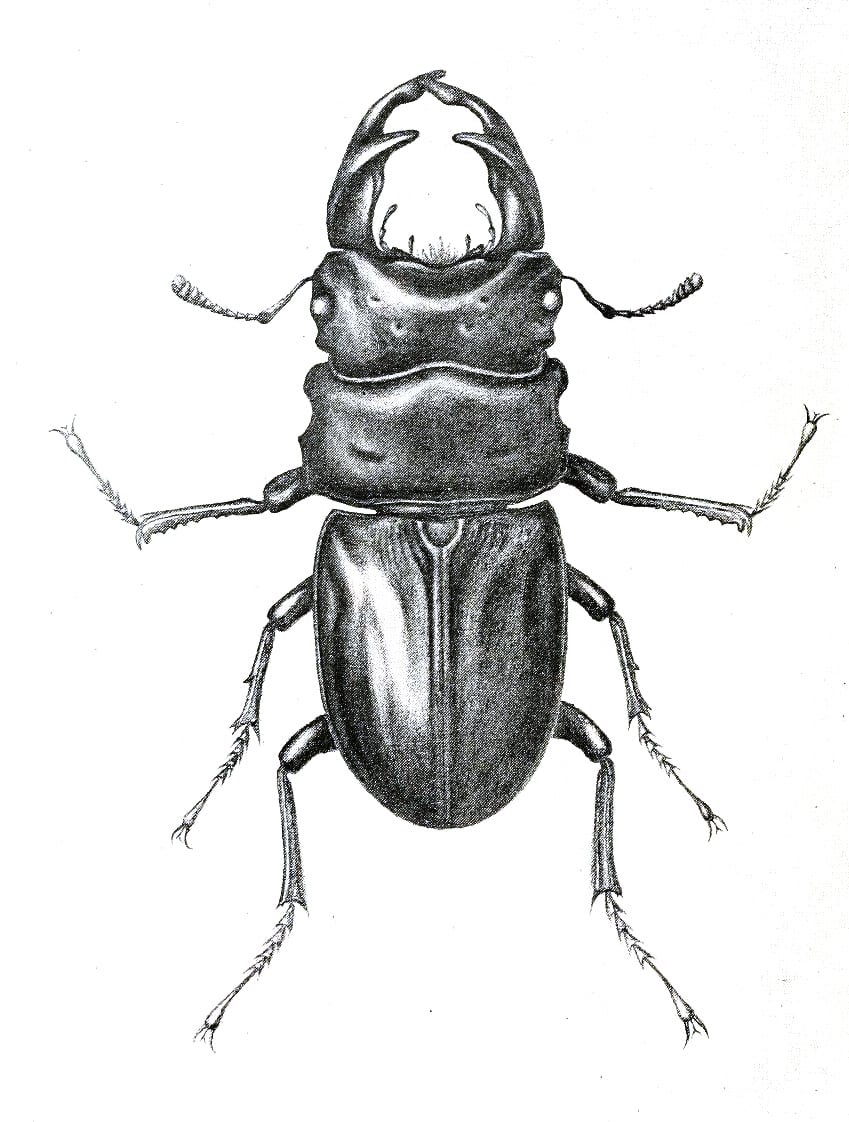
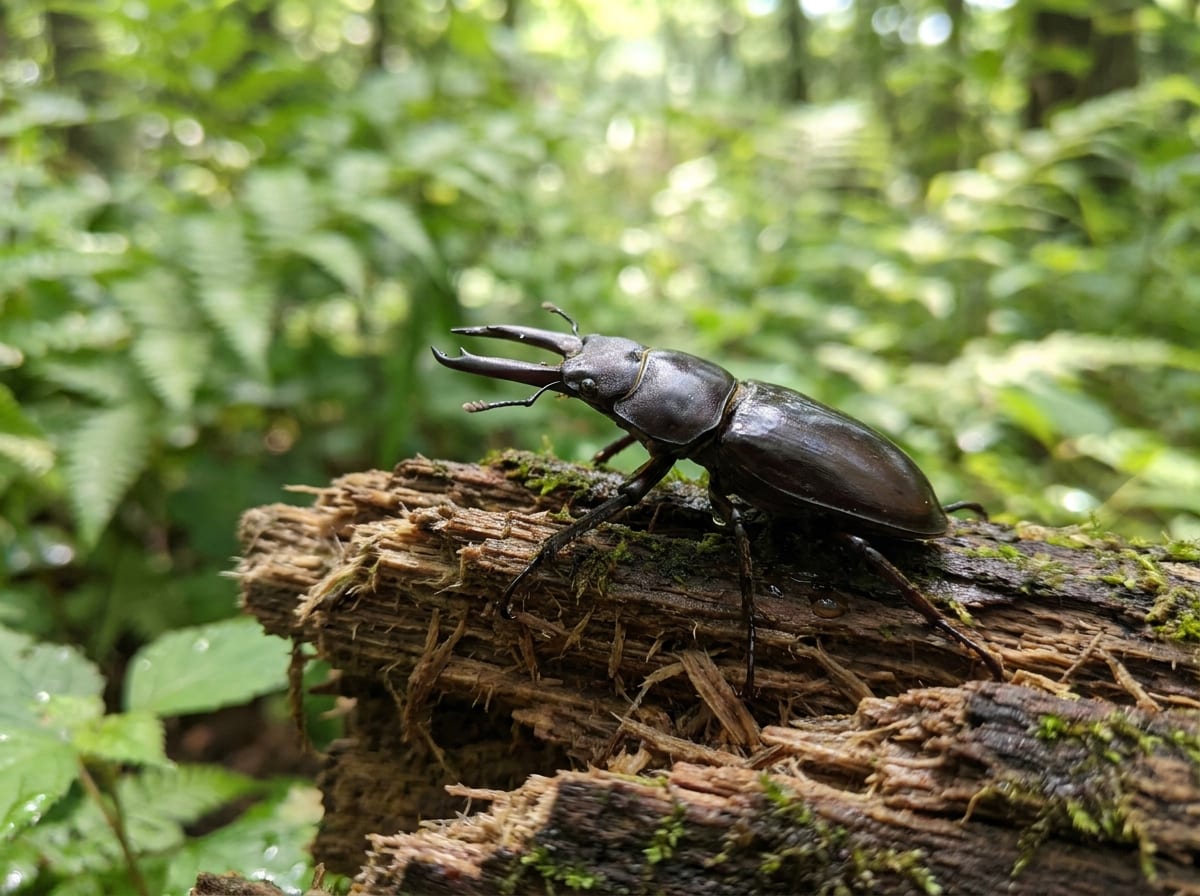
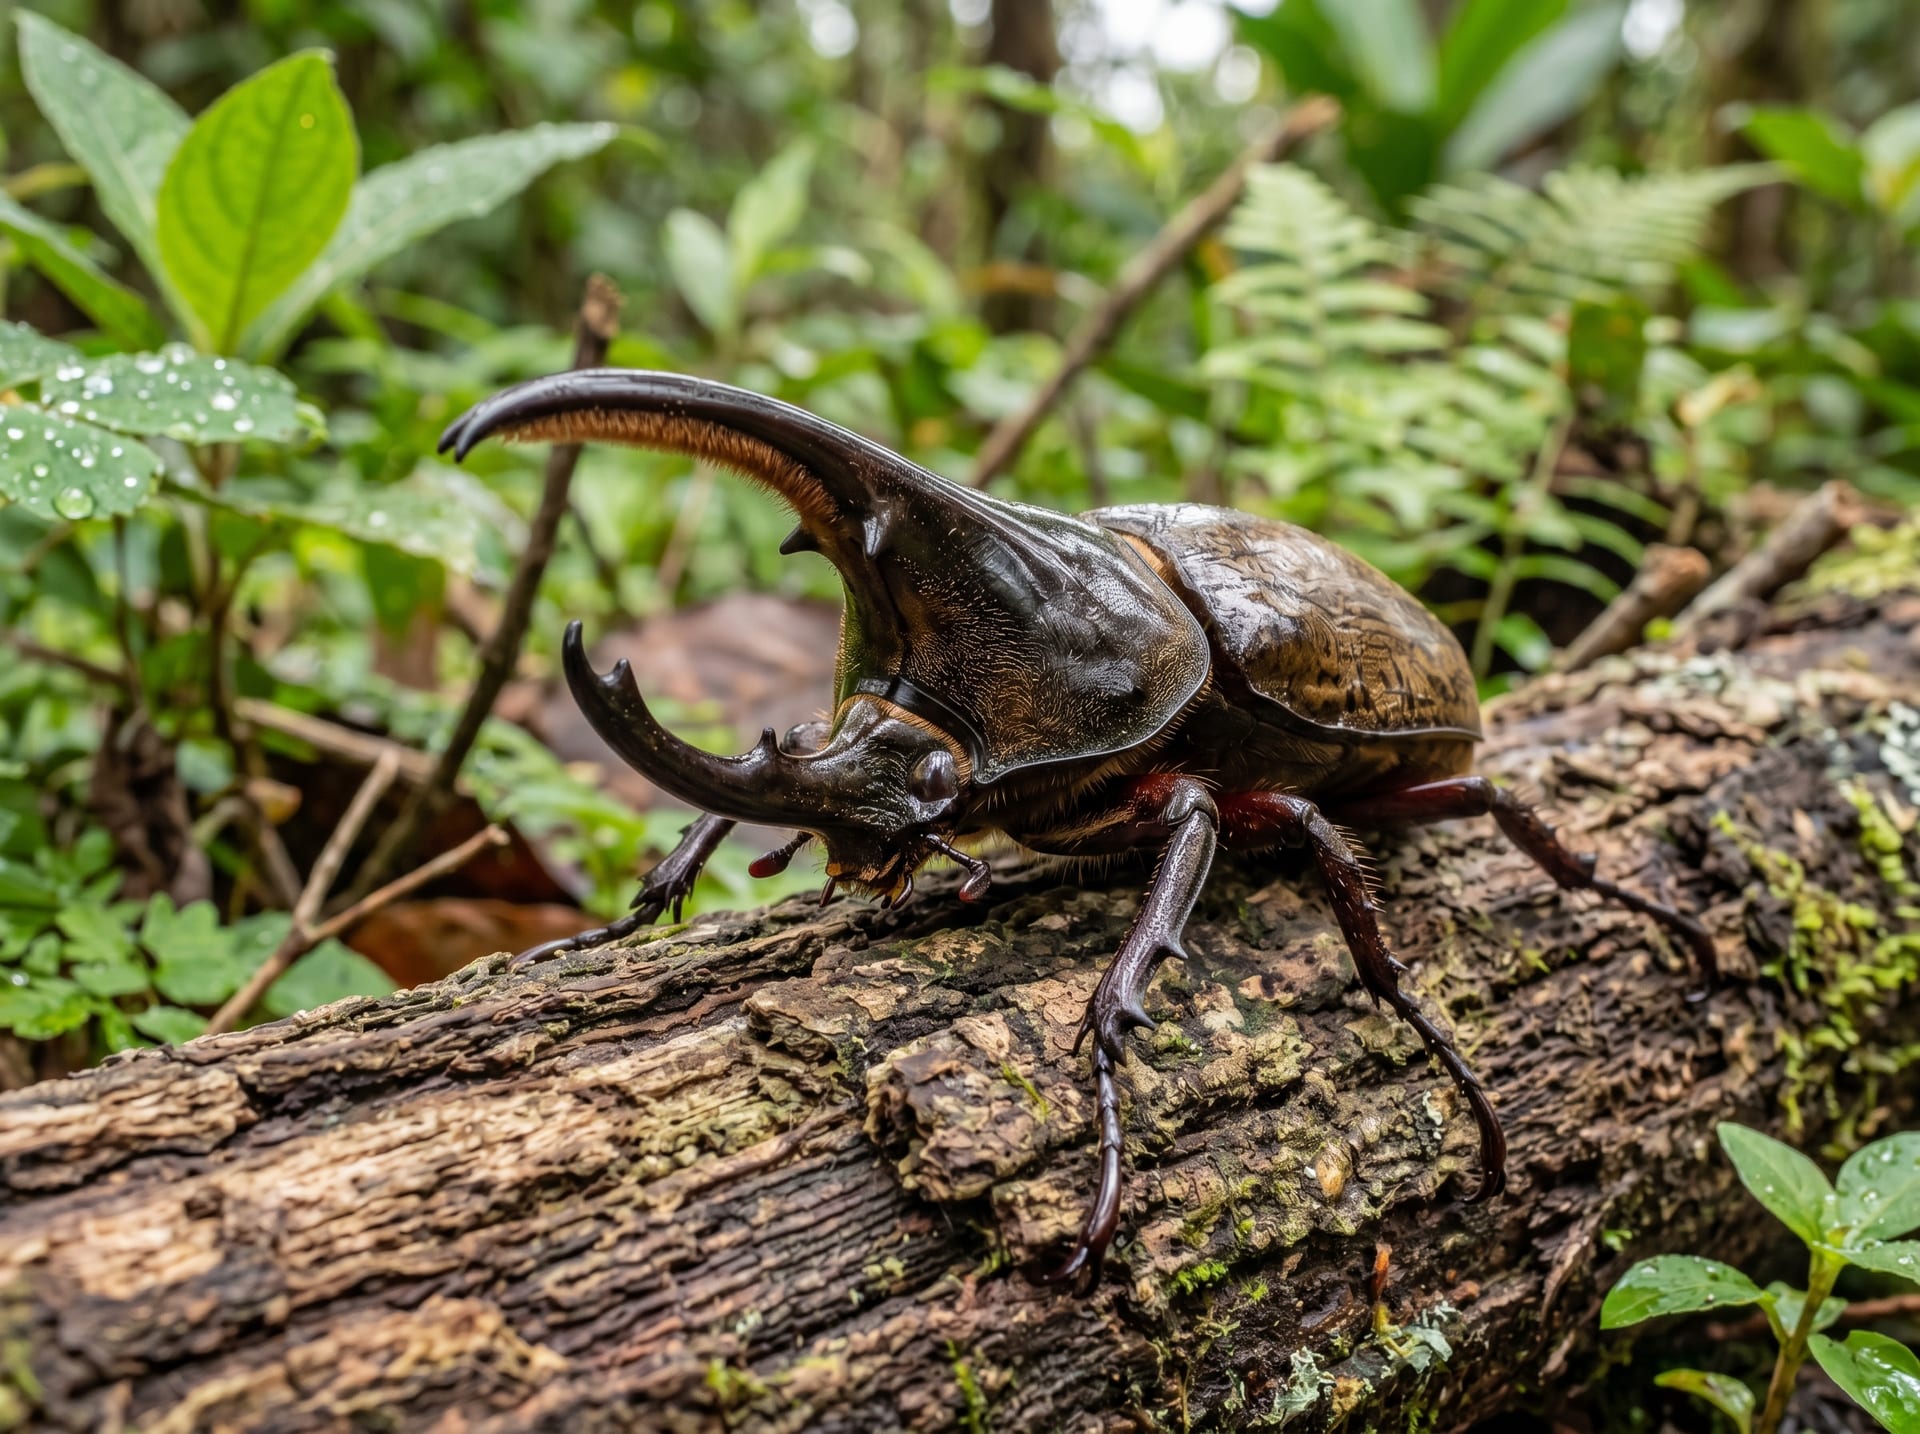
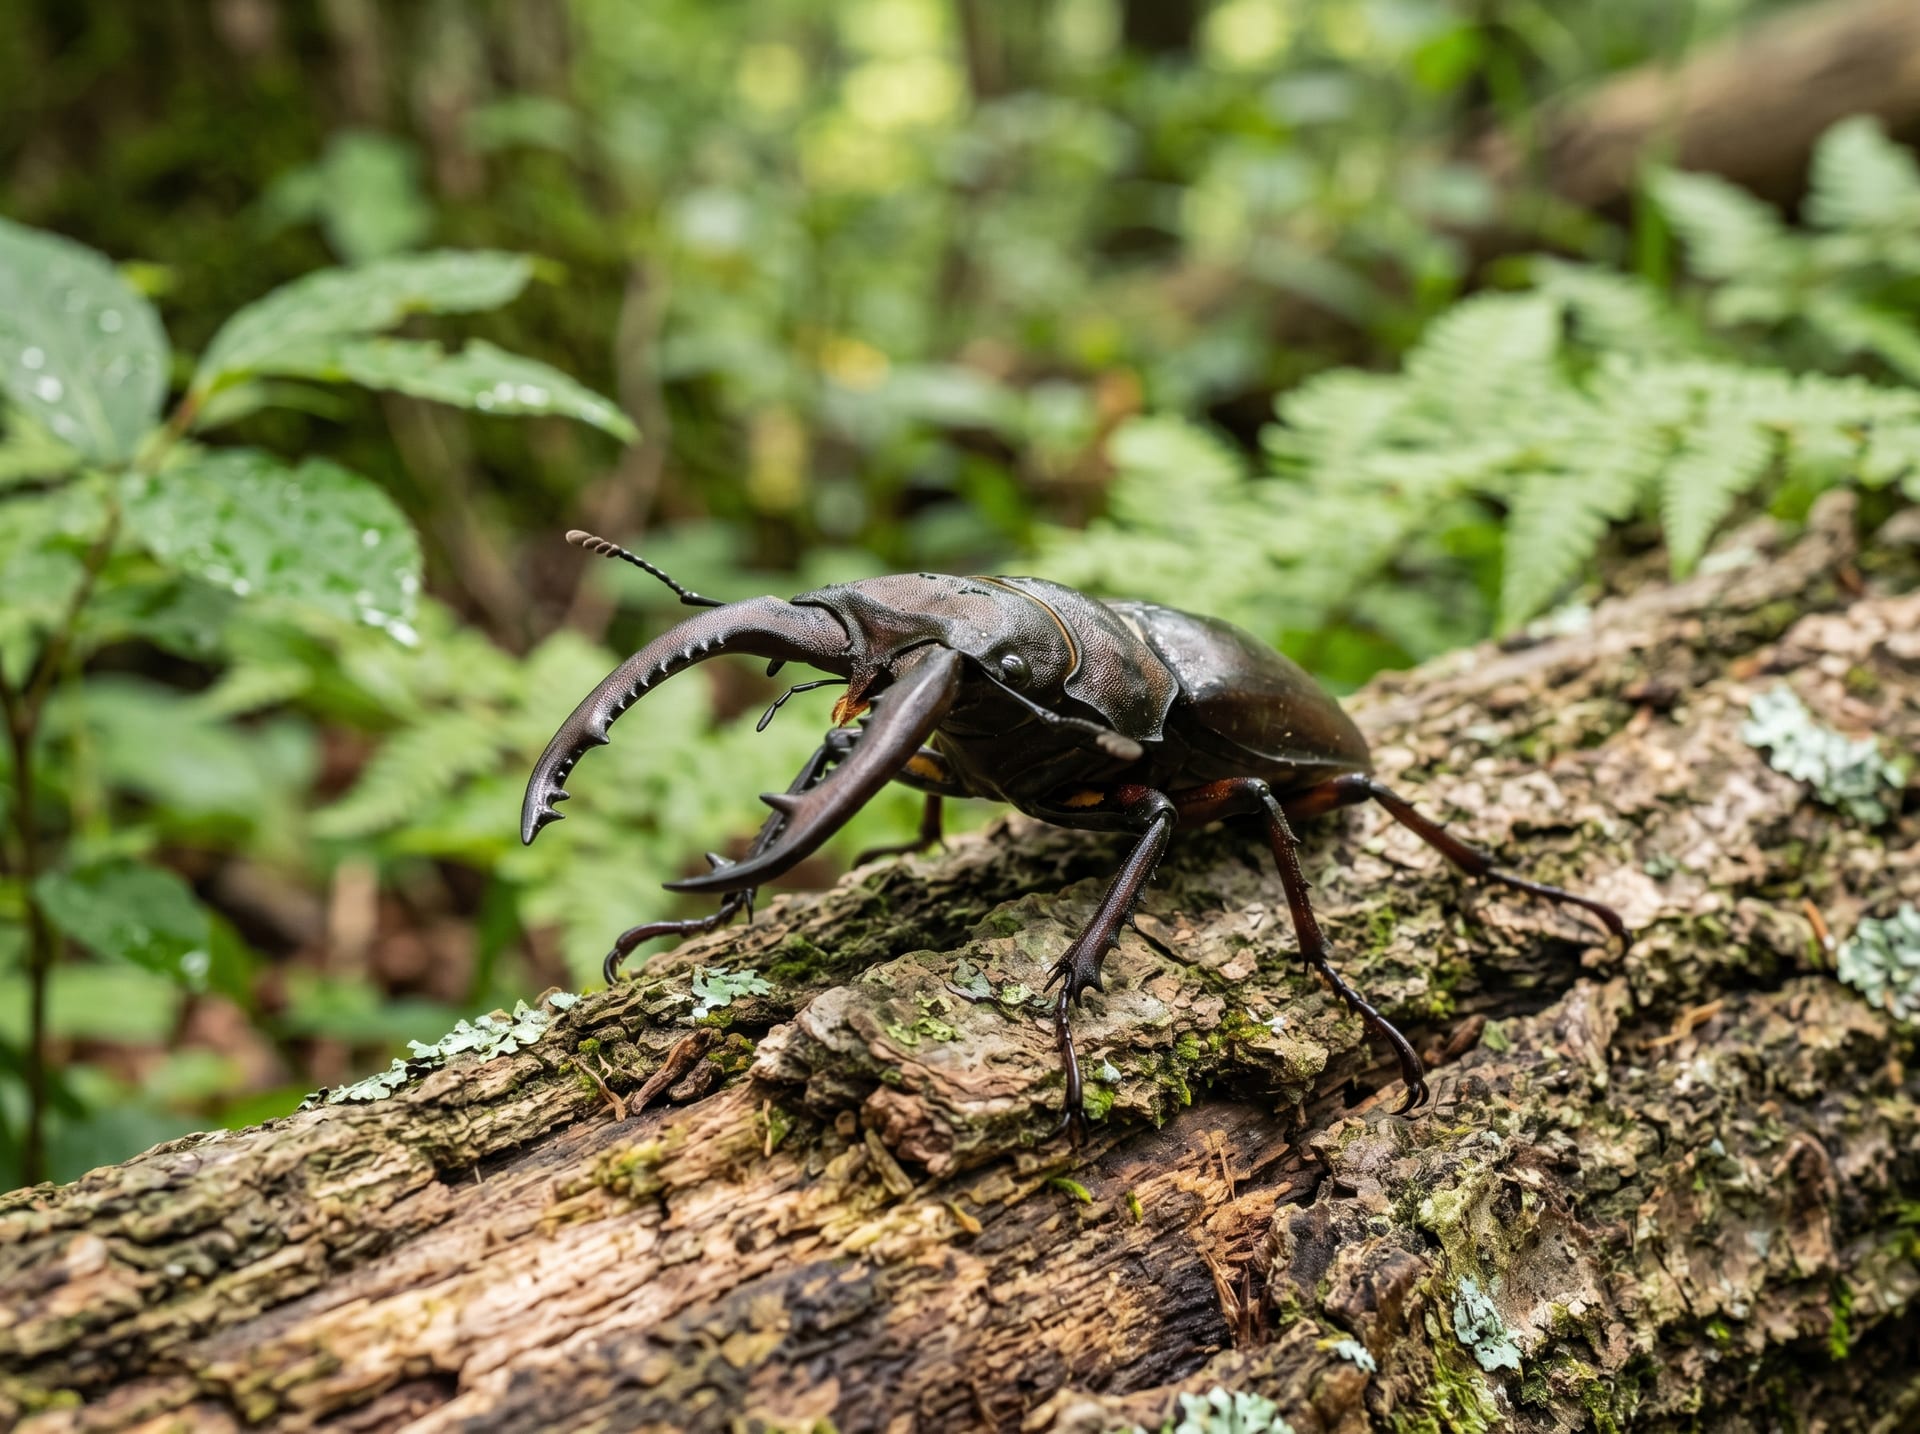
Beetles like rhinoceros beetles and stag beetles look dramatically better when their legs are beautifully arranged through proper leg-setting. Even with native species like large stag beetles and small stag beetles, careful leg-setting significantly improves specimen quality.
Pin insertion point: For beetles, insert the pin through the right forewing (elytra). Slightly to the right of center is the international standard. Verify that the pin tip exits from the ventral surface
Leg arrangement: Arrange the legs symmetrically. Keep the first joint parallel to the body axis and open the tibia slightly outward. The ideal is to recreate a natural walking posture
Antenna positioning: Direct the antennae forward and secure with pins. For stag beetles, also fix the mandibles in a symmetrically open position
Tips for large species: Large species like Hercules beetles and giraffe saw stag beetles are prone to leg droop from their own weight. Support them with a polystyrene block while drying
Drying time: Beetles take longer to dry than butterflies due to their thicker bodies. Large species can take 1-2 months. Insufficient internal drying can cause mold
Specimen Storage and Pest Prevention
Even a beautifully made specimen will be ruined by deterioration or insect damage if not properly stored. Here are the key points for long-term preservation.
Choosing a specimen box: German boxes (tightly sealed wooden boxes) are the standard. They have space for placing insecticide. Beginners can use a collection box from a discount store with urethane foam as the base
Pest prevention: Carpet beetles and powderpost beetles are the specimen's greatest enemies. Place naphthalene or paradichlorobenzene insecticide in the corners of the specimen box. Commercial clothing-use insecticides (like Mushuda) can also be used
Humidity control: Ideal storage humidity is 50-60%. High humidity causes mold, while low humidity causes wing and leg damage. Adjust humidity by placing silica gel in the box
UV protection: Direct sunlight is the primary cause of fading. Store specimen boxes in a dark place or use UV-blocking glass boxes. Fluorescent lights also emit UV, so LED lighting is preferable
Regular inspection: Open the specimen box every 3-6 months to check its condition. Check for insecticide replacement, mold, and loose pins
Labeling Protocol and Importance
Labels on specimens are crucial elements that determine their academic value. Master the proper labeling protocol.
Locality label: Record the collection location (prefecture, municipality, specific place name), collection date (year.month.day), and collector's name. Include latitude and longitude if possible
Identification label: Record the species name (scientific name and common name) and the identifier's name. If uncertain, use "cf." (confer) to indicate tentative identification
For captive-bred specimens: Clearly note that it is a bred specimen. Record the parents' locality information, breeder's name, and emergence date. If purchased from a breeder, note that as well
Label size and material: The international standard is white fine paper approximately 18mm wide. Use waterproof ink if printing. For handwriting, use light-resistant ink (such as India ink)
Label attachment: Affix labels below the specimen on the insect pin. The standard arrangement is locality label on top and identification label below
Digital records integration: In recent years, issuing QR codes or ID numbers for each specimen and linking photos, pedigree, and collection data to online databases has become more common. While maintaining paper labels as the primary record, combining supplementary digital records improves searchability
Organization and Use of Specimen Collections
As your collection grows, systematic organization becomes necessary. Organized specimens not only increase in viewing value but also in value as records.
Arrangement by taxonomy: Arrange specimens in order by order, family, genus, and species. Refer to field guides to confirm correct classification. Displaying individuals of the same species from different localities or time periods makes variations easier to see
Digital record integration: Creating a database of specimen photos simplifies management. Using spreadsheets or Google Sheets improves searchability
Collection sharing: There are opportunities to display collections at natural history museums and insect exhibitions. Sharing on social media can also spark exchanges with fellow enthusiasts
Academic contribution: Specimens with accurate records of locality and time period are valuable resources for distribution surveys and ecological research. You can also consider donating to local museums or universities
Genetic sample preservation: You can also preserve legs or body parts in ethanol separately from the specimen for future DNA analysis. This further enhances academic value
At BreederDirect, you can directly purchase beautiful insects from reliable breeders. Individuals bred by breeders with careful pedigree management often have superior body structure and coloration, and hold high aesthetic value as specimens. Enjoying the care of living insects and then preserving them as specimens after they reach the end of their lives is one way to maintain a long relationship with insects.