Discus Breeding Guide | Pairing, Spawning, Fry Rearing and Parental Nutrition Supply System
A detailed guide to breeding Discus, the pinnacle of tropical fish. We provide practical guidance through the entire process, from pair formation and spawning induction through fry rearing, parental mucus feeding, and water quality management during breeding.
Key Takeaways
A detailed guide to breeding Discus, the pinnacle of tropical fish. We provide practical guidance through the entire process, from pair formation and spawning induction through fry rearing, parental mucus feeding, and water quality management during breeding.
Before Taking on Discus Breeding
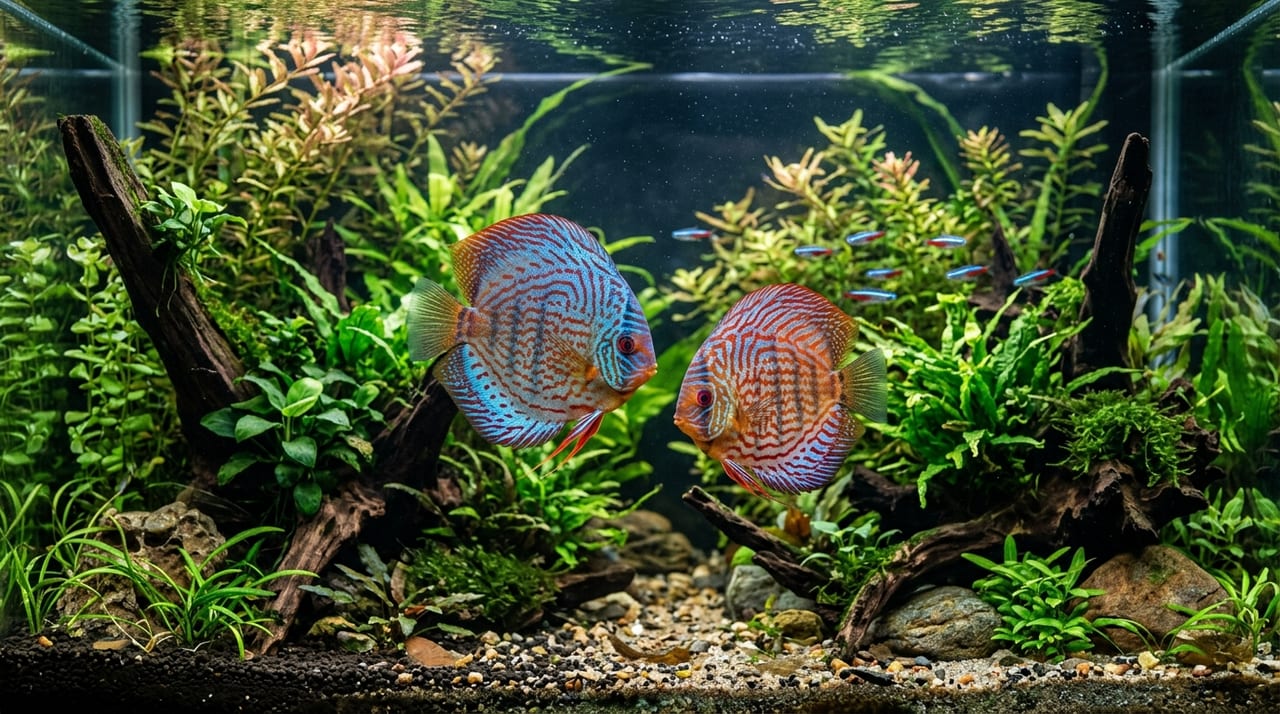
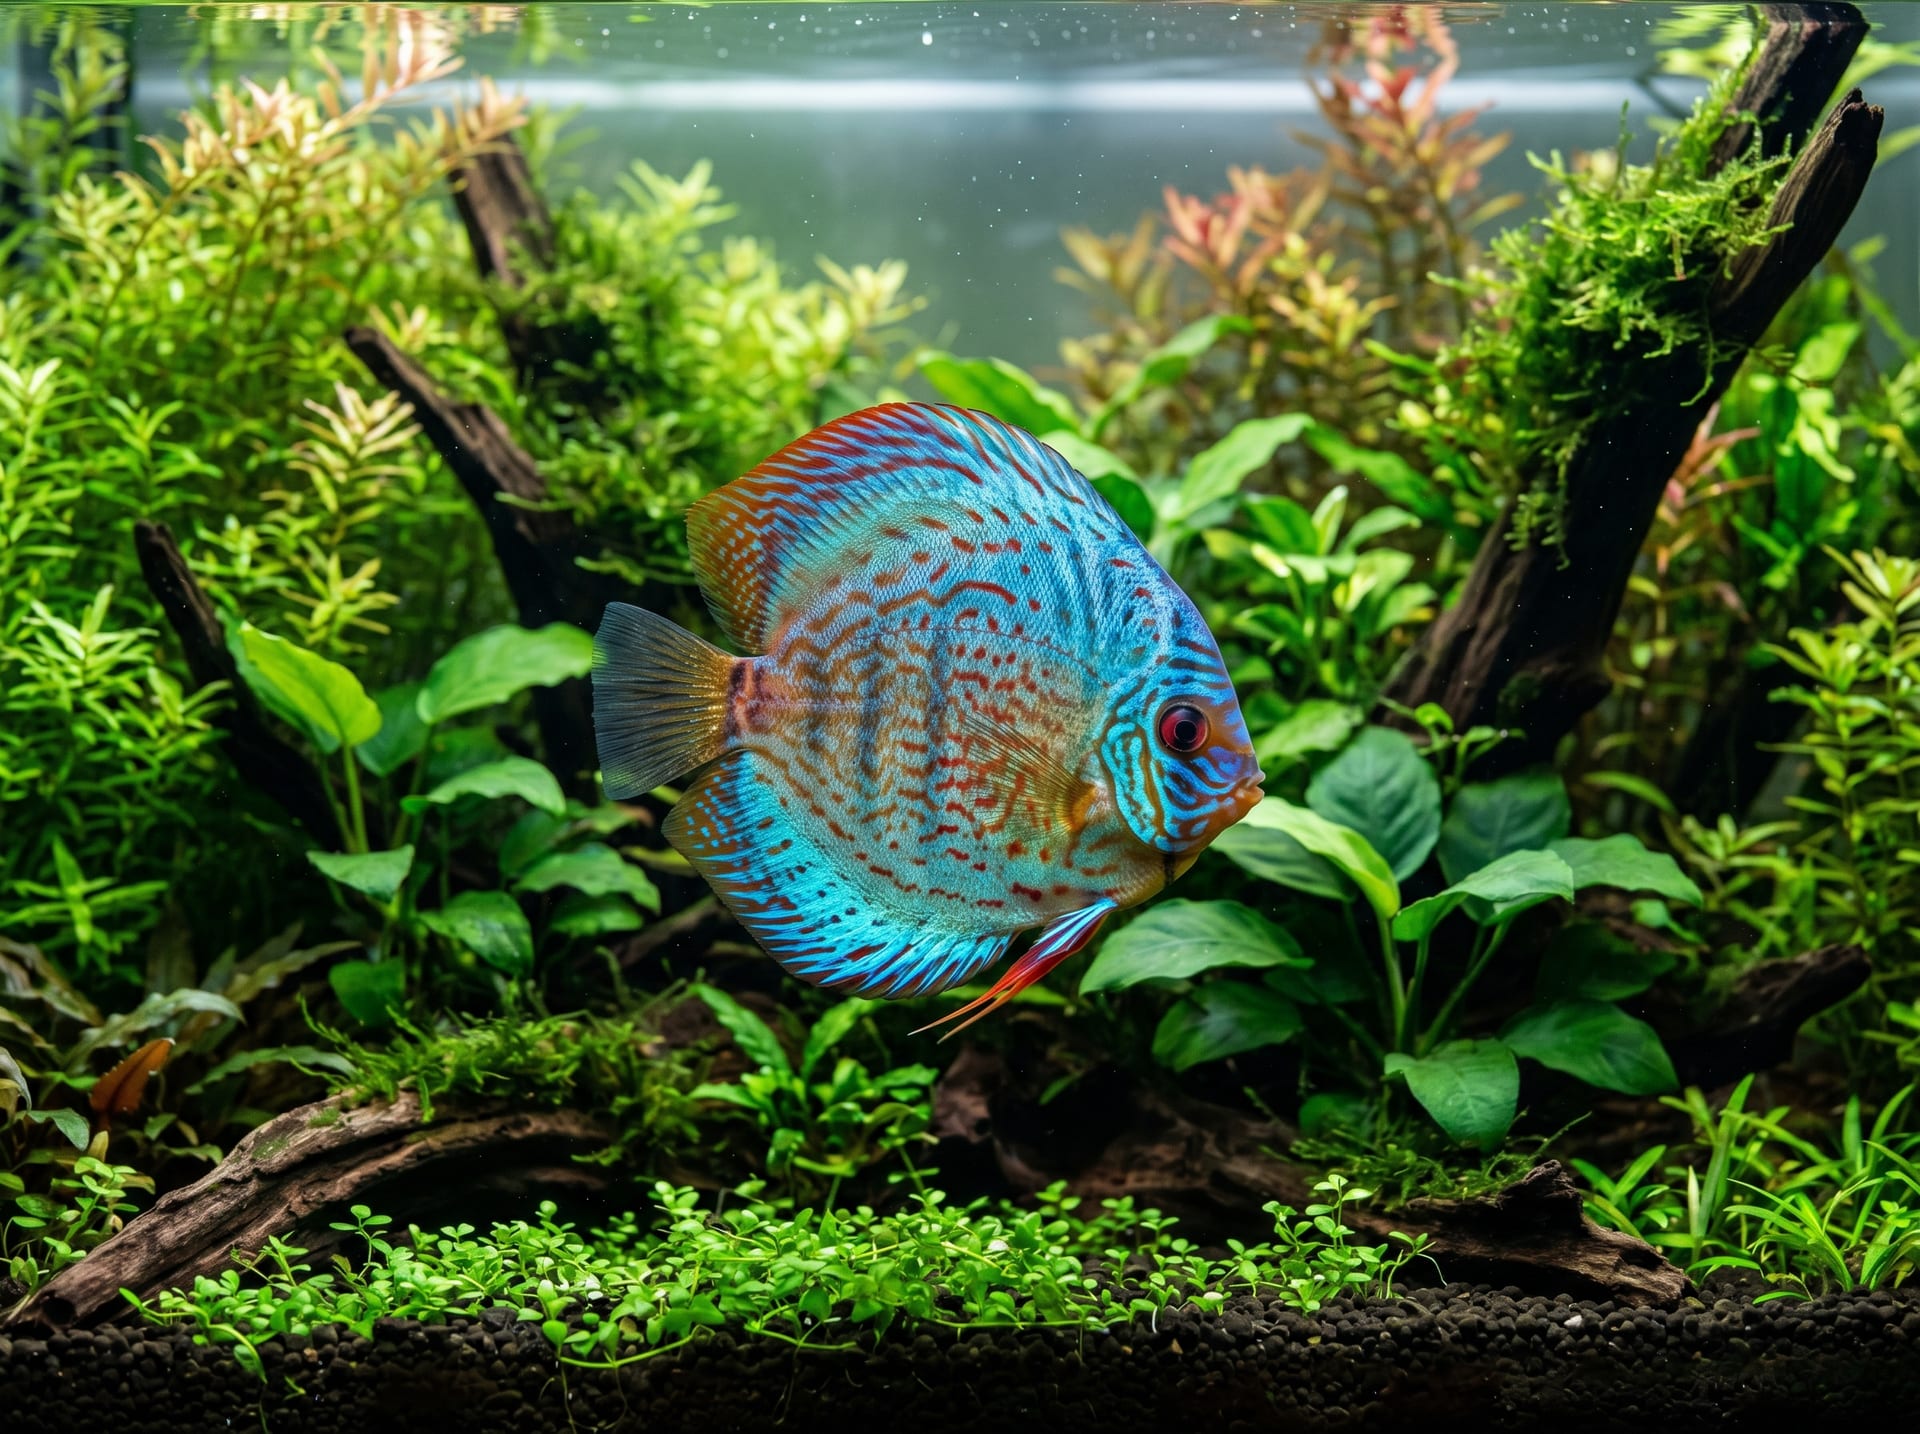
Breeding Discus (genus Symphysodon), often called "the king of tropical fish," is a challenging endeavor that brings great satisfaction to aquarium keeping. Unlike the straightforward breeding of guppies, it involves many interrelated factors—water quality, temperature, pair dynamics, spawning environment, and fry management—making advance preparation and knowledge the keys to success.
✍️
BreederDirect Editorial
The BreederDirect editorial team specializes in care information for animals, covering veterinary care and breeding to deliver beginner-friendly guides.
Find Tropical Fish on BreederDirect
Buy directly from verified breeders
Browse Related Listings
Find Tropical Fish listings related to this article on BreederDirect. Buy directly from verified breeders.
First, understand that Discus breeding is not something that happens naturally once a pair is established; it requires the keeper's meticulous care and the building of a trust relationship with the pair. If you aim to breed, place daily care management as your highest priority, focusing on water quality stability, thorough feeding, and stress elimination as your starting point.
Pairing Methods
There are two major approaches to pairing Discus.
Allowing pairs to form naturally through group rearing: Keep 6 to 10 young fish together and wait for pairs to form naturally. Since compatible pairs form spontaneously, the bond between potential parents tends to be strong, resulting in higher breeding success rates. However, it takes time for pairs to form, and aggression toward other individuals can intensify, requiring a larger tank and careful observation of the group.
Purchasing or acquiring proven breeding pairs: Online marketplaces with direct breeder sales offer individuals sold as "confirmed pairs," suitable for those wanting to save time or attempting breeding for the first time. However, transport stress can temporarily disrupt pair bonding, so allow ample acclimation time to the new environment.
Signs that a pair has formed include the following behaviors:
Both fish swim close together
They rub their bodies against each other
They chase away other individuals
When these behaviors are observed, move the pair to a breeding tank (approximately 45–60 cm) and focus them on breeding.
Setting Up Spawning Environment and Spawning
Place spawning substrates in the breeding tank, such as spawning cones, clay pipes, or driftwood stumps. Spawning substrates with somewhat rough surfaces and near-vertical faces are preferred. Commercial Discus cones are easy to use and recommended.
Water quality conditions for the breeding tank are as follows:
Item
Target Range
Water Temperature
28–31°C
pH
6.0–7.0 (slightly acidic)
Discus tend to prefer soft water, and keeping hardness low is particularly effective during breeding. Sudden changes in water quality stress the pair and inhibit spawning, so perform water changes gradually in small amounts and avoid abrupt shifts.
Spawning typically occurs in the evening to night. The female deposits eggs on the spawning substrate, which the male then fertilizes in a process called "tandem spawning." A single spawn produces approximately 100–300 eggs, though first spawns from immature pairs often contain many unfertilized eggs. After spawning, the parents fan the eggs with their pectoral fins and bodies to supply oxygen and prevent fungus. The parents typically consume or remove unfertilized eggs and dead eggs that turn white.
Hatching and Early Fry Rearing
Under proper care, eggs hatch approximately 48–72 hours after spawning. For the first few days after hatching, fry remain attached to the spawning substrate and consume the yolk sac. No special feeding is required at this stage, but water quality maintenance and parental stress management are critical.
Once the yolk sac is absorbed (around 4–5 days after hatching), fry migrate to the parents' body surface and begin obtaining nutrition. This is "parental mucus feeding," Discus' most distinctive breeding characteristic. Fry consume nutrient-rich mucus secreted from the parents' skin, obtaining the nutrients necessary for early growth. For this reason, maintaining a calm environment that prevents injury to the parents is extremely important while fry are present.
Managing the Parental Nutrition Supply System
Parental mucus feeding in Discus is an advanced parental care behavior observed in nature. When one parent tires, the other takes over caring for the fry. Observe whether this role-switching occurs smoothly and confirm that neither parent is becoming exhausted.
What keepers must watch for is the parents' physical condition. To continue providing mucus to the fry, parents must receive sufficient high-nutrition food. Feed them hamburger (homemade or commercial Discus food made with beef heart as the base) and frozen bloodworms 2–3 times daily, maintaining parental condition with increased feeding compared to pre-spawning levels.
As fry grow, the parents' mucus alone becomes insufficient. Around one week after birth, fry can begin eating brine shrimp nauplii, so start offering freshly hatched brine shrimp in small amounts at this time. Ensure the hatched nauplii are small enough to fit in the fry's mouths.
Fry Independence and Growth Management
"Independence" occurs when fry leave the parents' body surface and can feed on their own (around 3–4 weeks after birth). At this stage, parents may begin chasing away the fry, which also signals the start of the next spawning cycle. Move the fry to a separate tank and switch to individual management.
After independence, feed fry a combination of the following foods:
Brine shrimp
Finely crushed flake food
Discus fry food
Pay particular attention to water quality management; ideally, perform small daily water changes to keep ammonia and nitrite at zero.
Discus fry tend to show significant size variation during early growth. When larger and smaller individuals are managed in the same tank, larger ones monopolize food, so consider sorting by size and dividing them into separate tanks. Maintaining consistent water temperature and quality, along with adequate feeding, is fundamental to raising healthy adults.