Advanced Coral Fragging Techniques | Cutting and Bonding Technology to Boost Success Rates | ブリちょく
Coral| ✍️ BreederDirect Editorial
Advanced Coral Fragging Techniques | Cutting and Bonding Technology to Boost Success Rates
Advanced coral fragging techniques explained. Introduction to cutting methods and bonding tips for SPS, LPS, and soft corals.
Key Takeaways
Advanced coral fragging techniques explained. Introduction to cutting methods and bonding tips for SPS, LPS, and soft corals.
Related Species
Advanced Coral Fragging Techniques | Cutting and Bonding Technology to Boost Success Rates
Coral fragging (fragmentation reproduction) is an essential skill for hobbyists and breeders. After mastering the basics, there are advanced techniques to further boost success rates. Tools and procedures continue to improve year after year, and regularly updating your knowledge is a shortcut to reducing failures. This article provides a detailed explanation of the specific techniques practiced by professional fraggers across SPS, LPS, and soft corals. It covers everything from tool selection to cutting procedures and curing tips, so please refer to it as a guide.
---
SPS (Acropora) Fragging
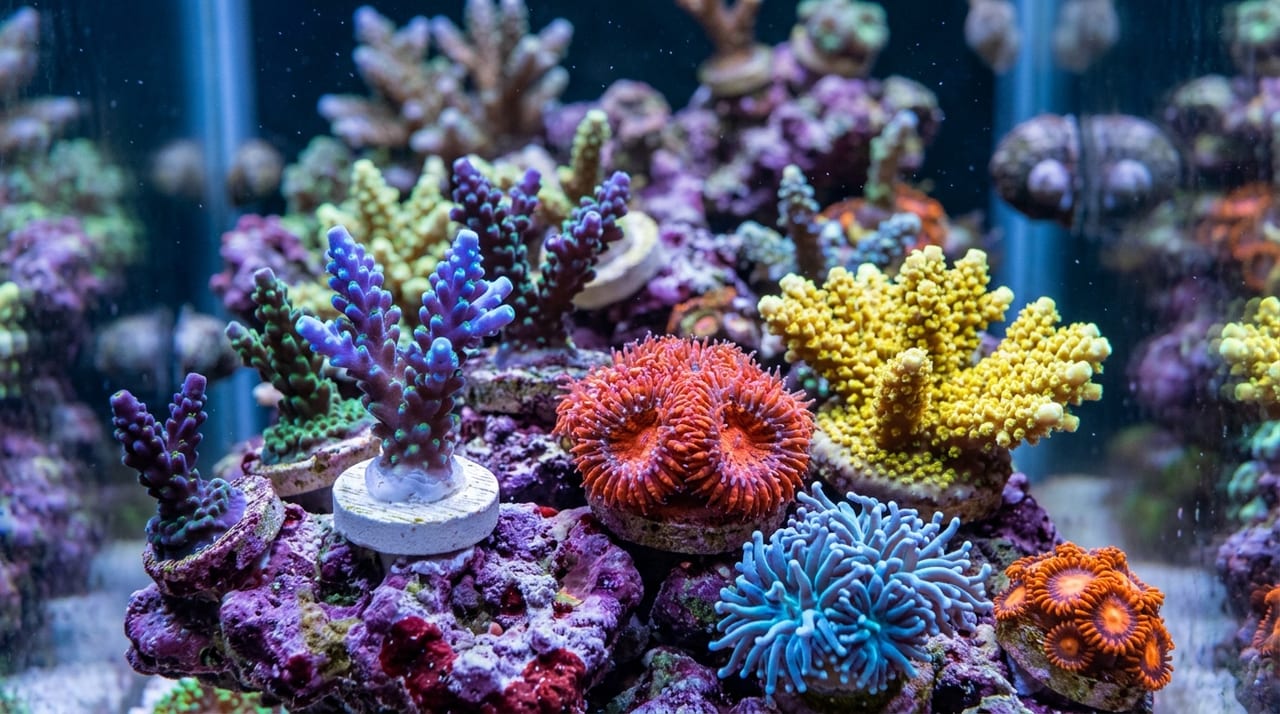
SPS (Small Polyp Stony Coral) corals have hard, delicate skeletons, so cutting technique greatly determines success or failure. The key to Acropora fragging is understanding the skeleton structure accurately and "cutting cleanly in one motion."
Cutting Branching SPS
Target the area slightly above the branching point on branching Acropora. Use a bone cutter and concentrate force at a single point to cut quickly—this is the golden rule. Applying grinding pressure will fracture the skeleton, creating a rough cut surface that increases infection risk. Be conscious of keeping the blade perpendicular to the skeleton.
Recommended Tools: Bone cutter, diamond cutter
Minimum Size: Ensure 2.5cm or larger (fragments that are too small lack sufficient tissue recovery capacity)
Cutting Speed: Cut decisively in one motion. Hesitation invites failure.
Cutting Encrusting SPS
For encrusting SPS spreading over rocks or substrates, cutting with a diamond band saw or Dremel tool along with the live rock is effective. The separated fragments can be bonded directly to new frag plugs. Keep seawater flowing constantly during cutting and work while cooling to prevent the skeleton from heating up.
Post-Cutting Care
After cutting, dip in an iodine-based dip solution (5–10 minutes) to prevent infection. Fix the frag plug with the cut surface facing upward to promote tissue regeneration. Pay close attention during the first 24–48 hours, and respond quickly if infection signs (bleaching, abnormal mucus discharge) appear.
✍️
BreederDirect Editorial
The BreederDirect editorial team specializes in care information for animals, covering veterinary care and breeding to deliver beginner-friendly guides.
Find Coral on BreederDirect
Buy directly from verified breeders
Browse Related Listings
Find Coral listings related to this article on BreederDirect. Buy directly from verified breeders.
LPS (Large Polyp Stony Coral) corals have thick skeletons and abundant fleshy tissue (polyps). While they may seem easier to work with than SPS, damaging the tissue delays recovery, so careful handling is essential.
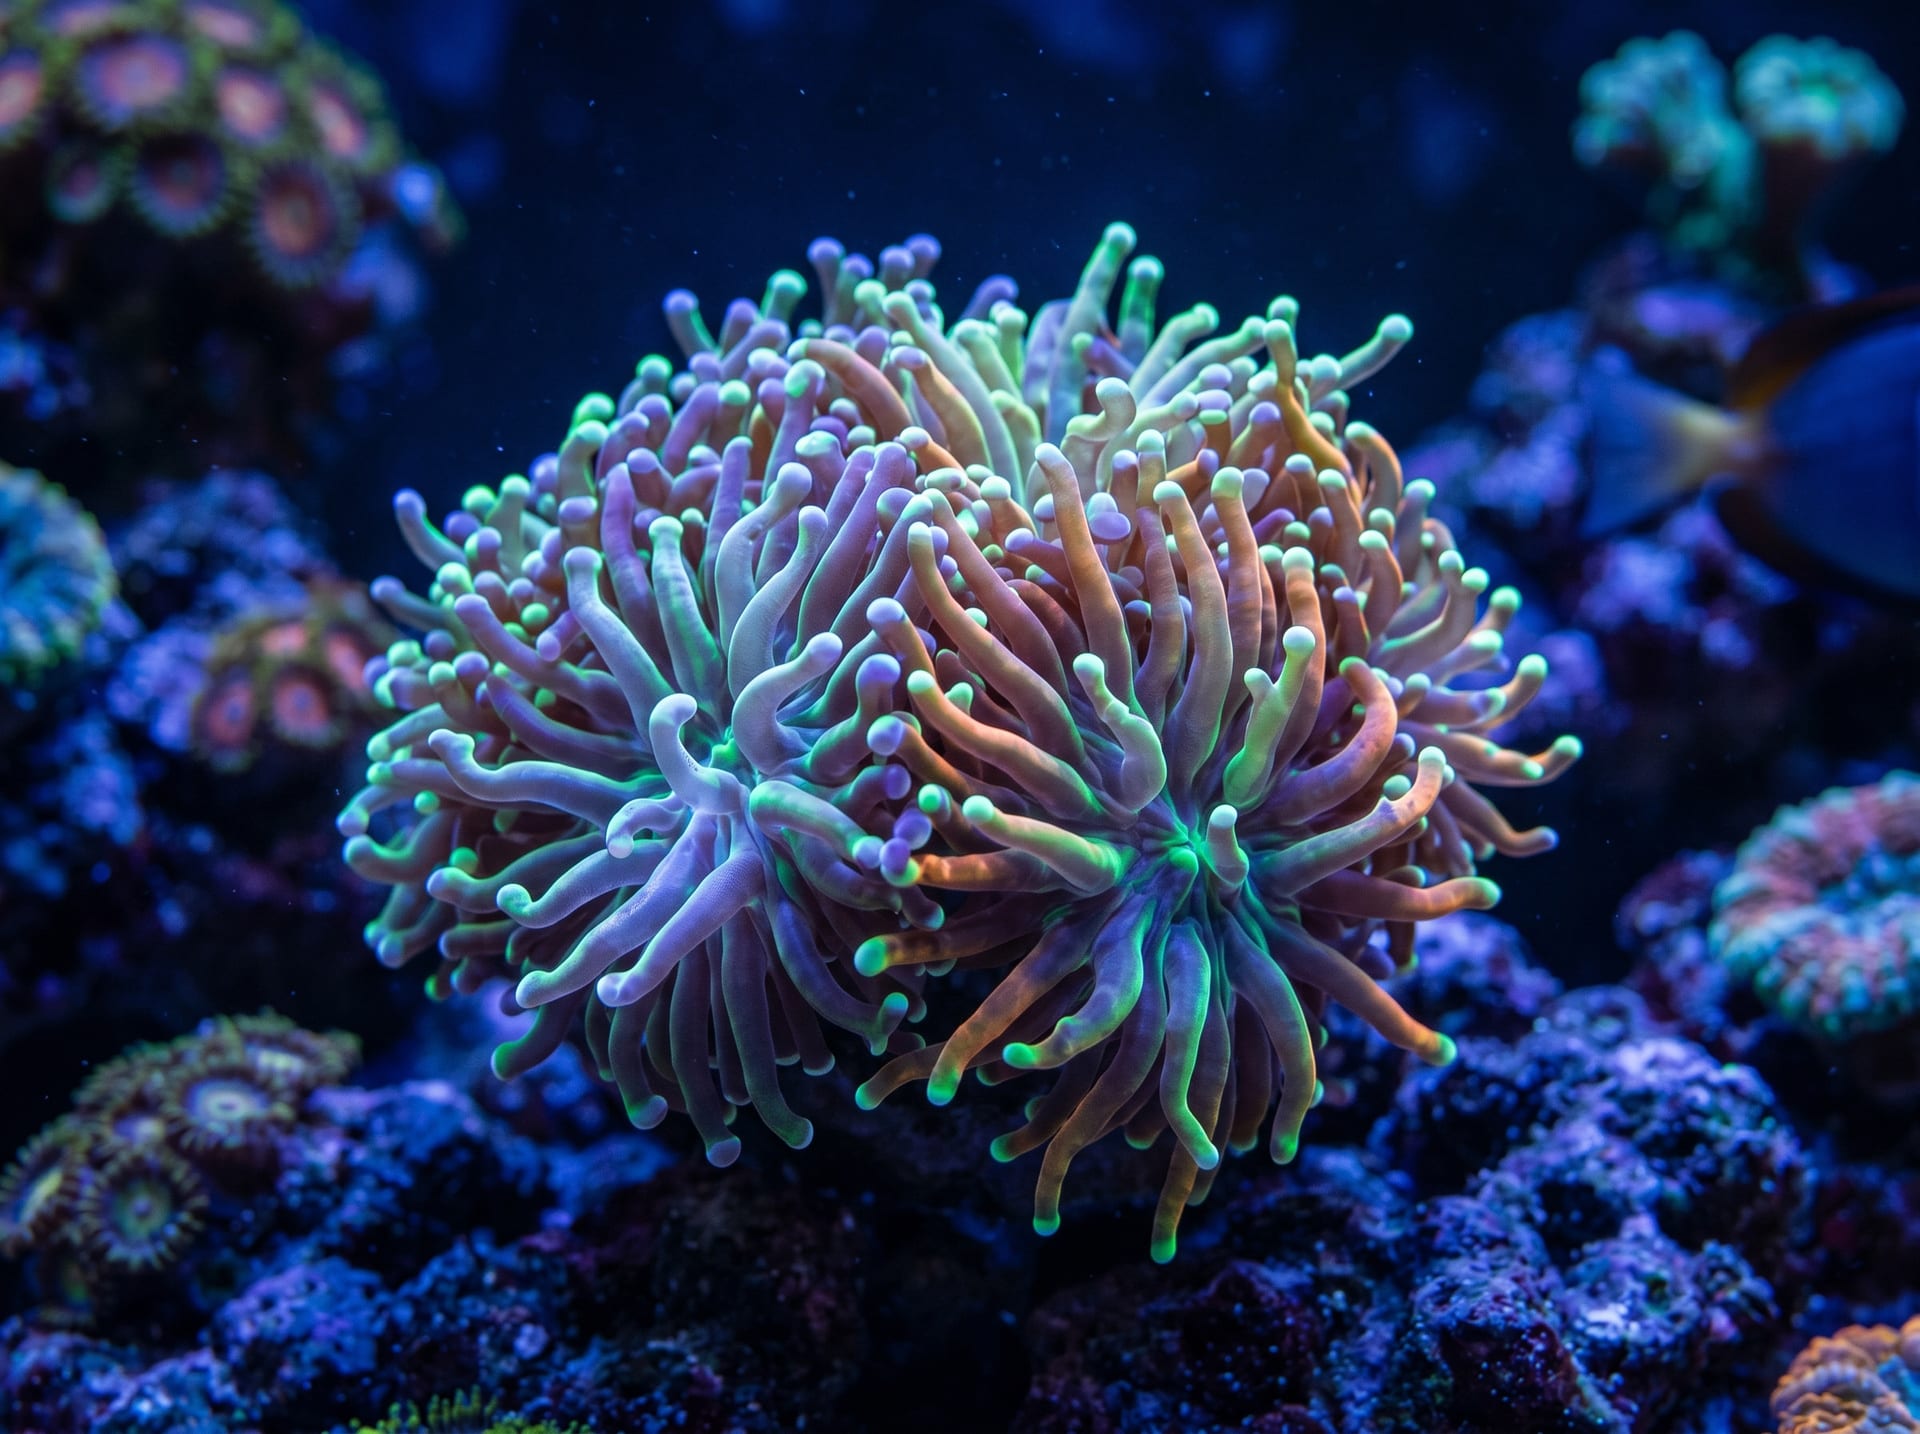
Cutting Euphyllia-type (Hammer, Frogspawn)
Corals such as hammer corals and frogspawn in the Euphyllia genus are divided by "head units." Identify the boundary between each head and use a diamond band saw to cut only the skeleton. Carefully determine the cutting line to avoid the blade touching the polyp tissue.
Cutting Line: Along the head boundary or skeleton grooves
Caution: Cut only the skeleton without catching tissue
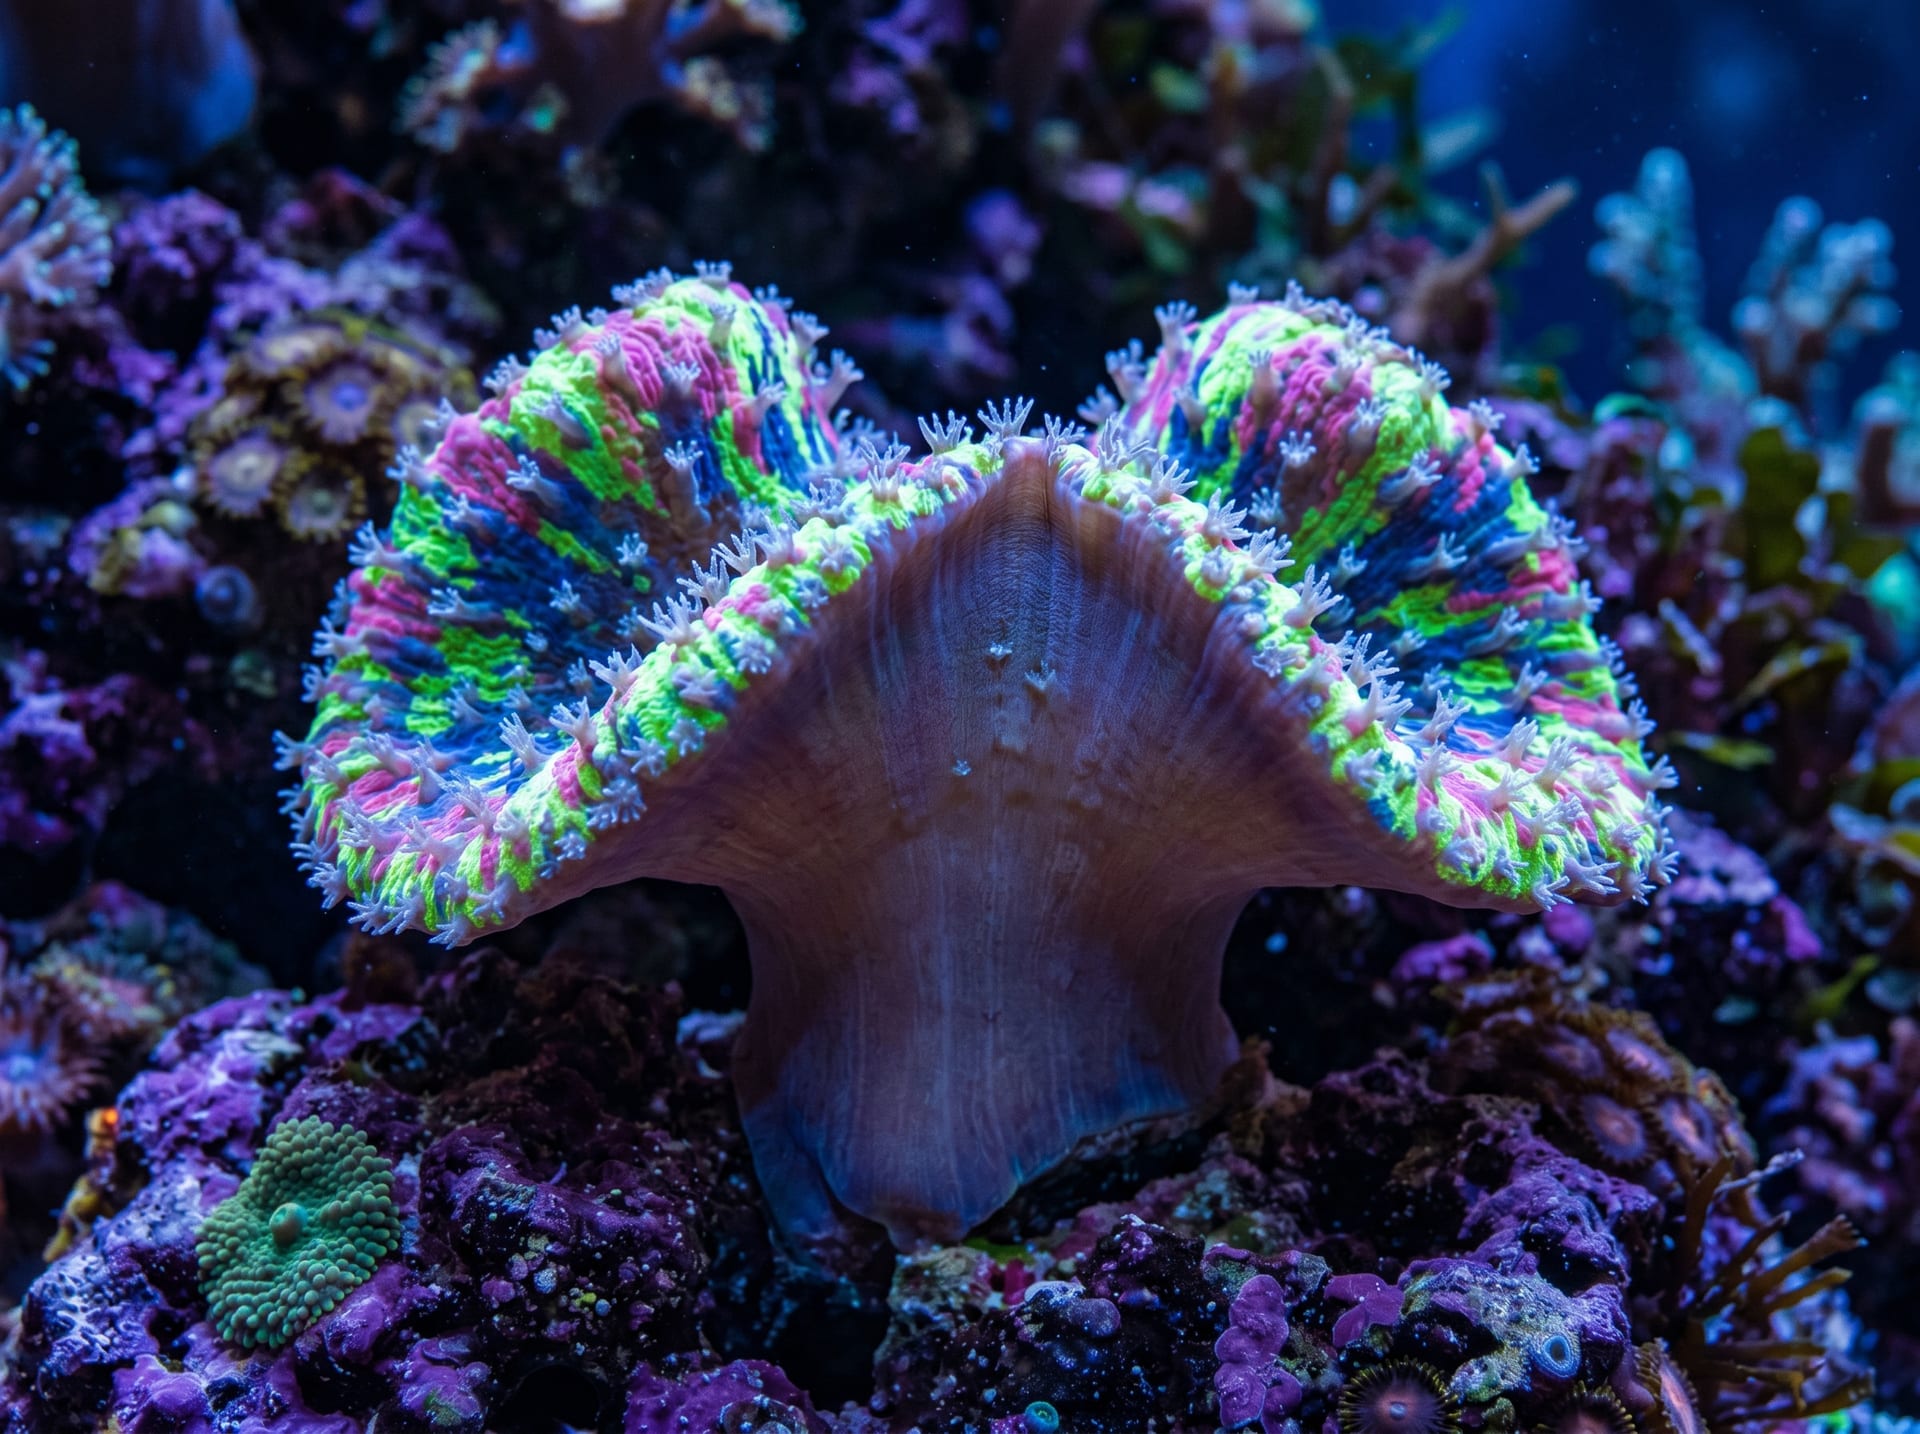
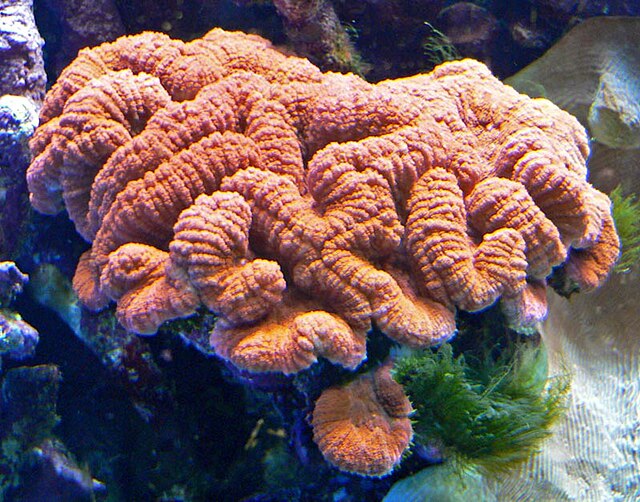
Cutting Favites and Lobophyllia
Favites and Lobophyllia often have clear individual boundaries and can be divided with a cutter or chisel. Dividing large colonies into multiple fragments yields more frags.
Managing the Recovery Period
LPS require 2–4 weeks of recovery after cutting. Maintain the following conditions during this period:
Lighting: Reduce to approximately 50–60% of normal intensity
Water Flow: Apply gentle, indirect flow
Location: Place in the lower part of the tank or low-light area
Feeding: Providing small amounts of liquid food is effective for promoting recovery
---
Soft Coral Fragmentation Techniques
Soft corals lack hard skeletons compared to SPS and LPS, making fragging relatively easier. However, the appropriate fragmentation method varies by species, so understanding each type's characteristics is important.
Zoanthus and Palythoa
For zoanthus and palythoa attached to rock, use a thin stainless-steel cutter or razor blade to slice thinly with the substrate. Fix the separated fragments to frag plugs with cyanoacrylate adhesive. Even small fragments with 2–3 polyps will propagate successfully.
Leather Corals (Sinularia, Lobophytum)
Cut branching leather corals with clean stainless-steel scissors, ensuring a length of 2cm or more. The larger the cut surface, the easier tissue recovery, so avoid cutting extremely small. After cutting, insert the base into a frag plug or temporarily secure with a rubber band.
Mushroom Corals (Sarcophyton)
Mushroom corals are typically divided radially from the cap section. Use a stainless-steel blade to cut from the center outward. After division, avoid strong light and cure in a low-flow area. They may secrete large amounts of mucus, which is a normal response.
---
Professional Tips for Bonding and Curing
Fragging success depends not only on cutting technique but also on bonding and curing quality. Here we summarize the key points practiced by professional fraggers.
Choosing and Using Adhesives
Adhesive Type
Application
Characteristics
Gel-type Instant Adhesive
Small to medium frags
Usable underwater, easy to handle
Epoxy Putty
Large frags, heavy corals
Moldable, slow-curing
Double-sided Tape (rubber-based)
Temporary Fixation
Used for temporary holding during curing
Lightly sand the frag plug surface before bonding to increase adhesive strength. Also, if water flow hits the adhesive immediately after bonding, it may peel before curing, so let it sit undisturbed for a while after fixing.
Setting Up the Curing Environment
Lighting: Reduce to approximately 50% of normal for 3–5 days after bonding
Water Flow: Maintain normal flow (tissue recovery requires oxygen)
Temperature & Water Quality: Avoid sudden changes and maintain stable conditions
Observation Frequency: Observe daily during the first week to detect abnormalities early
If bleaching or tissue necrosis appears during curing, isolate the frag immediately and consider iodine-based or oxyurea-type treatments.
---
br-choku's Safe and Secure System
br-choku is a breeder-to-consumer marketplace for living organisms, including corals. Frag corals polished through advanced fragging techniques are highly valued by enthusiasts.
Benefits of Selling as a Breeder
Direct Sales Fee Model: Listing is free. Fees are charged only upon successful transaction (complete success-based model)
Trust Assurance: Breeder vetting and rating systems create a secure trading environment for buyers
Community Connection: Interact directly with fellow hobbyists who share your interests
Security for Buyers
With br-choku, purchasing directly from breeders minimizes distribution stress. You can verify the seller's profile and transaction history before purchasing, making it safe for first-time coral buyers.
Sell frag corals you've carefully cultivated in your own tank at fair prices, and together let's expand the culture of coral keeping. Improving fragging technique contributes to sustainable coral propagation beyond just a hobby. Continuing to refine cutting skills is the surest path to enhancing the long-term health of your entire aquarium.