Complete Guide to Bird Nail Trimming | Safe Methods, Frequency, and How to Handle Bleeding
A guide to trimming the nails of parakeets and parrots. We explain the need for nail trimming, appropriate frequency, tips for safe cutting, and methods for stopping bleeding if it occurs.
Key Takeaways
A guide to trimming the nails of parakeets and parrots. We explain the need for nail trimming, appropriate frequency, tips for safe cutting, and methods for stopping bleeding if it occurs.
Related Species
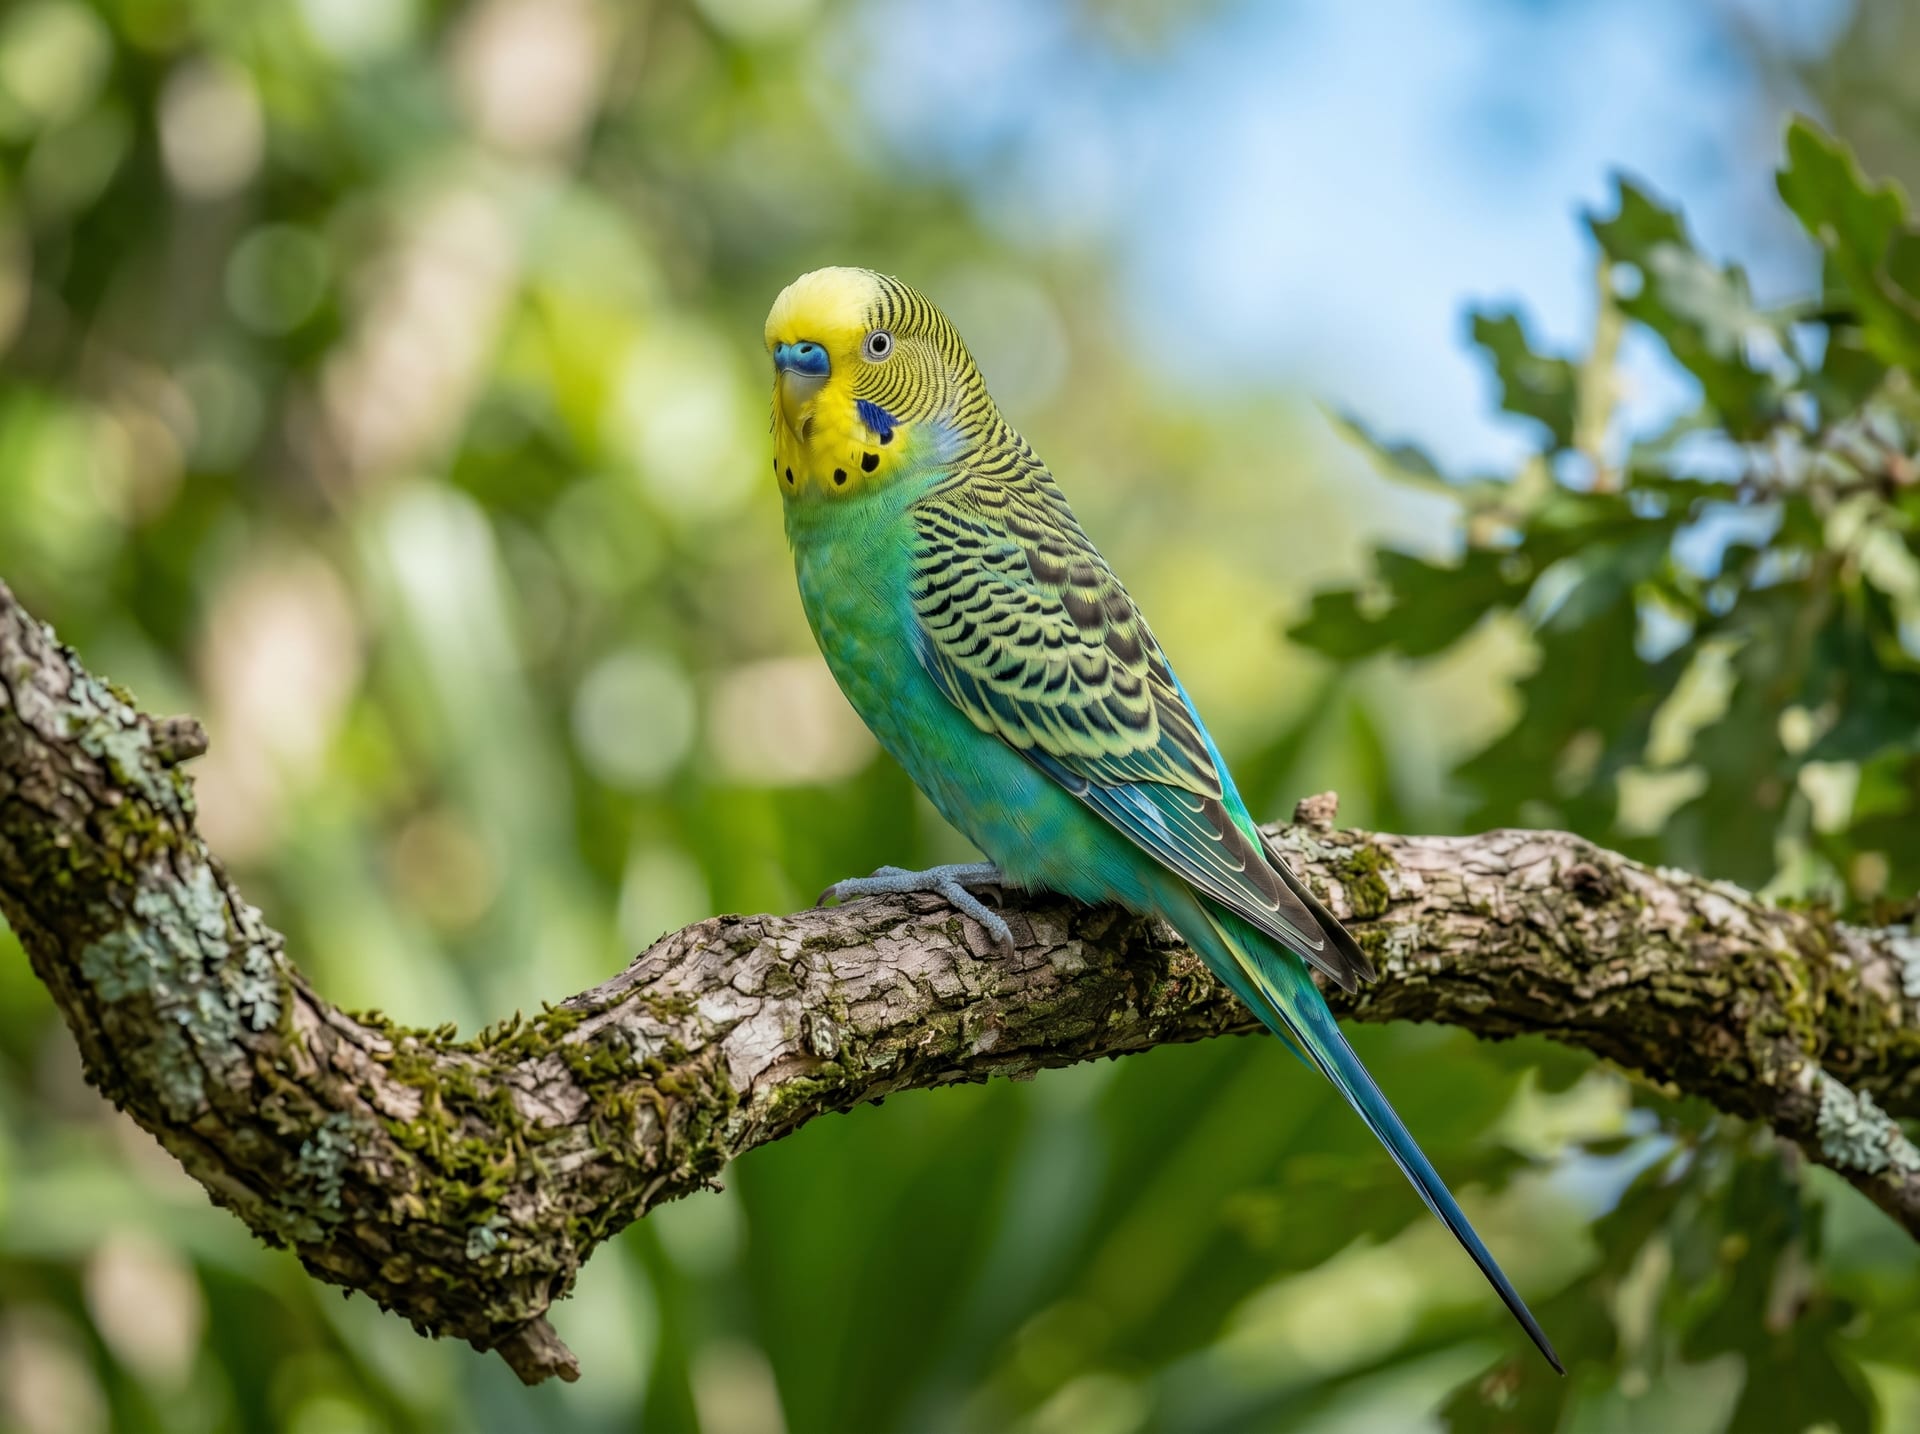
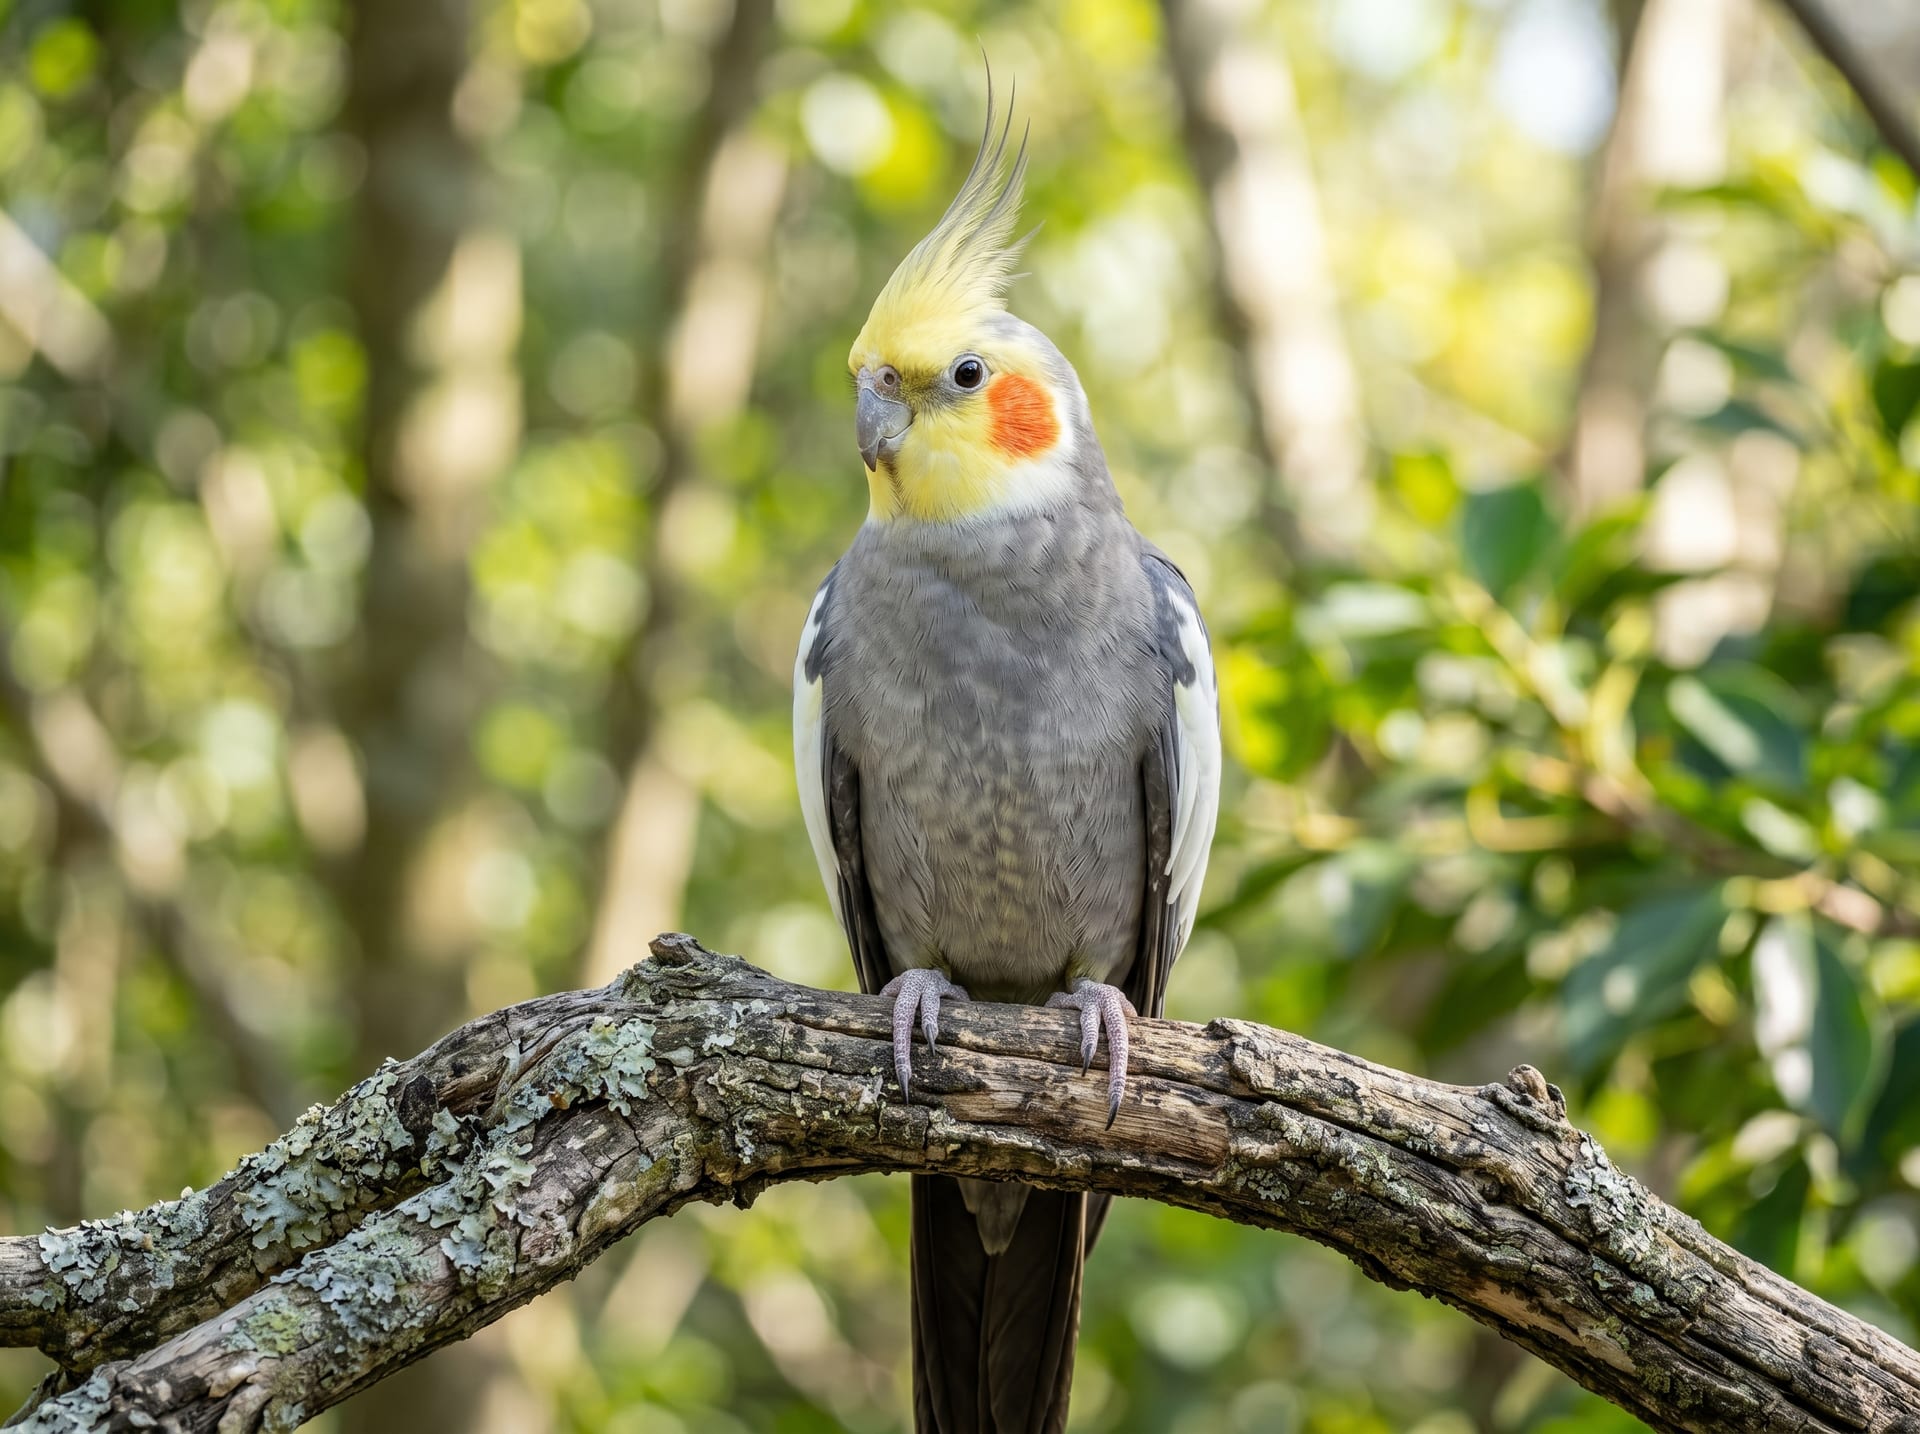
In the wild, birds' nails are kept at an appropriate length by being worn down against tree branches and the ground. However, in captive environments with many plastic perches and flat floor surfaces, nails can grow excessively long. Overgrown nails can catch on fabric or netting and cause injury, so regular nail trimming is necessary. However, since bird nails contain blood vessels, it is important to know the correct method before trimming.
Signs That Nail Trimming Is Needed
If you notice any of the following signs, it's time to trim the nails.
- Nails dig in excessively when perching on branches or fingers
- Nails catch on fabric or curtains and the bird cannot free itself
- Nails make a clicking sound against the floor when walking on flat surfaces
- Nails curve to the side or have become ingrown
- It feels more painful than before when the bird perches on your shoulder or arm
For small parakeets such as budgies and cockatiels, it is recommended to check nails approximately once every 1-2 months. However, since there is individual variation, use the signs listed above as your guide.
Understanding Nail Structure
Bird nails contain a part called the "quick" (blood vessel). If you cut through this blood vessel, it will bleed and cause severe pain to the bird.
- Nail tip: A keratin portion with no blood vessels. Cut only this part.
- Quick (blood vessel portion): The pink part on the root side of the nail. Visible when held up to light.
- Birds with white nails: The blood vessel is visible through the nail, making it easier to cut.
- Birds with black nails: The blood vessel is difficult to see, so cut carefully and gradually. If the cut surface in the center appears moist, the blood vessel is near.
Tools You Will Need
Prepare the tools needed for nail trimming in advance.
- Small bird nail clippers (guillotine or nipper type): Human nail clippers can be used as an alternative, but bird-specific clippers are easier to use.
- Styptic powder (Quick Stop): Quickly stops bleeding if it occurs. Flour or cornstarch can be used as a substitute.
- Towel: Used to restrain the bird. Choose a color that helps calm the bird.
- Light (pen light, etc.): Used to check the blood vessel in the nail by holding it up to light.
- File (nail file): Used to smooth the sharp edges after cutting.
Safe Nail Trimming Steps
Step 1: Restrain the bird
- Gently wrap the bird's body with a towel. Lightly fix the wings so they cannot move.
- While being careful not to constrict the neck, lightly hold the head with your thumb and forefinger.
- Do not press the chest tightly, as this would hinder the bird's breathing (birds cannot breathe when the chest is compressed).
- It is safer to work in pairs (one person restrains the bird while the other trims the nails).
Step 2: Confirm the position of the blood vessel
- Hold the nail up to light and confirm how far the pink blood vessel extends.
- A safe cutting line is at least 2mm away from the tip of the blood vessel.
Step 3: Cut the nail
- Cut only the tip portion that is sufficiently far from the blood vessel.
- Do not try to cut a lot at once; cut gradually in small amounts.
- Cutting at an angle that follows the curve of the nail will result in a natural shape.
- After cutting, use a file to smooth the edges and prevent snagging on fabric.
Step 4: Give a reward
- After trimming is complete, immediately return the bird to its cage and give it a favorite treat.
- Praise the bird and help it relax.
- Giving a reward after nail trimming can reduce stress for future trimmings.
What to Do If Bleeding Occurs
If you accidentally cut the blood vessel and bleeding occurs, remain calm and follow these steps.
- Apply styptic powder (Quick Stop) to the bleeding area: Press for a few seconds to stop the bleeding.
- If styptic powder is not available, use flour or cornstarch: Apply generously to the bleeding area and press lightly.
- Apply pressure with tissue or gauze: Press lightly and wait for 1-2 minutes.
- Observe the bird after stopping the bleeding: Once bleeding stops, return it to its cage and keep it calm.
- Seek veterinary care if bleeding does not stop: If bleeding continues for more than 5 minutes, seek immediate veterinary attention.
Remember that small birds have small bodies, so even a small amount of bleeding can have a significant impact. Always keep styptic powder on hand so you can remain calm if an emergency occurs.
If Home Nail Trimming Is Difficult
If home nail trimming is difficult due to the bird struggling, not being able to restrain it, or not knowing the position of the blood vessel, do not force it and leave it to a professional.
- Veterinary clinics that treat birds: Many hospitals allow visits for nail trimming only. The cost is approximately 500-1,500 yen.
- Specialty bird shops: Some stores offer nail trimming services.
- Reducing trimming frequency: Using natural wood perches or sand perches allows nails to wear down naturally.
Tips for Naturally Reducing Nail Growth
It is also important to optimize the cage environment to reduce the frequency of nail trimming. Using natural wood perches (with uneven surfaces and non-uniform diameter) allows the bird's nails to naturally wear down each time it lands. Cement perches and sand perches also promote nail wear, but they place significant stress on the feet, so if using them, install them only in part of the cage and always provide natural wood perches as well. Placing a sand bath container on the floor also helps with natural nail wear. Some owners use reptile driftwood as perches, but confirm that it is not a tree species harmful to birds before use. Safe wood types include apple, cherry, eucalyptus, and willow. Avoid coniferous trees such as cedar and cypress, as their volatile compounds may be harmful to birds. The ideal perch diameter is one where the bird's feet do not completely wrap around it. Mixing thick and thin branches instead of using only one thickness provides foot exercise and helps maintain health.
On BreederDirect, you can ask the breeder of your bird about nail trimming tips and the appropriate frequency. Especially for those keeping birds for the first time, learning the method directly from the breeder will allow you to approach nail trimming with confidence.