Axolotl Breeding Guide | Spawning, Hatching, and Proper Rearing of Larvae
A complete guide to successful axolotl breeding. Detailed explanation of spawning induction, fertilized egg management, hatching, and larval rearing steps.
Key Takeaways
A complete guide to successful axolotl breeding. Detailed explanation of spawning induction, fertilized egg management, hatching, and larval rearing steps.
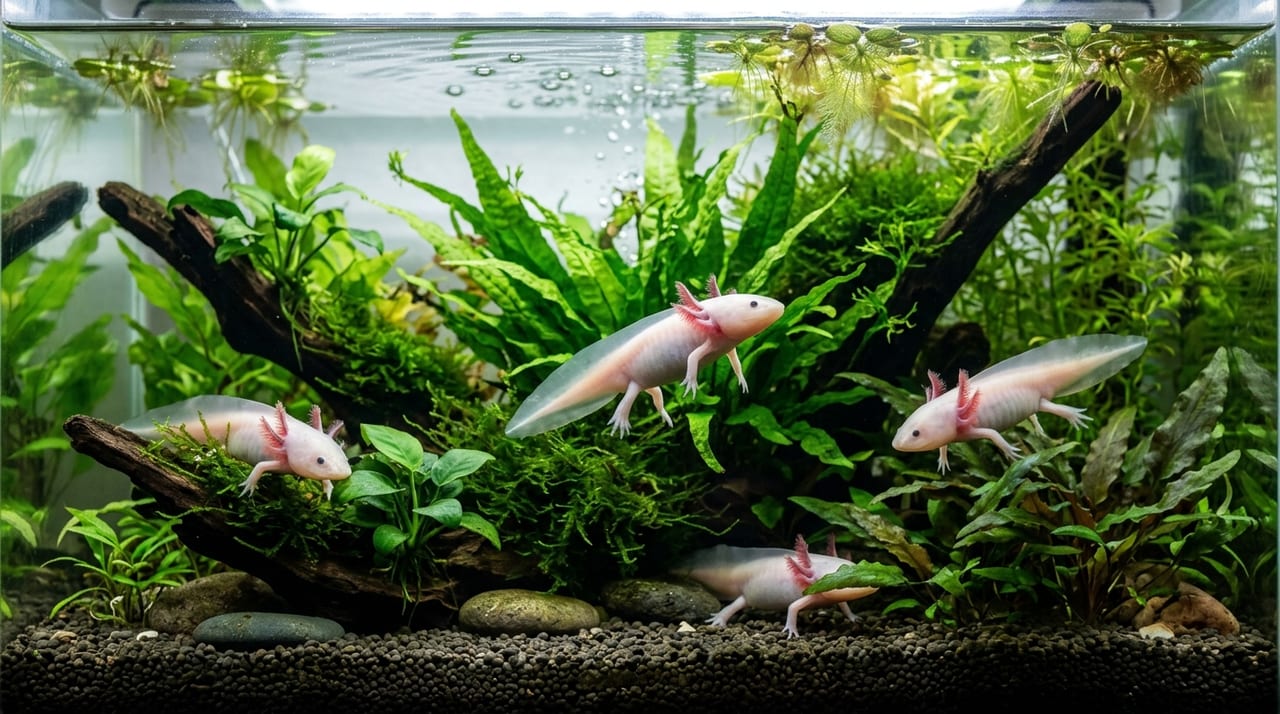
The axolotl (Mexican salamander / Ambystoma mexicanum) is one of the amphibians most amenable to breeding attempts. With proper environment and management, you can observe the complete process from spawning to juvenile independence in a home aquarium. This article explains the fundamental knowledge you should understand before attempting breeding, as well as practical procedures from setup through to when juveniles become independent feeders.
Suitable Individuals and Tank Environment for Breeding
Select males and females for breeding with body length of 18–20 cm or greater, and age of approximately 1.5–2 years post-hatching. Individuals that are too young are insufficiently mature, and unfertilized eggs will predominate.
The distinction between males and females is straightforward.
| Sex | Identifying Features |
|---|---|
| Male | The area around the genital opening (cloaca) is notably swollen, especially during breeding season |
| Female | The belly is rounded, and becomes particularly distended before spawning |
Key points for preparing the breeding environment are as follows:
- Provide a tank of 60 cm or larger, and maintain one pair or one female with one male. In group settings, the risk of egg consumption after spawning increases substantially, so ideally prepare a separate spawning tank dedicated to breeding
- Lower the water temperature to 12–16°C to induce spawning — this is the most critical breeding trigger. Gradually reduce from normal husbandry temperature (18–20°C) and maintain this range for 2–3 weeks, then gradually raise it again to promote reproductive conditioning
- Maintain a photoperiod of 10–12 hours of light daily to simulate spring conditions
Spawning Induction and Pairing
The sequence for spawning is as follows:
- Gradually raise the water temperature at a pace of 1–2°C per day
- As the temperature approaches 16°C, the male becomes active and begins depositing spermatophores (gelatinous packets of sperm) on substrate and driftwood
- The female picks up these spermatophores with her cloaca, completing internal fertilization
- Once mating behavior is confirmed, spawning begins the following day. The spawn pattern is scattered — the female deposits eggs singly on driftwood, aquatic plants, substrate, and other surfaces. Typical clutch size is 100–500 eggs per spawning period
- Once spawning is confirmed, promptly move the male to a separate tank, then move the female to another container to await completion of spawning, or transfer the driftwood bearing eggs directly to the hatching tank. This prevents egg predation by the parents
Management and Hatching of Fertilized Eggs
Fertilized eggs are enclosed in a transparent to milky-white gelatinous membrane. As development proceeds, black dots (embryos) become visible inside. Unfertilized eggs become opaque and are prone to fungal growth; remove them with a pipette as soon as identified.
Maintain the incubation tank at 14–18°C. Note that higher temperatures (22°C or above) accelerate development and increase the incidence of deformities. Use gentle aeration to maintain water circulation and oxygen concentration. A sponge filter is appropriate to prevent eggs from being drawn into the intake of a standard filter.
Days to hatching depend on water temperature. Guidelines are as follows:
| Water Temperature | Days to Hatching (approx.) |
|---|---|
| 14°C | ~3 weeks |
| 18°C | ~2 weeks |
Immediately after hatching, larvae are approximately 1.5–2 cm in body length and spend the first 2–3 days absorbing their yolk sac. No feeding is necessary during this period.
Larvae Feeding and Rearing Management
Once the yolk is depleted, larvae begin to feed independently. The ideal first food is brine shrimp nauplii. Newly hatched brine shrimp are appropriately sized for larval mouths and their movement stimulates feeding response. Offer freshly hatched brine shrimp 2–3 times daily; remove uneaten food with a pipette to prevent water quality deterioration.
After about one week, when larvae reach 3–4 cm in body length, finely chopped frozen bloodworms or live tubifex can be introduced. Since larvae are cannibalistic, always separate individuals with substantial size differences. Predation risk increases significantly when size difference exceeds 2-fold.
Perform water changes daily or every two days at 30–50% volume to maintain low ammonia concentration. During the larval period, filter bacteria are sparse and ammonia accumulates readily, so even a basic sponge filter is sufficient; however, temperature and water quality management take absolute priority.
Color Mutations (Morphs): Genetics and Notes
Axolotls exhibit diverse morphs including white albino, gold, marble, and wild-type. Crossing albinos produces albino offspring at high probability, though these tend to have poor vision. Wild-type (dark brown) shows high genetic diversity and is generally believed to produce healthier, more robust individuals.
All axolotls in commercial circulation within Japan are captive-bred for the pet market. They are listed under CITES Appendix II; however, commercial captive-bred animals may be traded with appropriate import/export documentation. If you intend to sell as a breeder, registration as a Class I animal handler under the Act on Welfare and Management of Animals is required.
Summary
Axolotl breeding centers on four core steps: ①lower temperature to mimic winter→②raise temperature to simulate spring→③separate parents immediately after spawning→④feed larvae with brine shrimp. With attention to cannibalism prevention and ammonia management, even beginners can aim for dozens or more juveniles reaching independence. After successful breeding, it is important to pass healthy individuals to their next owners as a responsible breeder.