Corn Snake Breeding Guide | From Cooling to Mating, Egg-Laying, and Hatching
Explains the corn snake breeding process. Detailed guide to cooling methods, pairing procedures, nest preparation, egg management, and post-hatching juvenile care.
Key Takeaways
Explains the corn snake breeding process. Detailed guide to cooling methods, pairing procedures, nest preparation, egg management, and post-hatching juvenile care.
Related Species
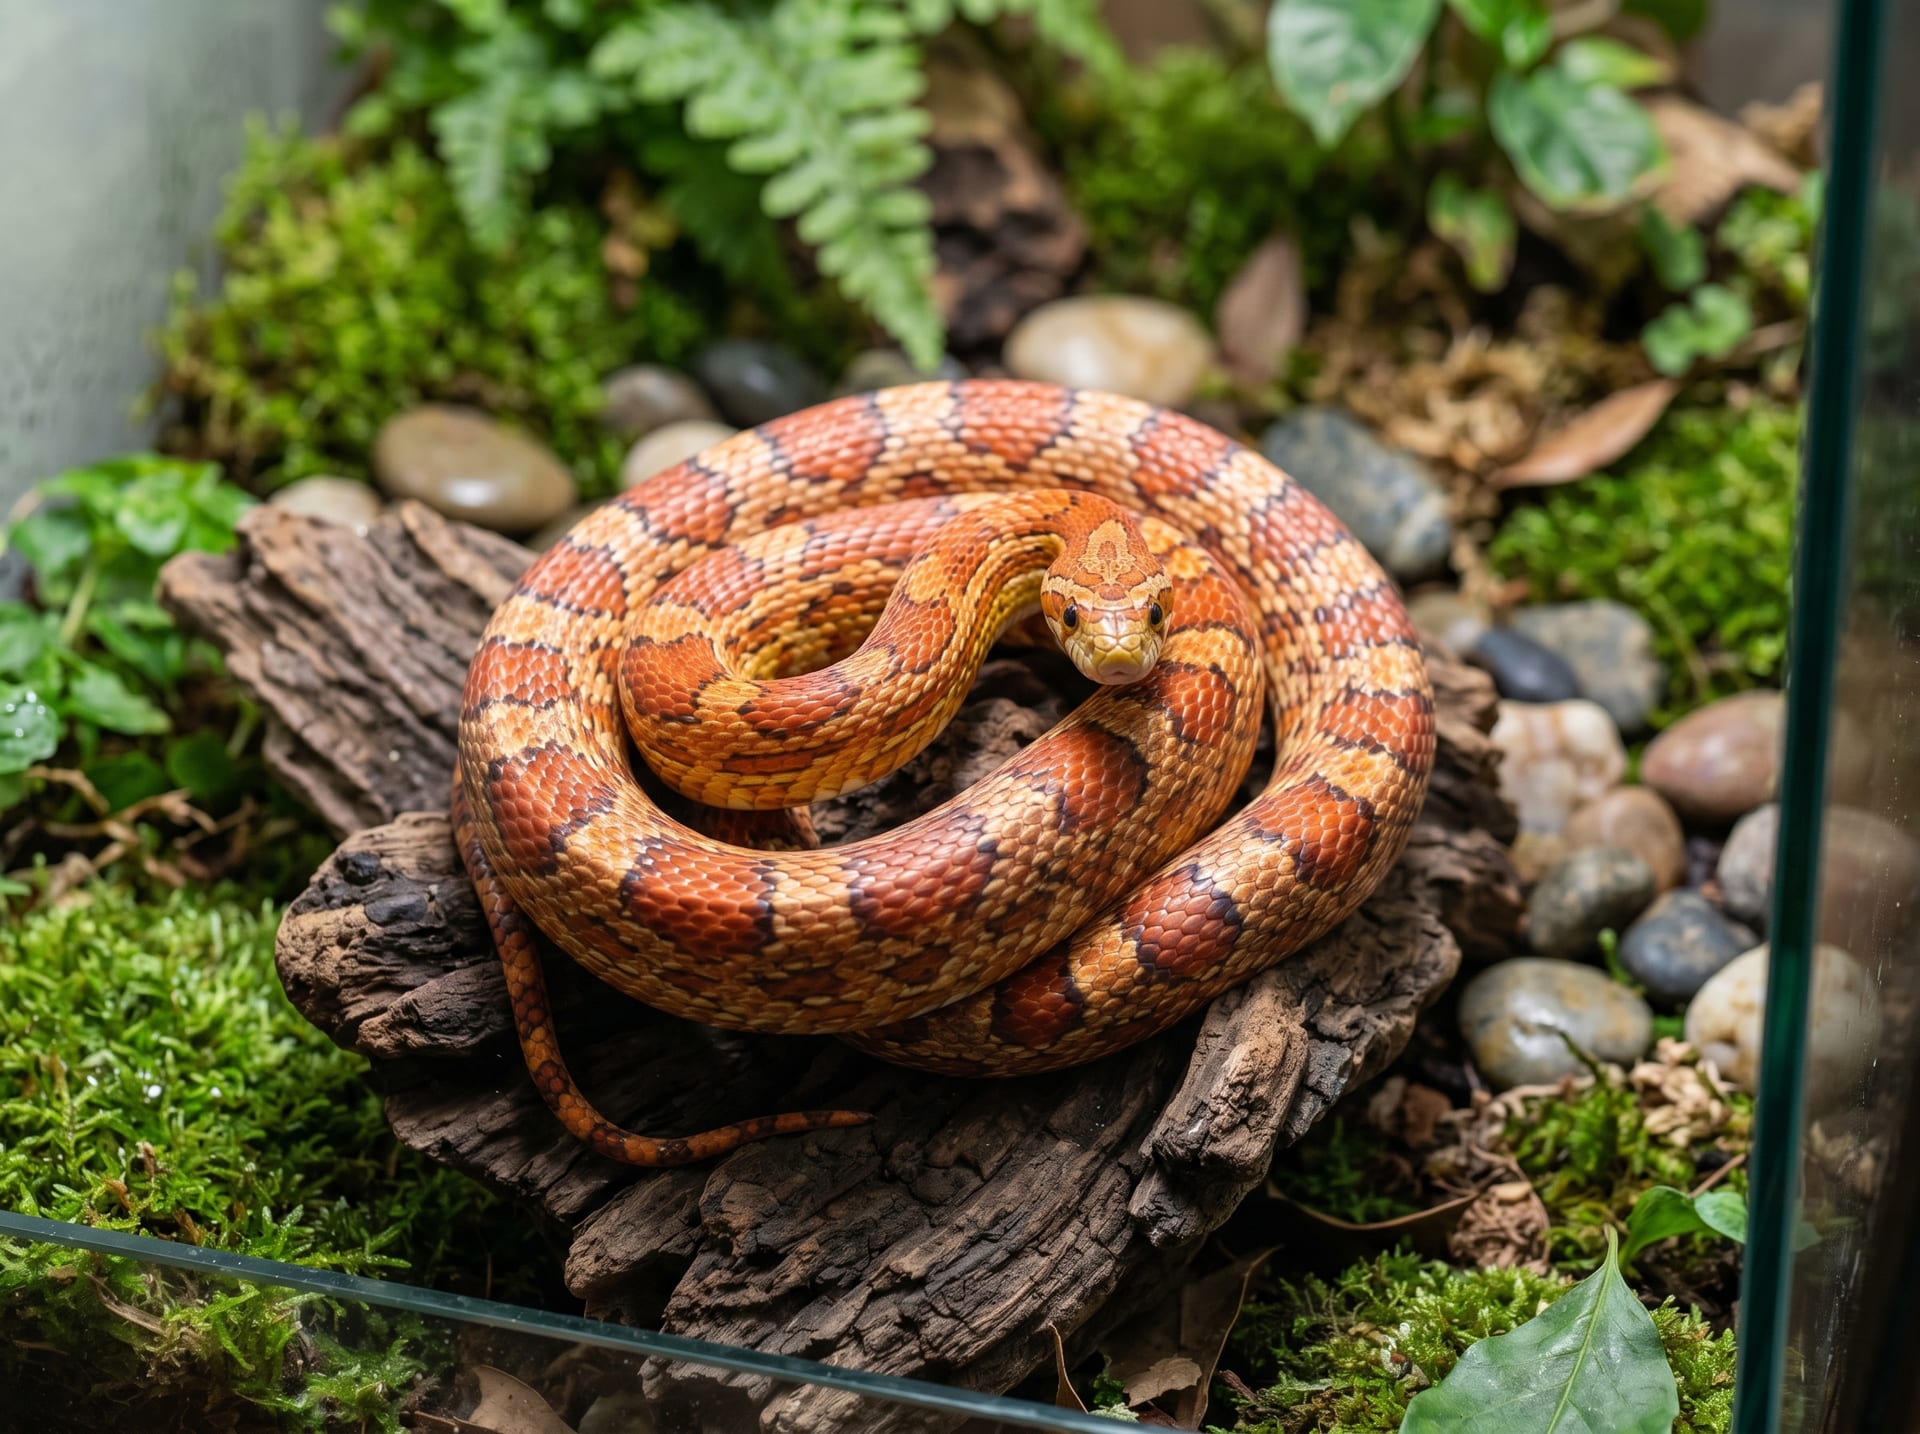
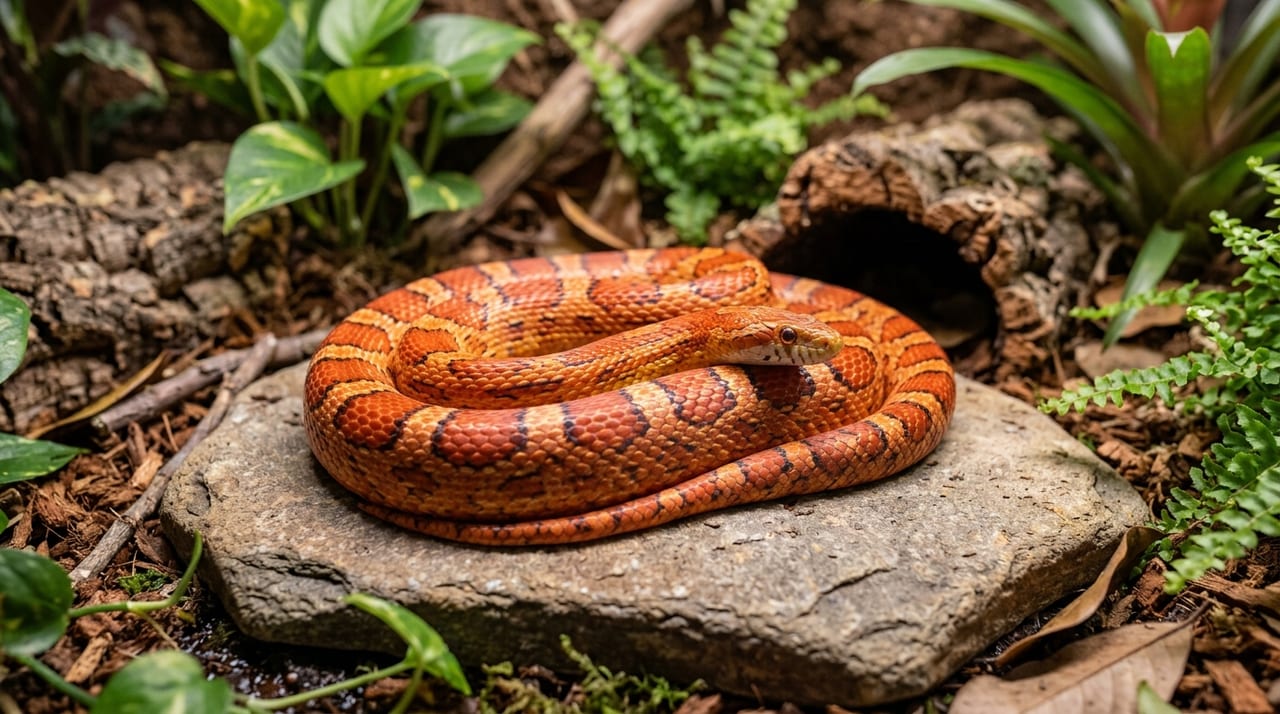
The corn snake (scientific name: Pantherophis guttatus) is popular even among snake beginners due to its docile temperament and ease of care. Breeding is also relatively straightforward, and amateur breeders can achieve success with proper preparation and procedures. Corn snakes exhibit a wealth of color variations (morphs), and the enjoyment of creating unique morph combinations is one of the major attractions of breeding. This article provides a complete guide to successful corn snake breeding.
Preparing Individuals for Breeding
Individuals used for breeding must first be healthy and have sufficient body weight. Generally, females should ideally be adult individuals weighing at least 200–250 grams or more. Individuals that are too young or females with insufficient body weight should not be used for breeding, as egg-laying can cause significant depletion of energy reserves and may result in health issues.
Males should be mature individuals at least 1 year old (ideally 2 years or older). While corn snakes reach sexual maturity within 1–2 years after birth, using undersized individuals for breeding places significant stress on the body. In the autumn before breeding (around September–October), provide sufficient feeding to establish proper nutritional condition. Since feeding is discontinued during the overwintering (cooling) period, building up adequate body reserves beforehand is essential.
Implementing Cooling (Winter Dormancy Treatment)
Cooling is the most crucial step in corn snake breeding. This is a procedure that replicates the cold winter environment found in nature and is an essential process for triggering the breeding cycle. While mating and egg-laying can occur without cooling, the success rate is low and infertile eggs are more likely to result.
The cooling implementation procedure is as follows.
- Beginning around October–November, gradually reduce feeding frequency, allowing approximately 2 weeks after the final feeding for complete digestion (if food remains in the stomach during cooling, there is a risk of decomposition and death).
- Gradually lower the temperature, eventually maintaining a temperature of approximately 10–15°C (in a dedicated cooling space, refrigerator vegetable drawer, etc.) for 60–90 days. Water should be supplied continuously throughout the cooling period. During this time, activity nearly ceases and metabolism becomes reduced.
- After cooling ends (around February–March), gradually return the temperature to normal and resume feeding.
Implementing Pairing
Begin pairing after cooling ends, once the temperature has returned to normal and both individuals have accepted feeding several times. Generally, 2–4 weeks after cooling ends is the guideline. The typical pairing method is to place the male in the female's enclosure; the reverse can result in the female becoming aggressive toward the male, so caution is needed.
Mating behavior can be confirmed by the male pressing his jaw against the female's back (chin rubbing) while intertwining his body and bringing their cloaca into contact. Mating lasts from several minutes to several hours. During the breeding season, repeating pairing 1–2 times per week over several weeks increases the probability of fertilization. After pairing, remove the male from the female's enclosure and keep them separately. Following mating, provide both individuals with adequate feeding to promote recovery of body reserves.
Preparing the Nesting Box and Egg-Laying Management
Approximately 30–45 days pass between mating and egg-laying. As egg-laying approaches, the female's appetite decreases and her abdomen becomes noticeably swollen. During this period, prepare the nesting box. The nesting box consists of a sealable container such as a storage tub (with an entrance hole cut in the lid) filled with moistened vermiculite or sphagnum moss. Maintain humidity at approximately 70–80%.
When the nesting box is placed in the enclosure, the female will lay her eggs in it. Corn snakes typically produce approximately 10–30 eggs per clutch (per egg-laying event). Once egg-laying is confirmed, promptly remove the eggs (however, maintain the orientation of freshly laid eggs), and begin incubation management in an incubator.
Egg Incubation Management
It is crucial not to change the orientation (top and bottom) of the eggs as laid. Changing orientation may cause the embryo to suffocate and die. When removing eggs, marking the top with a marker or similar makes management easier.
Incubation conditions are as follows.
| Item | Condition |
|---|---|
| Temperature | 27–28°C |
| Humidity | Approximately 80–90% |
Use a commercially available reptile incubator, or a homemade cooler box with a heater can also be substituted. Eggs are placed on moistened vermiculite (mixed with water at a 1:1 weight ratio).
The incubation period is approximately 55–65 days. Healthy eggs increase in size over time (due to water absorption). Remove eggs with mold before infection spreads, but take care to minimize impact on adjacent healthy eggs. When a slit (pipping) appears on the egg's surface just before hatching, this is a sign of imminent hatching.
Post-Hatching Juvenile Care
It is important to refrain from handling hatchlings until they have completely emerged from the egg. Hatchlings may still be absorbing yolk for several hours to approximately one day after hatching. Even after they have fully emerged, refrain from handling for 1–2 days and allow them to settle in a quiet environment.
The first feeding of hatchlings should occur after their first shed (approximately 7–10 days after hatching). Offer a pink mouse (newborn mouse) that matches the hatchling's body thickness as the initial prey. Corn snake hatchlings are generally easy to feed, though rare cases of feeding refusal do occur. In such cases, try techniques such as rubbing thawed mouse with quail egg yolk (yolk washing). Manage hatchlings individually in storage containers or similar after hatching, and record regular shedding and feeding status. Do not forget to record morph information and use it for future breeding plans.