Reptile Hatchling Care Guide for the First Week | Proper Care and Precautions from Hatching to First Feeding
A comprehensive guide to managing newly hatched reptiles (hatchlings). Introduces species-specific knowledge on environmental setup, shedding management, stress reduction, and proper feeding timing from hatching to first feeding.
Key Takeaways
A comprehensive guide to managing newly hatched reptiles (hatchlings). Introduces species-specific knowledge on environmental setup, shedding management, stress reduction, and proper feeding timing from hatching to first feeding.
Related Species
Why the Hatchling Stage Is Most Critical
Newly hatched reptiles (the hatchling stage) are the most delicate and critical period throughout the entire duration of care. In the days immediately following hatching, the immune system does not yet function completely, and even slight changes in temperature, humidity, and stress directly impact mortality rates. Breeders and experienced keepers consistently say that "the first week after hatching requires the most careful attention."
If you can manage this period correctly, you open the path to healthy growth thereafter. Conversely, if you neglect proper care, you increase the risk of triggering problems that are difficult to recover from, such as first shedding failure, feeding refusal, infection, and dehydration.
Things to Check Right After Hatching
Check the Absorption Status of the Yolk Sac
Many hatchlings have remnants of the yolk sac remaining in their abdomen immediately after hatching. It can take several days for these to be fully absorbed into the body, and during this period you absolutely must not touch it. Forcibly pulling it can cause peritonitis and be fatal. Keep the hatchling in an incubator or similar environment with appropriate humidity and temperature until the yolk sac is completely absorbed.
Check Shedding Readiness
In many species, the first shed (first shed) occurs within a few days to two weeks after hatching. If the eyes appear bluish-white and cloudy, this is a sign of impending shedding. During this state, do not feed and instead increase humidity to support smooth shedding.
Environmental Setup for the First Week
Use a Small Enclosure
If you place a hatchling in a large enclosure, it becomes easily stressed from difficulty finding food. Initially, a small plastic container or dedicated hatchling enclosure (approximately 30×20cm) is sufficient. Gradually increase the enclosure size as the hatchling grows.
Temperature Settings
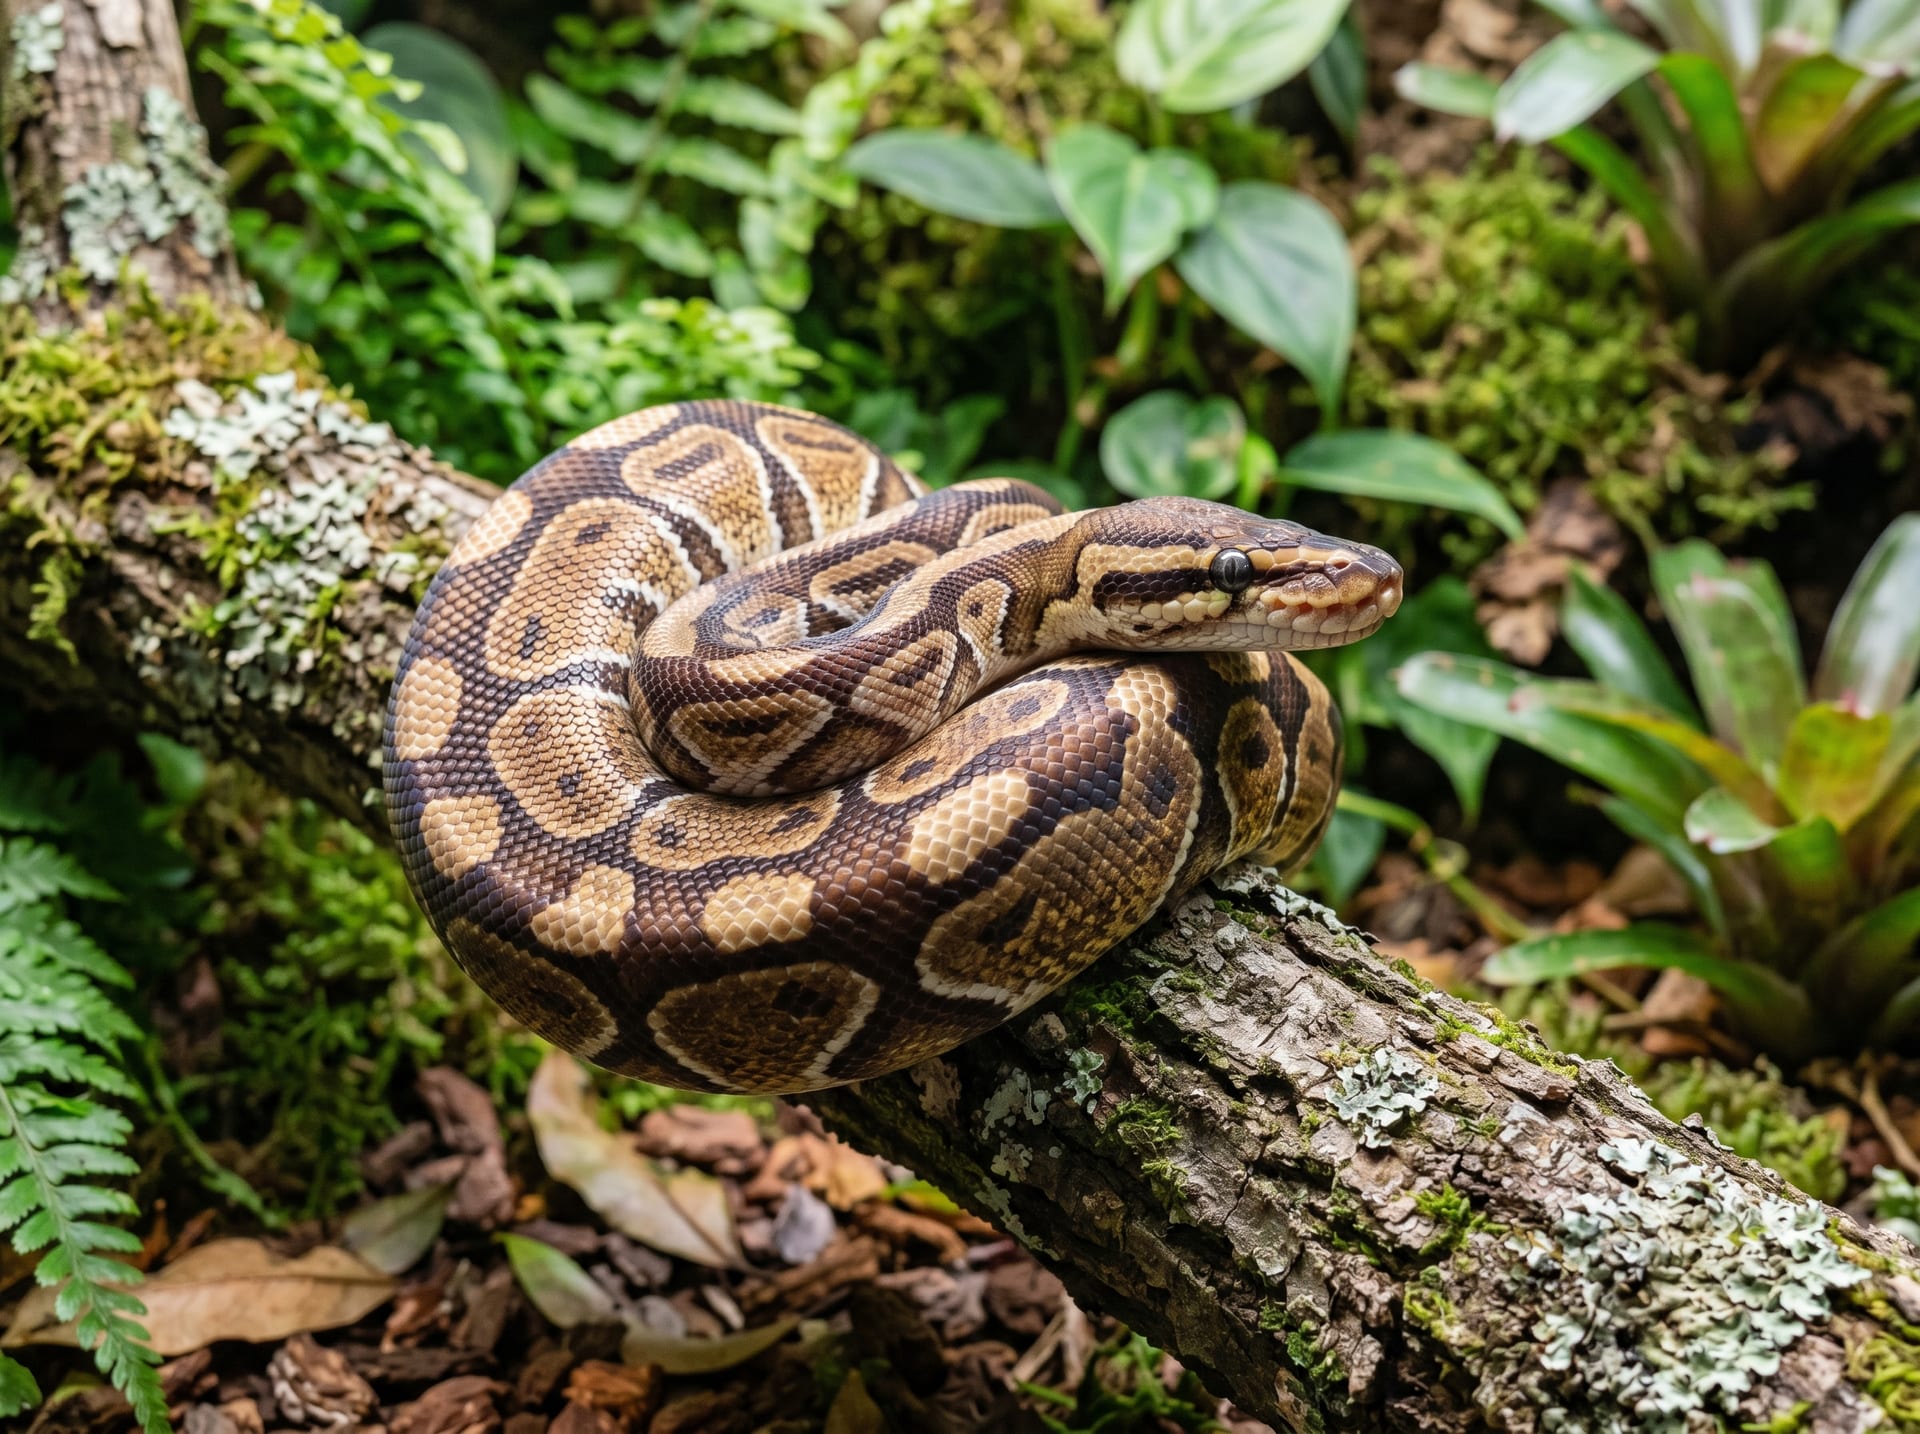
- Ball Python: Basking side 32–34°C, cool side 26–27°C
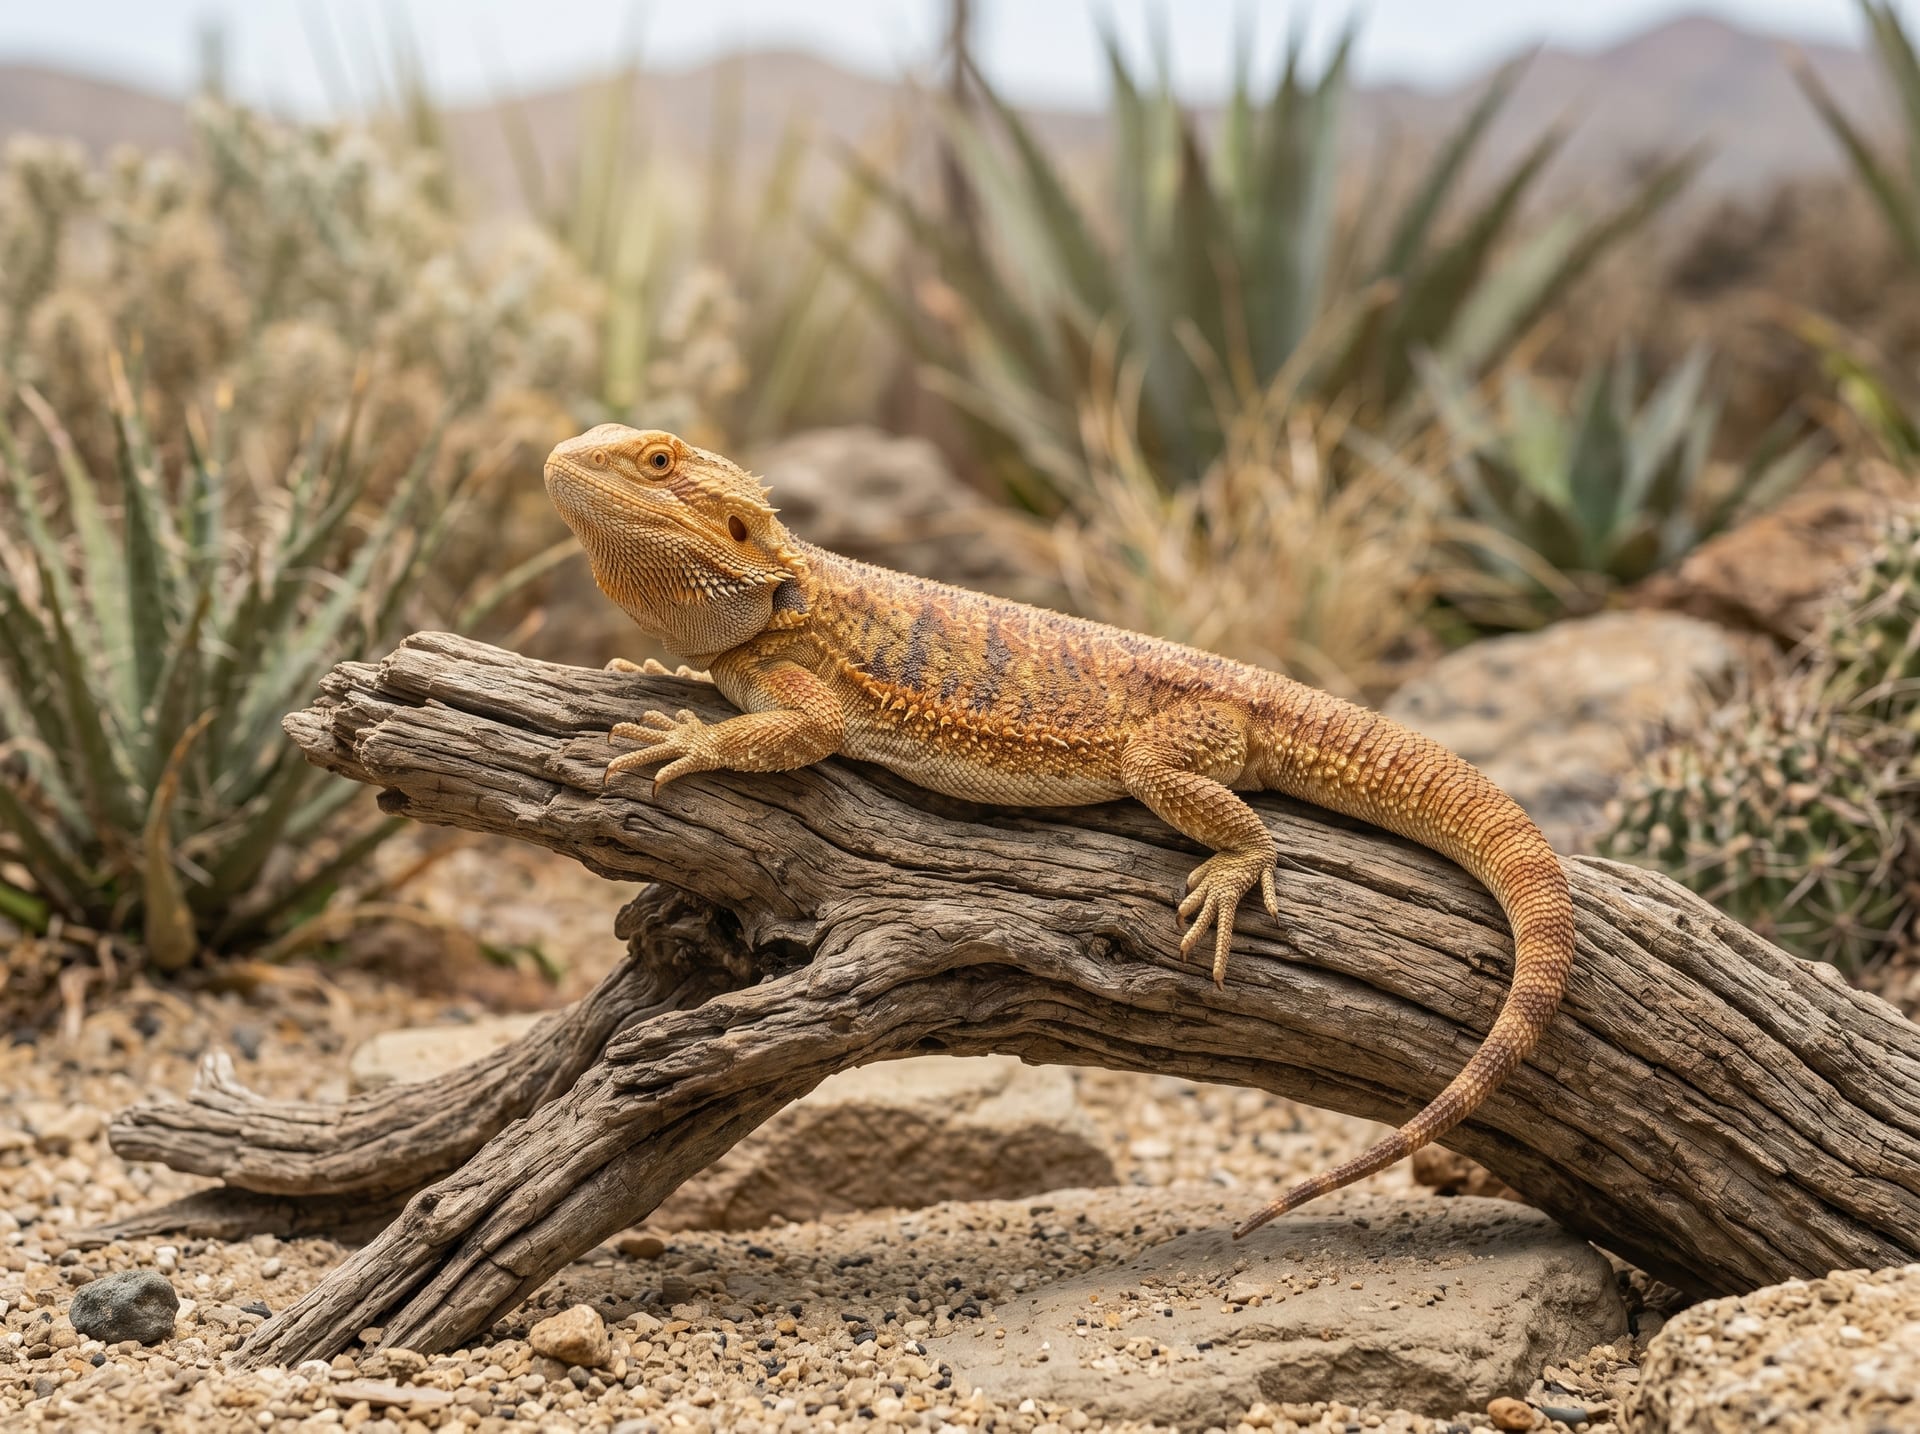
- Bearded Dragon: Basking side 40–42°C, cool side 25–27°C (hatchlings should be set slightly higher than adults)
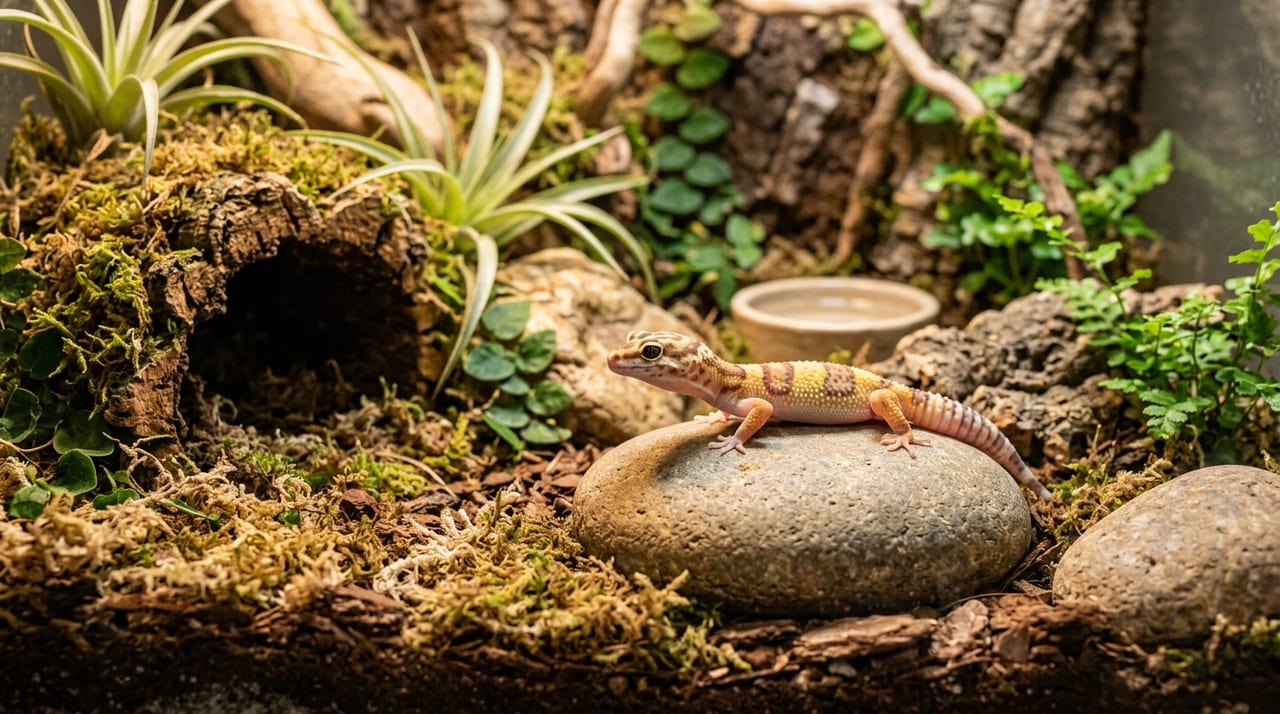
- Leopard Gecko: Warm zone 30–32°C, cool side 24–26°C
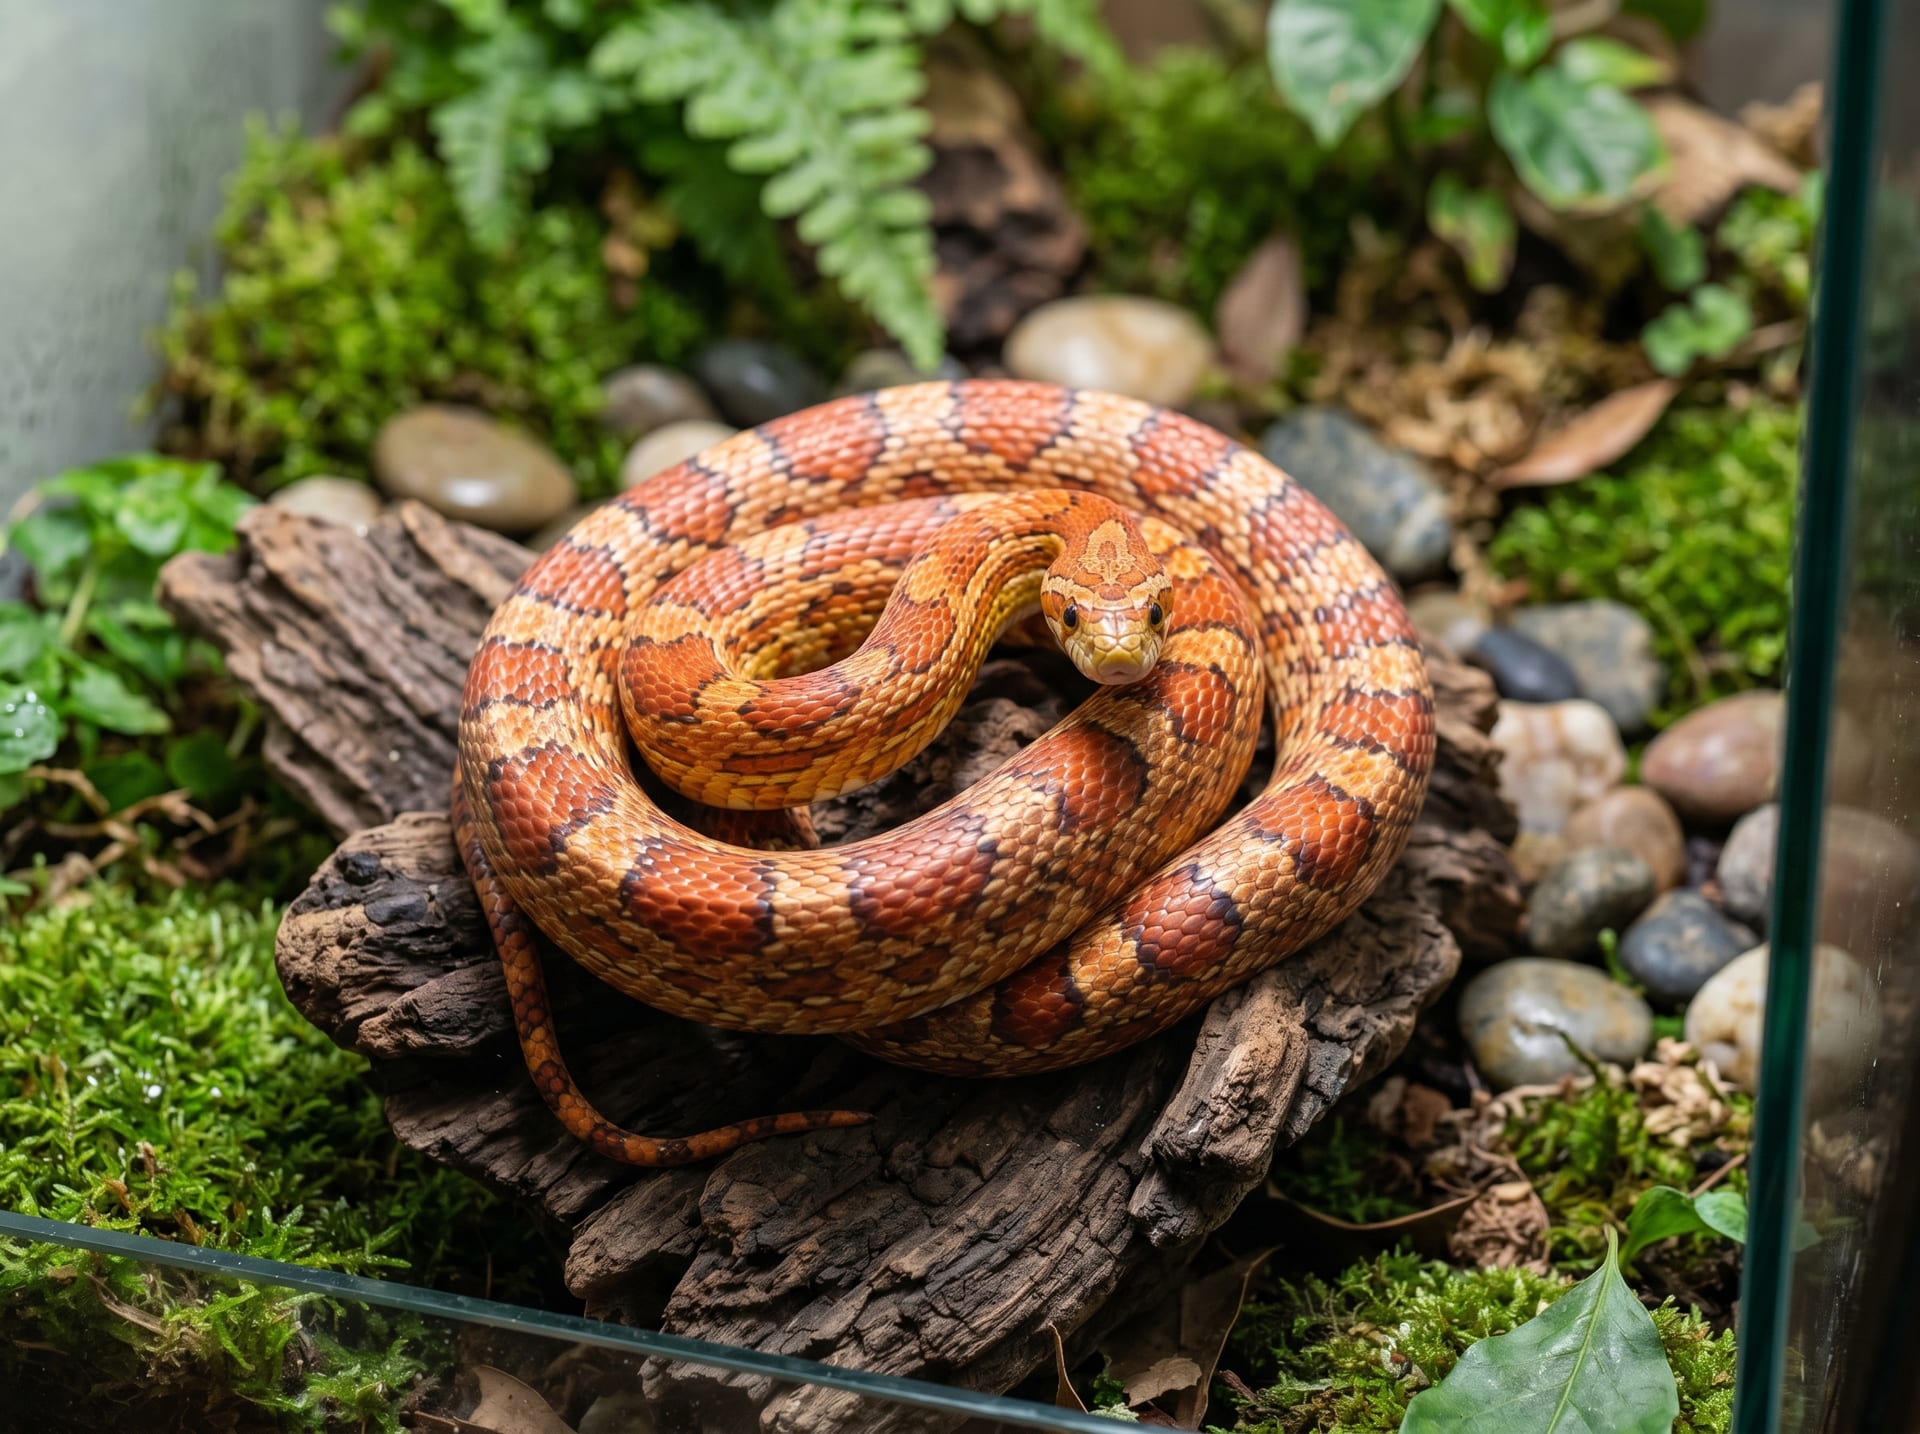
- Corn Snake: Warm zone 28–30°C, cool side 22–24°C
Hatchlings have small bodies and are especially sensitive to temperature changes. Monitor temperature even at night and ensure it does not fall below minimum levels.
Humidity and Hiding Spots
While maintaining appropriate humidity, always provide a shelter (hiding spot). Hatchlings gain a sense of security by hiding in a shelter. Providing a wet shelter also supports shedding.
Timing and Method of First Feeding
When to Give the First Food
The basic principle is to provide the first feeding only after the first shed (first shed) is complete. Feeding before the first shed increases the risk of digestive upset, vomiting, and feeding refusal. In most species, the first shed is complete within 7–14 days after hatching.
Species-Specific First Feeding Methods
Snakes (Ball Python, Corn Snake):
Offer appropriately-sized thawed frozen pink mice, moving them with tweezers. Immediately after hatching, "pink fuzzies" (frozen mice a few days old) are the appropriate size. The hatchling may refuse food for the first 1–2 attempts, but you can try again after about a week.
Lizards (Bearded Dragon, Blue-tongued Skink):
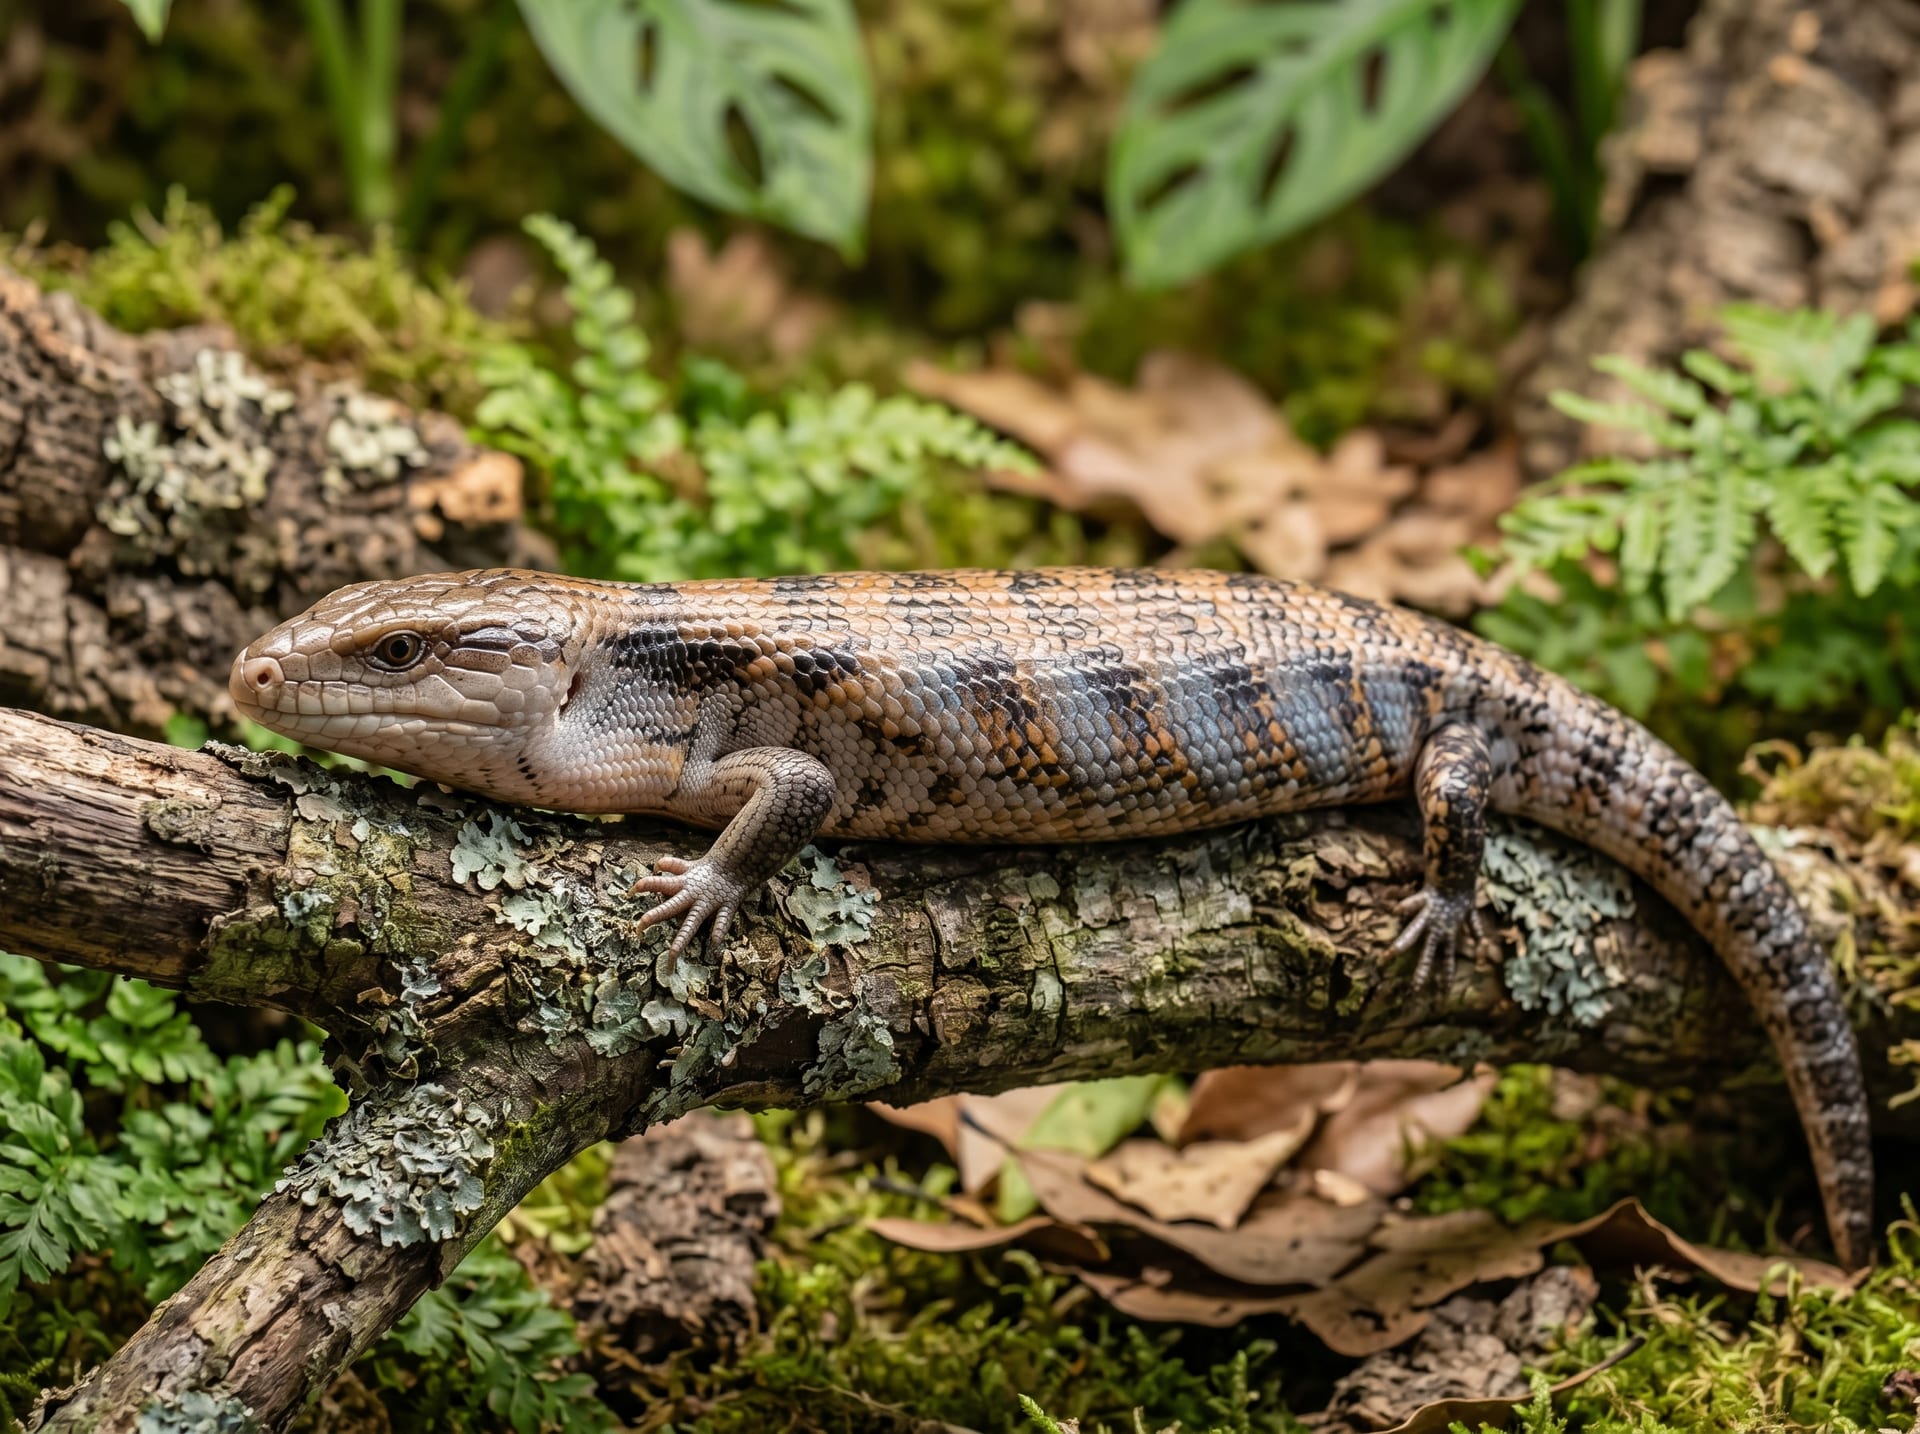
Combine finely chopped mustard greens or bok choy with small-sized crickets. For bearded dragon hatchlings, provide SS-sized crickets in quantities about the size of the hatchling's head per day.
Geckos (Leopard Gecko):
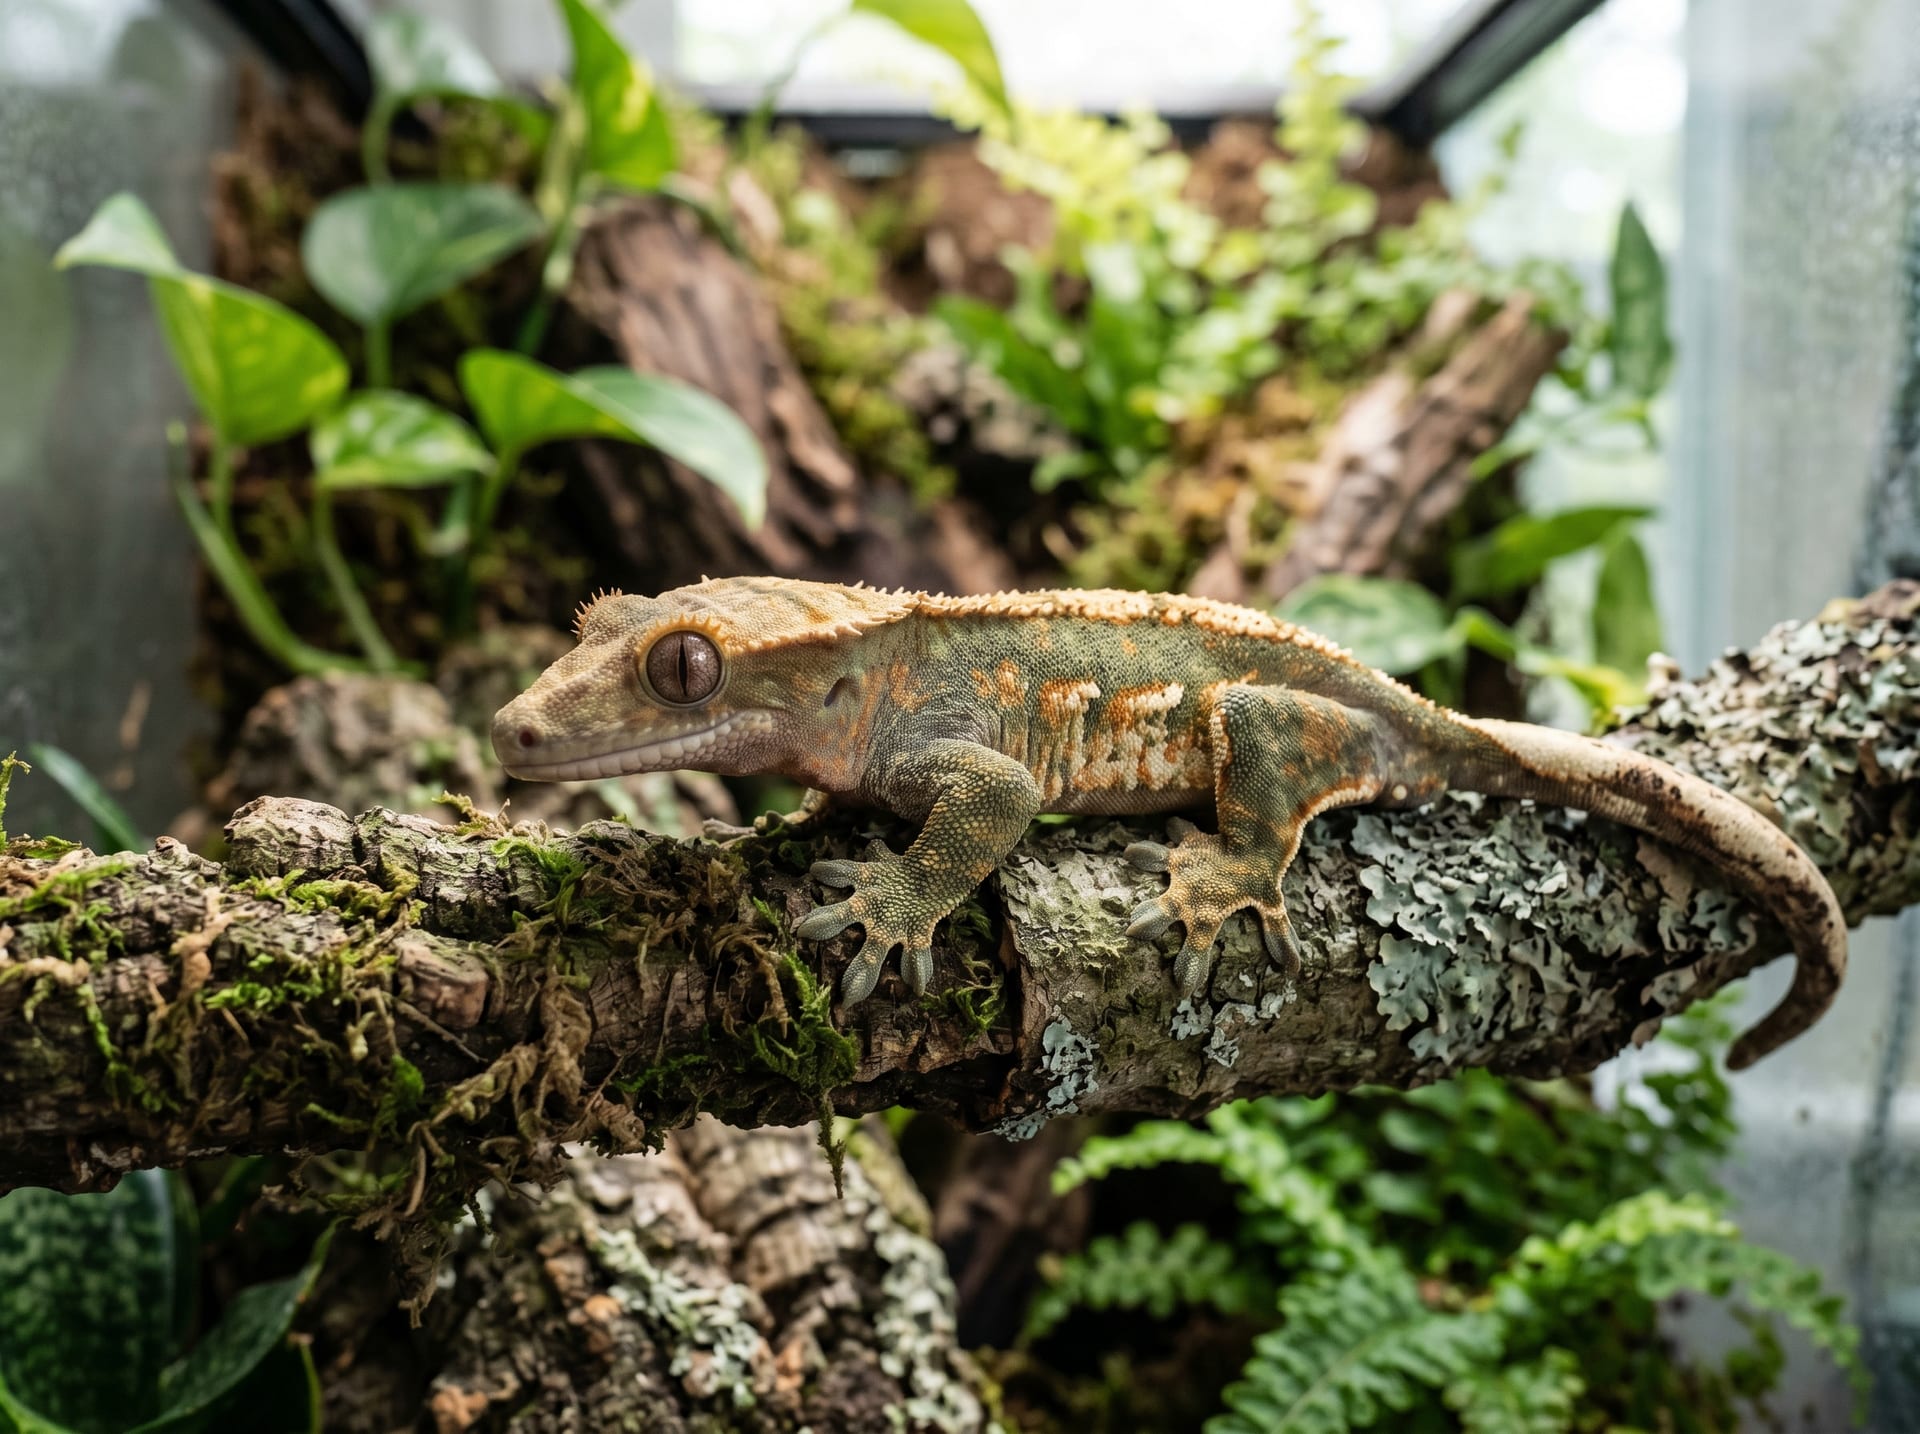
After the first shed, begin with 2–3 SS-sized crickets smaller than the hatchling's head. For crested geckos, start by having them lick crested gecko food such as Repashy or Pangea.
Common Mistakes During the Hatchling Stage
- Touching the hatchling while the yolk sac is still present
- Attempting forced feeding before the first shed
- Placing the hatchling in a large adult-sized enclosure
- Handling excessively and causing stress
- Causing shedding failure due to insufficient humidity
During the hatchling stage, the most important task is to "observe and monitor." Refraining from unnecessary interference, providing the right environment, and patiently waiting form the foundation of long-term health management.
Timing to Begin Calcium and Vitamin Supplementation
Beginning from the second feeding onward, start calcium supplementation. Dust feeder insects (crickets, dubia roaches, etc.) immediately before feeding to ensure excess calcium is ingested. Many keepers use a rotation method alternating between calcium supplements with vitamin D3 and calcium without D3. If using UVB lighting, calcium without D3 alone may be sufficient. Since excessive D3 intake can cause renal calcification, it is important to follow appropriate dosage amounts.
Beginning Weight Records
I strongly recommend beginning weight records from the hatchling stage. Record the hatchling's weight immediately after hatching as a baseline, and measure weekly to monitor growth rate. Declining weight is an early sign of dehydration, feeding refusal, or parasitic infection. A digital kitchen scale that measures in 1g increments is convenient; place the hatchling in a small plastic cup and use the tare function for accurate measurement. As a general guide, most hatchlings show a 20–30% weight gain within one month after hatching.
Managing Multiple Hatchlings
Even when multiple hatchlings emerge at the same time, the principle during the hatchling stage is to house them individually. Housing them together creates risks such as nutritional disparities from competition for food, cannibalism (particularly reported in snakes), and the spread of infection (if one is infected, all become infected). House each hatchling in a separate container, and always wash your hands before and after handling.
Signs of Transition from Hatchling to Juvenile
When the first shed is completed without issue, the hatchling demonstrates three or more consecutive instances of self-directed feeding, weight has increased 20% or more from hatching, and bowel movements are regular — when these conditions are all met, you can determine the hatchling has entered a stable phase. At this point, you can relax the intensive management of the hatchling stage and transition to standard juvenile care.