Saltwater Fish Breeder's Breeding Tank Design Guide | Building and Operating Spawning and Larval Rearing Systems
A guide for home-based breeders looking to breed and sell saltwater fish, explaining the design and operation of spawning tanks, larval rearing systems, and conditioning tanks for broodstock. Applications for species other than Ocellaris Clownfish are also covered.
Key Takeaways
A guide for home-based breeders looking to breed and sell saltwater fish, explaining the design and operation of spawning tanks, larval rearing systems, and conditioning tanks for broodstock. Applications for species other than Ocellaris Clownfish are also covered.
Related Species
Before Designing a Saltwater Fish Breeding System
To succeed in breeding saltwater fish, it is crucial to design separate systems: "a spawning tank that keeps broodstock reliably producing eggs" and "a larval rearing system that keeps fry alive." Most beginner breeders fail because they try to combine these in a single tank.
This article explains, step-by-step, how to design and operate a breeding system that a home-based breeder can realistically build. While the main focus is on Ocellaris Clownfish, Gobies, and Seahorses, many of the principles can be applied to other saltwater fish species.
Phase 1: Broodstock Conditioning Tank
Purpose and Design Philosophy
A conditioning tank is a dedicated tank designed to maintain broodstock in peak breeding condition. Unlike display tanks, aesthetics take a backseat to stimulating spawning and maintaining health.
Recommended Specifications and Equipment
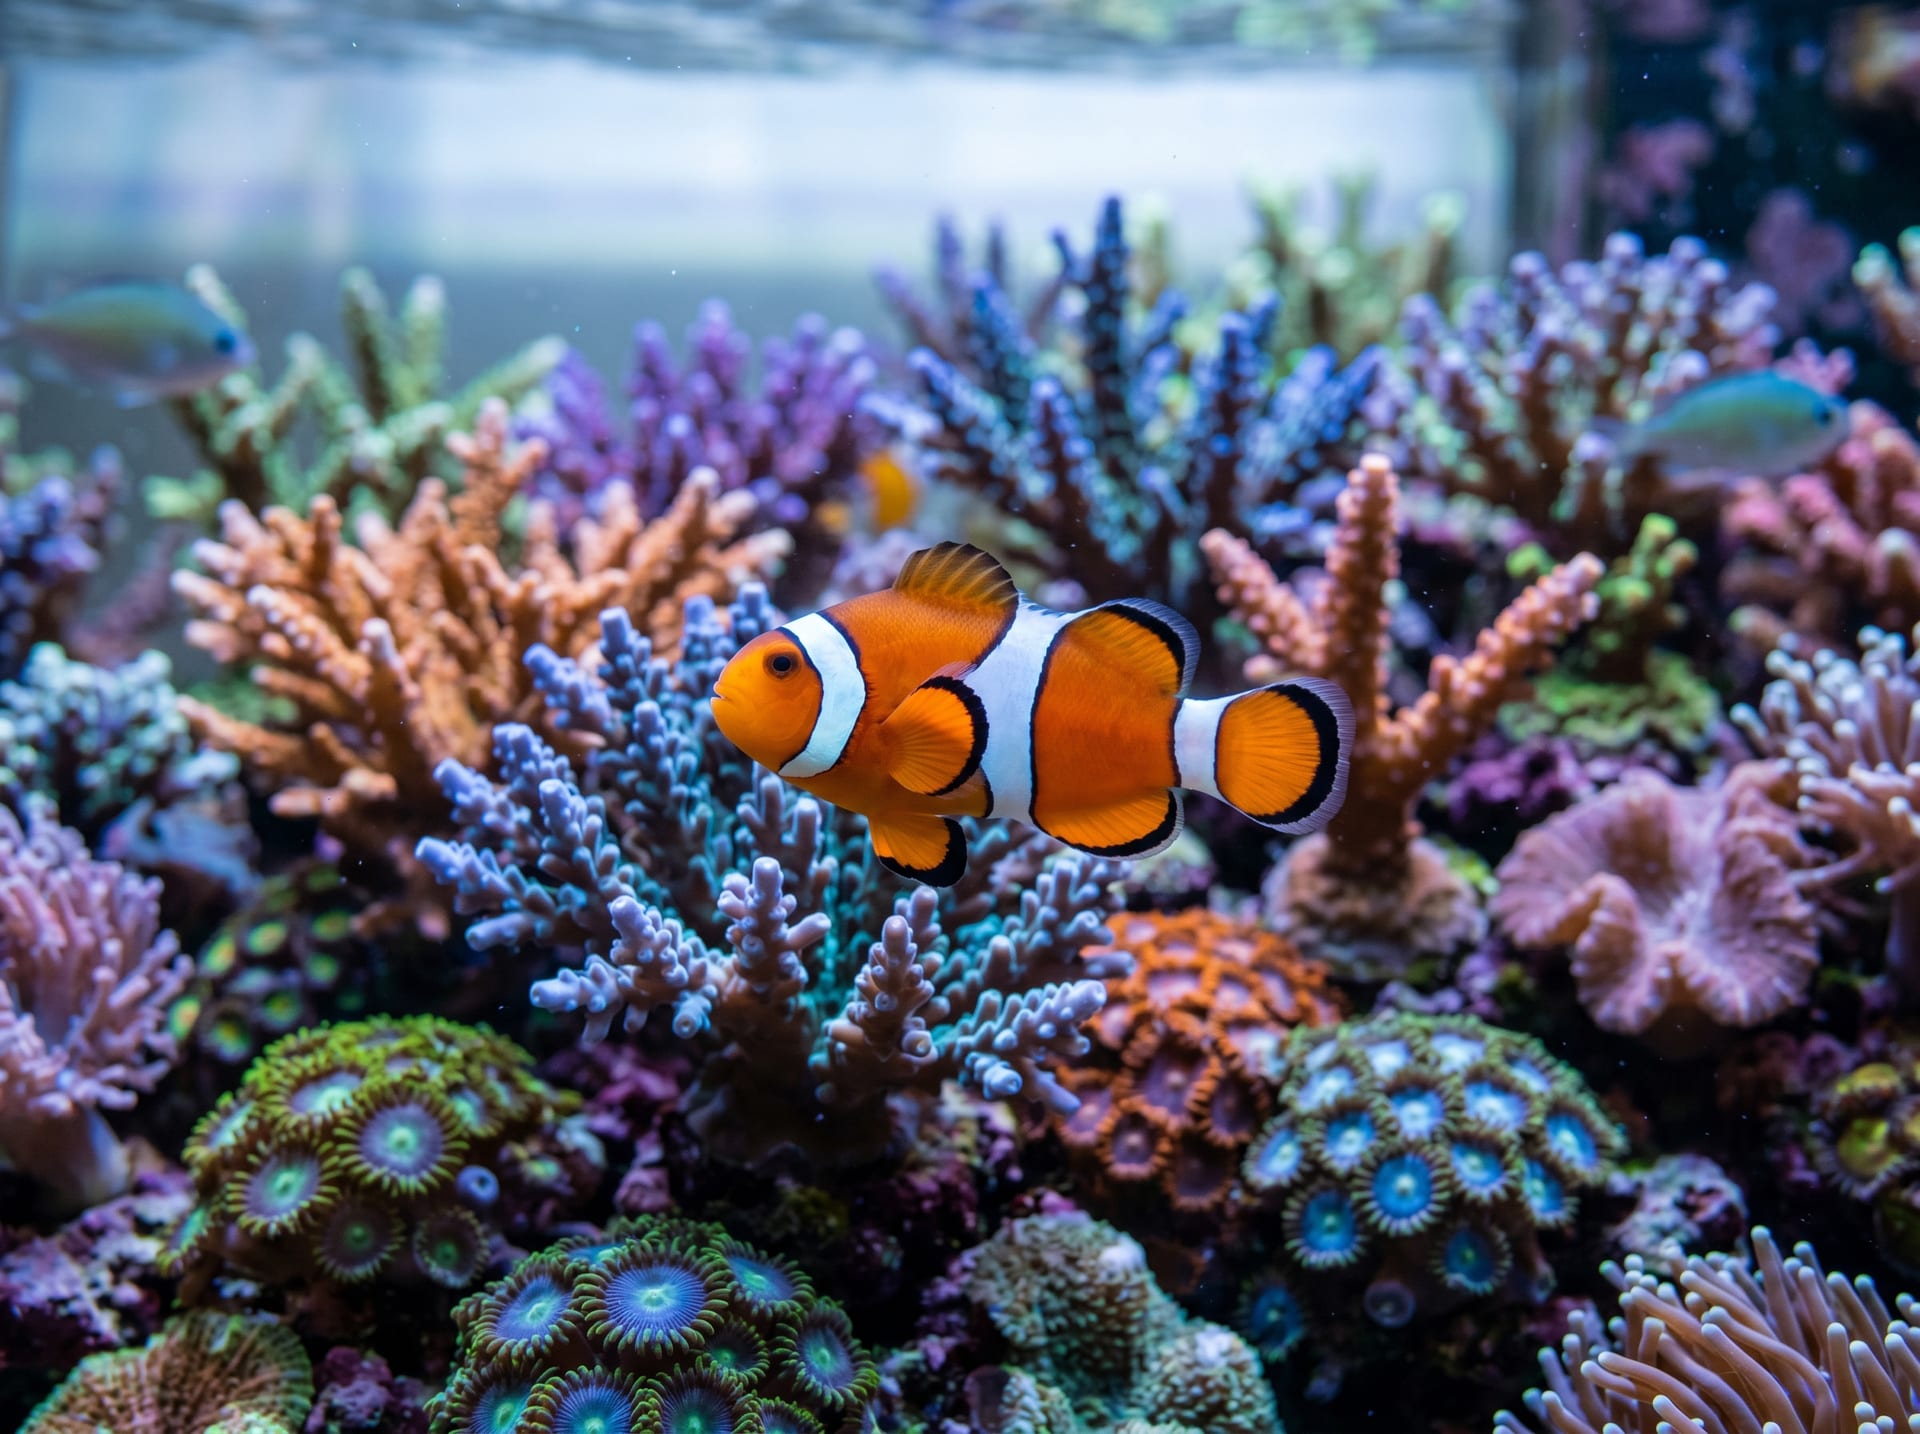
Tank Size: For a pair of Ocellaris Clownfish, a 60–90 cm tank is ideal. Tanks that are too large make it harder for the pair to settle on a spawning site.
Water Quality Management:
- Specific Gravity: 1.025–1.026
- Temperature: 26–27°C (maintain stability within ±0.5°C)
- pH: 8.2–8.3
- Nitrate: target below 10 ppm (increase water change frequency)
Lighting Schedule: Controlling photoperiod stabilizes the spawning cycle. The basic principle is to maintain a consistent 12-hour on, 12-hour off cycle. Automate this with a timer.
Spawning Substrate Installation: Ocellaris Clownfish spawn on flat rocks, ceramic pieces, or terracotta pot fragments. Installing artificial spawning tiles separate from live rock makes egg collection much easier.
Feeding and Conditioning
Breeding success largely depends on the nutritional status of the broodstock. Offer a varied diet combining the following, 2–3 times daily.
- Quality Pellets: Formula One, Ikan Netstu, etc. (protein and DHA-enhanced)
- Frozen Rotifers and Copepods: Promote gonad development
- Frozen Krill: Stimulate coloration and reproductive hormone secretion
- Monthly Fasting Days (1–2 times): Reset the digestive system
When spawning slows, temporarily increasing water change volume (30–50% of the tank volume for 3 consecutive days) can trigger spawning.
Phase 2: Spawning and Egg Collection/Transfer
Observing Spawning Signs
Ocellaris Clownfish spawning often occurs around full and new moons. 3–5 days before spawning, the broodstock will intensively clean the spawning site (site cleaning). Once you observe this sign, increase observation frequency to morning and evening.
Spawning typically occurs in the early morning to mid-morning, producing hundreds to over a thousand eggs.
Egg Handling
If moving the eggs (to manage hatch rate rather than leaving them with parents):
- Move the spawning tile to the larval rearing tank (within 24–48 hours of spawning)
- Place an airstone near the eggs to provide oxygen
- Match the water temperature to that of the spawning tank (sudden temperature changes increase losses)
If leaving eggs with parents (natural hatching): Hatching occurs 7–9 days after spawning (at 27°C) during the night. Newly hatched fry exhibit negative phototaxis (fleeing from light), so shining a flashlight on the water surface the night of hatching makes it easier to locate the fry.
Phase 3: Larval Rearing Tank
This is the most challenging phase of breeding. The survival rate of hatched fry is heavily dependent on this tank's design and management.
Tank Design Principles
Size: An ideal tank is 30–60 L, either circular or with rounded corners. Circular tanks minimize dead spots and prevent fry from being trapped against walls.
Water Flow: Extremely gentle flow is necessary. Water flow that is too strong exhausts fry. Keep aeration minimal (use a single airstone producing very fine bubbles), enough only to create surface movement.
Back and Side Treatment: Painting or lining the interior with green or black aids eye development in fry and improves visibility (transparent tanks make fry lose orientation).
Lighting: 24-hour lighting is recommended for the first 2 weeks. Light guides rotifers to the water surface, making them easier for fry to find. After week 3, transition to a standard 12-hour cycle.
Drainage and Substrate: Do not use substrate (detritus accumulation causes rapid water quality decline). Attach a fine mesh screen (150–200 μm) to the drain to prevent fry from being sucked in.
Water Quality Management
Daily 10–20% water changes are recommended for the larval tank. This is the key point; performing daily changes, while tedious, dramatically improves survival rates.
- Replacement water must always match the broodstock tank's specific gravity and temperature before adding
- Use a siphon or pipette to remove uneaten food and detritus from the bottom daily
- Perform water changes quietly to minimize stress to the fry
Feeding Schedule (Ocellaris Clownfish Fry Example)
| Age (days) | Food Type | Frequency |
|---|---|---|
| 1–7 | Rotifers only (enriched) | 3–4 times daily |
| 7–14 | Rotifers + copepod nauplii | 3–4 times daily |
| 14–21 | Rotifers + copepods + brine shrimp nauplii | 3–4 times daily |
| 21–30 | Brine shrimp + artificial food (small amount) | 2–3 times daily |
| 30+ | Transition to artificial food | 2–3 times daily |
Rotifer Addition Rate: Use 3–5 rotifers per mL of water in the larval tank as a guideline. Maintain 3,000–5,000 individuals per liter across the entire tank.
Phase 4: Fry Stabilization and Transition
Managing Metamorphosis
Ocellaris Clownfish undergo metamorphosis (transformation) approximately 14–21 days after hatching, transitioning from fry to juveniles. This period involves major bodily changes and is when they are most stressed.
Signs of metamorphosis include the body color becoming orange to white and stripe patterns emerging. During metamorphosis, reduce water change frequency slightly (to once daily) and minimize stress.
Transition to Juvenile Tank
After metamorphosis is complete, fry can be moved to a standard small saltwater tank (20–40 L). During the move, perform drip acclimation over 1–2 hours to prevent shock from rapid water quality changes.
System Configuration Every Breeder Should Know
Minimal Setup (1 Pair of Ocellaris Clownfish)
- Conditioning tank (60 cm) × 1
- Larval rearing containers (40 L round tanks) × 2–3 (for staggered hatching management)
- Rotifer culture containers (2 L) × 3
- Copepod culture container (10 L) × 1
- Phytoplankton culture bottles (1 L) × 2
Considerations When Scaling Up
When handling multiple pairs or species, you must choose between connecting all tanks to a common recirculating system (sump + large protein skimmer) or keeping each tank completely independent (isolated).
From a disease prevention standpoint, complete isolation is recommended for professional breeder facilities. Once Oodinium or bacterial infections take hold, a shared system risks total loss.
Summary—Expand Your Breeding System Gradually
The key to success is not aiming for a complete system all at once, but starting with a minimal setup and expanding gradually as you gain experience.
Once you can consistently hatch and rear fry from your first pair, you can double production by simply duplicating the same system in parallel.
On "BreederDirect," breeders selling bred fish and buyers connect directly, creating an environment where husbandry know-how is easily shared. We hope you'll use it as your first step toward becoming a breeder.