Complete Guide to Artificial Incubation and Hand-Feeding in Birds | Incubator Setup to Weaning: A Breeder's Practical Protocol
A comprehensive guide from a breeder's perspective covering humidity and temperature management for artificial incubation essential to parrot breeding, thermoregulation immediately after hatching, hand-feeding schedules, and weaning. Also covers common failure points and troubleshooting.
Key Takeaways
A comprehensive guide from a breeder's perspective covering humidity and temperature management for artificial incubation essential to parrot breeding, thermoregulation immediately after hatching, hand-feeding schedules, and weaning. Also covers common failure points and troubleshooting.
Related Species
What is Artificial Incubation and Hand-Feeding, and Why Are They Necessary?
In parrot breeding, "artificial incubation" and "hand-feeding" are specialized techniques that breeders cannot avoid. Artificial incubation becomes necessary in various situations: when parent birds abandon eggs, when you want to reliably raise chicks from individuals with poor parenting ability, or when you want to increase human contact early to improve hand-tameability.
In particular, breeding large macaws and parrots (macaws, amazons, cockatoos) involves a long period from hatching to fledging (8–16 weeks) with complex management. This guide provides a step-by-step practical protocol from artificial incubation through weaning.
Choosing and Setting Up an Incubator
Types of Incubators
Bird egg incubators come in two types: still-air (non-ventilated) and forced-air (ventilated). Forced-air incubators are recommended for parrot eggs because they maintain uniform temperature and humidity throughout the cabinet and also promote gas exchange.
Major manufacturers like Brinsea (UK) and Rcom (Korea) are widely used by bird breeders. Capacity should be chosen according to your needs, with 12–24 egg capacity being an easy-to-manage size for small-scale breeding.
Temperature and Humidity Settings
| Species | Recommended Temperature (Forced-Air) | Recommended Humidity (Early Period) | Recommended Humidity (Hatching) |
|---|---|---|---|
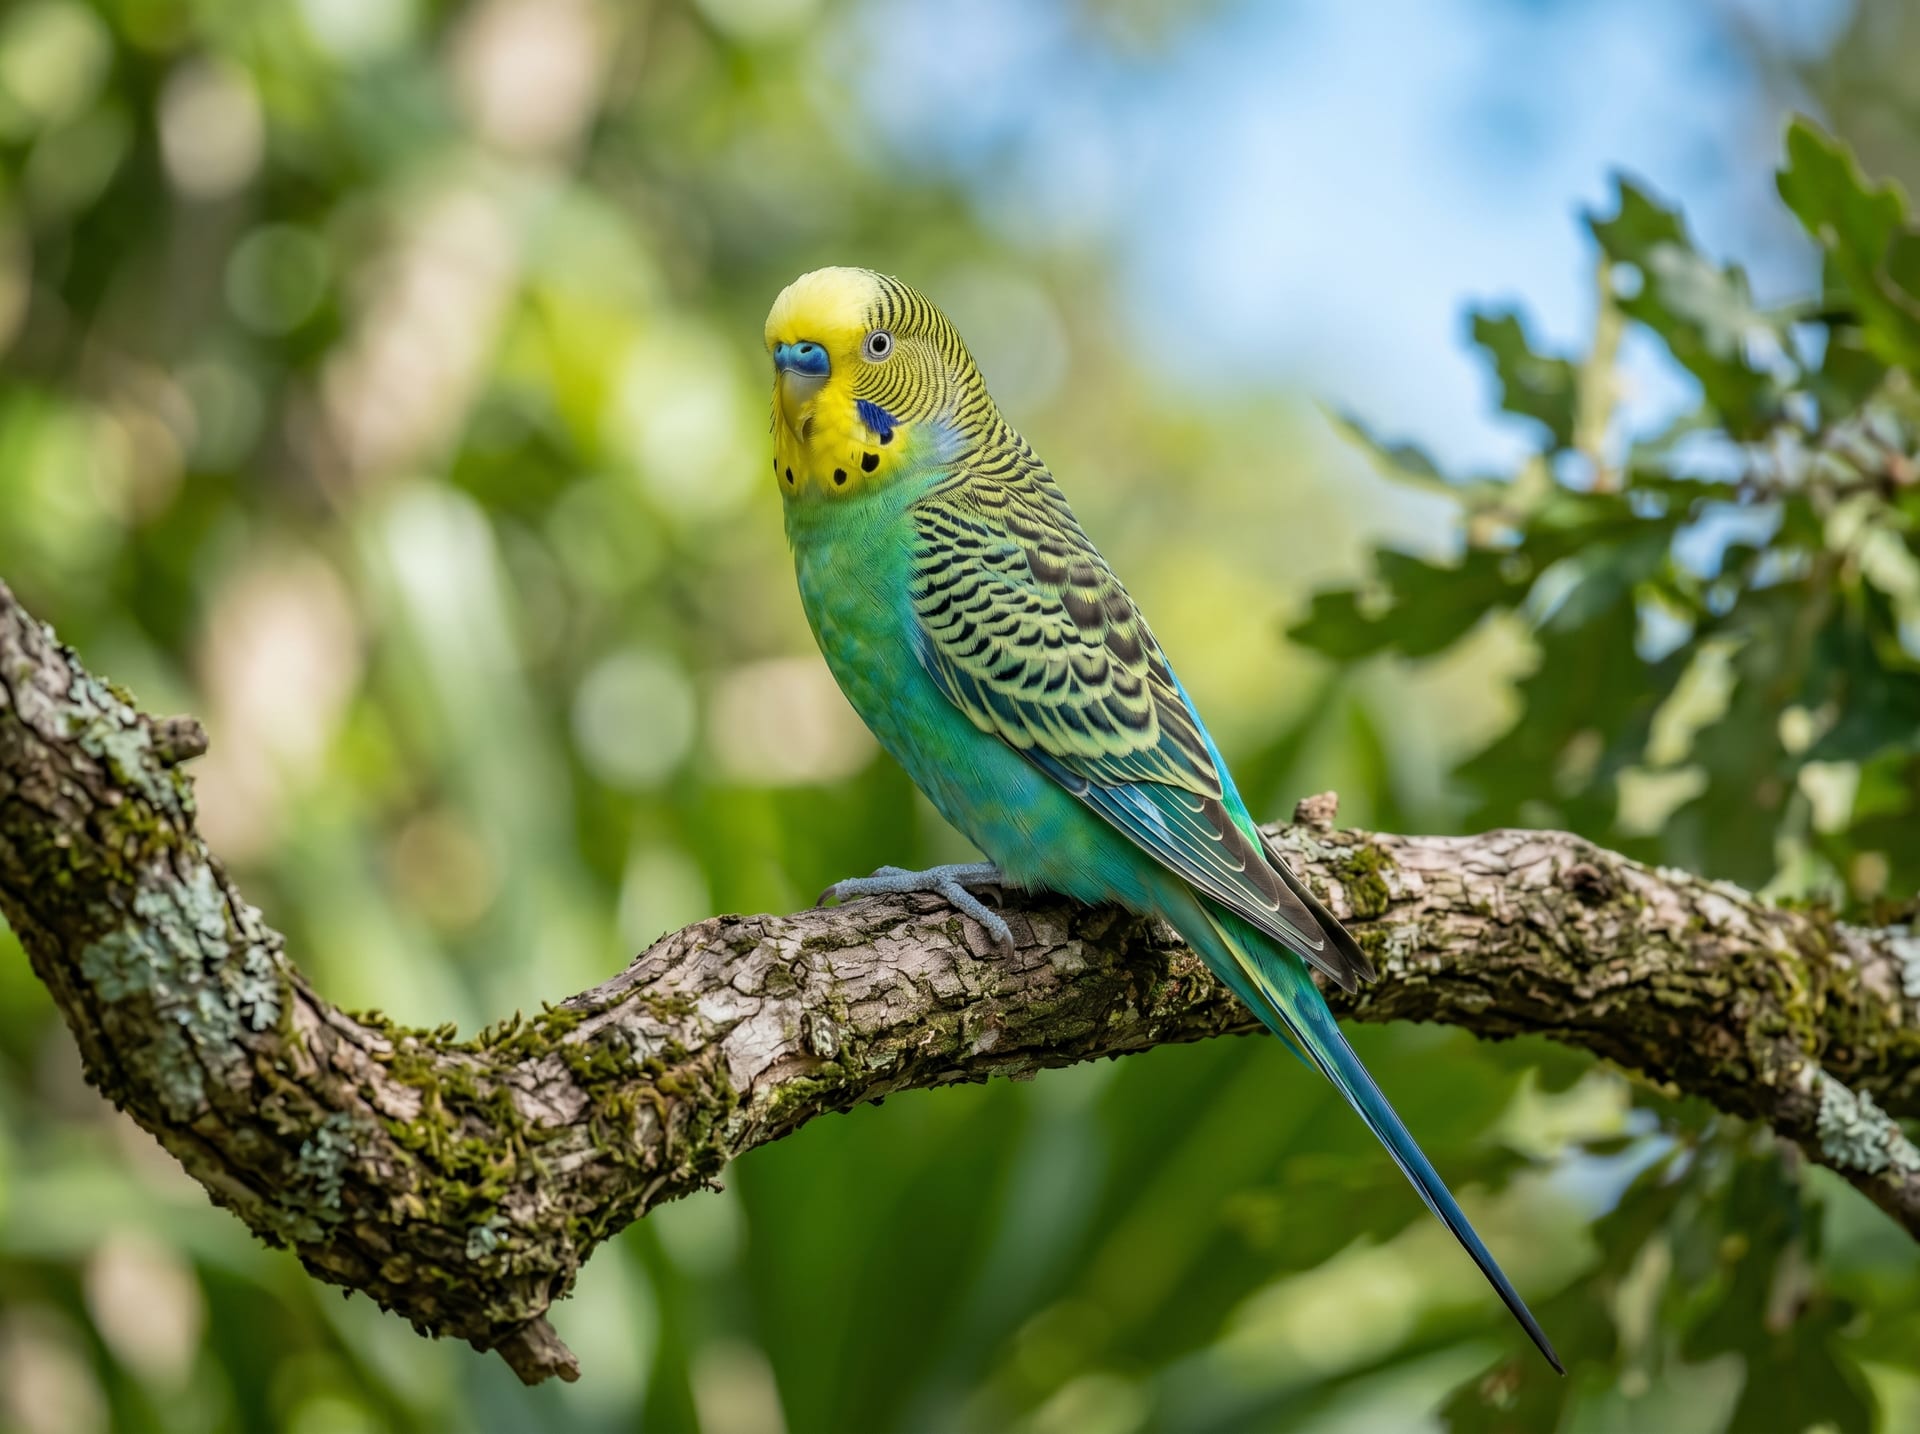
| Budgerigar | 37.5–37.7°C | 50–55% | 65–70% |
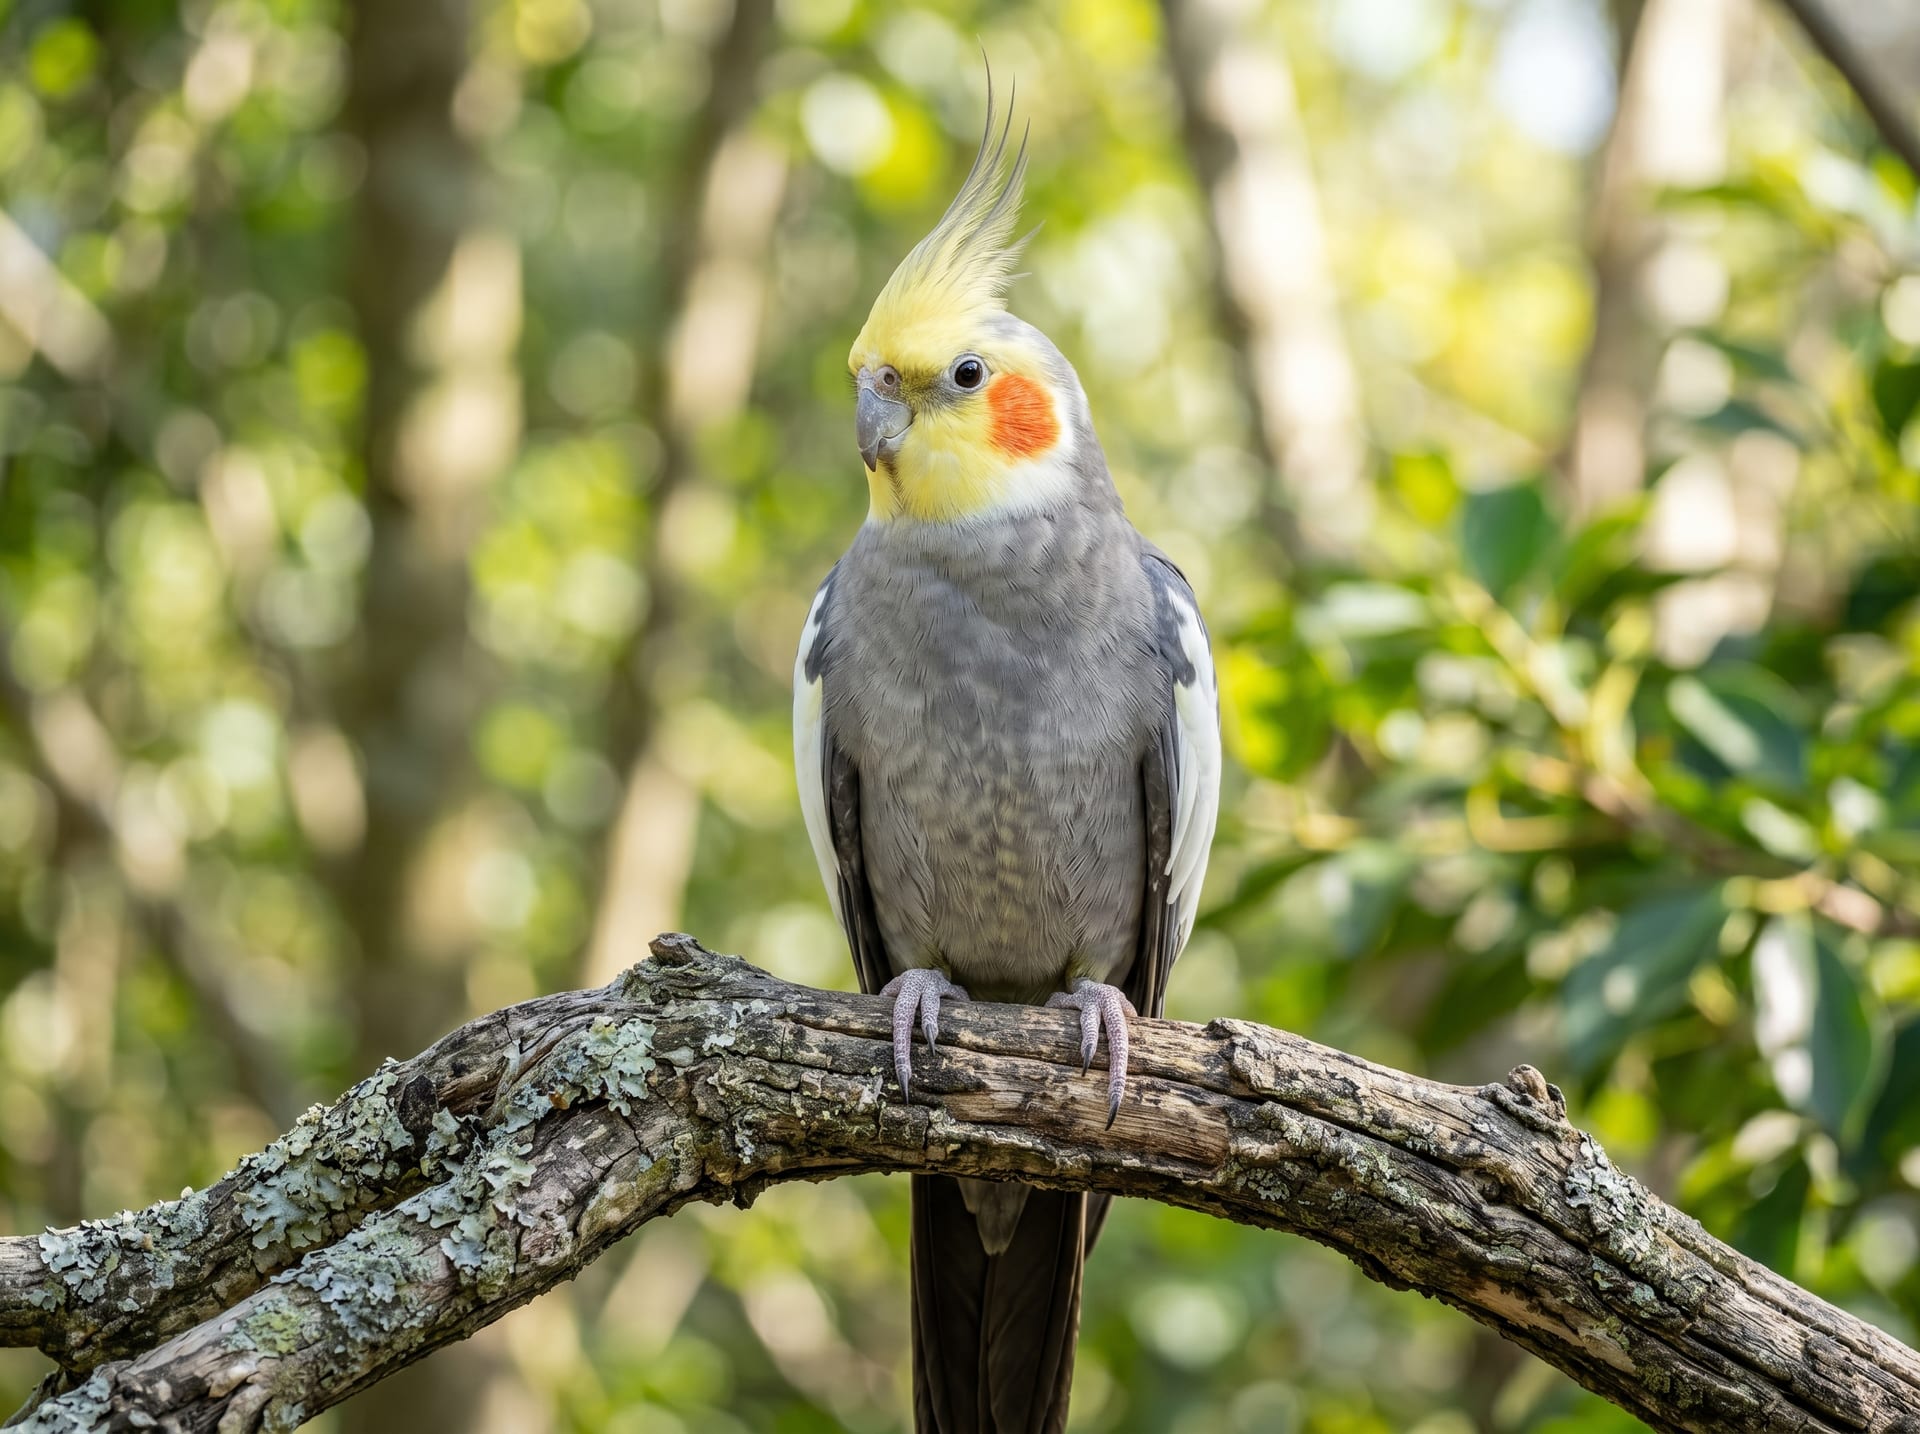
| Cockatiel | 37.5–37.7°C | 50–55% | 65–70% |
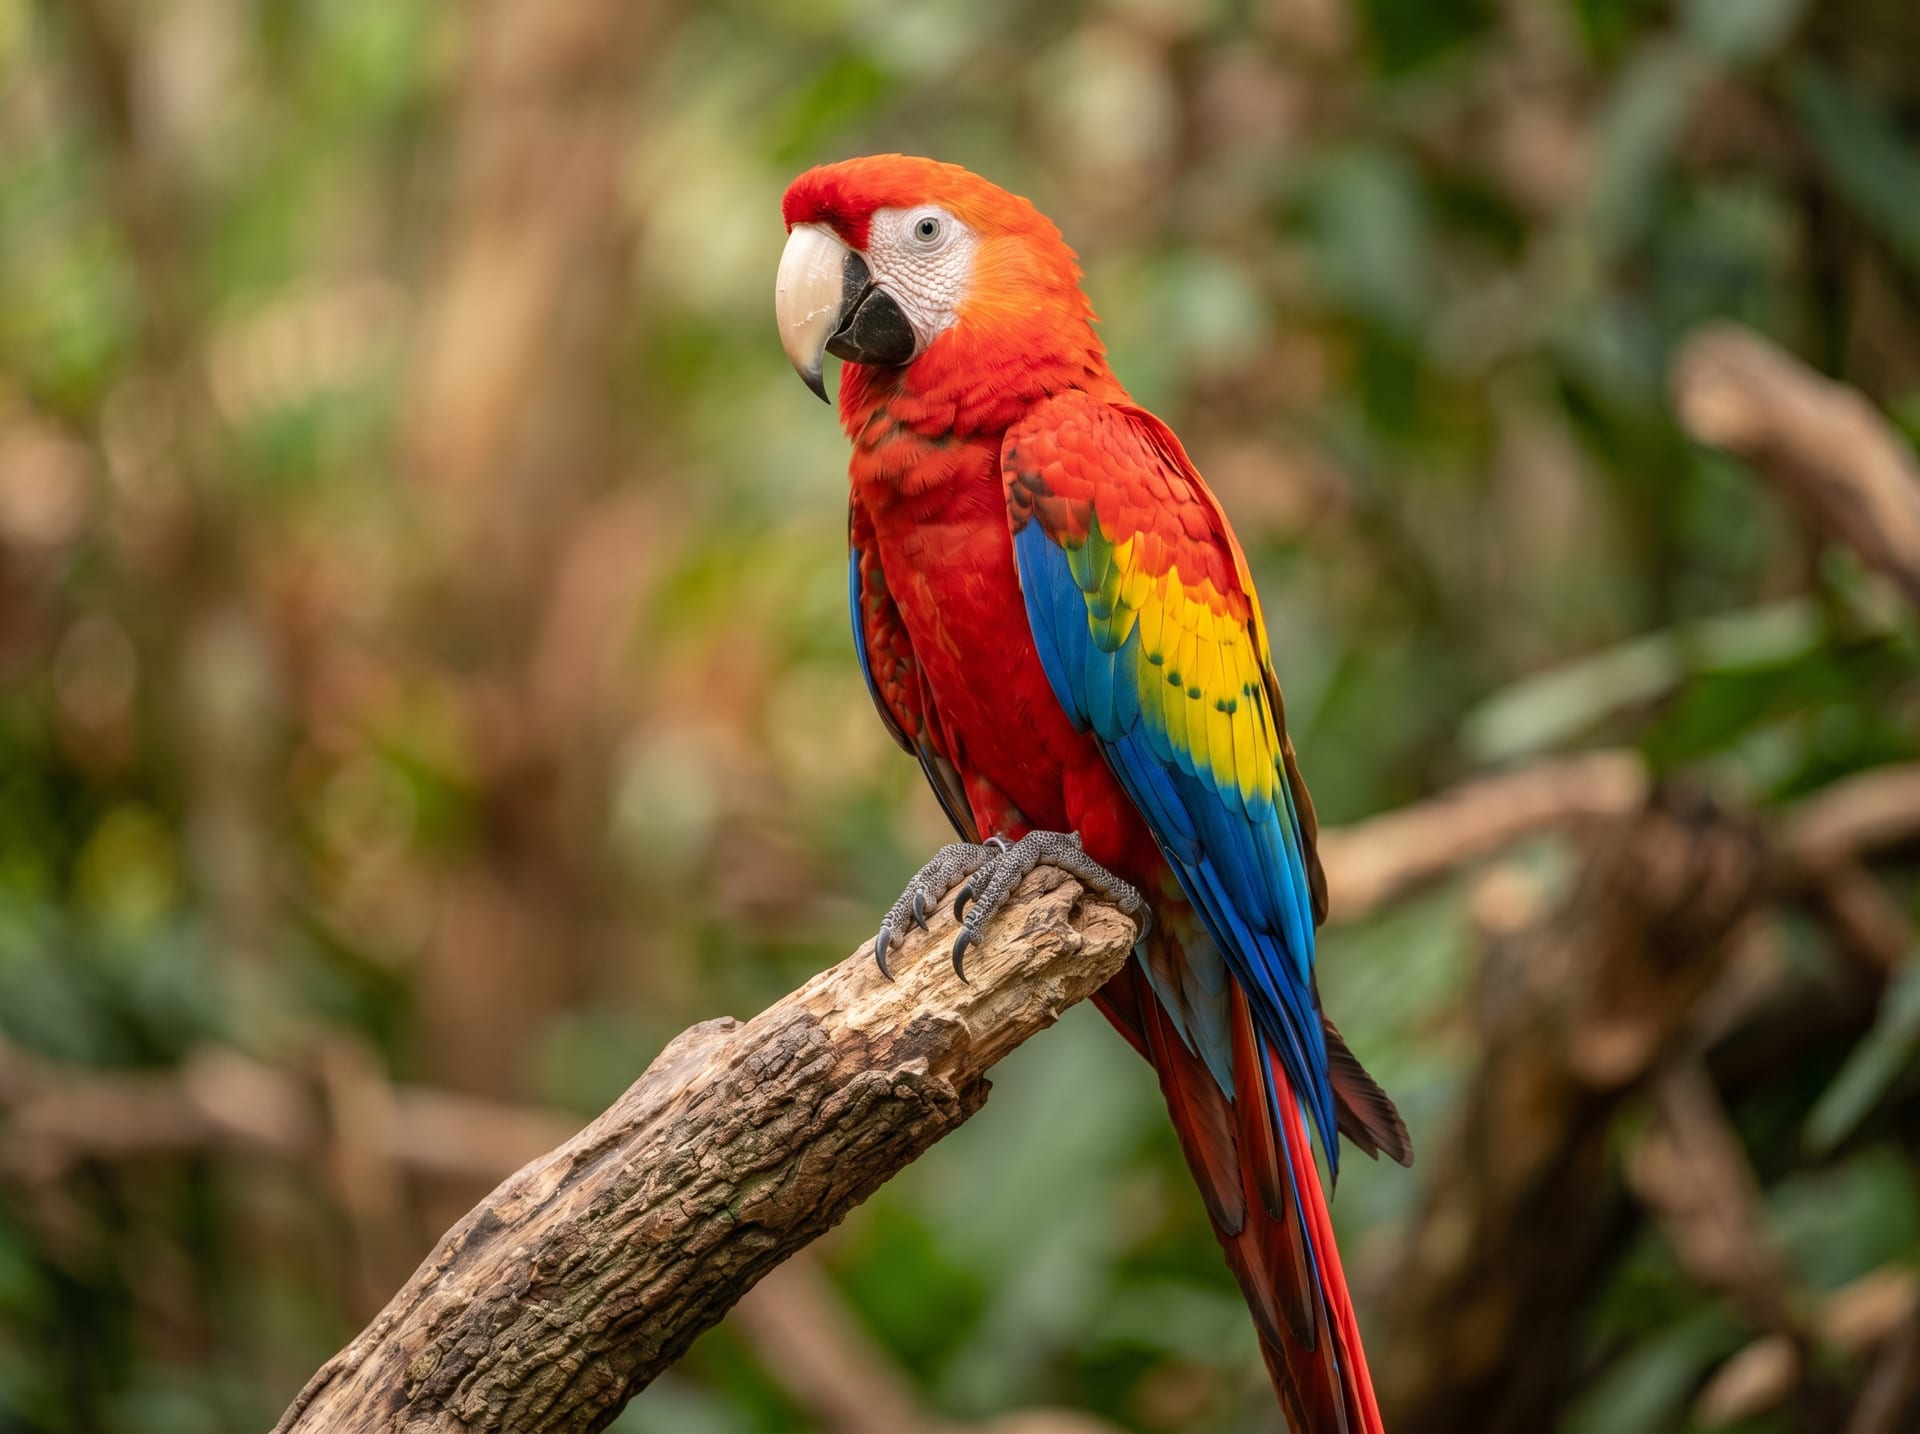
| Macaw | 37.4–37.6°C | 45–50% | 65–70% |
| Cockatoo | 37.4–37.6°C | 45–50% | 65–70% |
Note: Even a 0.5°C deviation in temperature can significantly affect hatch rates. It is strongly recommended that you install an accurate independent thermometer inside the incubator to verify temperature.
Managing Egg Turning
For incubators with automatic turning, a minimum of 4–6 turns per day is recommended, with hourly turning being ideal. For manual turning, mark the eggs with a pencil and turn them at least three times daily: morning, midday, and evening.
Stop turning 3 days before the expected hatch date (5 days for large species). This period is called lockdown, during which humidity should be raised to 65–70%.
Candling
At 4–5 days after laying, use a candling light to distinguish fertile eggs from infertile ones. Fertile eggs show a dark round shadow (embryo) in the center with a network of blood vessels. Infertile eggs remain transparent. Remove infertile eggs promptly to maintain incubator hygiene.
Immediate Post-Hatch Care
Signs of Hatching
As hatching approaches, you'll hear chirping sounds from inside the egg (internal pipping). Next, a small hole appears near the pointed end of the egg (external pipping). Hatching normally occurs within 24–48 hours from this point.
If hatching is delayed (more than 48 hours after external pipping), you may consider light assistance by gradually removing shell from the pipped area. However, if blood vessels are visible, stop immediately and wait for natural hatching.
Post-Hatch Warming and Humidity
Newly hatched chicks (neonates) cannot regulate their body temperature. Immediately after hatching, move them to a brooder (heating box) maintained at 35–37°C with 70–75% humidity. Use either a commercial brooder or a homemade one combining an aquarium, panel heater, and thermohygrometer.
Do not feed for the first 24 hours; allow the yolk sac to absorb. Feeding during this period stresses the digestive system and increases mortality.
Starting Hand-Feeding and Schedules
Choosing Hand-Feeding Formula
Use a commercial hand-rearing formula. Representative brands include Roudybush, Kaytee Exact, and Versele-Laga. All are mixed with hot water to a paste consistency before feeding.
Formula concentration:
- Post-hatch to week 1: 10–12% (more water)
- Weeks 2–3: 15–20%
- Week 4 onward: 25–30% (gradually thicken)
The appropriate temperature is 40–42°C. Cooled formula causes digestive upset (crop stasis), so always verify temperature immediately before feeding.
Feeding Schedules by Species and Age
Budgerigar (Hatch to Fledging)
| Age (weeks) | Brooder Temperature | Feedings/Day | Amount per Feeding |
|---|---|---|---|
| 0–1 | 35–37°C | 6–8 (every 2–3 hours) | 0.5–1 mL |
| 2–3 | 32–35°C | 4–6 | 1–3 mL |
| 4–5 | 28–32°C | 3–4 | 3–5 mL |
| 6+ | Room temperature | 2 feeds → weaning | Offer pellets too |
Macaw and Large Parrots (Hatch to Fledging)
Large species grow slowly, requiring 12–16 weeks from hatching to complete weaning. Newly hatched weight is 20–30g, with peak growth of 10–15g daily. Weigh chicks daily (to 0.1g precision), investigating any plateau or loss.
Crop Monitoring
After feeding, verify that the crop (part of the esophagus) is full. If empty, it's time for the next feeding. If the crop remains full from the previous feeding (crop stasis), possible causes include formula that was too cool, too thick, or contaminated with mold. If stasis persists more than 2 hours, consult an avian veterinarian.
How to Proceed with Weaning
Timing the Start of Weaning
You can begin weaning when chicks show interest in formula on their own and start eating solid food and water provided in their enclosure. Wean gradually over 2–4 weeks, progressively reducing hand-feeding frequency rather than abruptly.
Weaning age guidelines:
- Budgerigar: 6–8 weeks
- Cockatiel: 8–10 weeks
- Macaw: 12–16 weeks
- Cockatoo: 14–18 weeks
Steps for Transitioning to Solid Food
- Keep pellets, spray millet, and vegetables constantly available in the enclosure
- Maintain morning hand-feeding while gradually reducing evening feeds
- Once independent feeding is stable, make morning feeds every other day
- If weight is maintained, complete weaning
Weight may drop 5–10% for 3–5 days after weaning, but this is normal if it stabilizes. If weight loss exceeds 10% and continues, pause weaning and resume hand-feeding.
Common Failures and Troubleshooting
Crop Infection (Candidiasis)
Candida thrives if formula isn't heated sufficiently or is reused. Symptoms include white mucoid vomiting and loss of appetite. Treatment requires antifungal medication from an avian veterinarian. Prevention involves discarding formula after each use and thoroughly cleaning and disinfecting utensils.
Aspiration Pneumonia
Feeding formula too quickly can cause it to enter the trachea. Symptoms include labored breathing and foamy discharge. Use a dropper or syringe slowly, aiming toward the crop (left side) of the chick.
Growth Delay
If weight gain plateaus, formula may be nutritionally inadequate or the chick may have an infection. Try switching formula brands or conduct a fecal exam.
Summary: Record-Keeping and Observation are Key to Successful Artificial Incubation
Artificial incubation and hand-feeding is a process of carefully observing each egg and chick while maintaining detailed records. Daily recording of weight, formula amount, crop fullness, and fecal condition enables early problem detection and improvement for future batches.
On the breeder-direct platform "BreederDirect", you can purchase chicks raised with dedication by bird breeders across the country. By combining your own acquired breeding knowledge with the acquisition of quality individuals, you can further enrich your life with your beloved birds.