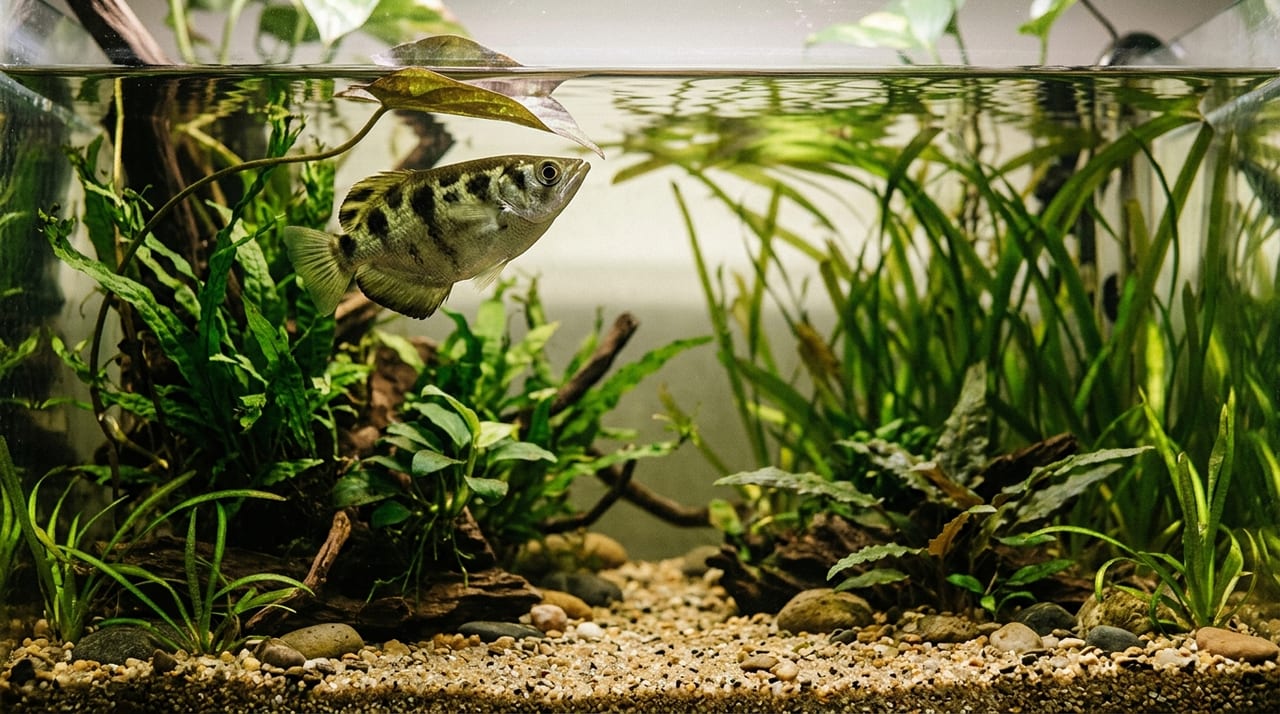
Once you start maintaining an aquatic plant tank, you'll inevitably hit the wall of CO2 supplementation. "My aquatic plants aren't growing at all," "The leaves are turning yellow," "Algae keeps taking over"—most of these problems stem from insufficient CO2. This article provides a comprehensive guide for beginners, covering everything from the basics of CO2 supplementation to equipment selection and dosage adjustment.
Why CO2 Supplementation is Necessary
Aquatic plants grow through photosynthesis. The three essentials for photosynthesis are "light," "water," and "CO2 (carbon dioxide)." In a tank, light and water are relatively easy to provide, but CO2 exists at low concentrations in the atmosphere (about 0.04%), and only limited amounts dissolve into water.
For aquatic plants to thrive, it's ideal to maintain water CO2 levels of approximately 20–30 mg/L. However, without supplementation, tanks typically maintain only 5–10 mg/L. This difference significantly impacts the growth rate of aquatic plants, leaf coloration, and root development.
When CO2 is abundant, aquatic plants photosynthesize actively and release gas bubbles (the "pearling" effect). Leaf color becomes vibrant, roots develop strongly, and the entire tank looks lively. Conversely, when CO2 is insufficient, algae begins consuming nutrients before the plants do, quickly leading to an algae-dominated tank.
Types of CO2 Supplementation Methods and How to Choose
There are three main methods of CO2 supplementation. Each has its advantages and disadvantages, so choose based on your tank size, budget, and willingness to maintain the system.
Fermentation Method (DIY)
This method involves fermenting sugar, yeast, and water in a plastic bottle, then directing the resulting CO2 into the tank. Initial costs are nearly zero, making it ideal for experimenting with small tanks (30 cm or smaller).
The drawback is difficulty controlling dosage. In summer, fermentation can become excessive, while in winter it may stop entirely. The lack of stability makes this unsuitable for serious planted tanks. Think of it as a beginner's introduction to the concept of CO2 supplementation: "I want to try CO2 supplementation first to see if it works for me."
Small Cylinders (Disposable)
This method uses garden or aquatic plant CO2 cartridges directly. It's commonly used for 45–60 cm tanks where purchasing a larger cylinder (described below) isn't necessary. The compact setup and simple installation are advantages.
The downside is high operating costs. A single cylinder may be depleted in 1–2 weeks, becoming expensive long-term. This method works well as a stepping stone for beginners to grasp the basics of CO2 supplementation while considering a more serious setup.
Large Cylinders (Midbottle)
This uses commercial liquid CO2 cylinders, commonly called "midbottles." It offers exceptional cost-effectiveness and is clearly advantageous for 60+ cm tanks or maintaining multiple tanks.
Initial equipment costs—cylinder, regulator, solenoid valve—run 1–3 million yen, but refills cost 2,000–4,000 yen and last several months. If you plan to enjoy planted tanks long-term, a large cylinder setup is essentially the only choice.
Choosing and Positioning a Diffuser
Simply releasing CO2 from a cylinder won't dissolve it into water. A "diffuser" is a device that breaks CO2 into fine bubbles and disperses them throughout the water.
Ceramic Diffusers
The most popular type. Ceramic plates with fine perforations release CO2 as a misty cloud of microscopic bubbles into the water. Finer bubbles dissolve more easily and achieve higher efficiency.
Various manufacturers like ADA, Ni-Si, and JUN produce these. Even models costing 1,000–3,000 yen perform adequately. They require regular bleach cleaning to prevent clogging.
In-line Diffusers
These mount directly on external filter tubing. CO2 dissolves within the filter itself, so no bubbles are visible in the tank. Popular with those who prefer a clean aesthetic.
Tips for Positioning
Place the diffuser in a corner of the tank, ideally where it's exposed to water current. Gas dissolution efficiency improves when bubbles flow toward the filter intake. After installation, observe the bubble flow and fine-tune the position as needed.
Adjusting Dosage: Using 1 Bubble Per Second as a Standard
CO2 dosage is managed by "drop rate." The general guideline is "1 bubble per second"—meaning one bubble roughly 1–2 mm in diameter emerges per second.
However, this is merely a starting point. Optimal dosage varies based on tank size, types and quantity of aquatic plants, light intensity, and water flow speed.
Specific Steps for Adjustment
- Start with 1 bubble per second
- After several days, observe plant condition (Are bubbles forming? Is leaf color improving?)
- Use a CO2 checker (pH drop checker with indicator solution) to confirm CO2 concentration
- If concentration is low, increase dosage; if fish appear distressed, decrease it
A pH drop checker changes color from blue (CO2 deficiency) → green (appropriate level) → yellow (excess). Aim to maintain the green zone.
Be Careful of Effects on Fish
CO2 is toxic to fish at high levels. Excessive water CO2 causes fish to enter an oxygen-depleted state, gasping at the surface or lying lethargically at the bottom. In severe cases, fish may die.
When increasing dosage, do so gradually. Observe fish daily for abnormalities—if any appear, immediately stop CO2 and perform a water change. Additionally, aeration (oxygen supplied by an air pump) and CO2 supplementation work against each other, so turn off aeration while lighting is on.
Why Nighttime Shutdown is Absolutely Essential
One of the most critical rules for CO2 supplementation is "always turn it off at night."
During the day (when lights are on), plants consume CO2 through photosynthesis. At night (after lights turn off), they release CO2 through respiration. If you continue supplementing CO2 at night, water CO2 levels rise to dangerous heights, potentially killing fish through oxygen deprivation.
Automate with Solenoid Valves and Timers
To prevent accidents from forgetting to manually shut off CO2, combining a solenoid valve with a programmable timer for automation is essential.
Example settings:
- Start CO2 supplementation 1 hour before lights turn on (to pre-load the water with CO2)
- Stop CO2 supplementation when lights turn off
With this setup, CO2 levels remain consistently safe. Solenoid valves cost 2,000–5,000 yen and have minimal running costs. If you're starting CO2 supplementation, a solenoid valve is non-negotiable.
Maintenance After Starting CO2 Supplementation
Once you've begun supplementing CO2, don't neglect regular maintenance.
Diffuser cleaning: About once weekly, remove the diffuser and soak it in diluted bleach for roughly 30 minutes, then rinse thoroughly. Ignoring clogging leads to unstable dosage.
Cylinder level monitoring: For small cylinders, track usage time; for large cylinders, use a scale to monitor remaining weight. Running empty suddenly can damage aquatic plants.
Coordination with water changes: CO2 escapes easily after water changes, so check your CO2 checker afterward and fine-tune dosage accordingly.
CO2 supplementation requires some initial effort to set up, but once stable, plant growth becomes dramatically visible. The lush, pearl-covered planted tank that's the gold standard is difficult to achieve without CO2 supplementation. Take your time, adjust carefully, and build the aquarium of your dreams.