Complete Guide to Raising Japanese Beetle Larvae | Selecting Substrate, Temperature, Care by Growth Stage, and Pupation to Adult Emergence
A comprehensive breeding guide for raising Japanese beetle larvae (1st to 3rd instar) until adult emergence. Covers methods for collecting eggs from breeding setups, growth characteristics by instar stage, how to choose fermented substrate and timing for changes, temperature and humidity management tips, precautions before pupation, and post-emergence timing—practical information for successful full-cycle cultivation.
Key Takeaways
A comprehensive breeding guide for raising Japanese beetle larvae (1st to 3rd instar) until adult emergence. Covers methods for collecting eggs from breeding setups, growth characteristics by instar stage, how to choose fermented substrate and timing for changes, temperature and humidity management tips, precautions before pupation, and post-emergence timing—practical information for successful full-cycle cultivation.
The Appeal of Raising Japanese Beetle Larvae
Among Japanese beetle (Trypoxylus dichotomus) cultivation, raising them from the larval stage and witnessing their emergence to adulthood with your own hands brings a special sense of accomplishment. Beyond simply purchasing adults or collecting them in the wild, experiencing the full cycle from egg-laying → hatching → larval rearing → pupation → emergence allows for a deeper understanding of Japanese beetle ecology.
The larval stage of Japanese beetles lasts approximately 9–10 months (July to the following May), and proper management leads to the development of larger individuals.
How to Obtain Larvae
Collecting Eggs from a Breeding Setup
When breeding adults for egg-laying
- Fill a breeding container (50–100L or larger) with fermented substrate to a depth of 20–30cm
- Introduce one mated female and leave undisturbed for 3–4 weeks
- Breaking apart the substrate after egg-laying reveals tiny white eggs (2–3mm in diameter)
- Return the eggs to the substrate (they are sensitive to movement) and wait for hatching (2–4 weeks)
Purchasing or Collecting Larvae Directly
- Pet shops and specialist insect retailers sell larvae (1st to 3rd instar)
- During summer and fall, wild larvae can sometimes be found by searching in rotted wood and leaf litter
Larval Instars and Growth Stages
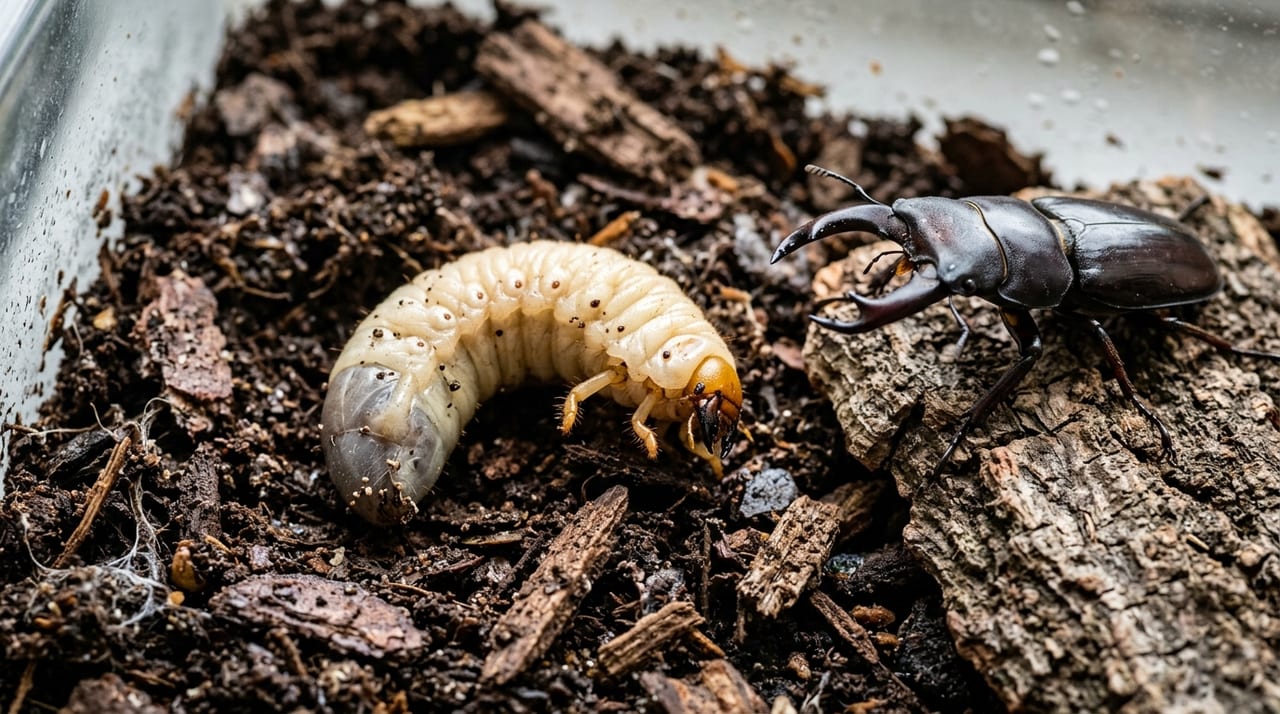
Japanese beetle larvae undergo two molts, progressing through three instars.
| Instar | Body Length (approx.) | Period (approx.) | Characteristics |
|---|---|---|---|
| 1st Instar | 1–2cm | Up to 2 weeks after hatching | Extremely small and delicate; handle with care |
| 2nd Instar | 3–5cm | Around August–September | Growth rate increases |
| 3rd Instar | 8–13cm | September to following April | Longest stage; key to size development |
The quality of environment and nutrition provided during the 3rd instar stage directly determines the adult beetle's final size.
Housing and Substrate (Bedding Material)
Choosing the Right Container
| Container | Recommended Size | Use Case |
|---|---|---|
| Pet bottle (2L) | — | Individual observation rearing |
| Fruit-fly-proof container (small) | Up to 3 | Small-scale rearing |
| Fruit-fly-proof container (medium–large) | 3–10 | Group rearing |
| Storage bin (50L or larger) | 10 or more | Large-scale rearing; breeding for larger individuals |
Fruit-fly-proof containers have fine-slotted lids that prevent fruit fly infestation, making them ideal for larval rearing. During summer, when fruit flies are common, these containers are nearly essential.
Selecting Substrate (Bedding Material)
Japanese beetle larvae feed on and grow through substrate (leaf litter and fermented bedding). The quality of substrate directly affects larval growth.
Recommended Substrate Types
- Fully-fermented substrate (dark soil-based): The most standard option with minimal failure rates. Commercial "beetle soil" products are convenient
- Mushroom-based substrate (3+ stages of fermentation): High in nutrients and effective for breeding larger individuals
- Stag beetle substrate and general insect bedding: Products designed for stag beetles can also be used for Japanese beetle larvae
Substrates to Avoid
- Incompletely fermented substrate (gas production can kill larvae)
- Leaf litter containing pesticides or insecticides (watch for commercial products labeled "with insecticide")
- Coniferous wood chips (cedar, cypress): The compounds are toxic to larvae
How to Fill the Container
- Fill the container with substrate to a depth of at least 10–20cm (a minimum of 10cm is necessary for pupation chamber formation)
- Dampen the substrate lightly (it should hold together when squeezed but crumble when pressed with a finger)
- Fill to about 80–90% capacity rather than overfilling, allowing larvae to move freely
Housing Environment (Temperature and Humidity)
Temperature Management
Japanese beetle larvae are adapted to Japan's natural environment, so special heating or cooling equipment is generally unnecessary.
| Season | Recommended Temperature | Larval State |
|---|---|---|
| Summer (Jul–Sep) | 22–28°C | Active feeding and growth |
| Fall (Oct–Nov) | 15–22°C | Gradual activity |
| Winter (Dec–Feb) | 5–15°C | Reduced metabolism but continued light feeding through winter |
| Spring (Mar–May) | 15–25°C | Pre-pupation to pupation preparation |
Temperatures exceeding 30°C cause significant larval stress, so during peak summer, keep containers in a cool, well-ventilated location (basement, entryway) or use air conditioning.
Humidity Management
If substrate becomes too dry, larvae can die. Check the substrate surface 1–2 times monthly and mist if dry. The proper moisture level is when the substrate holds together when squeezed but naturally crumbles when you open your hand. Conversely, excess moisture (water oozing when squeezed) promotes mold and decay.
When to Change Substrate
As larvae grow, they consume substrate and produce more feces (black granules). Visible feces indicate it's time to change the substrate.
| Period | Change Frequency (approx.) |
|---|---|
| Aug–Nov (growth phase) | Every 2–3 months |
| Dec–Feb (low activity phase) | Not necessary to every 3–4 months |
| Mar–Apr (pre-pupation) | Do not change after pupation chamber formation begins |
Substrate Change Procedure
- Remove larvae and place in a bucket or separate container temporarily
- Discard old substrate and fill with fresh substrate
- Return the larvae (mixing in some old substrate helps them adjust, as sudden environmental changes can cause them to stop eating)
- Check larvae for feces or injuries on their bodies
Preparing for Pupation
Around April–May, larvae enter the "pre-pupation" stage and create their own pupation chamber (an underground cavity).
Signs of Approaching Pupation
- Larvae become yellowish in color
- Movement becomes sluggish
- Fecal output decreases
Important Precautions During This Period
- Never change substrate or dig up the larvae (destroying the pupation chamber can cause emergence defects)
- Avoid shaking or tapping the container
- Keep away from direct sunlight
If the Pupation Chamber Collapses
If a pupation chamber collapses, transfer the pupa to a commercial "artificial pupation chamber" (sponge-based) to prevent emergence defects.
Post-Emergence Care
Japanese beetles should not be excavated immediately after emergence.
- Leave the pupa undisturbed in the chamber for 1–2 weeks after emergence (while the body hardens)
- Transfer to an adult container once feeding resumes
- Mating immediately after emergence is taxing, so waiting 1–2 weeks after feeding begins is ideal
Raising Japanese beetle larvae involves steady, patient maintenance of the substrate. However, the emotion you feel when the beetles you nurtured emerge as adults the following summer is incomparable. We encourage you to take on the challenge of completing a full cycle from larva to adult.