Complete Guide to Brine Shrimp Hatching and Live Feed Management | Maximizing Hatch Rates, Harvesting, and Gut-Loading in Practice
A comprehensive guide to home-hatching brine shrimp for tropical fish and marine fish fry rearing. Covers five condition management (salinity, water temperature, pH, aeration, light), comparison of hatching devices from DIY bottle hatchers to commercial systems, harvesting and cleaning procedures, and nutritional enhancement through gut-loading (Selco, phytoplankton). Presented with practical techniques.
Key Takeaways
A comprehensive guide to home-hatching brine shrimp for tropical fish and marine fish fry rearing. Covers five condition management (salinity, water temperature, pH, aeration, light), comparison of hatching devices from DIY bottle hatchers to commercial systems, harvesting and cleaning procedures, and nutritional enhancement through gut-loading (Selco, phytoplankton). Presented with practical techniques.
Related Species
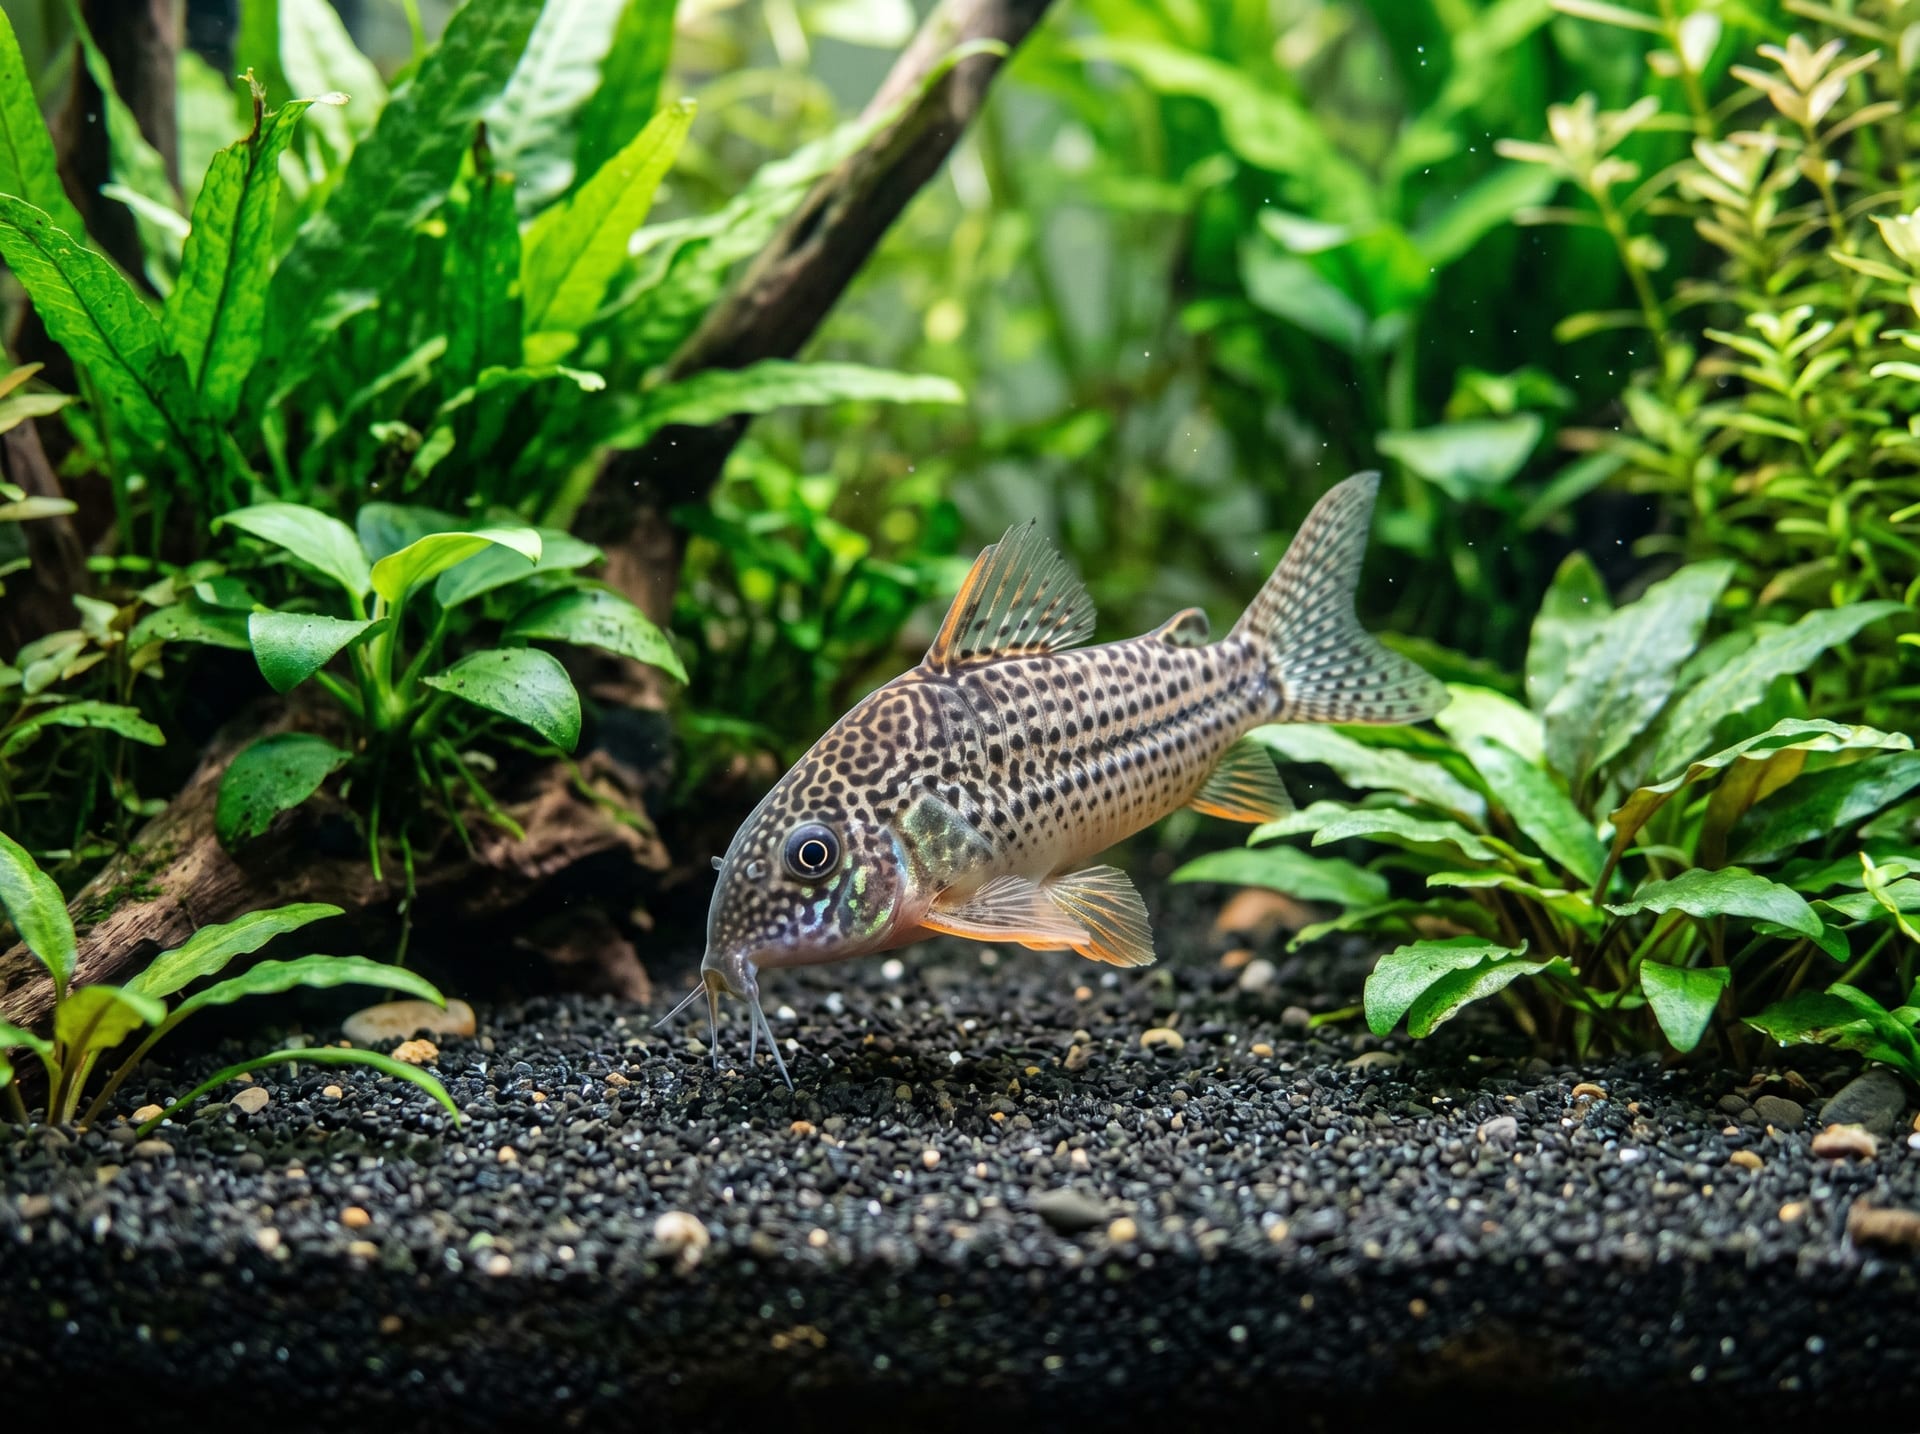
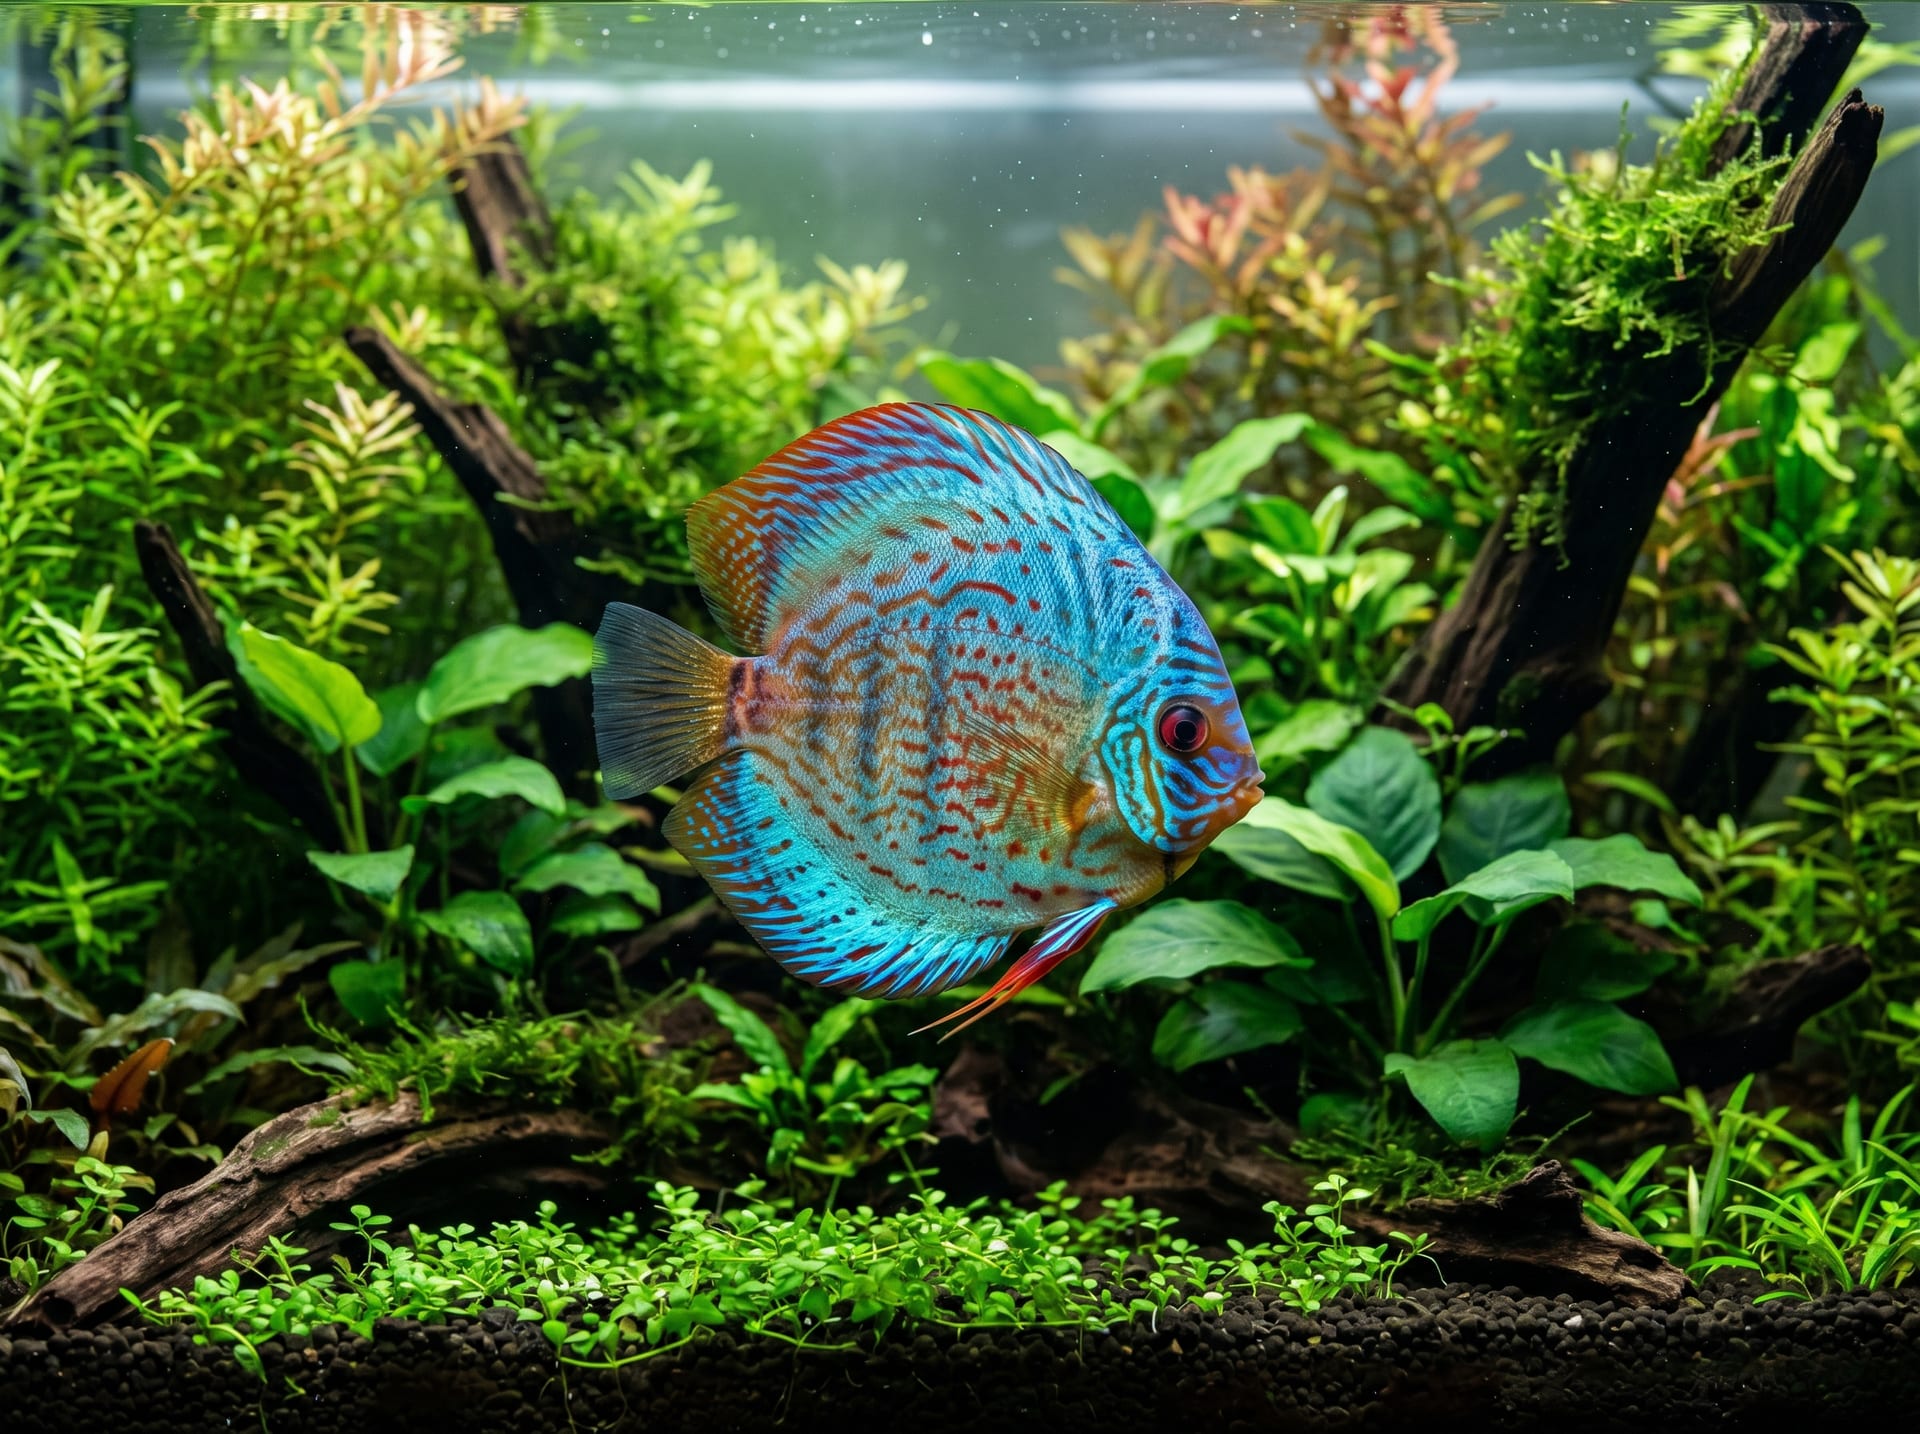
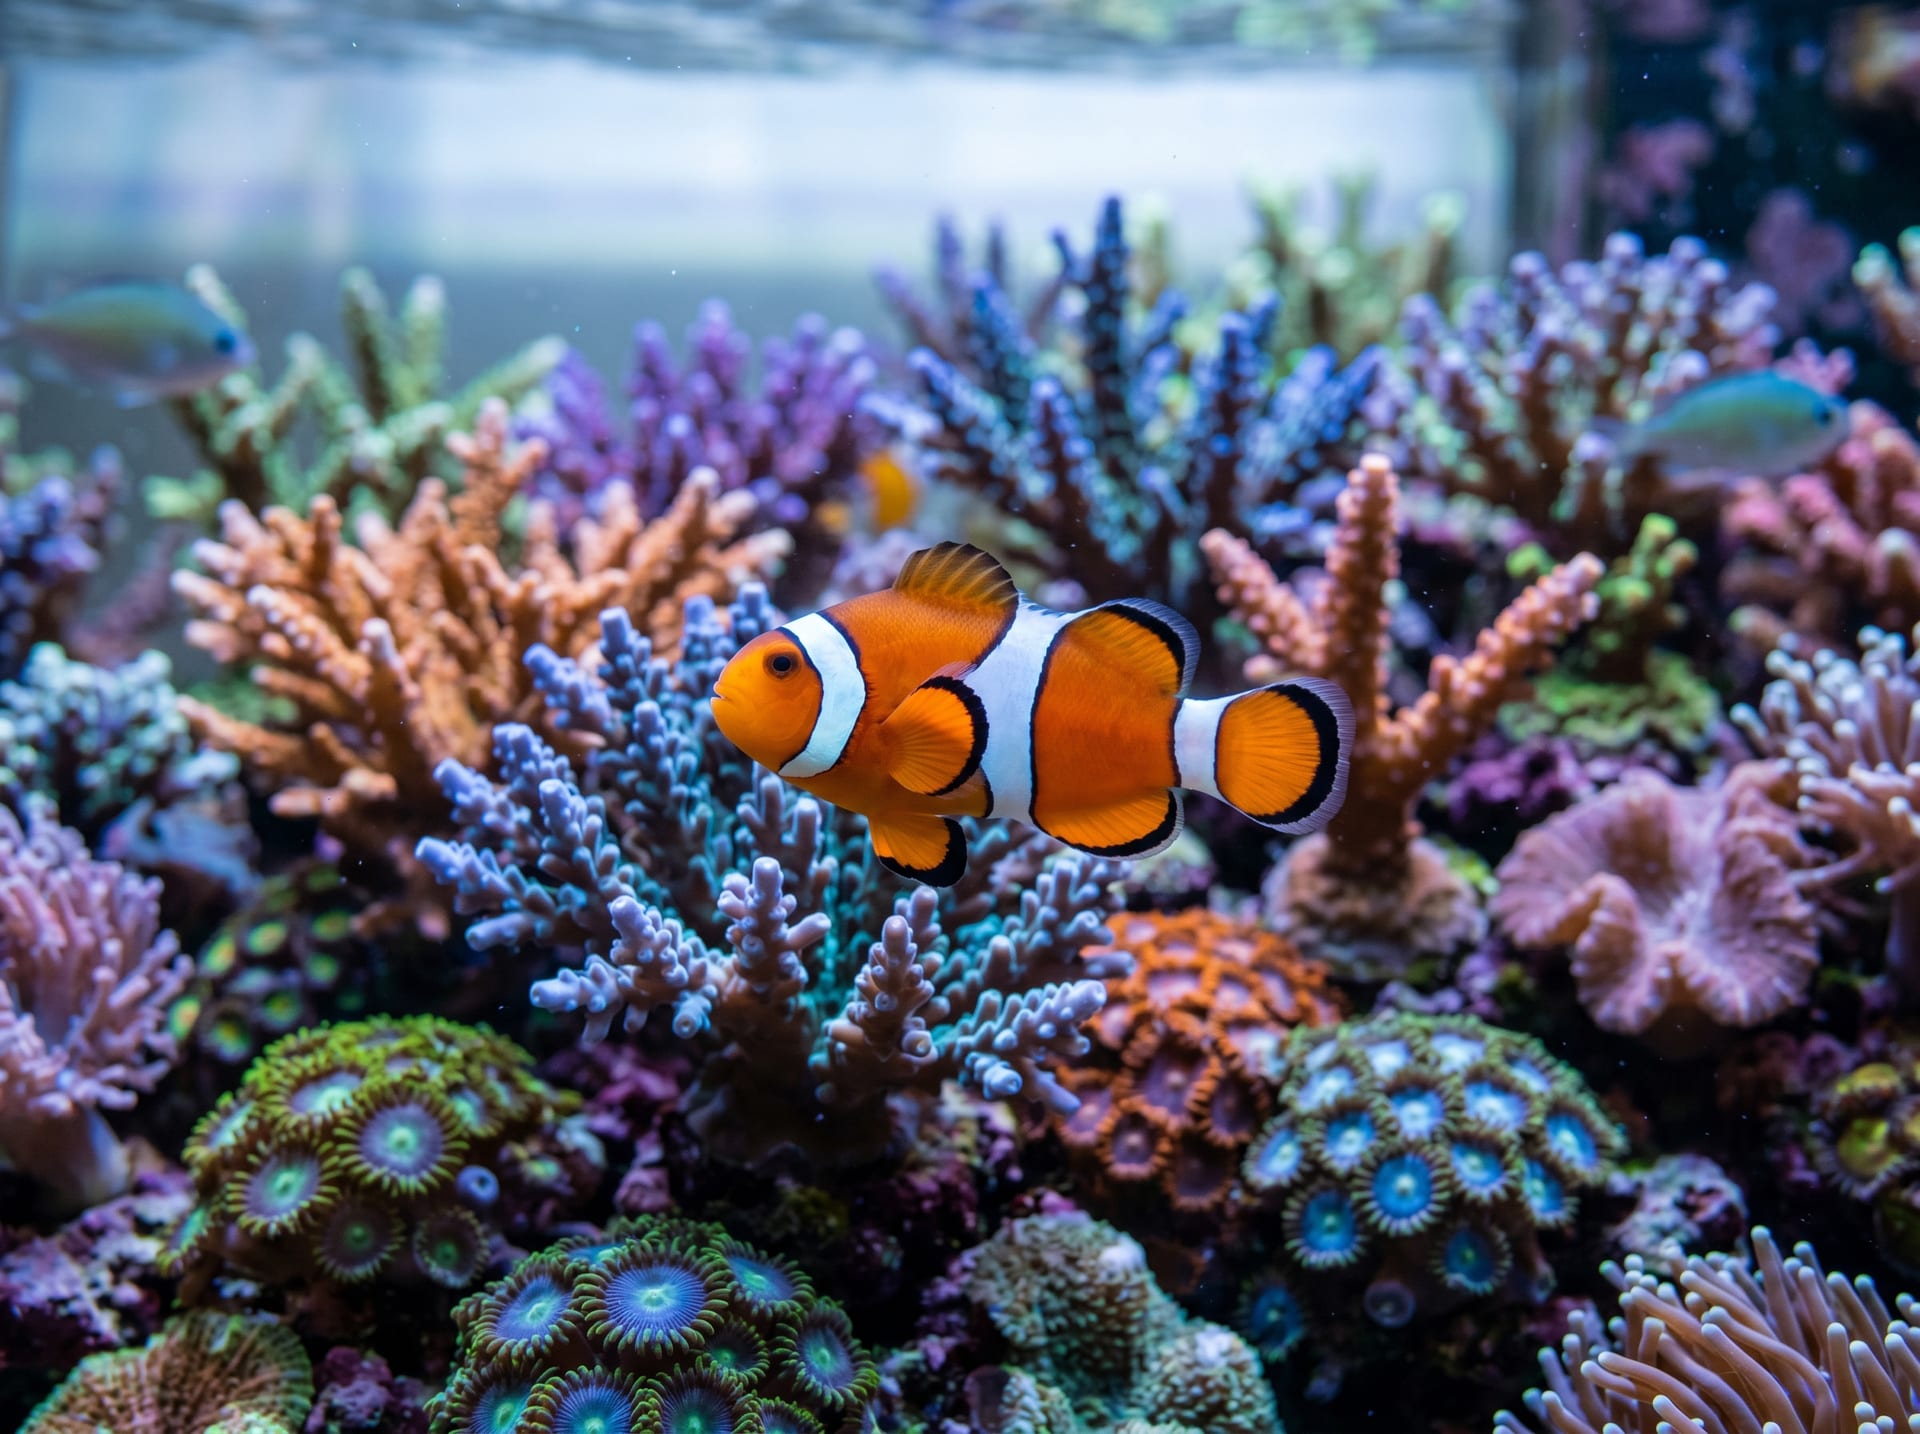
Brine shrimp (scientific name: Artemia salina) is one of the most reliable live feeds for tropical fish, marine fish, and coral fry rearing. Newly hatched nauplius larvae are nutrient-rich and contain abundant essential amino acids and unsaturated fatty acids required during the critical early stage of fry development. This article explains all the techniques for utilizing brine shrimp, from hatching conditions that maximize hatch rate through device selection, harvesting, storage, and gut-loading (nutritional enhancement).
Nutritional Value and Usage Scenarios of Brine Shrimp
Nutritional Composition of Nauplius Larvae
Nauplius larvae in the immediate post-hatch period (0–12 hours) retain the yolk sac, which contains abundant nutrients including:
- Protein: 56–60% (dry weight)
- Lipids: 17–23% (containing HUFAs and DHA)
- Particle size: 400–550μm (consumable by most fry)
However, nauplii older than 24 hours post-hatch consume the yolk sac and nutrient value declines, so harvesting and feeding should occur within 12–18 hours of hatching for optimal results.
Primary Usage Scenarios
| Usage Scenario | Target Species | Form |
|---|---|---|
| Initial feed for tropical fish fry | Betta, discus, gourami fry | Hatched nauplii |
| Marine fish fry rearing | Clownfish, goby fry | Nauplii |
| Supplementary feed for adults | Tetras, corydoras, etc. | Frozen brine shrimp |
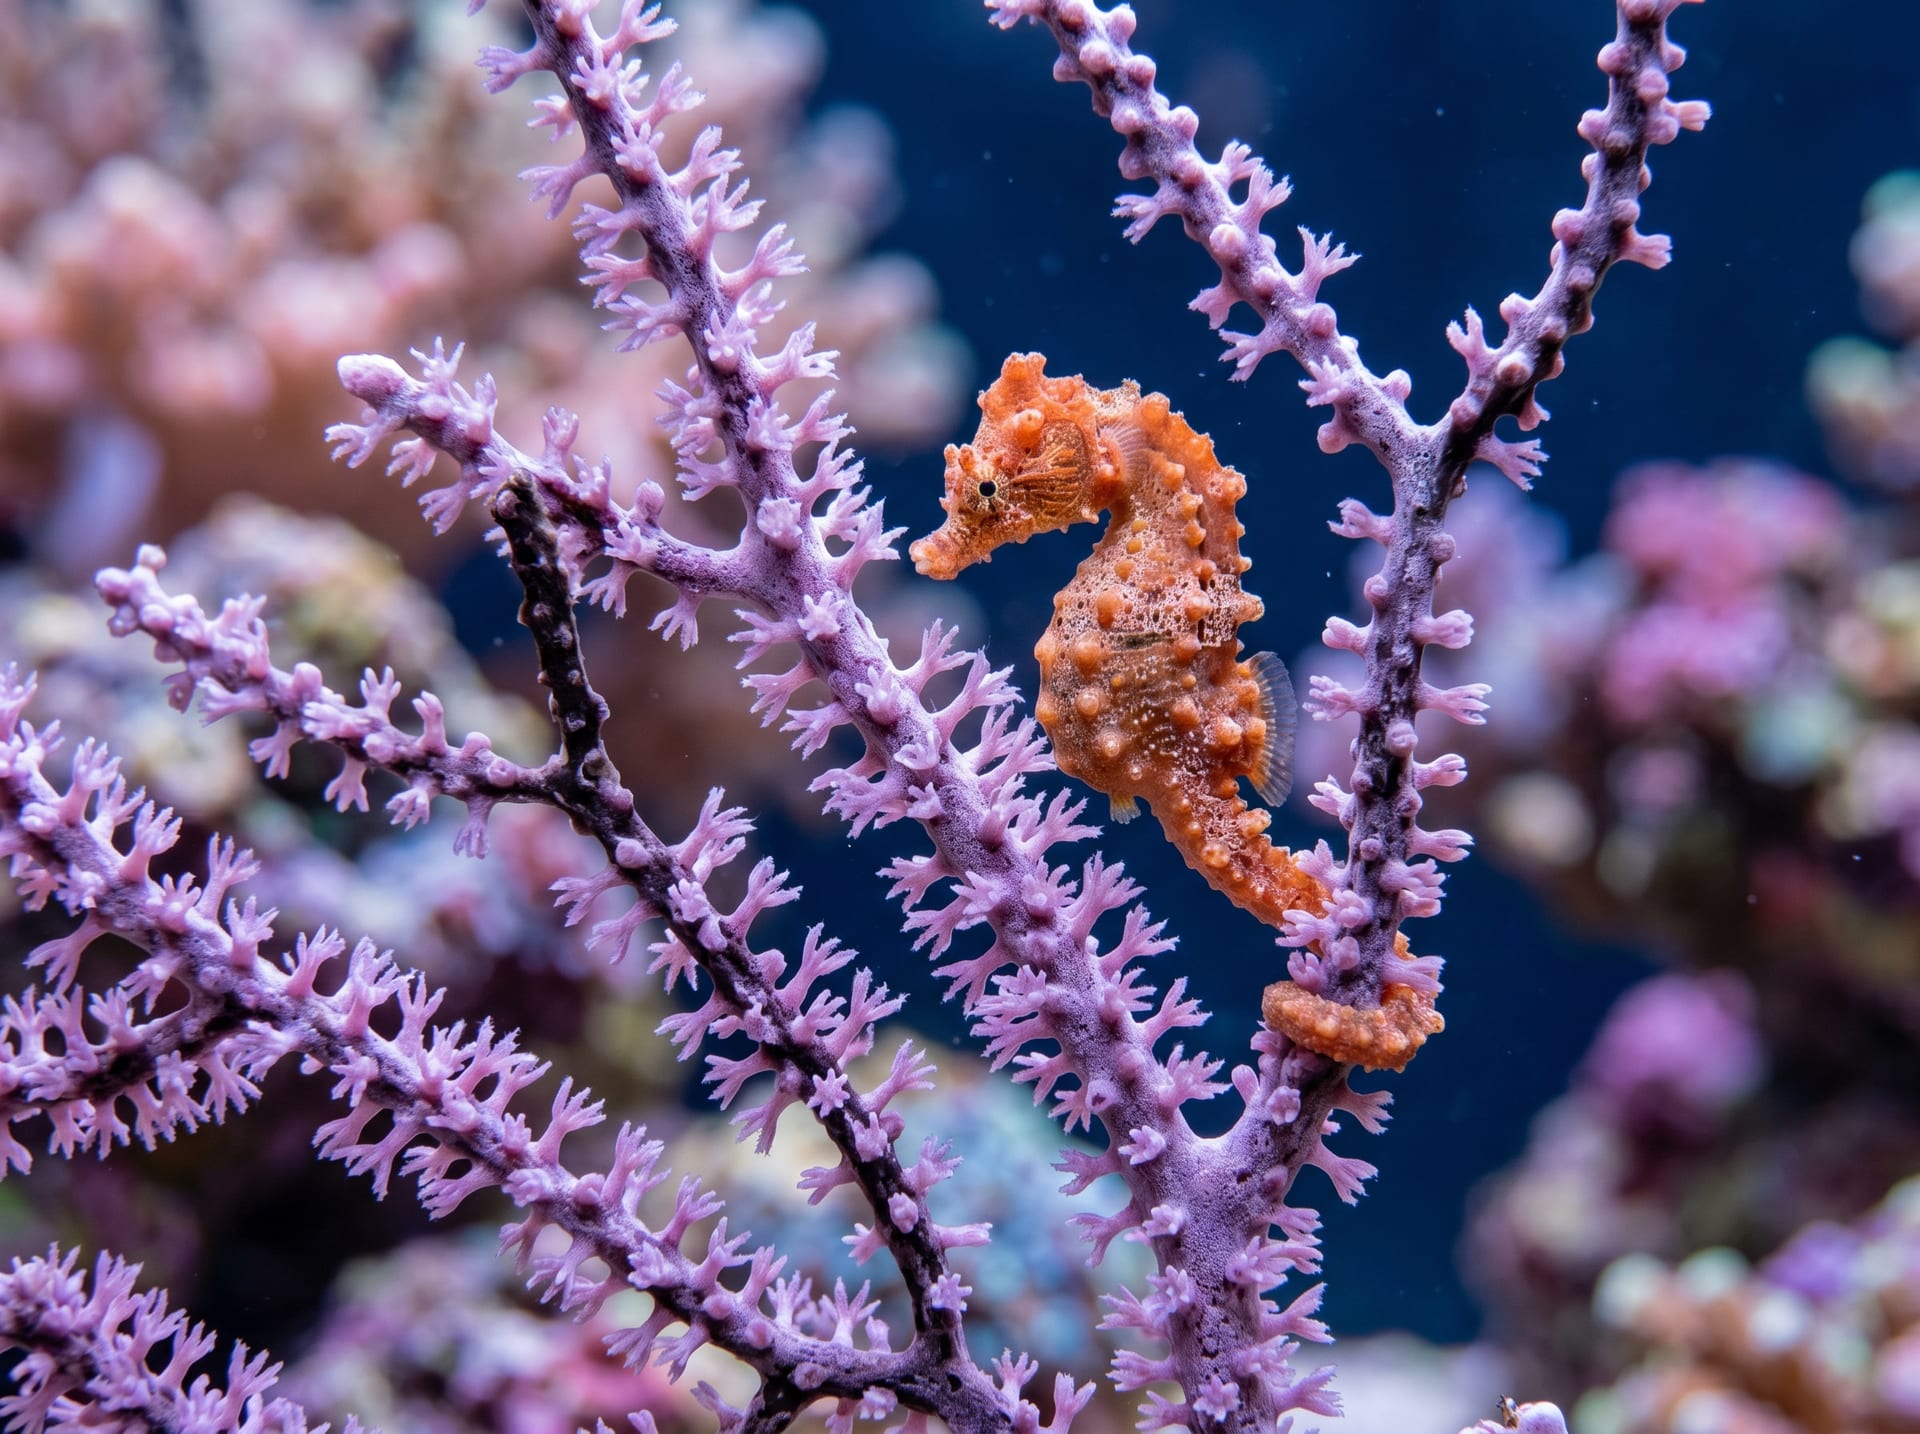
| Seahorses | Both adults and fry | Frozen or hatched nauplii |
| Coral feeding | LPS, NPS | Frozen nauplii |
Conditions to Maximize Hatch Rate
The key to successful hatching is proper management of five conditions: salinity, temperature, oxygen, pH, and light.
1. Salinity
Optimal salinity is 25–35 ppt (specific gravity 1.018–1.025). Typically, dissolve 15–25g of sea salt or rock salt per 1L of water.
- Salinity too low (<15 ppt): osmotic stress reduces hatch rate
- Salinity too high (>40 ppt): also causes hatch delays and increased mortality
2. Water Temperature
26–28°C is the temperature range with the highest hatch rate.
- Below 25°C: hatching time extends (36–48 hours)
- 28–30°C: shortest hatching time at ~24 hours (maintains high hatch rate)
- Above 30°C: hatching occurs but fry survival decreases
Using a small 100W heater to stabilize temperature or maintaining room temperature at 26–28°C is important.
3. Aeration (Oxygen Supply)
Continuously maintain aeration using an air pump and fine air stone. Without aeration, eggs and larvae sink and die from oxygen deprivation. Position the air stone to reach the bottom of the hatching container, keeping eggs in constant agitation.
4. pH
Optimal pH is 8.0–8.5. To maintain high pH, add baking soda (sodium bicarbonate) in small amounts (~1g per 1L water). Hatch rate drops significantly if pH falls below 7.
5. Light
Light stimulus aids hatching. Keep white light (fluorescent or LED) on during hatching to improve hatch rate and speed. During harvest, directing light allows larvae to congregate, making separation easier.
Hatching Device Types and Selection
1. DIY Bottle Hatcher
The most convenient method. Simply invert a 2L plastic bottle and insert an air hose.
Advantages: Inexpensive, disposable, transparent for easy observation Disadvantages: Harvesting is somewhat tedious, not suitable for large-scale hatching
How to make:
- Cut the bottom off a 2L bottle and invert it
- Drill a hole in the cap and insert an air hose
- Fill the inverted bottle with salt water and add brine shrimp eggs
- Run aeration (air bubbles agitate the eggs)
2. Commercial Hatching Systems
Commercial systems like the San Francisco Bay Brand Brine Shrimp Hatchery or Ziss Brine Shrimp Hatcher feature separation nozzles.
Advantages: Easy hatch-out and separation, continuous hatching possible Disadvantages: Cost ($30–80 USD equivalent)
For high-volume production or daily feeding needs, commercial systems offer good value for the investment.
Hatching, Harvesting, and Cleaning Process
Standard Hatching Process (at 28°C)
- 0 hours: Add 1L salt water + 1g baking soda + 1–2g brine shrimp eggs (¼ to ½ teaspoon) to the hatching container. Start aeration and provide light.
- 12–16 hours later: Egg shells float up and larvae congregate at the bottom (positive phototaxis)
- 18–24 hours later: Hatch rate reaches 80–90% (optimal harvest time)
Harvesting Method
- Stop aeration and wait 5–10 minutes (egg shells float, dead eggs sink, live larvae congregate in the middle layer)
- Direct light from below to make larvae concentrate in the light (positive phototaxis)
- Use a dropper or thin hose to draw up the dense larval layer
- Filter through a brine shrimp net to remove salt water
Cleaning
Place harvested larvae on a brine shrimp net and thoroughly rinse with fresh water (dechlorinated water). Adding salt water directly to the tank can disrupt specific gravity (though small amounts are tolerable in marine tanks), so rinse before feeding.
Gut-Loading: Enhance Nutritional Value
After hatching, nauplii consume the yolk sac and their nutritional value declines. For feeding adult fish or to difficult-to-feed corals and marine species, gut-loaded brine shrimp provide superior nutrition.
Gut-Loaders Used
- Super Serum type products: Selco (fat-soluble vitamins and DHA enhancement) and similar HUFA additives
- Phytoplankton: RotiGrow, Nannochloropsis and other marine plant plankton
- Spirulina/Chlorella type: Freeze-dried spirulina and chlorella powders
Gut-Loading Procedure:
- Transfer 24-hour-old brine shrimp to clean salt water
- Add gut-loader (approximately 5–10 drops of Selco per 1L water)
- Maintain with continuous aeration for 12–24 hours
- Re-harvest, rinse, and feed
Gut-loaded brine shrimp are enriched with DHA and highly unsaturated fatty acids, particularly effective for promoting growth and immune function in marine fish fry.
Egg Storage and Quality Management
Brine Shrimp Egg Storage
- Unopened: Store in cool, dark conditions (15°C or below) for 2–3 years
- After opening: Keep sealed in the refrigerator vegetable drawer (4–6°C). Use within 3–6 months
- Note: Moisture is the enemy. Store silica gel packets with eggs for desiccation
If Hatch Rate Declines
- Eggs are old (storage period exceeded): Replace with fresh eggs
- Salinity too low: Increase slightly (20→25 ppt)
- Temperature too low: Raise to 27–28°C with heater
- pH has dropped: Add baking soda
Summary: Brine Shrimp Hatching Practical Checklist
- Salt water concentration: 20–25 ppt (specific gravity 1.015–1.019)
- Water temperature: 26–28°C (use heater)
- pH: 8.0–8.5 (add baking soda)
- Aeration: Continuous operation
- Lighting: Keep on during hatching
- Harvesting: Within 12–18 hours post-hatch
- Rinsing: Remove salt with fresh water before feeding
Mastering home brine shrimp hatching dramatically improves fry rearing survival rates. While initial attempts may fail, once temperature, salinity, and aeration management stabilize, 90%+ hatch rates are readily achievable. In terms of cost, home hatching is cheaper than commercial frozen brine shrimp, and the stimulus of live feed to fry is incomparable. Establish a regular hatching routine and leverage it for successful fry rearing.